FSX Boeing 737-200 Smoke Effects
 Engine smoke effect for the Boeing 737-200ADV from Tinmouse II (TINMOUSE_II_V1_25.ZIP), and quick and simple directions to make it findable and flyable in FSX. Includes thumbnails for your FSX airplane menu. Easy Installation. By Tom Tiedman.
- Download hits
- 493
- Compatibility
- Microsoft Flight Simulator X (FSX) including Steam Edition & Prepar3D (P3D)
- Filename
- fsx_boeing_737-200adv_tinmouse_ii_engine_smoke.zip
- File size
- 2.13 MB
- Virus Scan
- Scanned 19 days ago (clean)
- Access to file
- Free (Freeware)
- Content Rating
- Everyone
Engine smoke effect for the Boeing 737-200ADV from Tinmouse II (TINMOUSE_II_V1_25.ZIP), and quick and simple directions to make it findable and flyable in FSX. Includes thumbnails for your FSX airplane menu. Easy Installation. By Tom Tiedman.
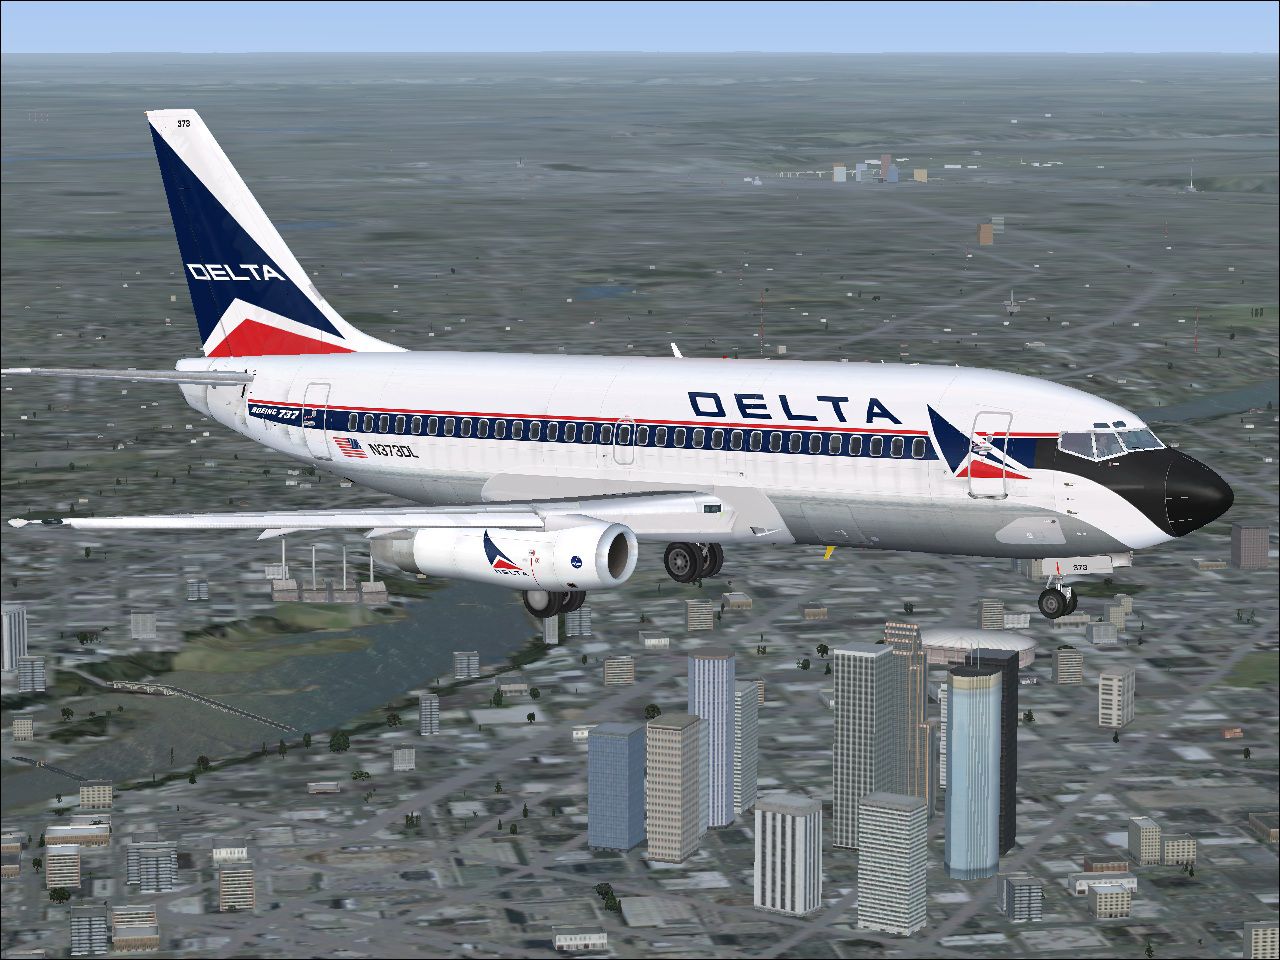
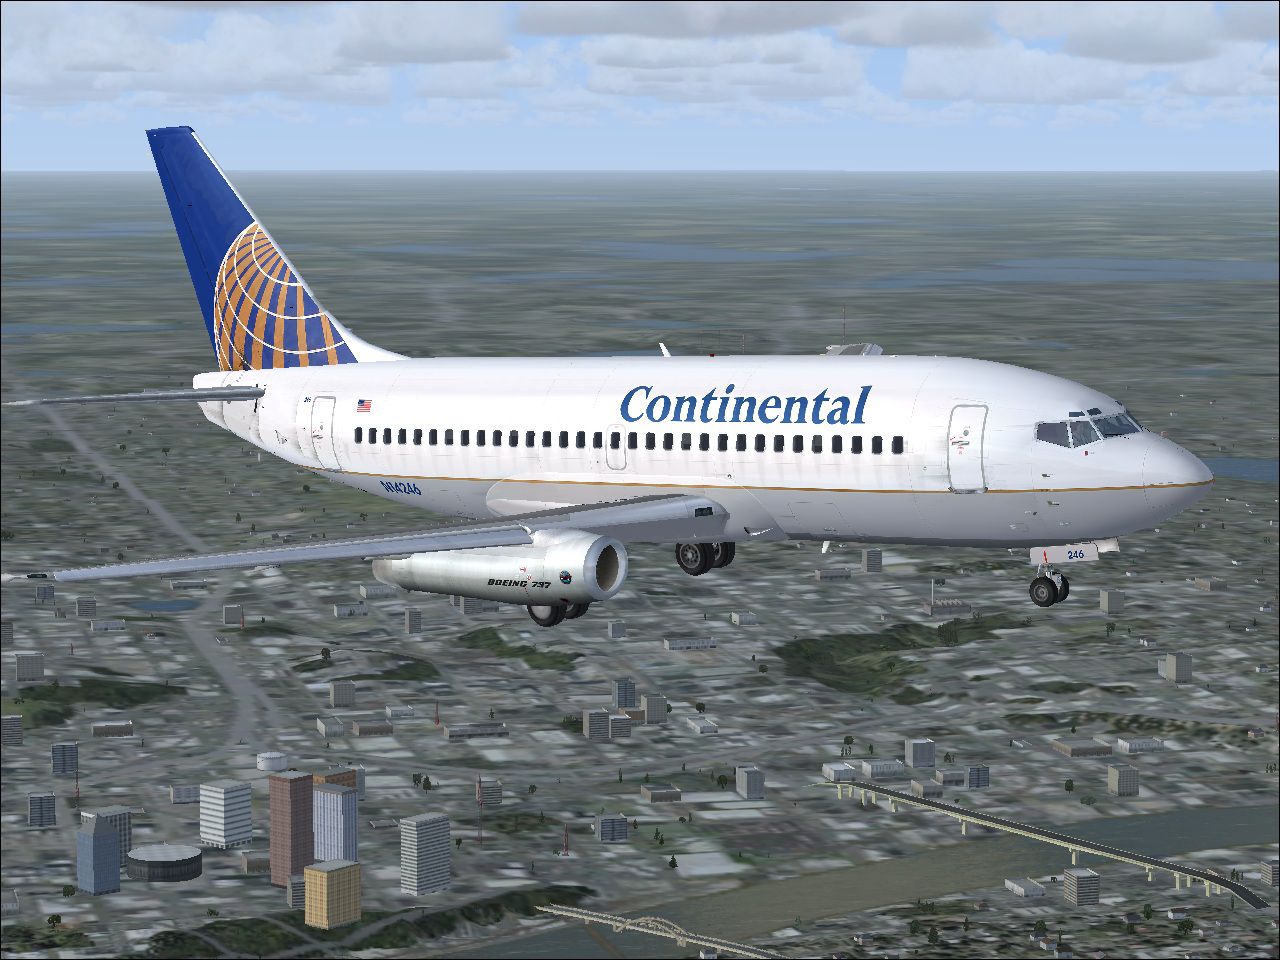
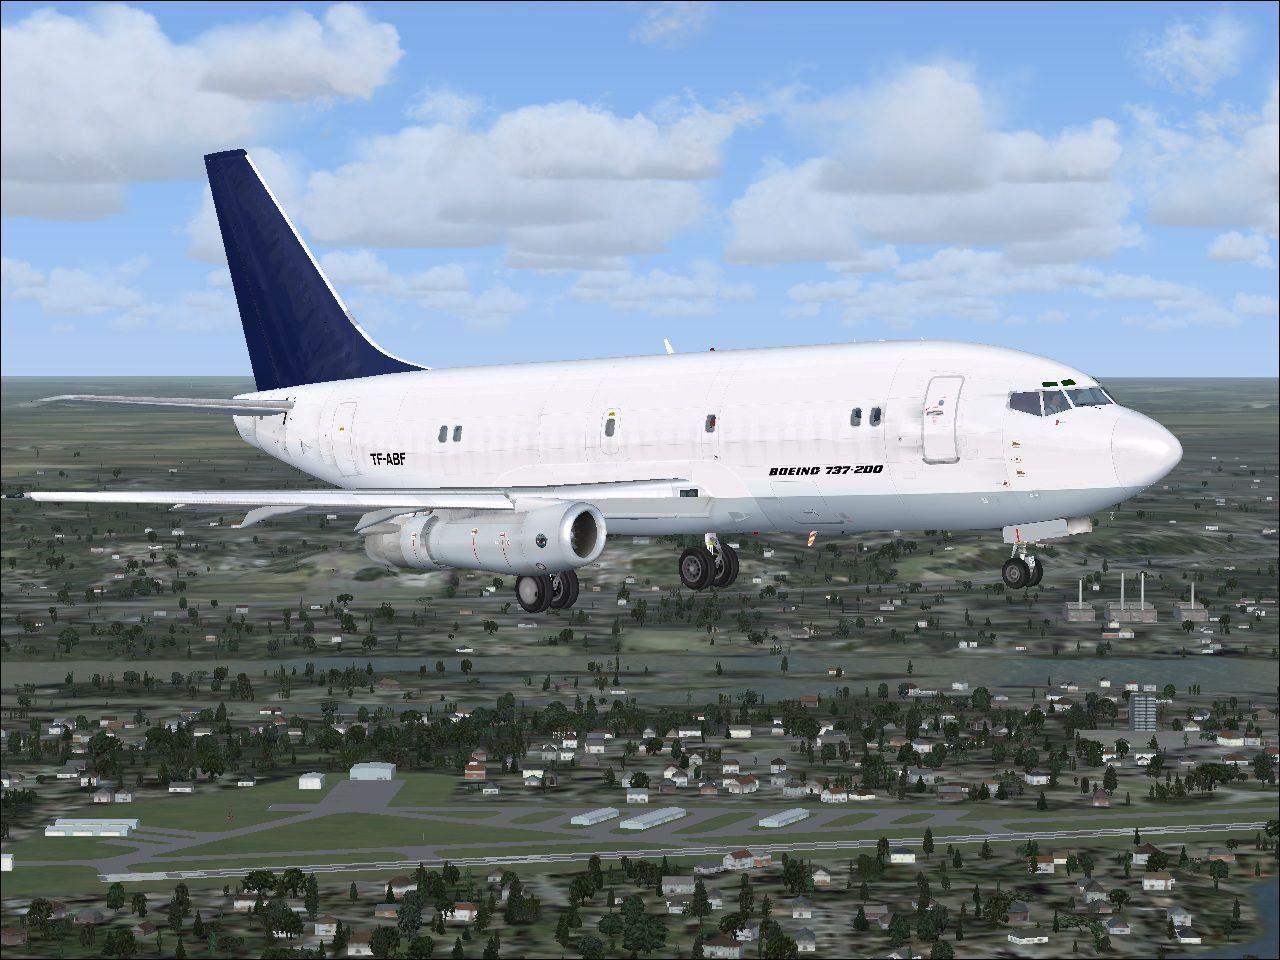
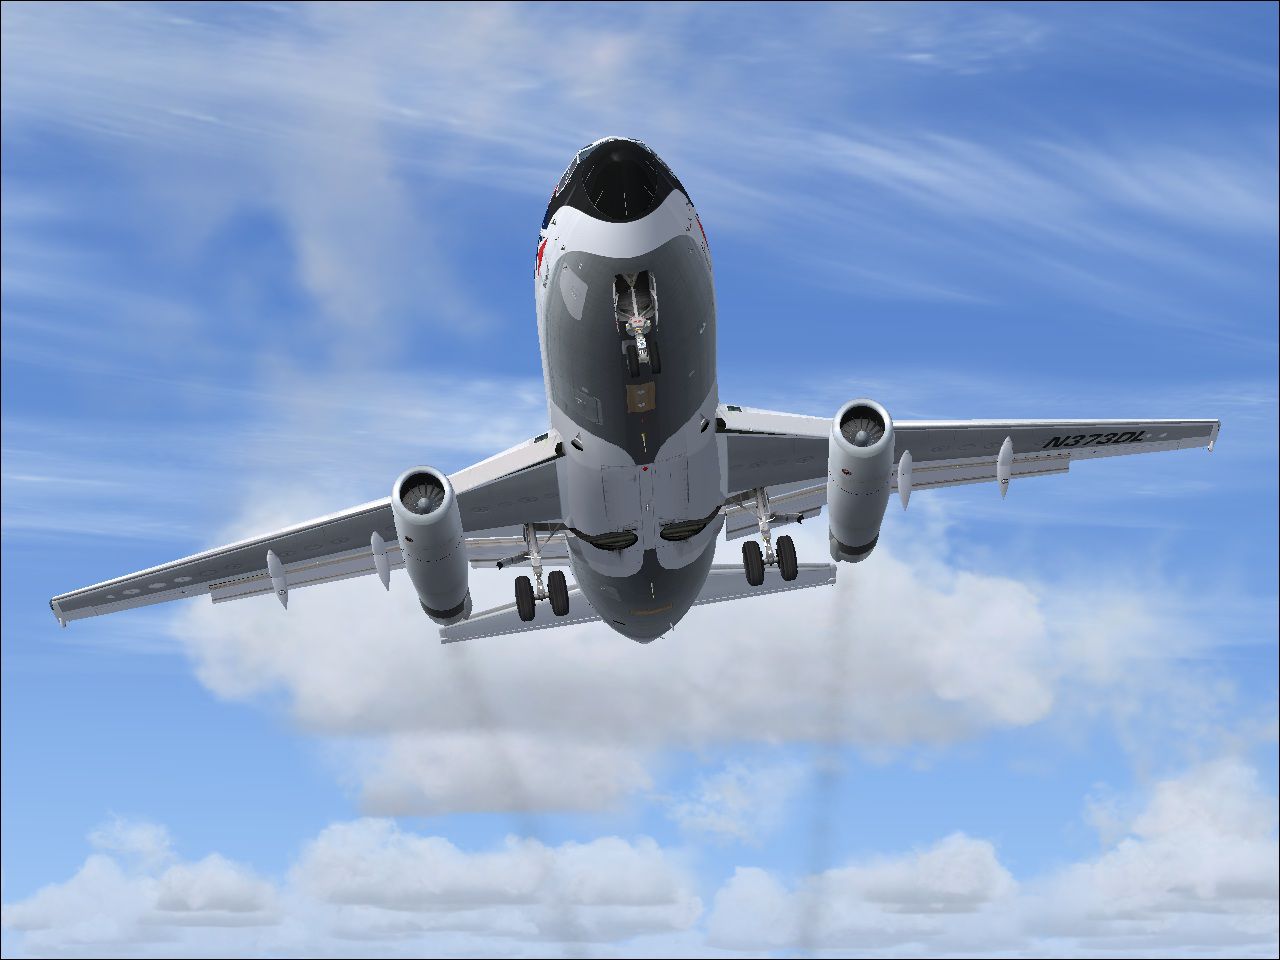
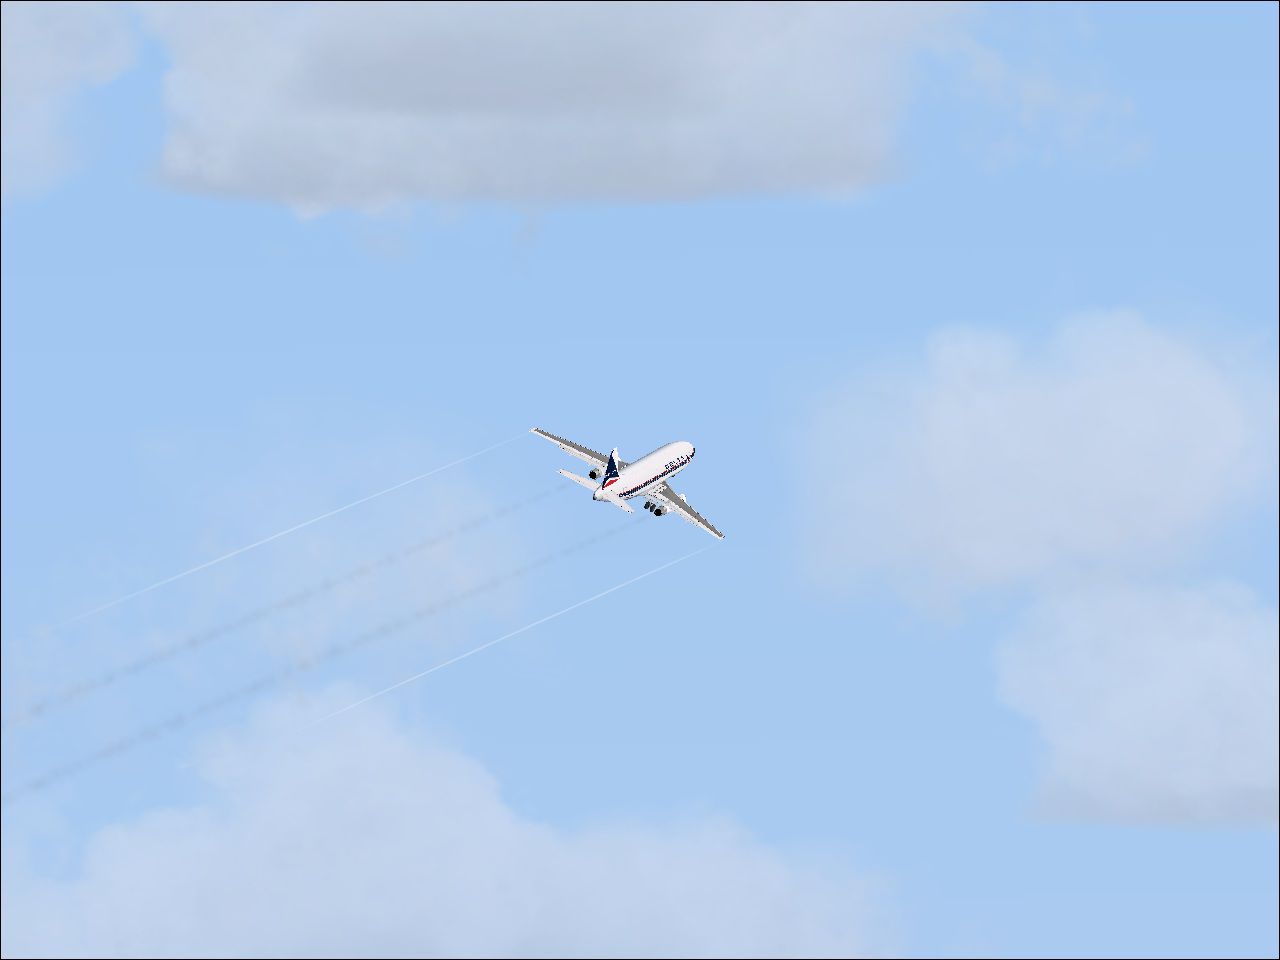
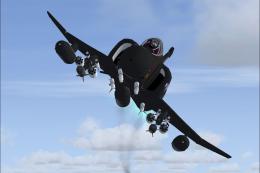
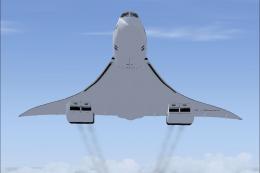
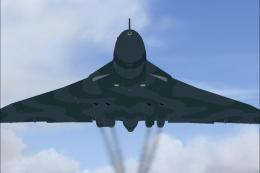
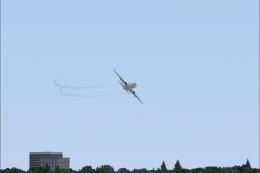
Screenshot of Boeing 737-200 in flight.
- Download the Tinmouse II version 1.25 which is the only folder you'll need as I found none of the improvements, fixes, upgrades etc. were
- applicable to FSX. Unzip it to a temporary location folder. You will see four folders. They are 'Aircraft', 'Docs', 'Effects', and 'Modules'. Delete the 'Docs' and 'Effects' folders. Open the 'Modules' folder and copy and paste the 'FSSound.dll' file into your FSX 'Modules' folder. (It's probably there already). Open the 'Aircraft' folder. Delete the 'fsfsconv' folder. Copy and paste the 'B737-200_TM2' folder into your FSX 'Airplanes' folder. This is your Tinmouse II folder, which is now installed in FSX.
- At this point, you cannot find or fly the aircraft in FSX. Open your Tinmouse II folder and delete the panel folder. Now copy and paste the panel folder from your FSX Default Boeing 737-800 into your Tinmouse folder. Now it is flyable in FSX! No need to replace the sound folder, because the Tinmouse II sound works great in FSX.
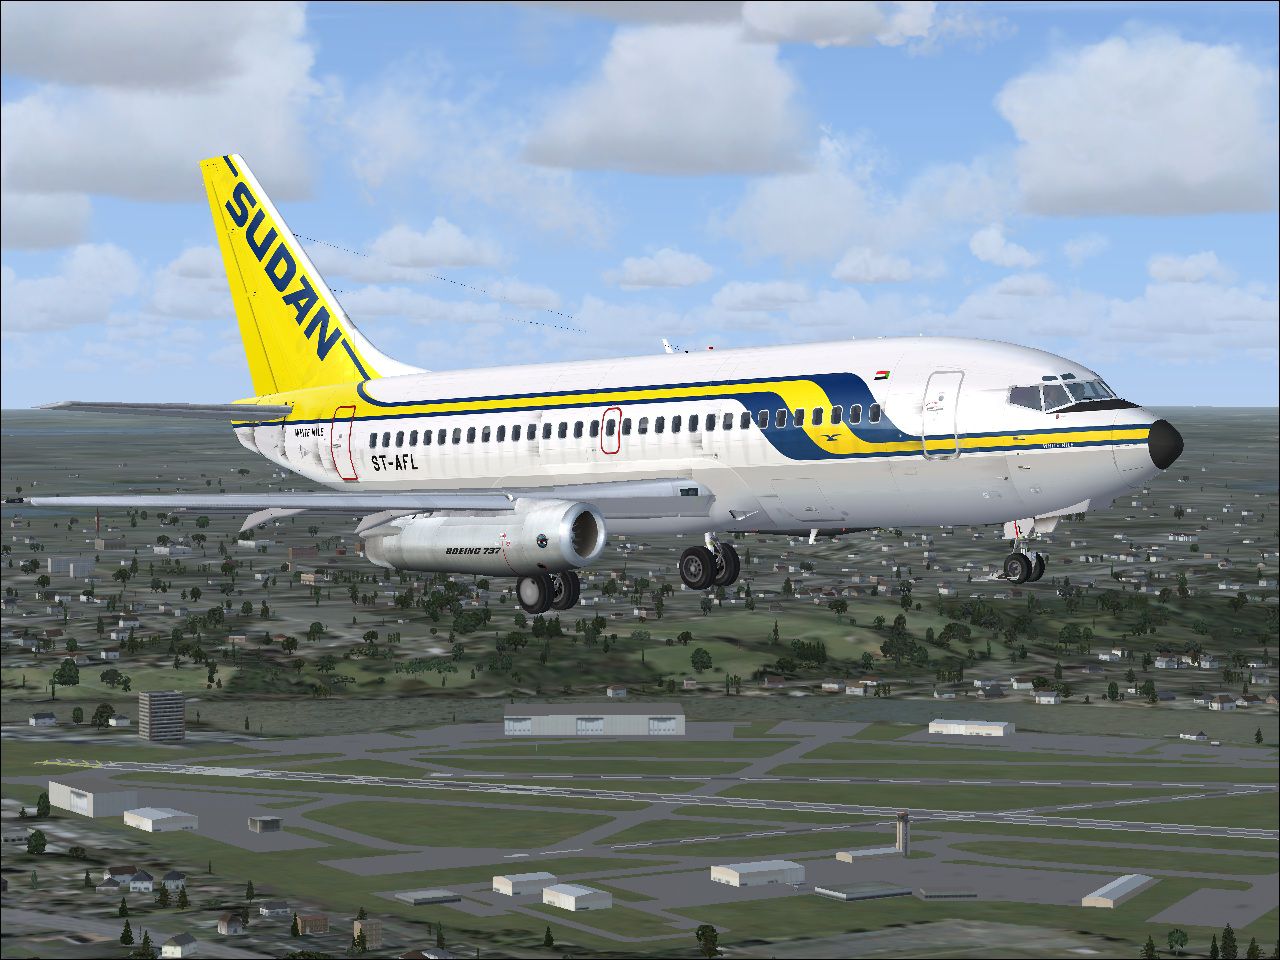
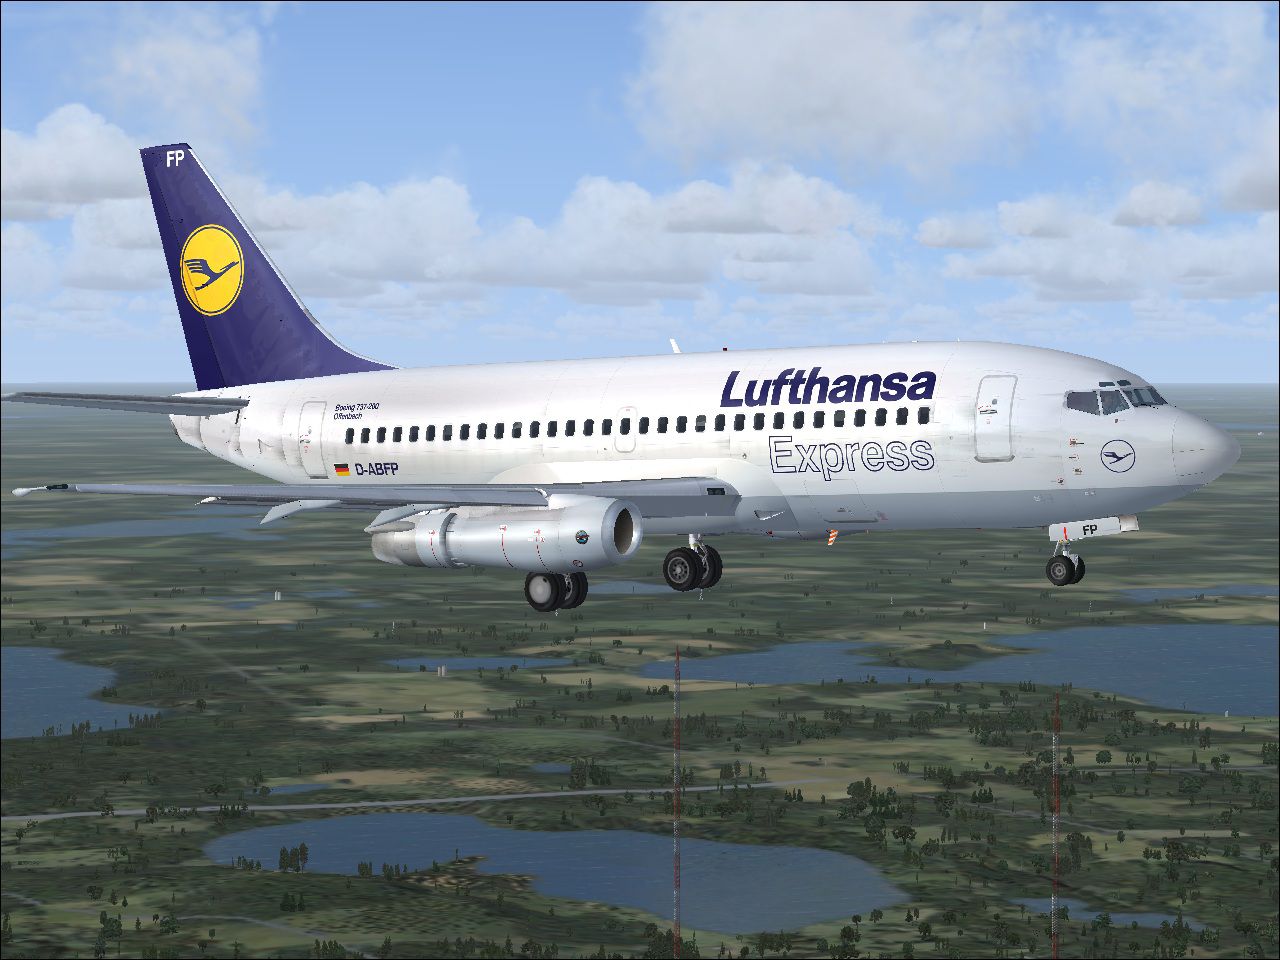
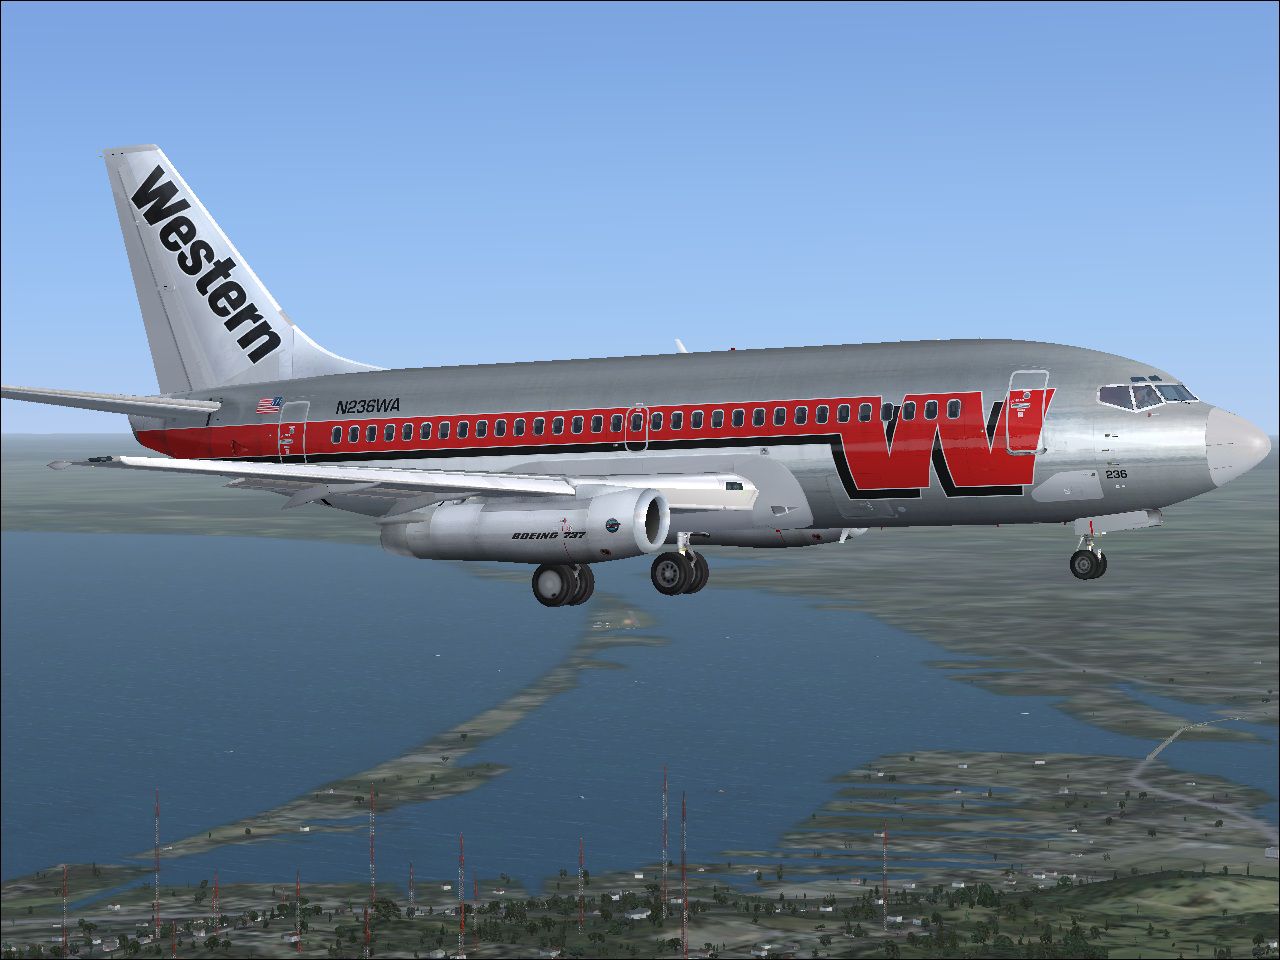
- You will find 6 texture folders in your Tinmouse II folder. They are CO, DL, LH, SN, TF, and WA. Drag and drop the corresponding enclosed thumbnails into each of their respective texture folders. Then open each texture folder and rename each thumbnail just plain 'thumbnail'. Example: 'thumbnail (CO)' now becomes 'thumbnail'. Do this for all six. Now they show up in your FSX airplane menu under 'Boeing'. If you don't want engine smoke, you are done. Go fly!
- If you want engine smoke, copy and paste the enclosed 'fx_smoke_f6.fx' file into your FSX 'Effects' folder. (It's probably there already).
- Copy and paste all of the [SMOKESYSTEM] info. below into your Tinmouse II 'aircraft.cfg' file. (Ignore the other two .cfg files you will see in your Tinmouse II folder... the 'FFXaircraft.cfg' and 'intelliscene.cfg', just leave them there, they are not hurting anyone). Then click 'file', then click 'save', of course. I pasted mine at the bottom of the file with good results.
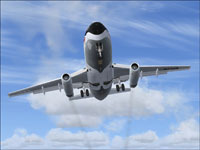
- Press your "I" key while flying your Tinmouse II in FSX and enjoy the smoke!
[SMOKESYSTEM]

smoke.0=-13.501, -16.001, -3.201, fx_smoke_f6

smoke.1=-13.501, 16.001, -3.201, fx_smoke_f6
Images & Screenshots
The archive fsx_boeing_737-200adv_tinmouse_ii_engine_smoke.zip has 13 files and directories contained within it.
File Contents
This list displays the first 500 files in the package. If the package has more, you will need to download it to view them.
| Filename/Directory | File Date | File Size |
|---|---|---|
| file_id.diz | 07.22.10 | 236 B |
| FSX_Boeing_737-200ADV_Tinmouse_II_engine_smoke.jpg | 07.22.10 | 183.05 kB |
| fx_smoke_f6.fx | 06.04.10 | 1.17 kB |
| READ ME and INSTALLATION.txt | 07.22.10 | 3.02 kB |
| Smoke 2.jpg | 07.22.10 | 76.13 kB |
| thumbnail (CO).jpg | 07.22.10 | 346.88 kB |
| thumbnail (DL).jpg | 07.22.10 | 379.60 kB |
| thumbnail (LH).jpg | 07.22.10 | 295.37 kB |
| thumbnail (SN).jpg | 07.22.10 | 336.22 kB |
| thumbnail (TF).jpg | 07.22.10 | 349.46 kB |
| thumbnail (WA).jpg | 07.22.10 | 251.36 kB |
| flyawaysimulation.txt | 10.29.13 | 959 B |
| Go to Fly Away Simulation.url | 01.22.16 | 52 B |
Installation Instructions
Most of the freeware add-on aircraft and scenery packages in our file library come with easy installation instructions which you can read above in the file description. For further installation help, please see our Flight School for our full range of tutorials or view the README file contained within the download. If in doubt, you may also ask a question or view existing answers in our dedicated Q&A forum.


0 comments
Leave a Response