How to Use Jetways & Pushback in FSX
This tutorial has both a video and textual part. You watch the video above or read the text below - whatever you find easier.
This tutorial covers information for both Microsoft Flight Simulator X (FSX) boxed edition and Microsoft Flight Simulator X: Steam Edition (FSX: SE) - it relevant to both versions.
Using jetways and pushbacks enhances the simulation experience where your flights begin — at the airport terminal gates. They will make your gate operations more realistic, and they are very easy to do.
You can jump to individual sections using the jump links below:
Setting Up Your Simulator
Make sure your advanced animations are engaged:
- On the top line menu, click on Options, then Settings, then Display.
- Click the box next to Advanced Animations.
- Then click on OK in the lower right to save your setting.

Using Jetways
Jetways are telescoping passenger ramps between airport terminal buildings and aircraft. They are also called:
- Airbridge,
- Air jetty,
- Portal,
- Skybridge, and
- Finger.
The official industry name is: Passenger Boarding Bridge, or PBB.
Their use in Microsoft Flight Simulator® is simple and easy. They work in the basic FSX and Steam® versions. You can do your cockpit checklist and communicate with air traffic control while the jetway moves into place.
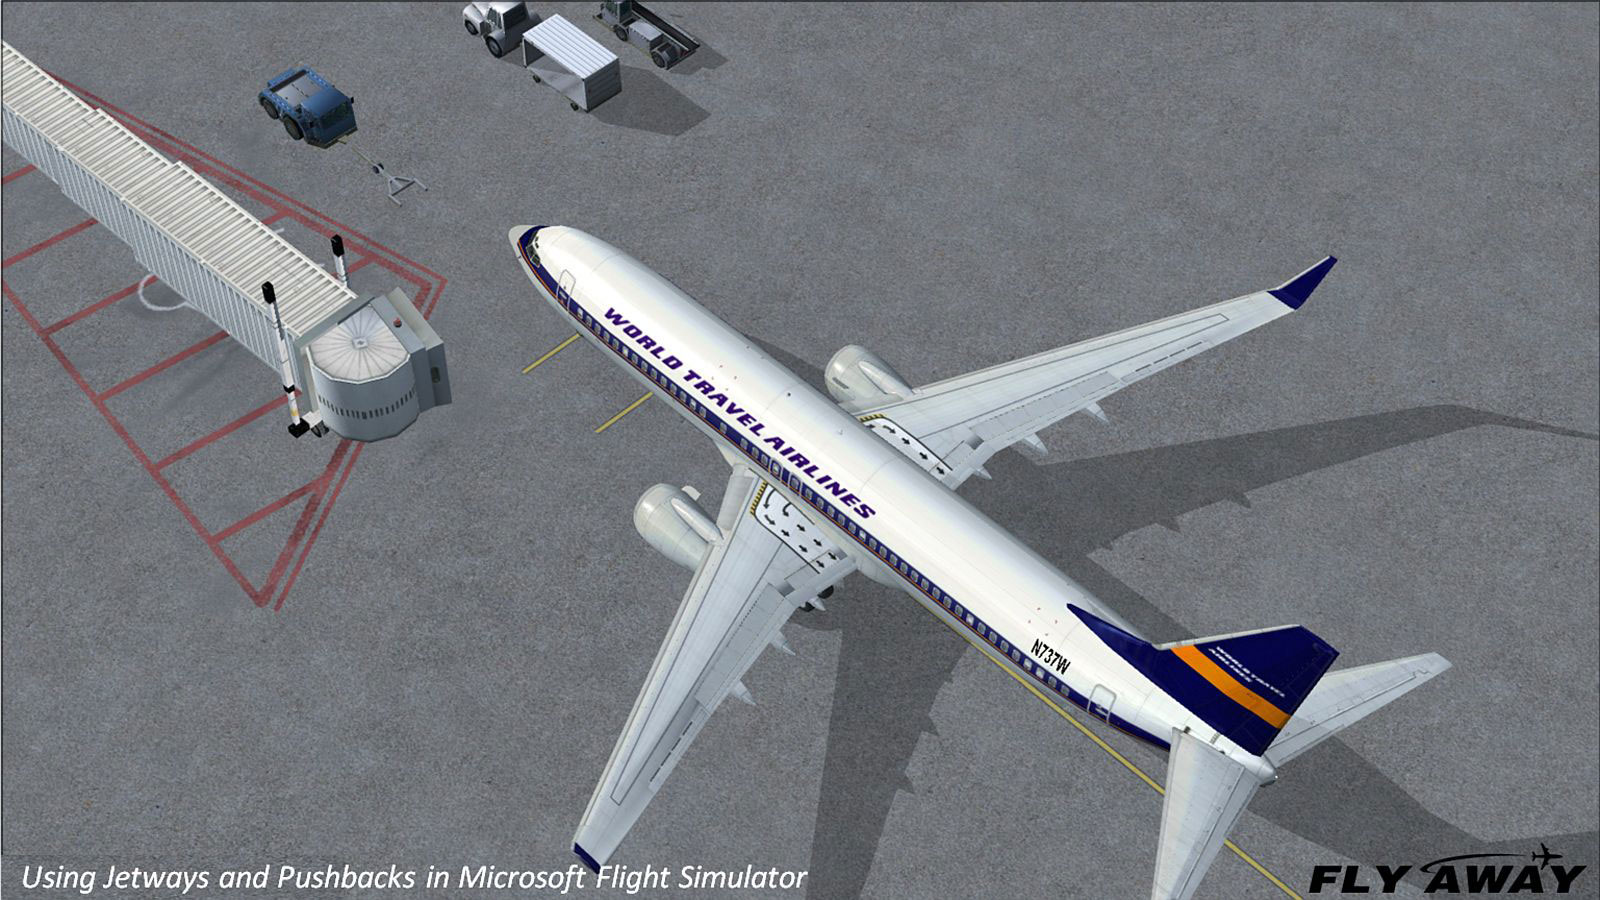
Positioning your Aircraft
- Place your aircraft at a gate with a working jetway according to the white pavement markings.
- If your aircraft is on the wrong side of the jetway, it will not work.
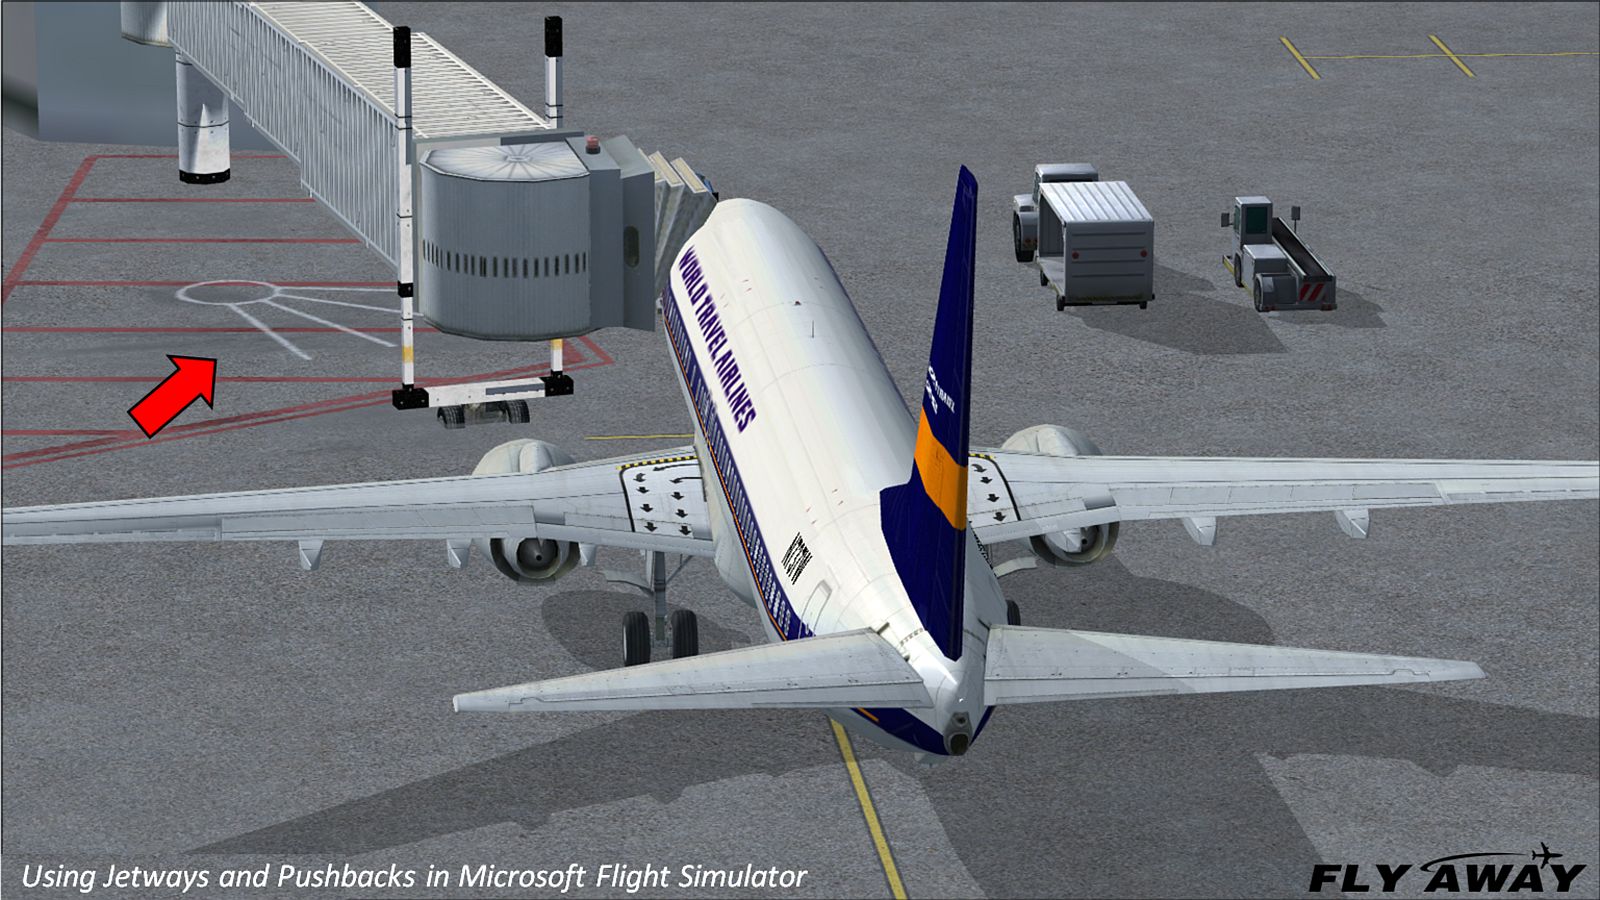
- Position the nose wheel on or near the yellow cross bars painted on the ramp. Otherwise the jetway will not work.
- Engage your parking brake.
.jpg)
Operating the Jetway
Press Ctrl J on your keyboard.
- The jetway takes a minute or so to line up with your aircraft. This is consistent with real-world operations.
- Use this time to request and receive IFR clearance from Air Traffic Control.
- After the jetway is secured, use the Shift E keyboard command to open your main passenger door.
- Allow your passengers to emplane or deplane while you do your cockpit checklist.
- When you are ready to move out, close the main passenger door with Shift E.
- Retract the jetway with Ctrl J.
- Use this period to request and receive clearance to taxi.
Compatibility
- Jetways work best with default Microsoft aircraft.
- They work with some add-on aircraft and not with others, depending on how the developers program their products.
- FSX jetways engage and disengage whether the passenger door is open or closed.
- In the real world, passenger doors are usually opened and closed while jetways are secured in place.
- Jetways do not work with aircraft they were not intended for such as general aviation.
Using Pushbacks
In the real world, a small truck called a “tug” hooks up to the nose wheel and pushes the aircraft backward from the gate. FSX simulates this aspect fairly realistically. The difference is that you will guide the pushback from your cockpit whereas a tug driver and a ramp agent with outside views guide it in the real world. You will decide whether to go straight out, or turn left or right, and when to stop.

Preparing for Pushback
- Get taxi clearance from Air Traffic Control.
- Ensure that all your doors are closed:
- Main passenger door is Shift E
- Cargo doors are usually Shift E2.
- Be sure all ground equipment is clear of the aircraft. It will move away after the doors are closed.
- Be sure the jetway is fully retracted.
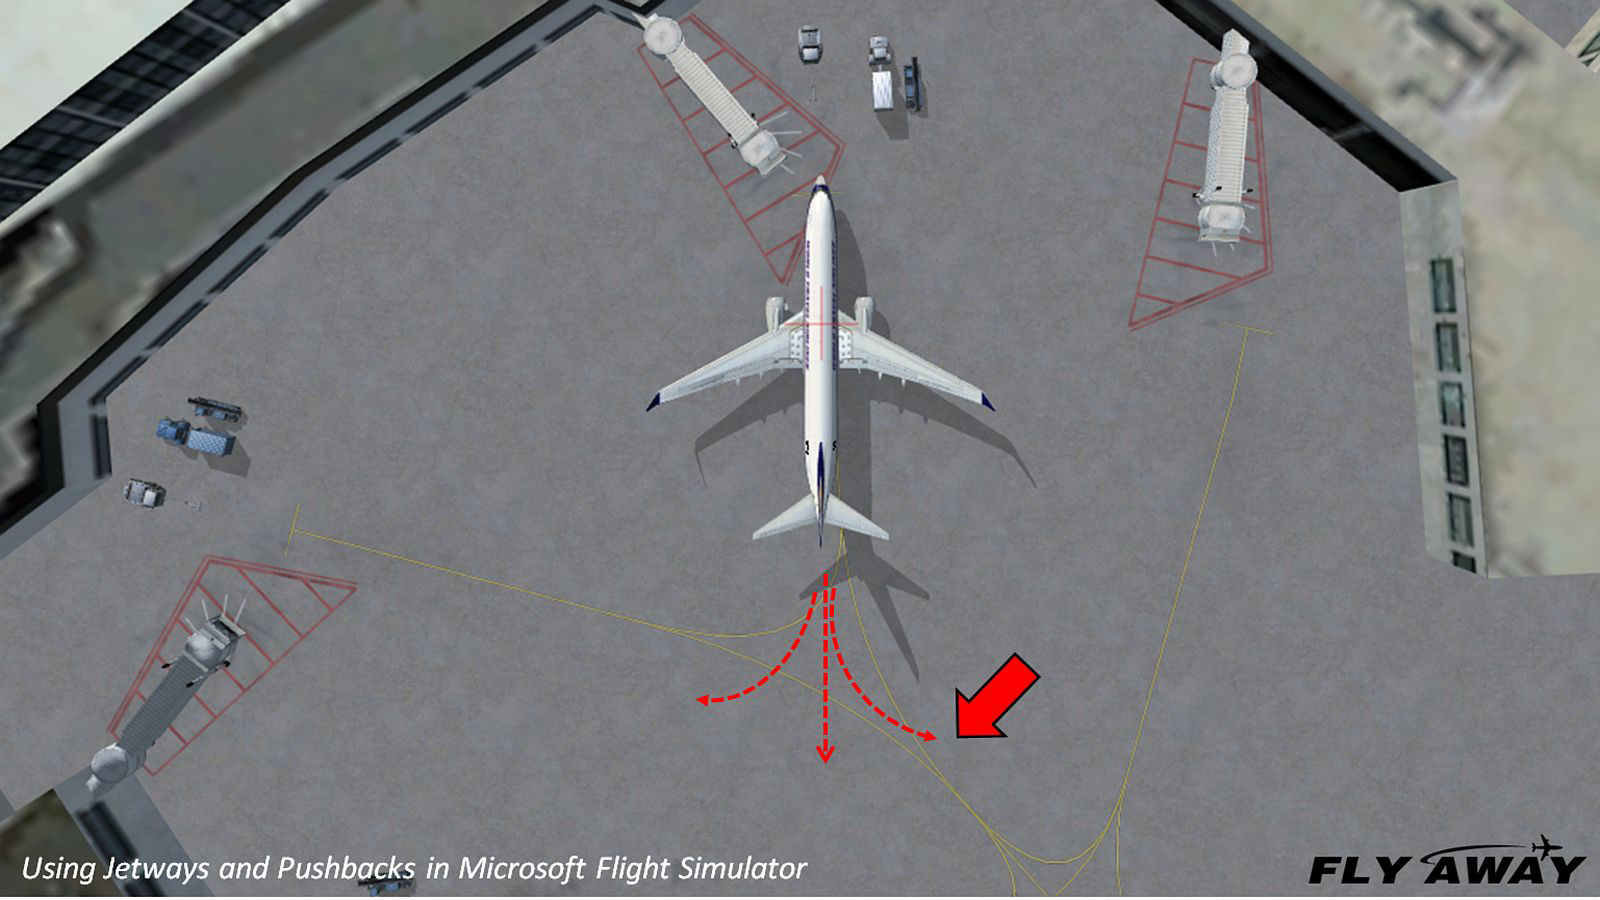
Operating Pushback
- Determine whether you need to push straight, left, or right.
- Look at the yellow guidelines on the pavement.
- Use progressive taxi or the top-down view.
- Release your parking brake.
- Press Shift P to initiate the pushback.
- To push straight out, do nothing else.
- To push toward your left or right, press the 1 or 2 key immediately after Shift P.
- It’s easy to remember: 1 is to left, 2 is to right.
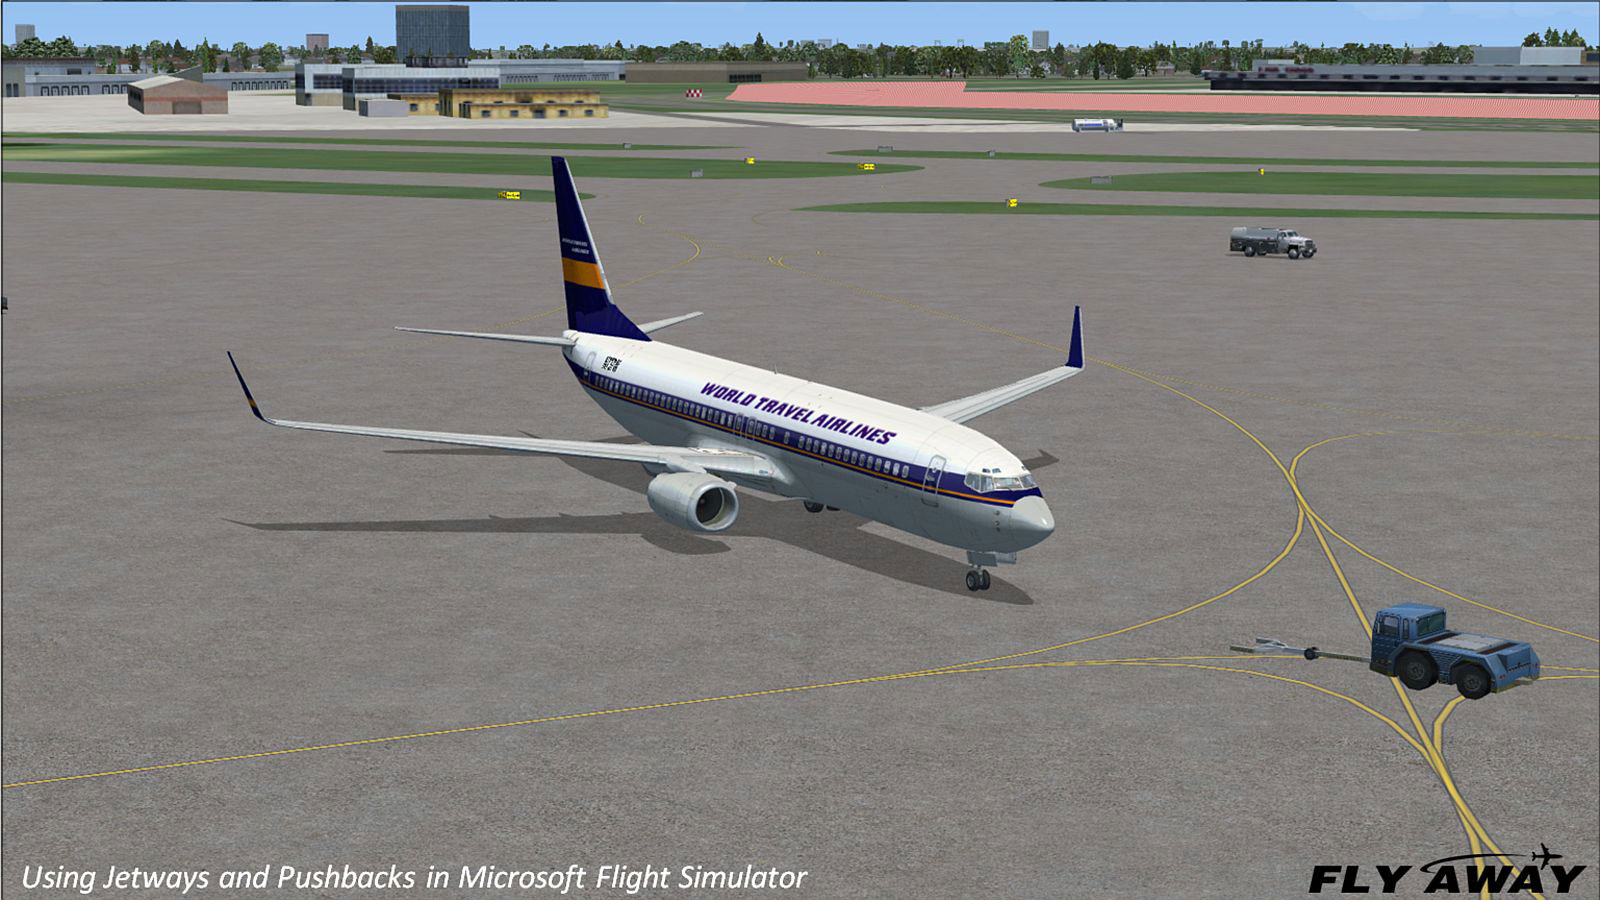
- Watch the tug move toward your aircraft.
- The turn begins after a few seconds.

- Look out your windows to see where you’re going and to avoid crashing into anything.
- Or use outside views such as spots or tower.
- Microsoft Flight Simulator will push the aircraft indefinitely and into buildings, ground vehicles, and other aircraft unless you stop it.
- Press Shift P to stop when you are in position to taxi forward -- or before your aircraft can strike anything.
- When the tug has moved out of your way, proceed with taxiing.
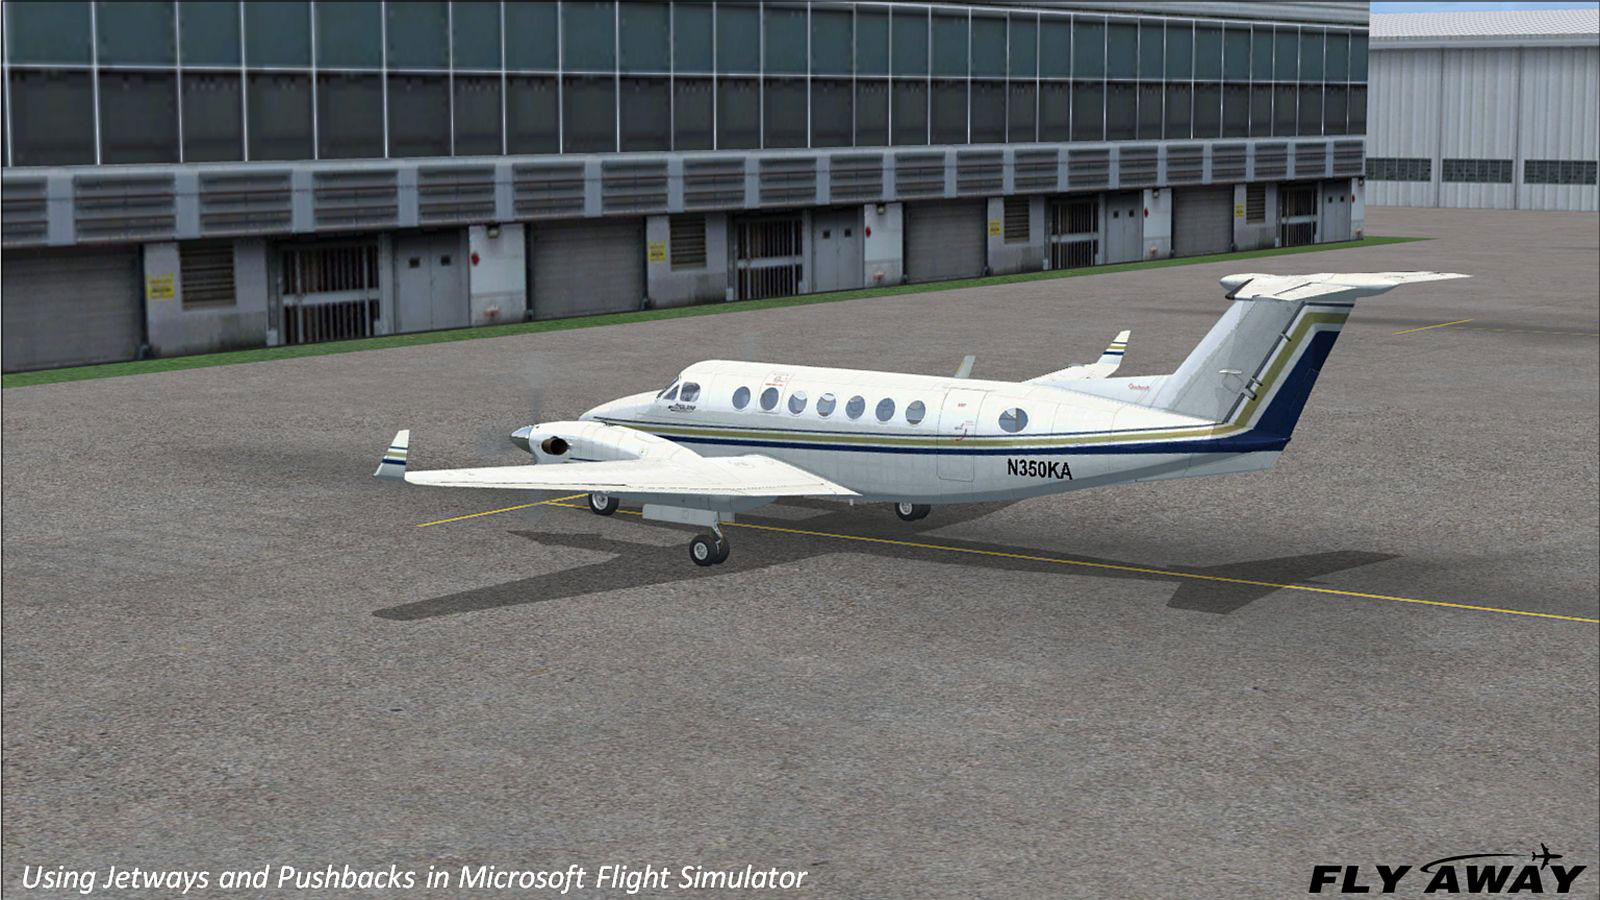
- Pushback works where there is no jetway and no tug trucks.
- It works on small aircraft.
- If you’re parked in front of a building, you’ll need to use pushback to prevent taxiing through the building.
Beware!
- Pushback will proceed even when a jetway is attached, which is not realistic.
- Pushback proceeds when doors are open and equipment is present. That shouldn’t happen either.
- FSX cockpits have no “door open” alarms.
- Therefore, you must examine doors and surroundings from outside using one of the outside views such as locked spot.
What if They Don't Work?
The first place to seek assistance is yourself. We can usually find and fix our own errors in a tiny fraction of the time required for contacting developers and posting questions on internet forums.
- Recheck your animation setting.
- Be sure you’re at a gate with a working jetway.
- Be sure your nose wheel is in the correct position.
- Use the keyboard commands correctly.
If you are absolutely sure you followed all the instructions correctly and made no mistakes:
- Search our forums for answers and advice.
- If you are using add-on aircraft, ask its developer. He is in the best position to help you.
Credits
This tutorial and video were written, produced and narrated by Bill Stack exclusively for Fly Away Simulation. Tell us about how helpful this tutorial was for you. Share it with other flight simmers who might benefit from this information.
Still stuck on this tutorial?
Ask Fly Away for an instant, step-by-step answer — installs, graphics settings, in-sim procedures and troubleshooting across MSFS, FSX, Prepar3D & X‑Plane.