
FSX Tokyo Haneda International Scenery
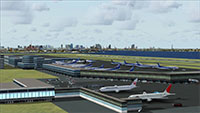
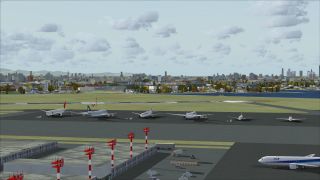
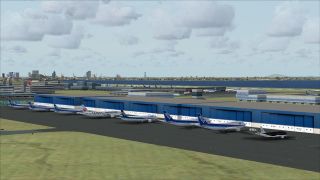
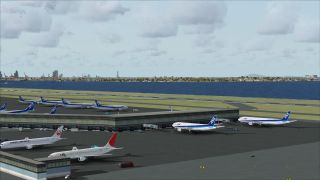
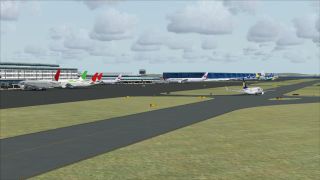
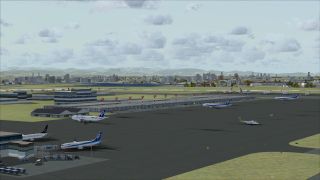
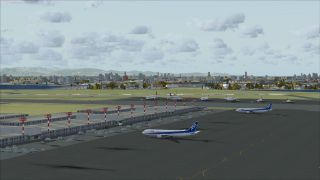
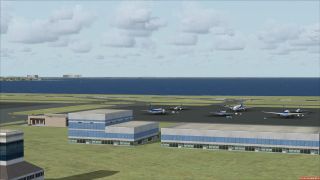
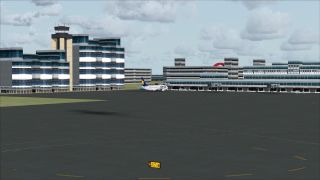
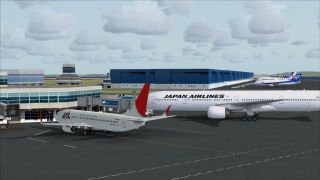
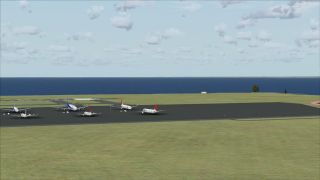
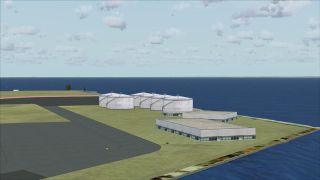
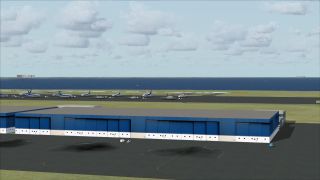
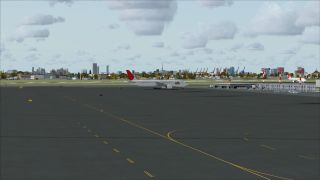
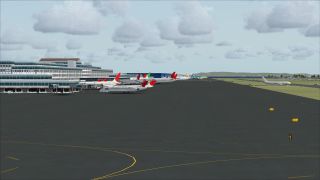
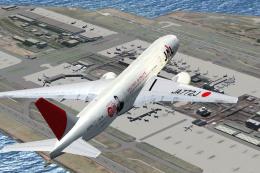
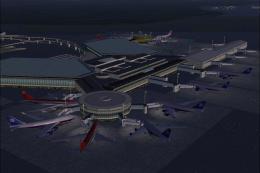
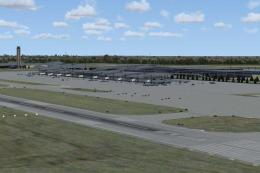
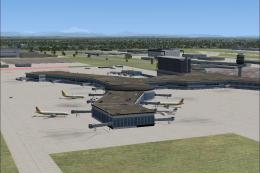
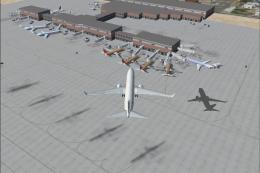
Tokyo Haneda International Airport (RJTT) receives a ground-up layout refresh for Microsoft Flight Simulator X, with rebuilt taxiways, realistic gate and parking assignments, expanded terminal footprints, improved signage, service roads, fuel truck activity, an illuminated helipad, and an enhanced tower view. Optional crosswind runway activation supports simultaneous operations across all runways.
- File: fsxrjtta.zip
- Size:3.2 MB
- Scan:
Clean (19d)
- Access:Freeware
- Content:Everyone
This extensive upgrade for Tokyo Haneda International Airport (RJTT) in Microsoft Flight Simulator X delivers a complete redesign of the default layout, including crosswind runway activation, refined parking assignments, newly extended terminal structures, and updated taxiway networks. Developed by Ray Smith using the latest Airport Design Editor (ADE), it provides a detailed overhaul that reflects actual airport operations, ensuring a more immersive flight simulation experience.
Comprehensive Airport Modifications
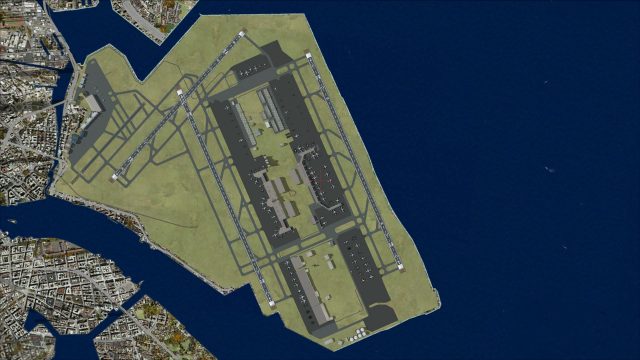
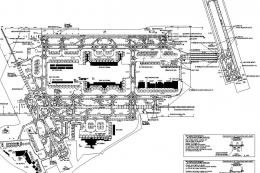
The airport’s original configuration has been thoroughly re-engineered, incorporating accurate gate placement and precise taxiway alignments. With expanded sections for Terminal 2 and the international terminal, the scenery accommodates heavier traffic volumes, supporting both domestic and overseas routes. Added support vehicle pathways streamline ground operations, and multiple new fuel trucks further enhance realistic handling on the apron. Also, users can take advantage of an illuminated helipad, along with carefully placed taxi signage that increases clarity during ground movement.
Two BGL Options for Runway Operations
Ray Smith has included two distinct BGL files to accommodate various runway usage preferences:
- RJTT_ADE_CW_RS.BGL
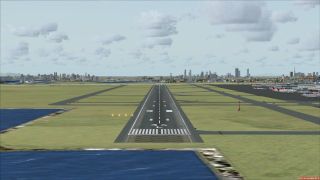
- Enables the crosswind runway (04/22) for simultaneous operations, ensuring all three runways (04/22, 16L/34R, and 16R/34L) can handle both takeoff and landing. ATIS may reference “fake” runways, which is part of the crosswind activation technique developed by Jim Vile.
- RJTT_ADE_RS.BGL
- Retains just two parallel runways for arrivals and departures, bypassing the crosswind setup. Gate allocations and ramp parking remain identical in both versions.
Key Technical Features
- Accurate parking spots for various airlines.
- Extended terminal geometry for increased congestion relief.
- Updated signage that aligns with contemporary airport diagrams.
- Redesigned vehicle roads for seamless ground service flows.
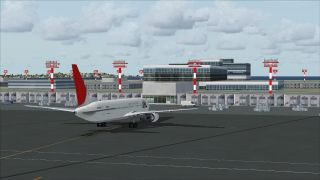
- Enhanced control tower perspective, allowing a comprehensive 360-degree view.
Installation Instructions
- Choose either RJTT_ADE_CW_RS.BGL or RJTT_ADE_RS.BGL. Place your chosen file into the “Flight Simulator X/Addon Scenery/scenery” directory.
- To see extended jetways, copy the jfk_jetway.dds (day) and jfk_jetway_LM.dds (night) textures from the “FSX/Scenery/NAME/Texture” folder into the “Scenery/Global/Texture” folder.
- Restart your simulator so the updates take effect.
Note: Only use one RJTT BGL file at a time in your Addon Scenery folder to avoid parking conflicts.
Removal Procedure
Eliminate the chosen BGL file from the Addon Scenery/scenery folder. The default RJTT layout then reverts automatically.
Acknowledgments and Additional Details
This project relies on the ADE Utility courtesy of Jon Masterson, along with Jim Vile’s crosswind runway activation technique. Ray Smith’s dedication to detail is complemented by the patience of his wife, who graciously supported the long hours spent perfecting these files. If visitors wish to explore more details on these modifications, please note that additional information may be available from the relevant creators.
Optimizing the Tower View
A practical way to explore Haneda’s reworked layout is by adjusting your “View track/pan Toggle” within the control settings. Assigning a keyboard stroke or joystick button makes it simple to rotate the camera 360 degrees from the tower rooftop and then switch back to your aircraft at any time. This perspective showcases the refined taxiways, extended terminals, and overall scale of the redesign.
Enjoy this comprehensive depiction of Tokyo Haneda, and have a pleasant flight every time you taxi onto RJTT’s runways.

Finding the Scenery
- FSX/Prepar3D Coordinates:
-
35.54860000,139.78110000
Use the downloaded flight plan file by launching FSX/P3D, selecting "Load Flight Plan" in the flight planner, and choosing the .pln file. Your aircraft will be positioned directly at the add-on’s location. - Decimal Degrees (DD):
-
Latitude: 35.548600°
Longitude: 139.781100° - Degrees, Minutes, Seconds (DMS):
-
Latitude: 35° 32' 54.960" N
Longitude: 139° 46' 51.960" E
Map Location
The archive fsxrjtta.zip has 27 files and directories contained within it.
File Contents
This list displays the first 500 files in the package. If the package has more, you will need to download it to view them.
| Filename/Directory | File Date | File Size |
|---|---|---|
| ReadMe.txt | 01.07.09 | 2.96 kB |
| RJTT_ADE_CW_RS.BGL | 01.07.09 | 179.50 kB |
| RJTT_ADE_RS.BGL | 01.07.09 | 178.79 kB |
| FSX_rjtt_ade_rs | 01.07.09 | 0 B |
| flyawaysimulation.txt | 10.29.13 | 959 B |
| Go to Fly Away Simulation.url | 01.22.16 | 52 B |
| Screenshots | 09.13.19 | 0 B |
| screen-1.jpg | 09.10.19 | 164.27 kB |
| screen-10.jpg | 09.10.19 | 252.27 kB |
| screen-11.jpg | 09.10.19 | 164.10 kB |
| screen-12.jpg | 09.10.19 | 161.37 kB |
| screen-13.jpg | 09.10.19 | 184.45 kB |
| screen-14.jpg | 09.10.19 | 185.73 kB |
| screen-15.jpg | 09.10.19 | 161.08 kB |
| screen-16.jpg | 09.10.19 | 126.36 kB |
| screen-17.jpg | 09.10.19 | 152.60 kB |
| screen-18.jpg | 09.10.19 | 121.48 kB |
| screen-19.jpg | 09.10.19 | 166.21 kB |
| screen-2.jpg | 09.10.19 | 130.04 kB |
| screen-20.jpg | 09.10.19 | 150.94 kB |
| screen-3.jpg | 09.10.19 | 126.88 kB |
| screen-4.jpg | 09.10.19 | 173.78 kB |
| screen-5.jpg | 09.10.19 | 183.21 kB |
| screen-6.jpg | 09.10.19 | 159.15 kB |
| screen-7.jpg | 09.10.19 | 131.36 kB |
| screen-8.jpg | 09.10.19 | 168.60 kB |
| screen-9.jpg | 09.10.19 | 288.55 kB |
Installation Instructions
Most of the freeware add-on aircraft and scenery packages in our file library come with easy installation instructions which you can read above in the file description. For further installation help, please see our Flight School for our full range of tutorials or view the README file contained within the download. If in doubt, you may also ask a question or view existing answers in our dedicated Q&A forum.



 Japan
Japan 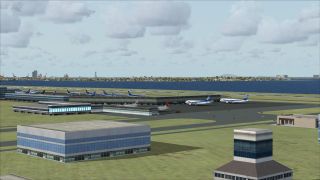

0 comments
Leave a Response