 FS2004 Propeller Aircraft
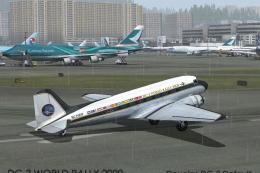
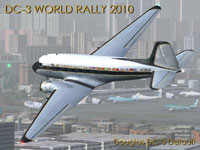
World Rally 2009 Douglas DC-3 Default
This is a repaint of the default DC-3 in a specially commissioned livery for …
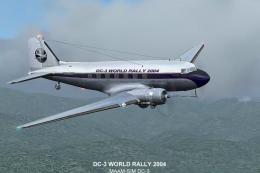
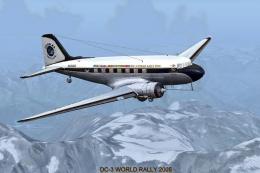
Douglas DC-3 World Rally 2010 repaint brings the default aircraft to life with a commissioned event livery featuring 29 member-country flags and period-correct Douglas branding across the airframe. Built for FS2004, it highlights the rally’s classic, chart-and-compass spirit and requires the default DC-3.
This is a repaint of the default DC3 in a specially commissioned livery for the 2010 DC-3 World Rally, organised by the team at DC-3 Airways VA. This livery is also available for FSX as WR10_FSX.ZIP and for the MAAM-SIM FS2004/FS2002 passenger DC-3 as WR10_MAAM.ZIP. By Mark Beaumont, VP Fleet, DC-3 Airways.
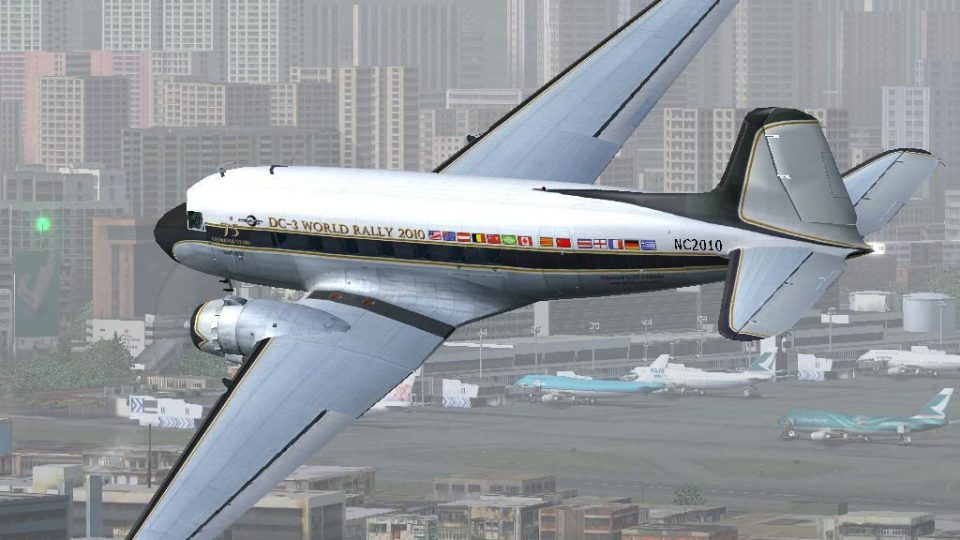
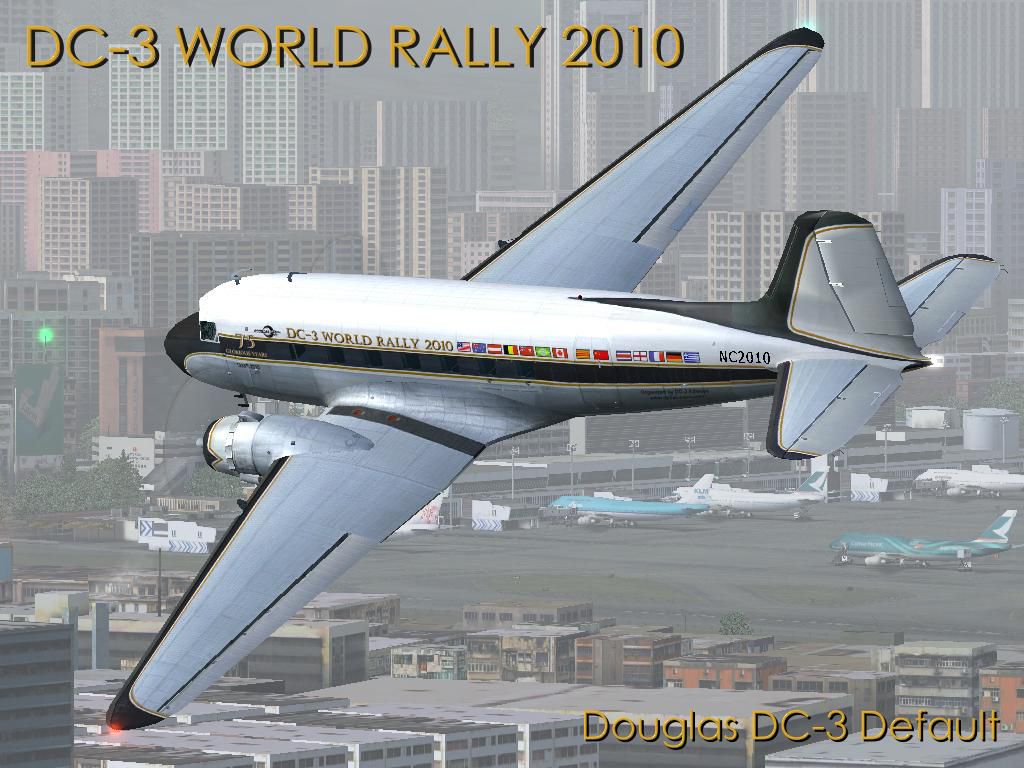
Screenshot of Douglas DC-3 World Rally 2010 in flight.
The aircraft's livery displays 29 flags representing countries of origin of members of DC-3 Airways. She also carries the four logos used by Douglas through the 1920s, '30s, '40s and '50s. The logo on the tail ('30s) is incomplete; the writing has had to be removed because of the mirroring effect of MS default textures. It is complete on the MAAM-SIM version of this livery.
"The virtual airline DC-3 Airways is once again hosting its very popular World Rally which this year is due to begin on the 2nd of October. As always, invitations are extended to anyone interested in piloting a DC-3 through ten interesting and mildly challenging flights chosen from around the world. There is one important stipulation which cannot be changed, and that is all flights must be made in any Douglas DC-3 which may be of your own choice. Oh! Remember your E6-B but leave your GPS at home!
[fltsim.xx]

title=Douglas DC3 World Rally 2010

sim=Douglas_DC3

model=

panel=

sound=

texture=wr2010

kb_checklists=Douglas_DC3_check

kb_reference=Douglas_DC3_ref

atc_id_enable=1

atc_id=NC2010

atc_parking_types=RAMP,GATE

atc_id_color=

atc_heavy=0

atc_airline=

atc_flight_number=

ui_manufacturer="Douglas"

ui_type="DC-3"

ui_variation="DC-3 World Rally 2010"

description=Official repaint of the default FS9 DC-3 for the DC-3 World Rally 2010, by Mark Beaumont.
NOTE: This texture set will, of course, work with any variation you might have configured of the default DC-3. Hence if you have, for example, configured a Beaumont and Bitzer DC-3 folder with our airfile and panel modifications, simply add this texture set to that folder instead, in the manner described above.
Furthermore, you may import your completed livery folder to FSX if you are running that version of the Microsoft Flight Simulator. It is assumed here that most users wishing to do this are familiar with the process, which is essentially as above excepting that the DC-3 aircraft folder is to be found in SIMOBJECTS/AIRPLANES.
Free for all simmers · 1.49 MB · Scanned clean Jul 2026
Download speed: Free tier is capped at 0.5 Mbps. PRO members download at full line speed.
This file is a repaint — the package below is the base model it paints onto. Install it first, or the textures will have nothing to load onto.
FS9\Aircraft\, FS9\Addon Scenery\, FS9\Gauges\, or FS9\Effects\.readme.txt or README file. It tells you exactly where files go, what dependencies are needed, and any quirks specific to this add-on.The archive wr10_fs9.zip has 12 files and directories contained within it.
This list displays the first 500 files in the package. If the package has more, you will need to download it to view them.
| Filename/Directory | File Date | File Size |
|---|---|---|
| DXT3 texture | 08.30.10 | 0 B |
| Douglas_DC3_1_T.bmp | 08.30.10 | 1.00 MB |
| file_id.diz | 09.04.10 | 565 B |
| README_w10_fs9.txt | 09.04.10 | 5.20 kB |
| texture.wr2010 | 08.30.10 | 0 B |
| Douglas_DC3_1_T.bmp | 08.30.10 | 4.00 MB |
| Prop_DC3.bmp | 08.09.05 | 256.07 kB |
| w10_fs9.gif | 08.30.10 | 13.49 kB |
| wr10_fs9.jpg | 08.30.10 | 120.80 kB |
| wr10_fs9 | 09.04.10 | 0 B |
| flyawaysimulation.txt | 10.29.13 | 959 B |
| Go to Fly Away Simulation.url | 01.22.16 | 52 B |
Only PRO members can place votes.
More FS2004 add-ons hand-picked based on this download.
FS2004 Propeller Aircraft
This is a repaint of the default DC-3 in a specially commissioned livery for …
 FS2004 Propeller Aircraft
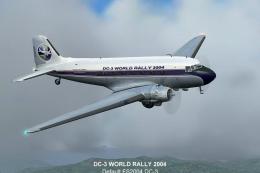
A repaint of the default DC-3 in a specially commissioned livery for the 2004…
 FS2004 Propeller Aircraft
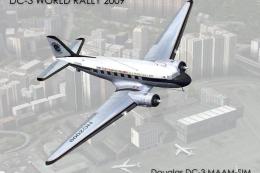
A repaint of the default DC-3 in a specially commissioned livery for the 2008…
 FS2004 Propeller Aircraft
This is a repaint of the MAAM-SIM passenger DC-3 in a specially commissioned …
 FS2004 Propeller Aircraft
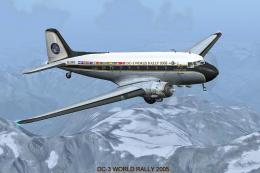
A repaint of the default DC3 in a specially commissioned livery for the 2005 …
 FS2004 Propeller Aircraft
A repaint of the MAAM-SIM passenger Douglas DC-3 in a specially commissioned …
 FS2004 Propeller Aircraft
A repaint of the MAAM-SIM passenger DC3 in a specially commissioned livery fo…
 FS2004 Propeller Aircraft
From 1946 to 1953 TWA used fourteen DC-4 / C-54 aircraft. This is an update (…
Be the first to leave a comment on this download.
Be the first to share your thoughts on this download.