


 FSX Scenery
ADEX Wangen-Lachen Airfield
ADEX Wangen-Lachen Airfield (LSPV), Switzerland. Wangen-Lachen is a small air…
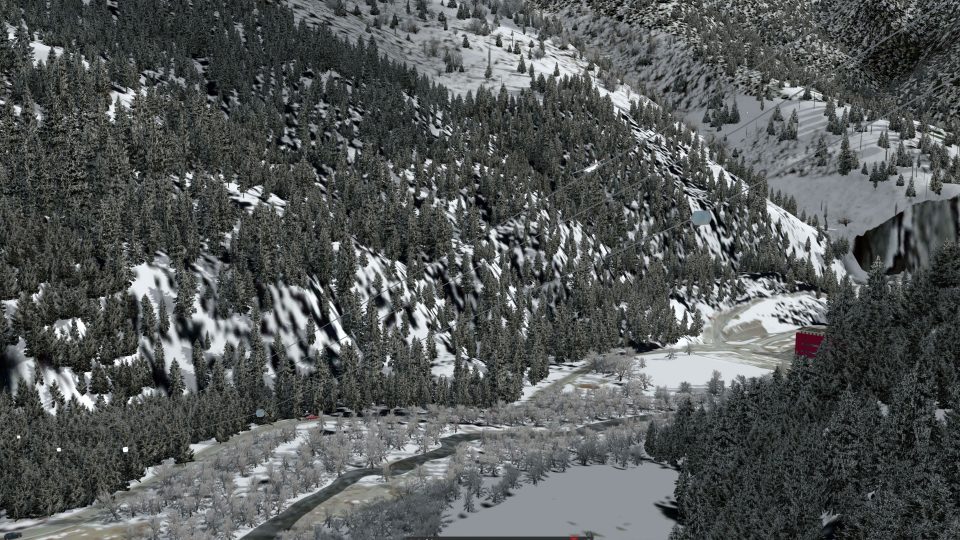
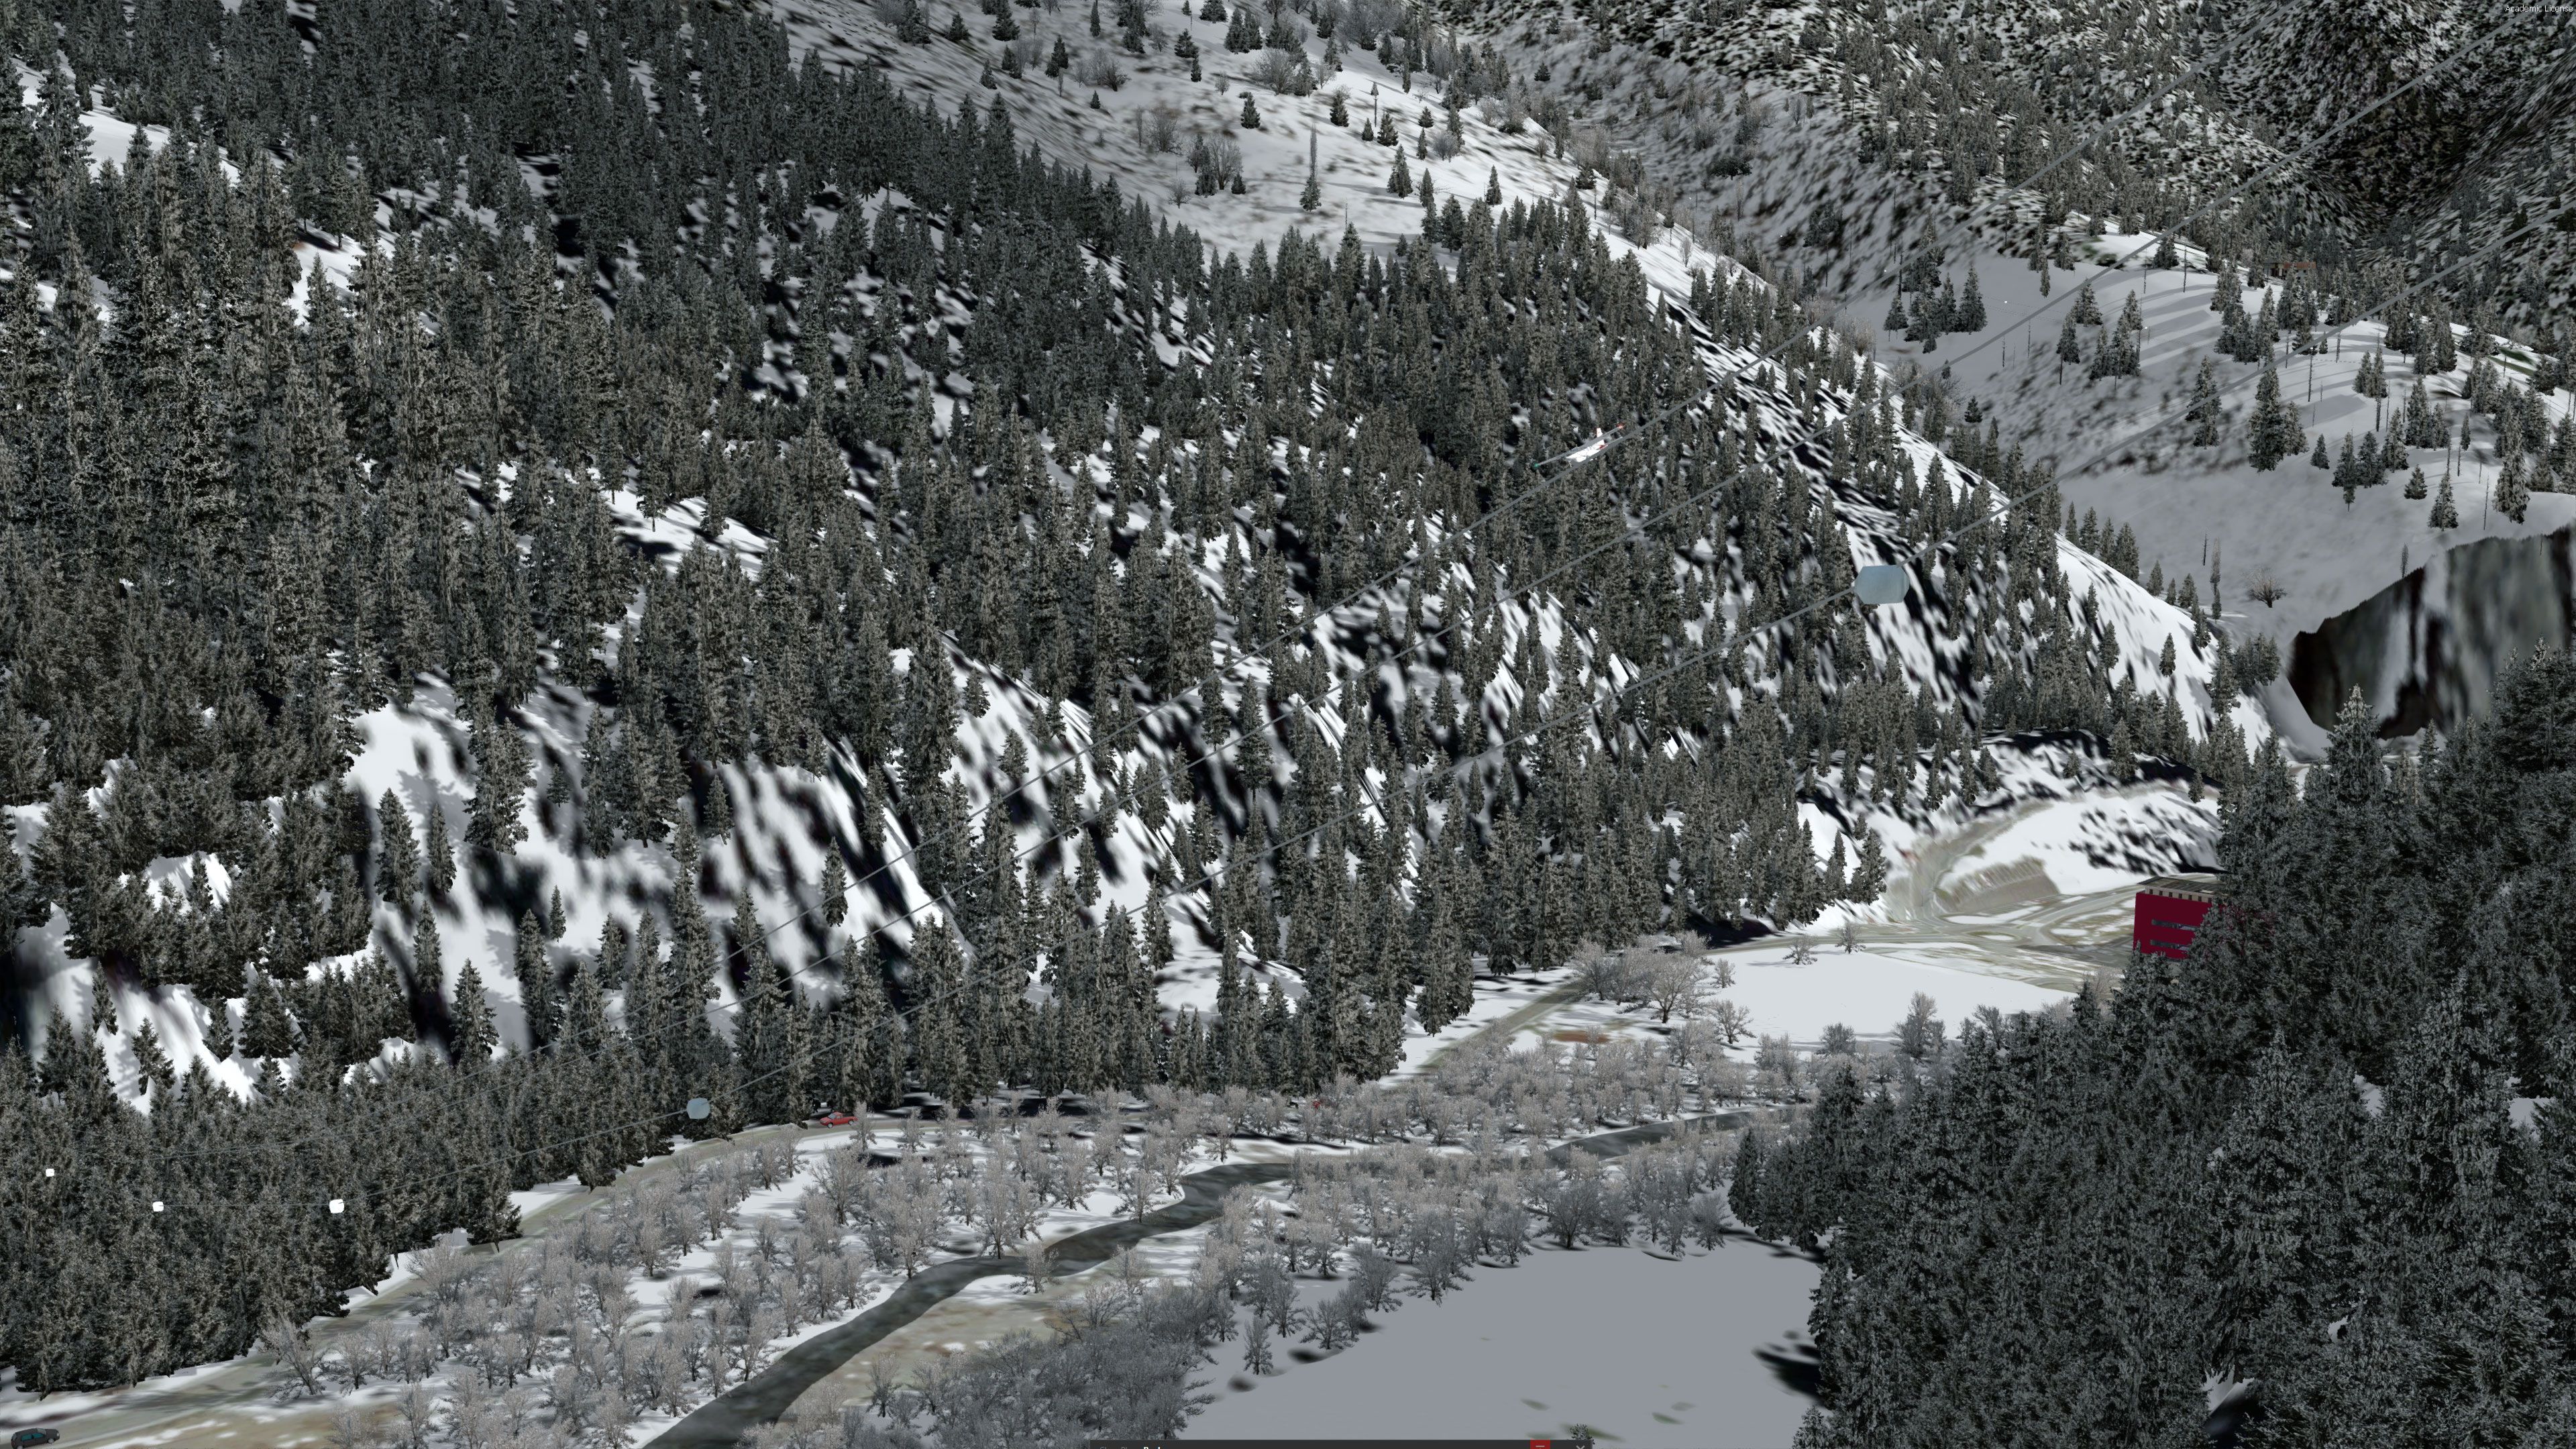
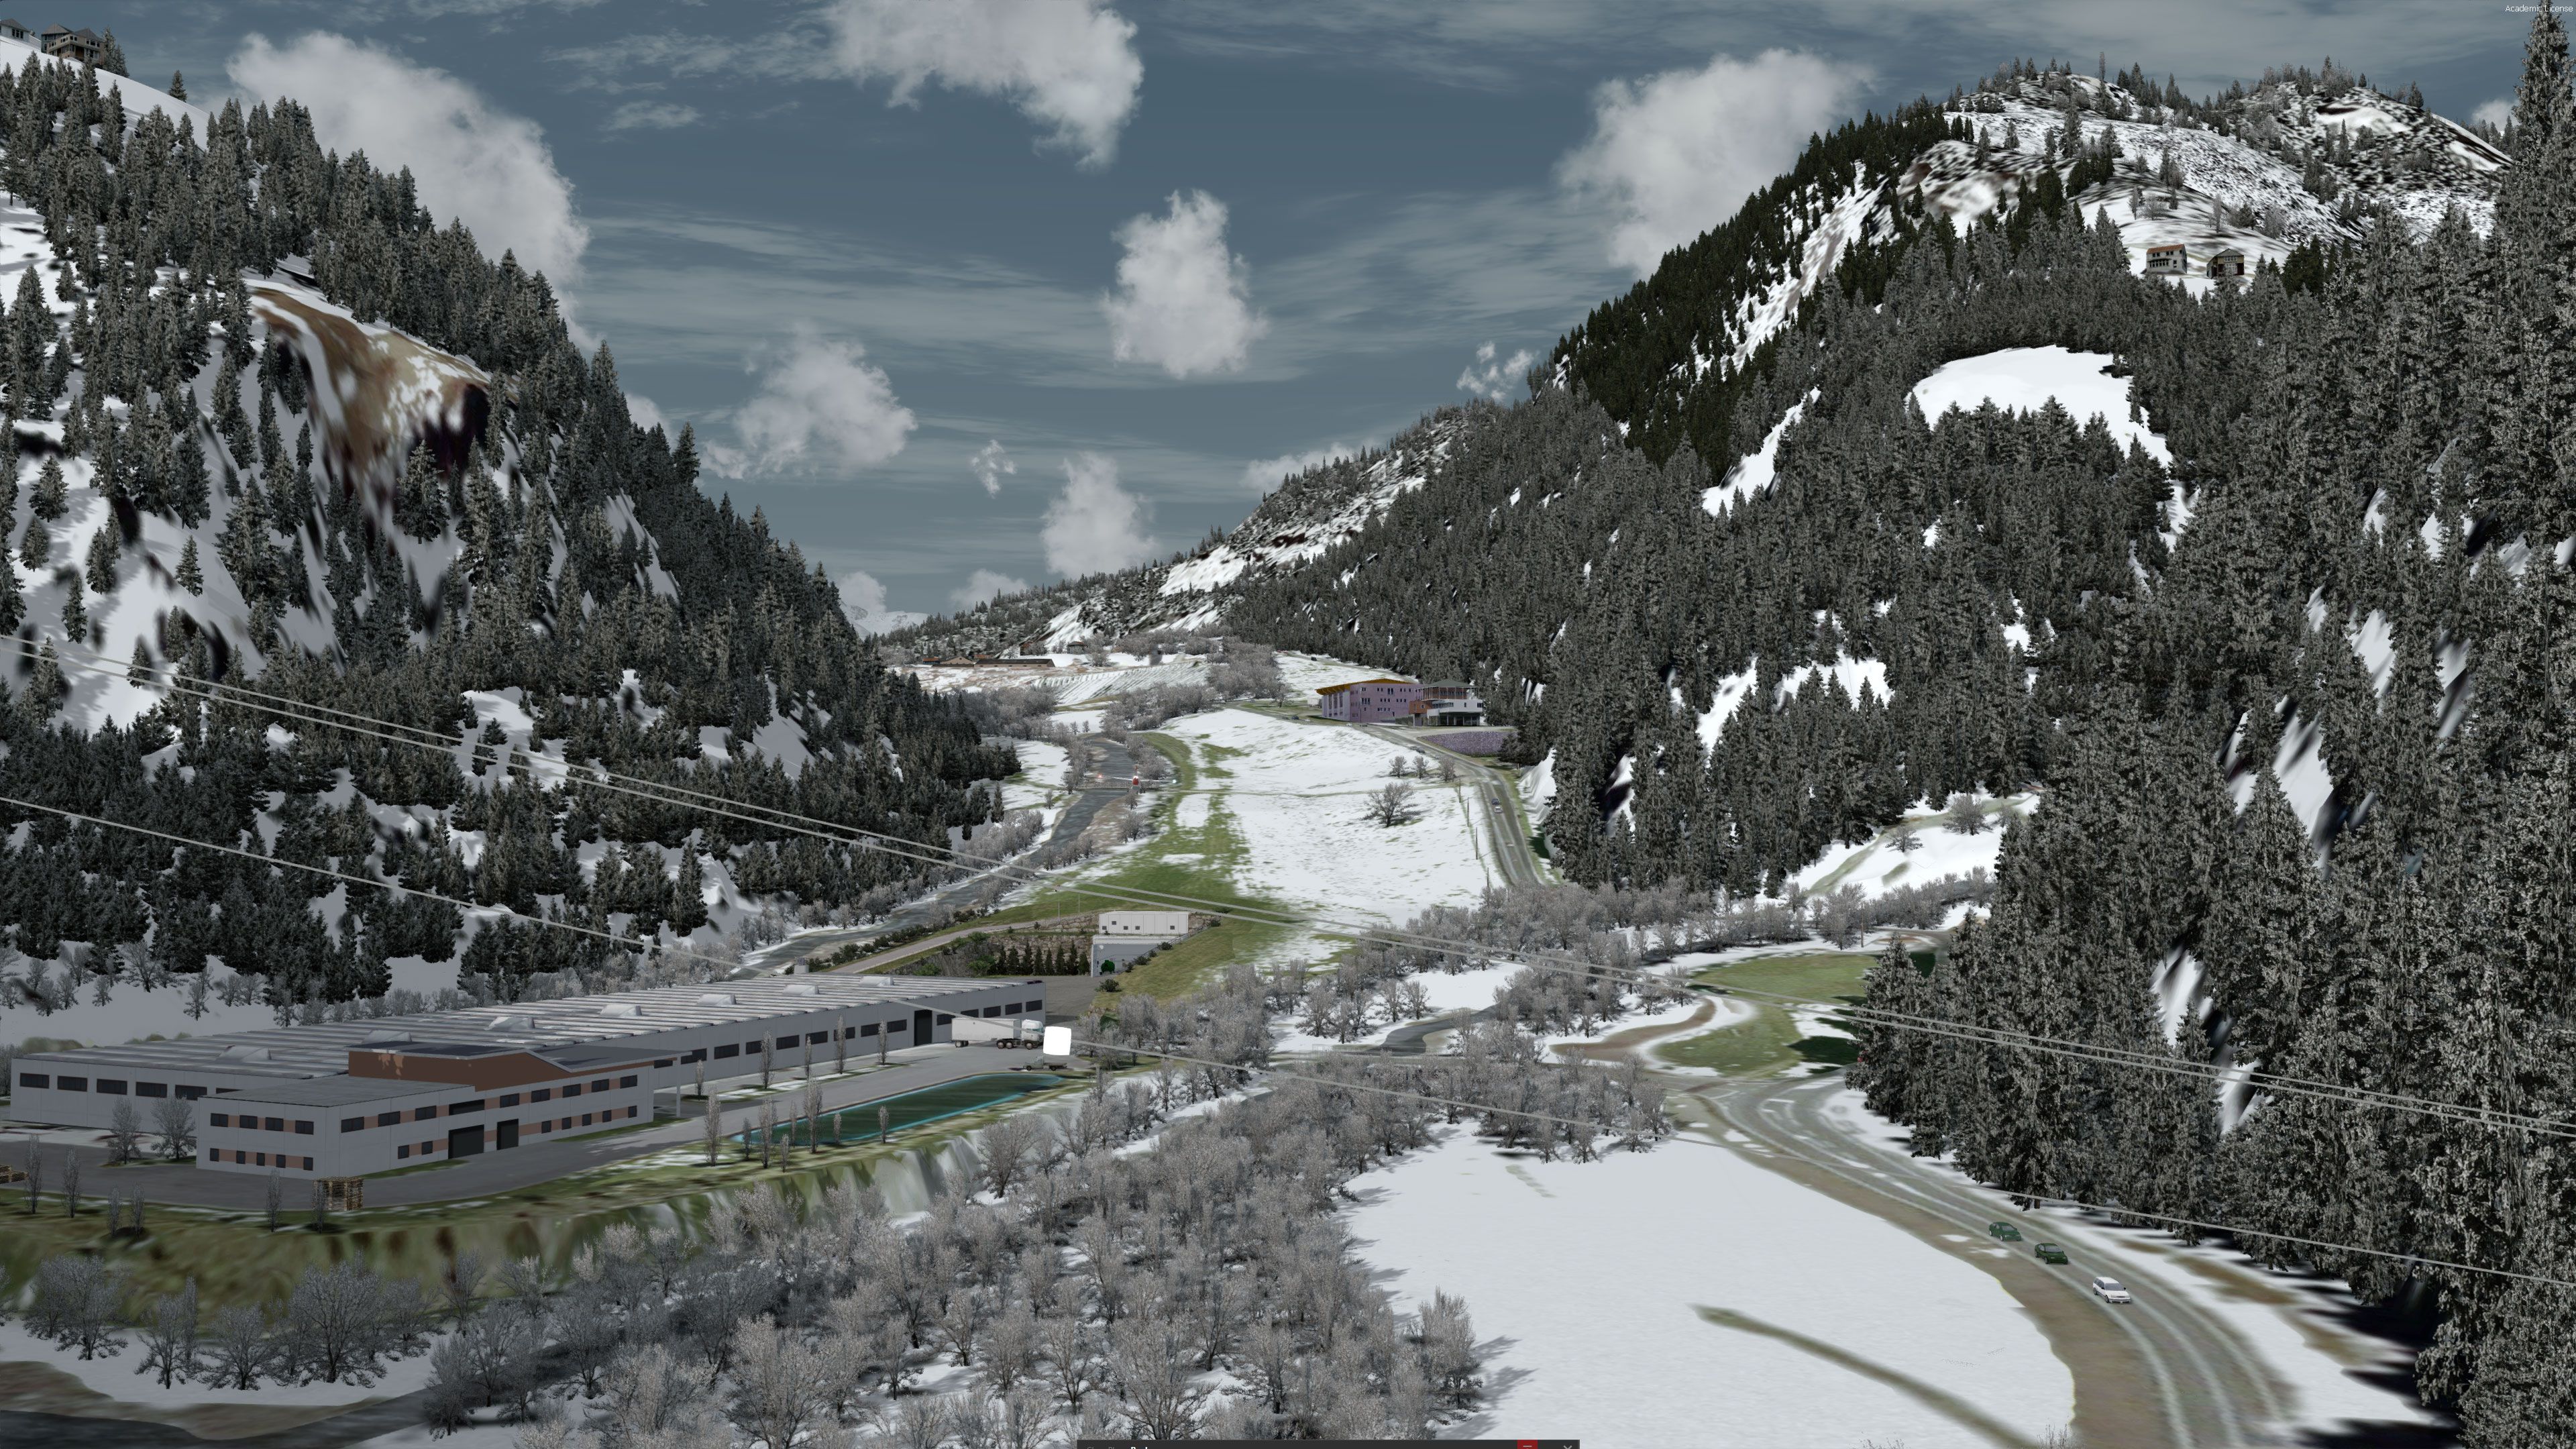
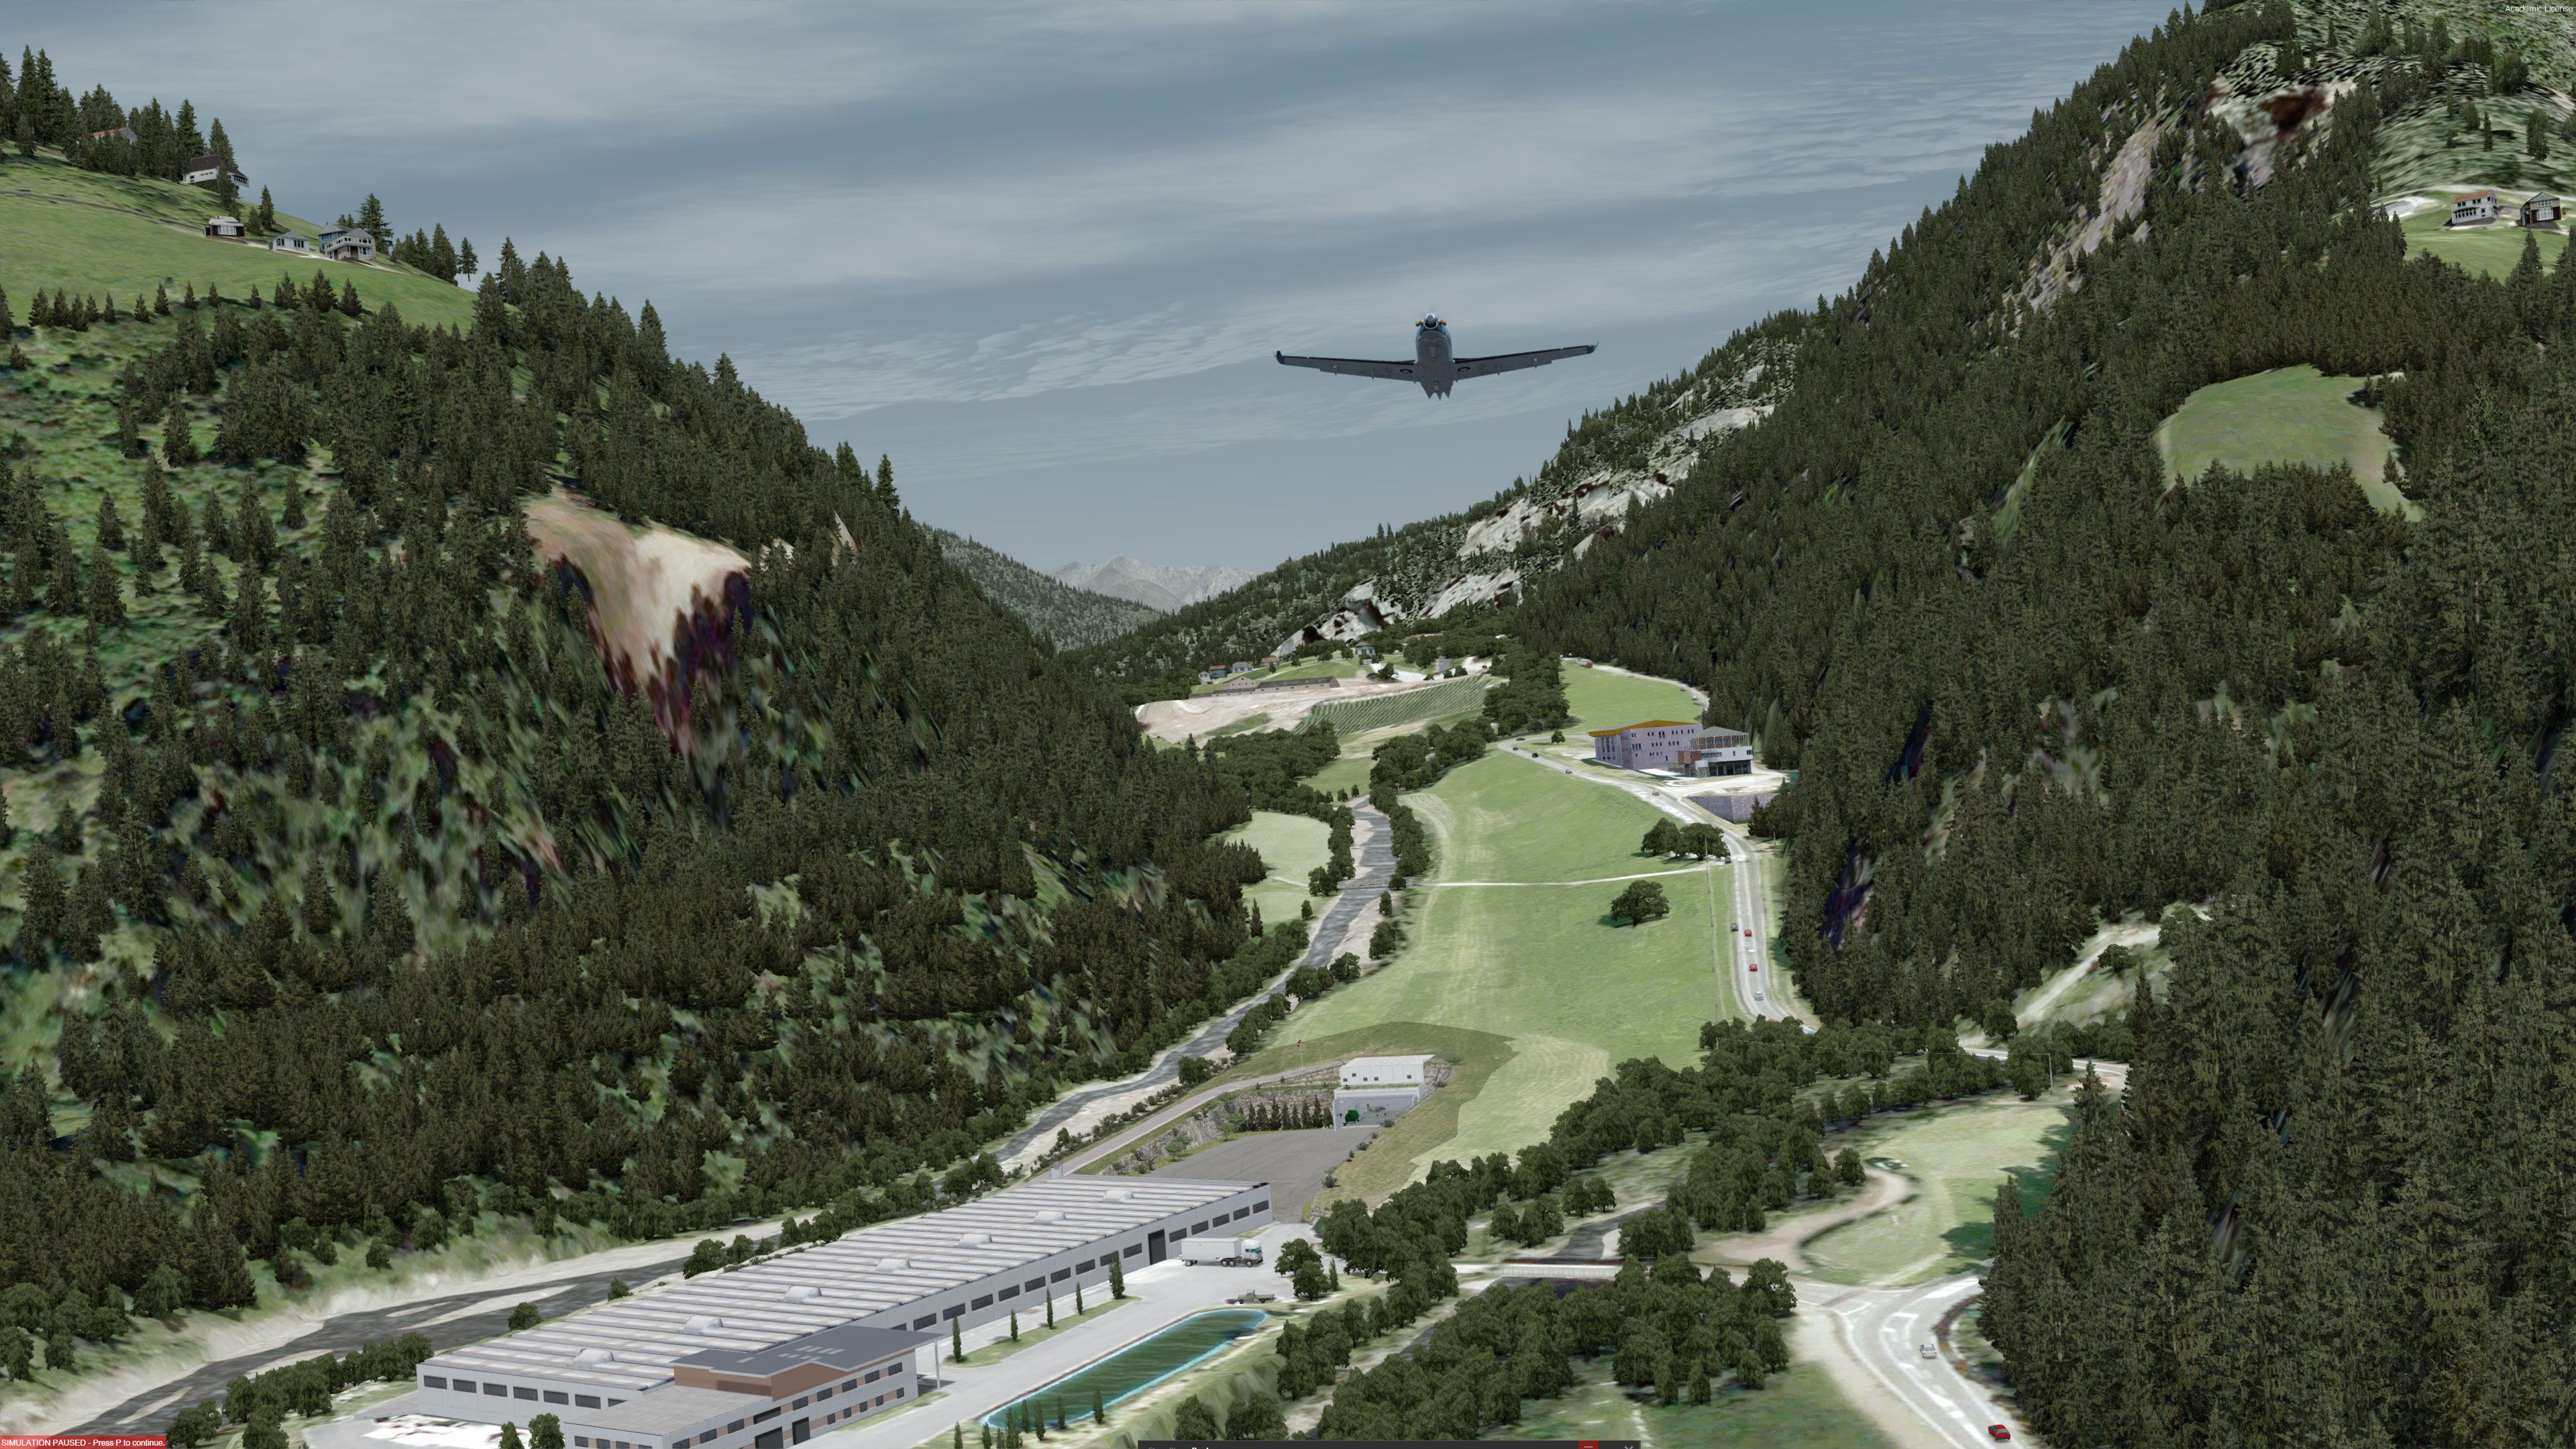
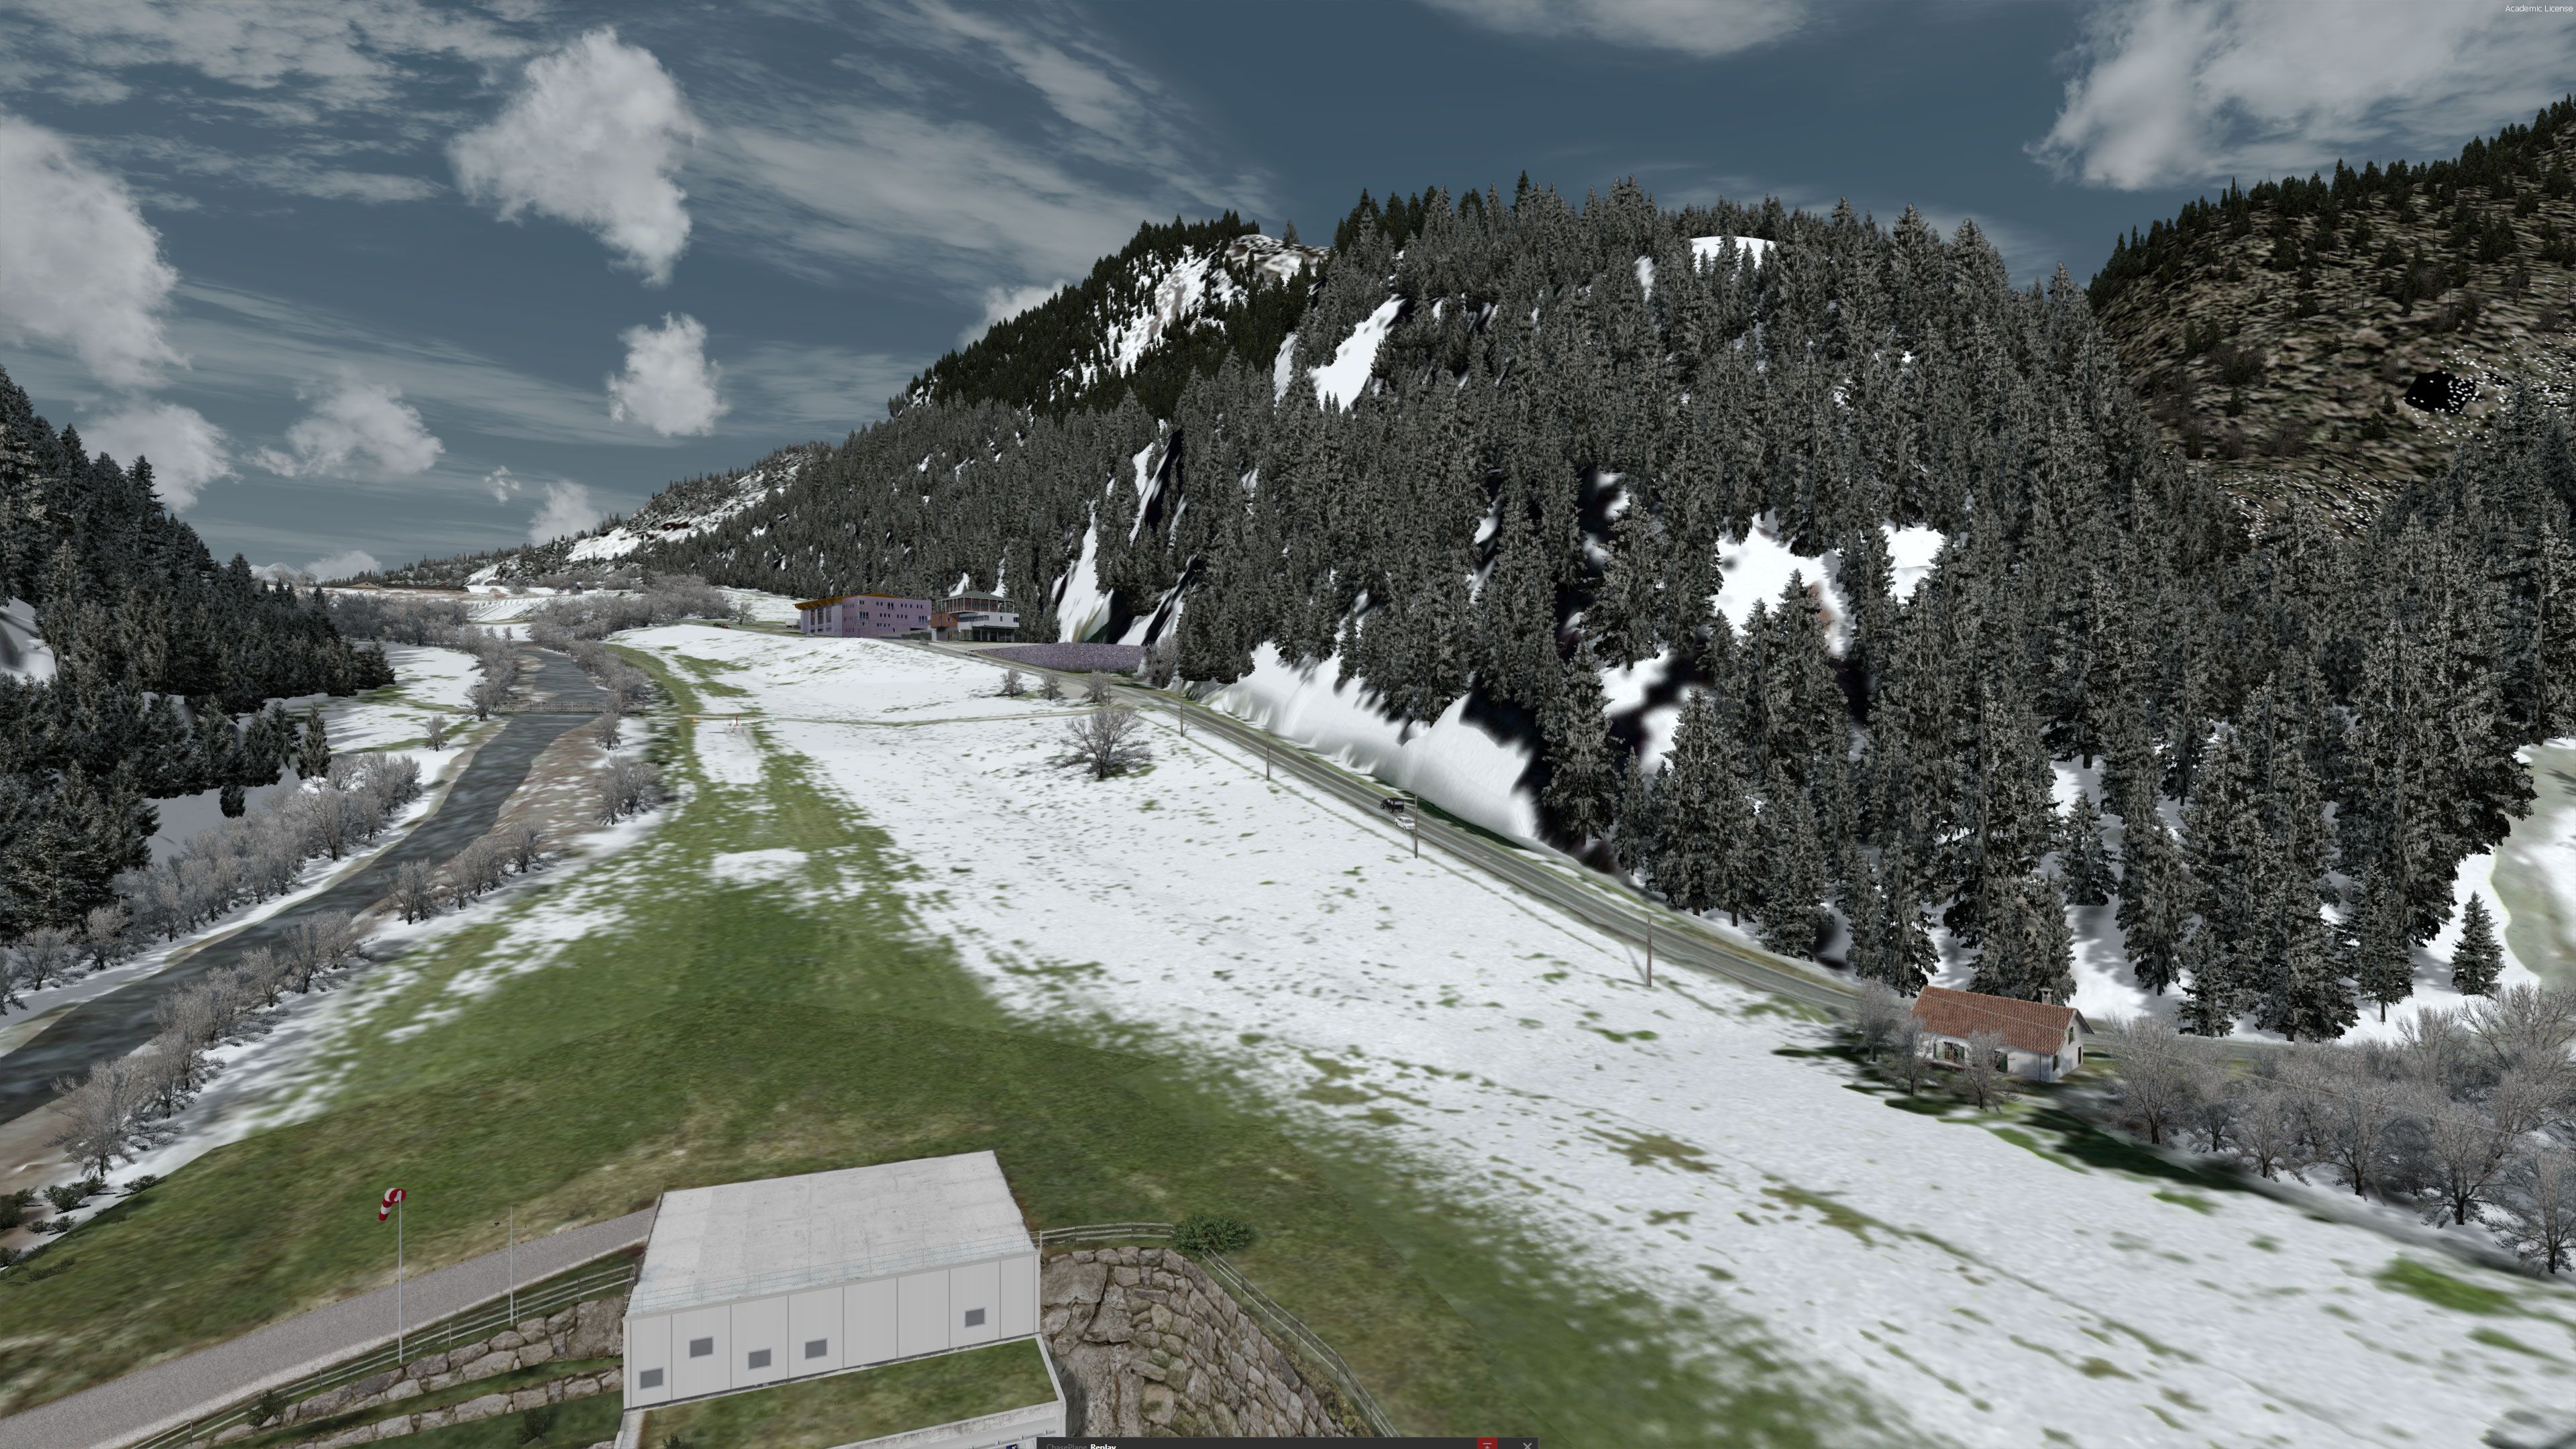
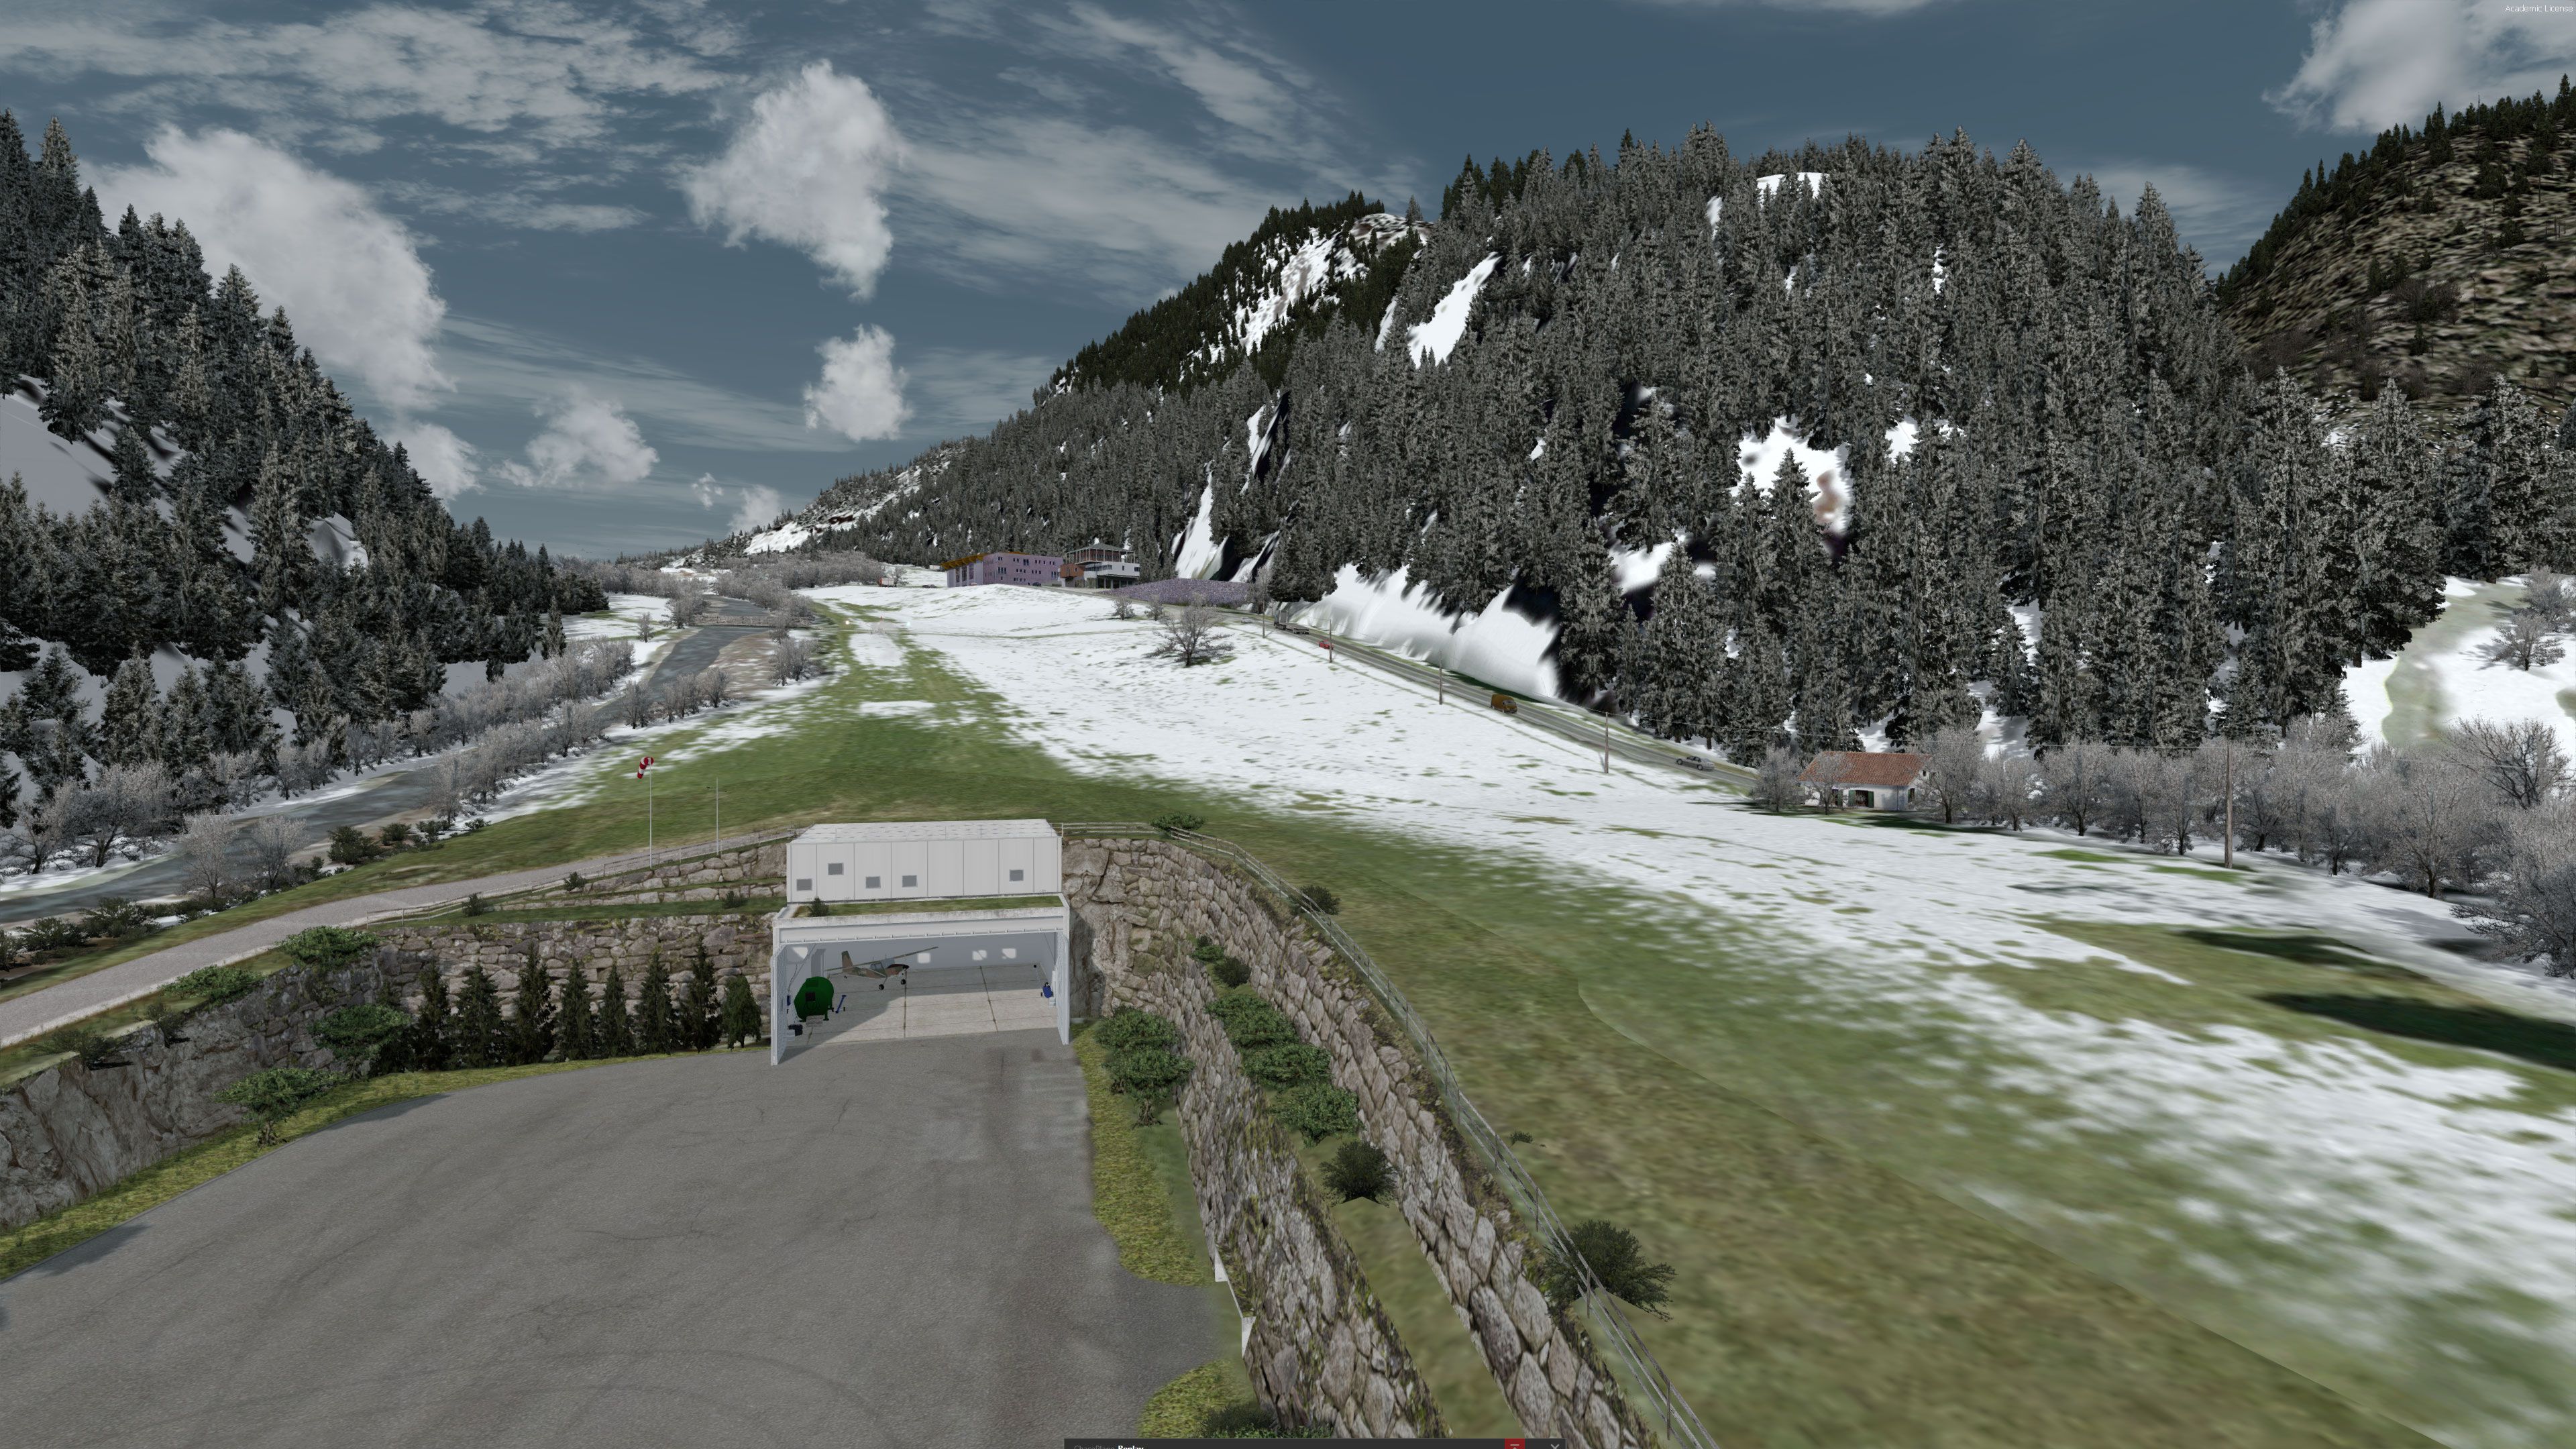
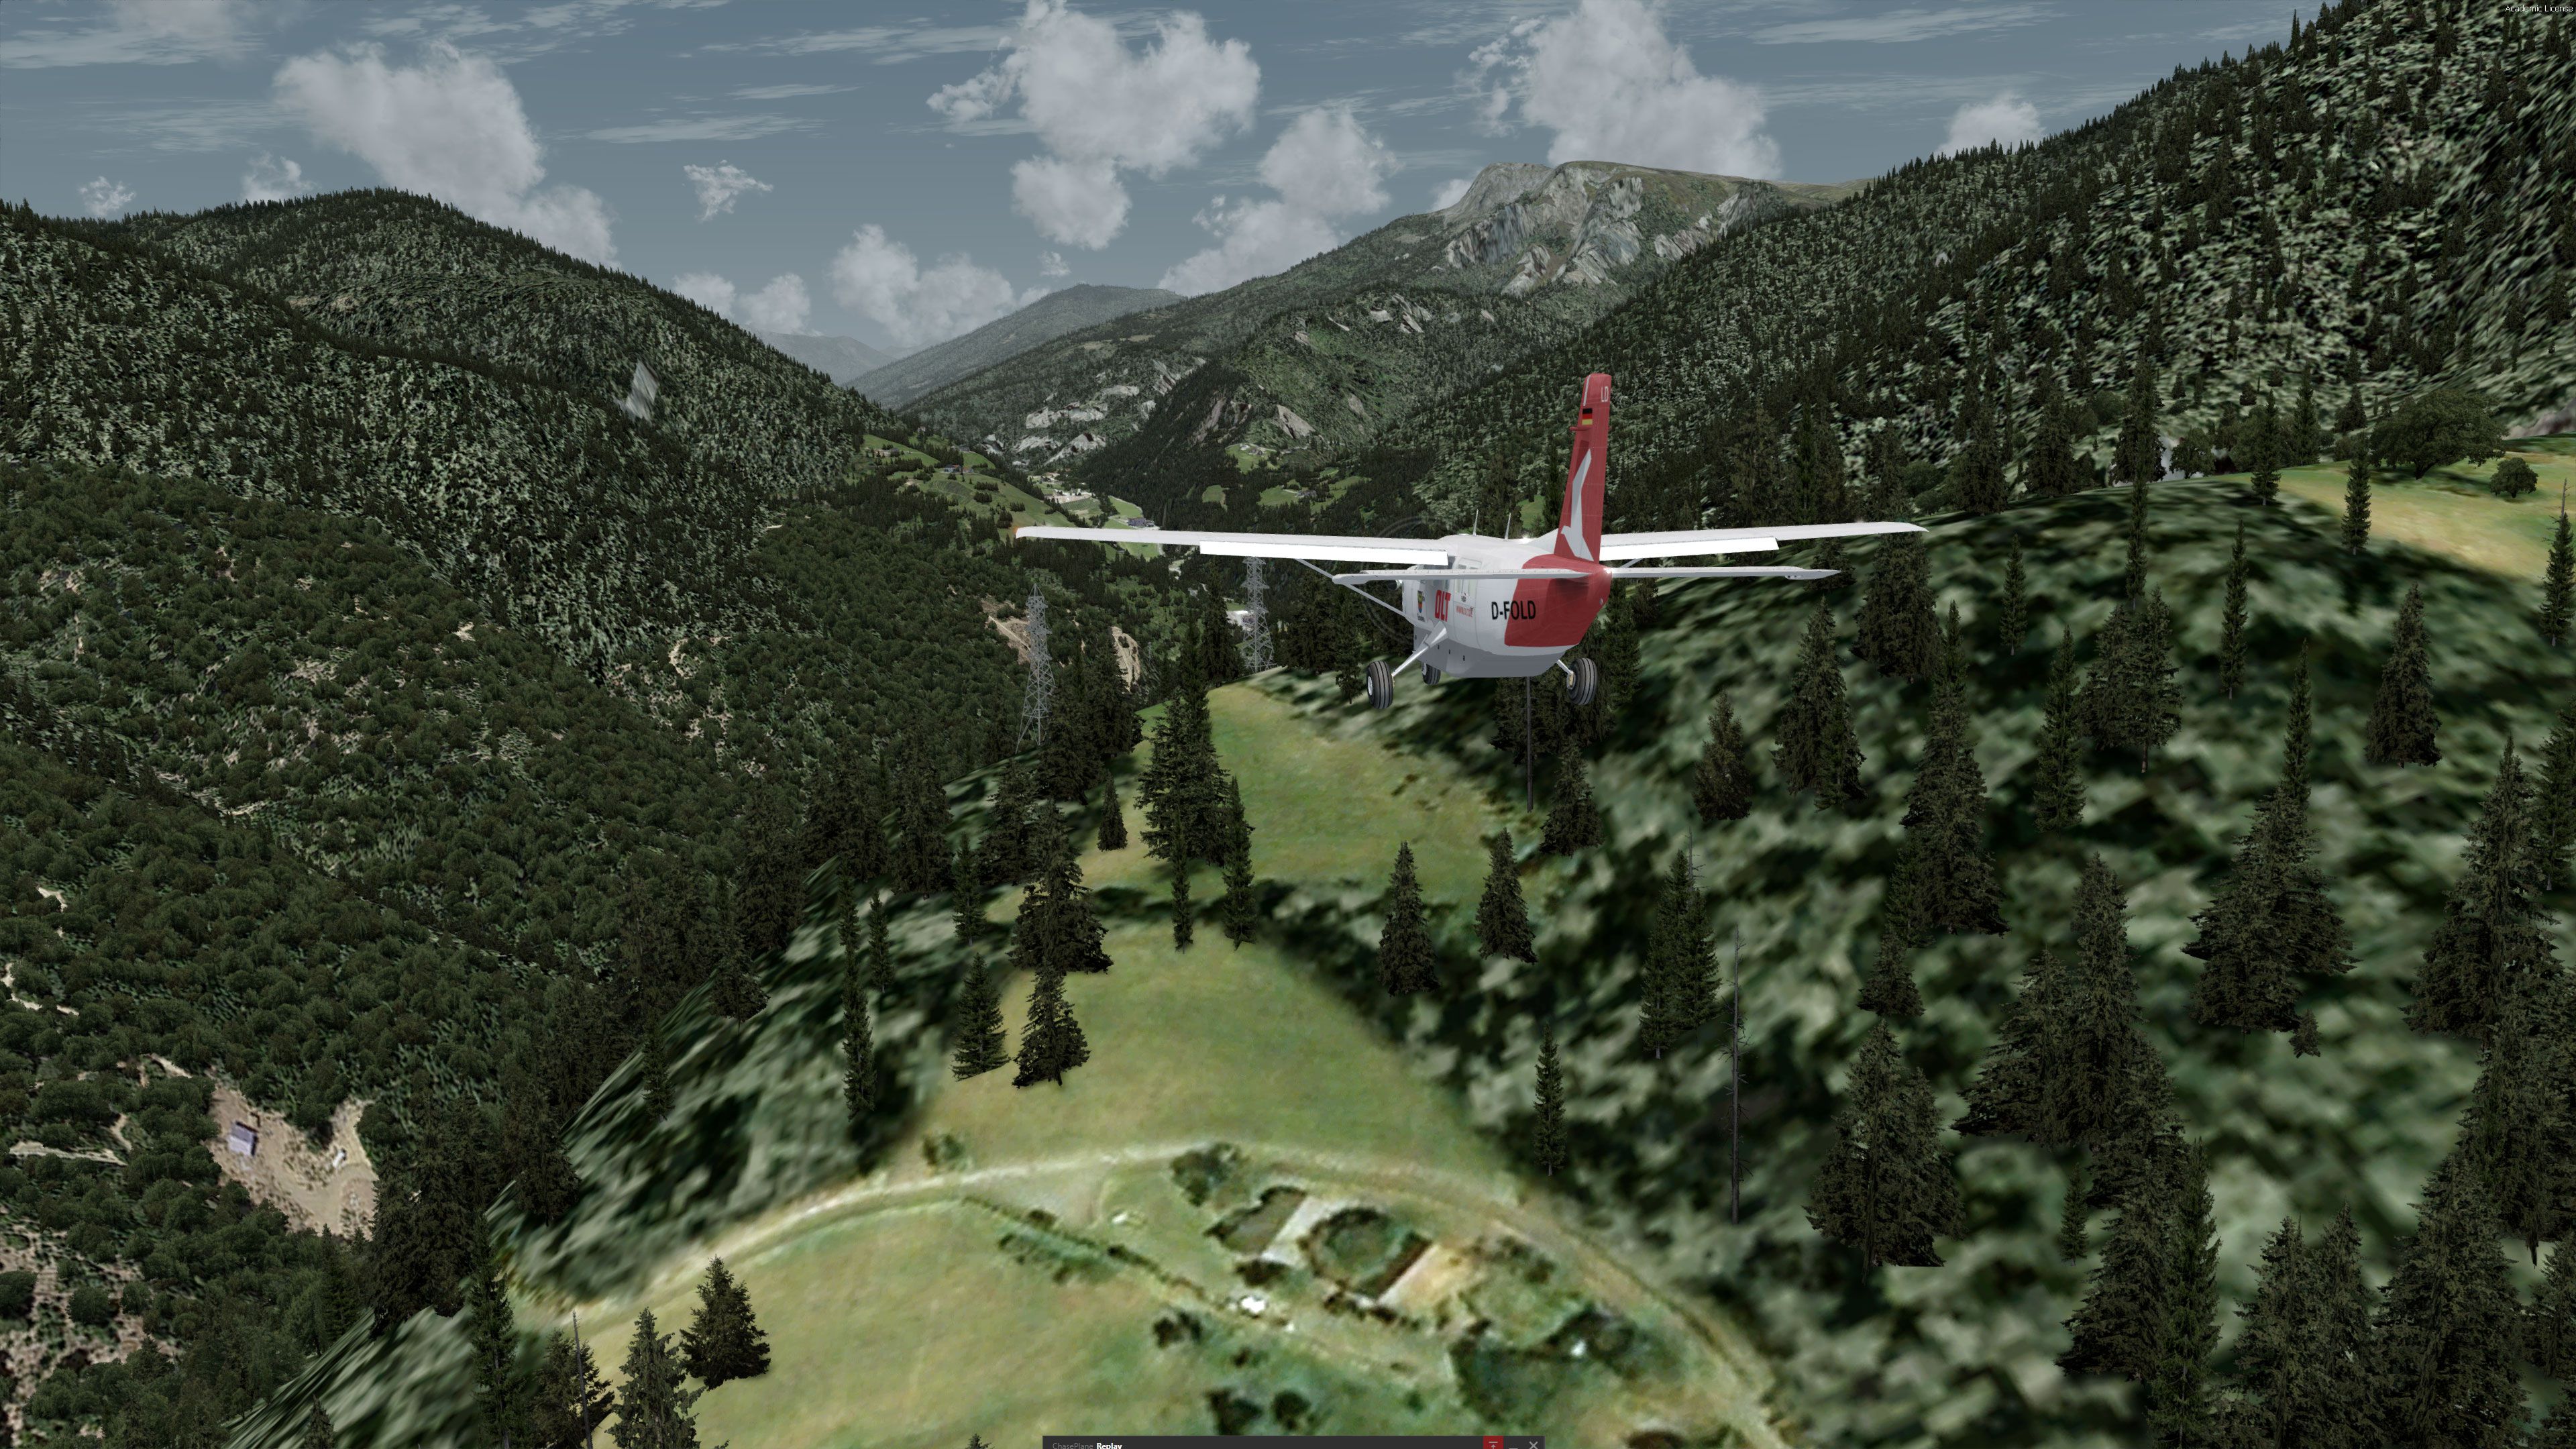
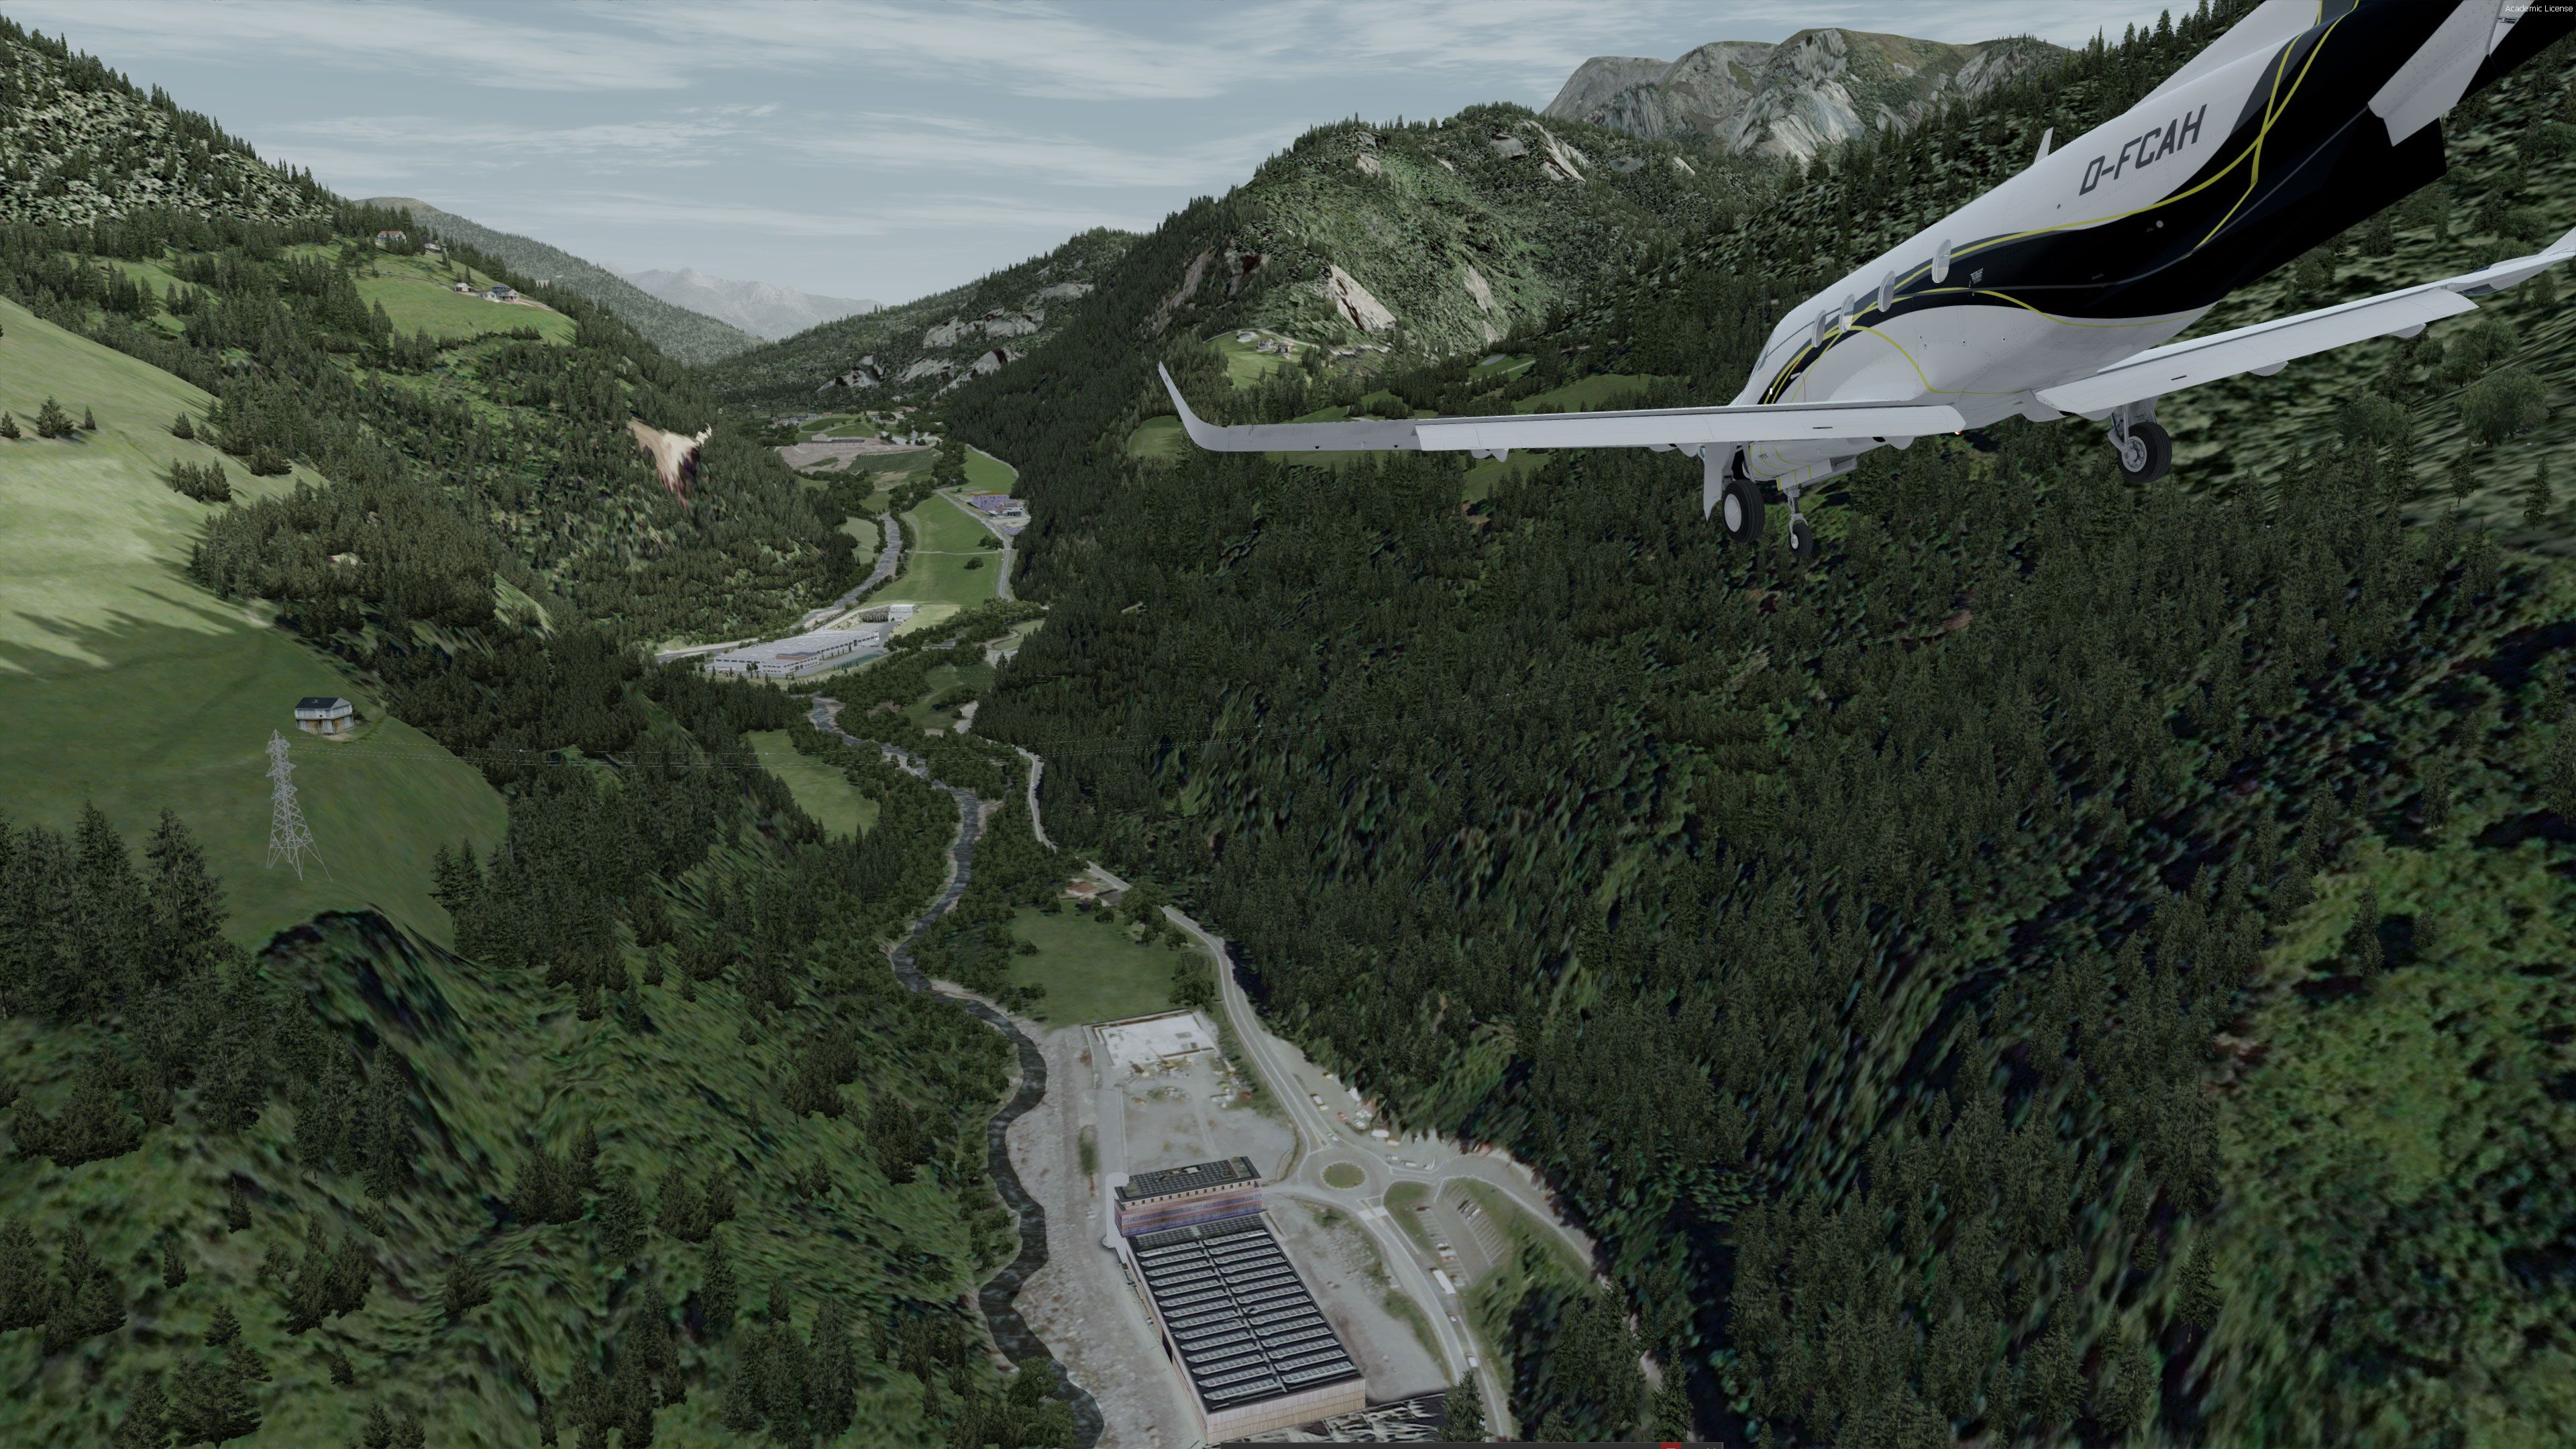
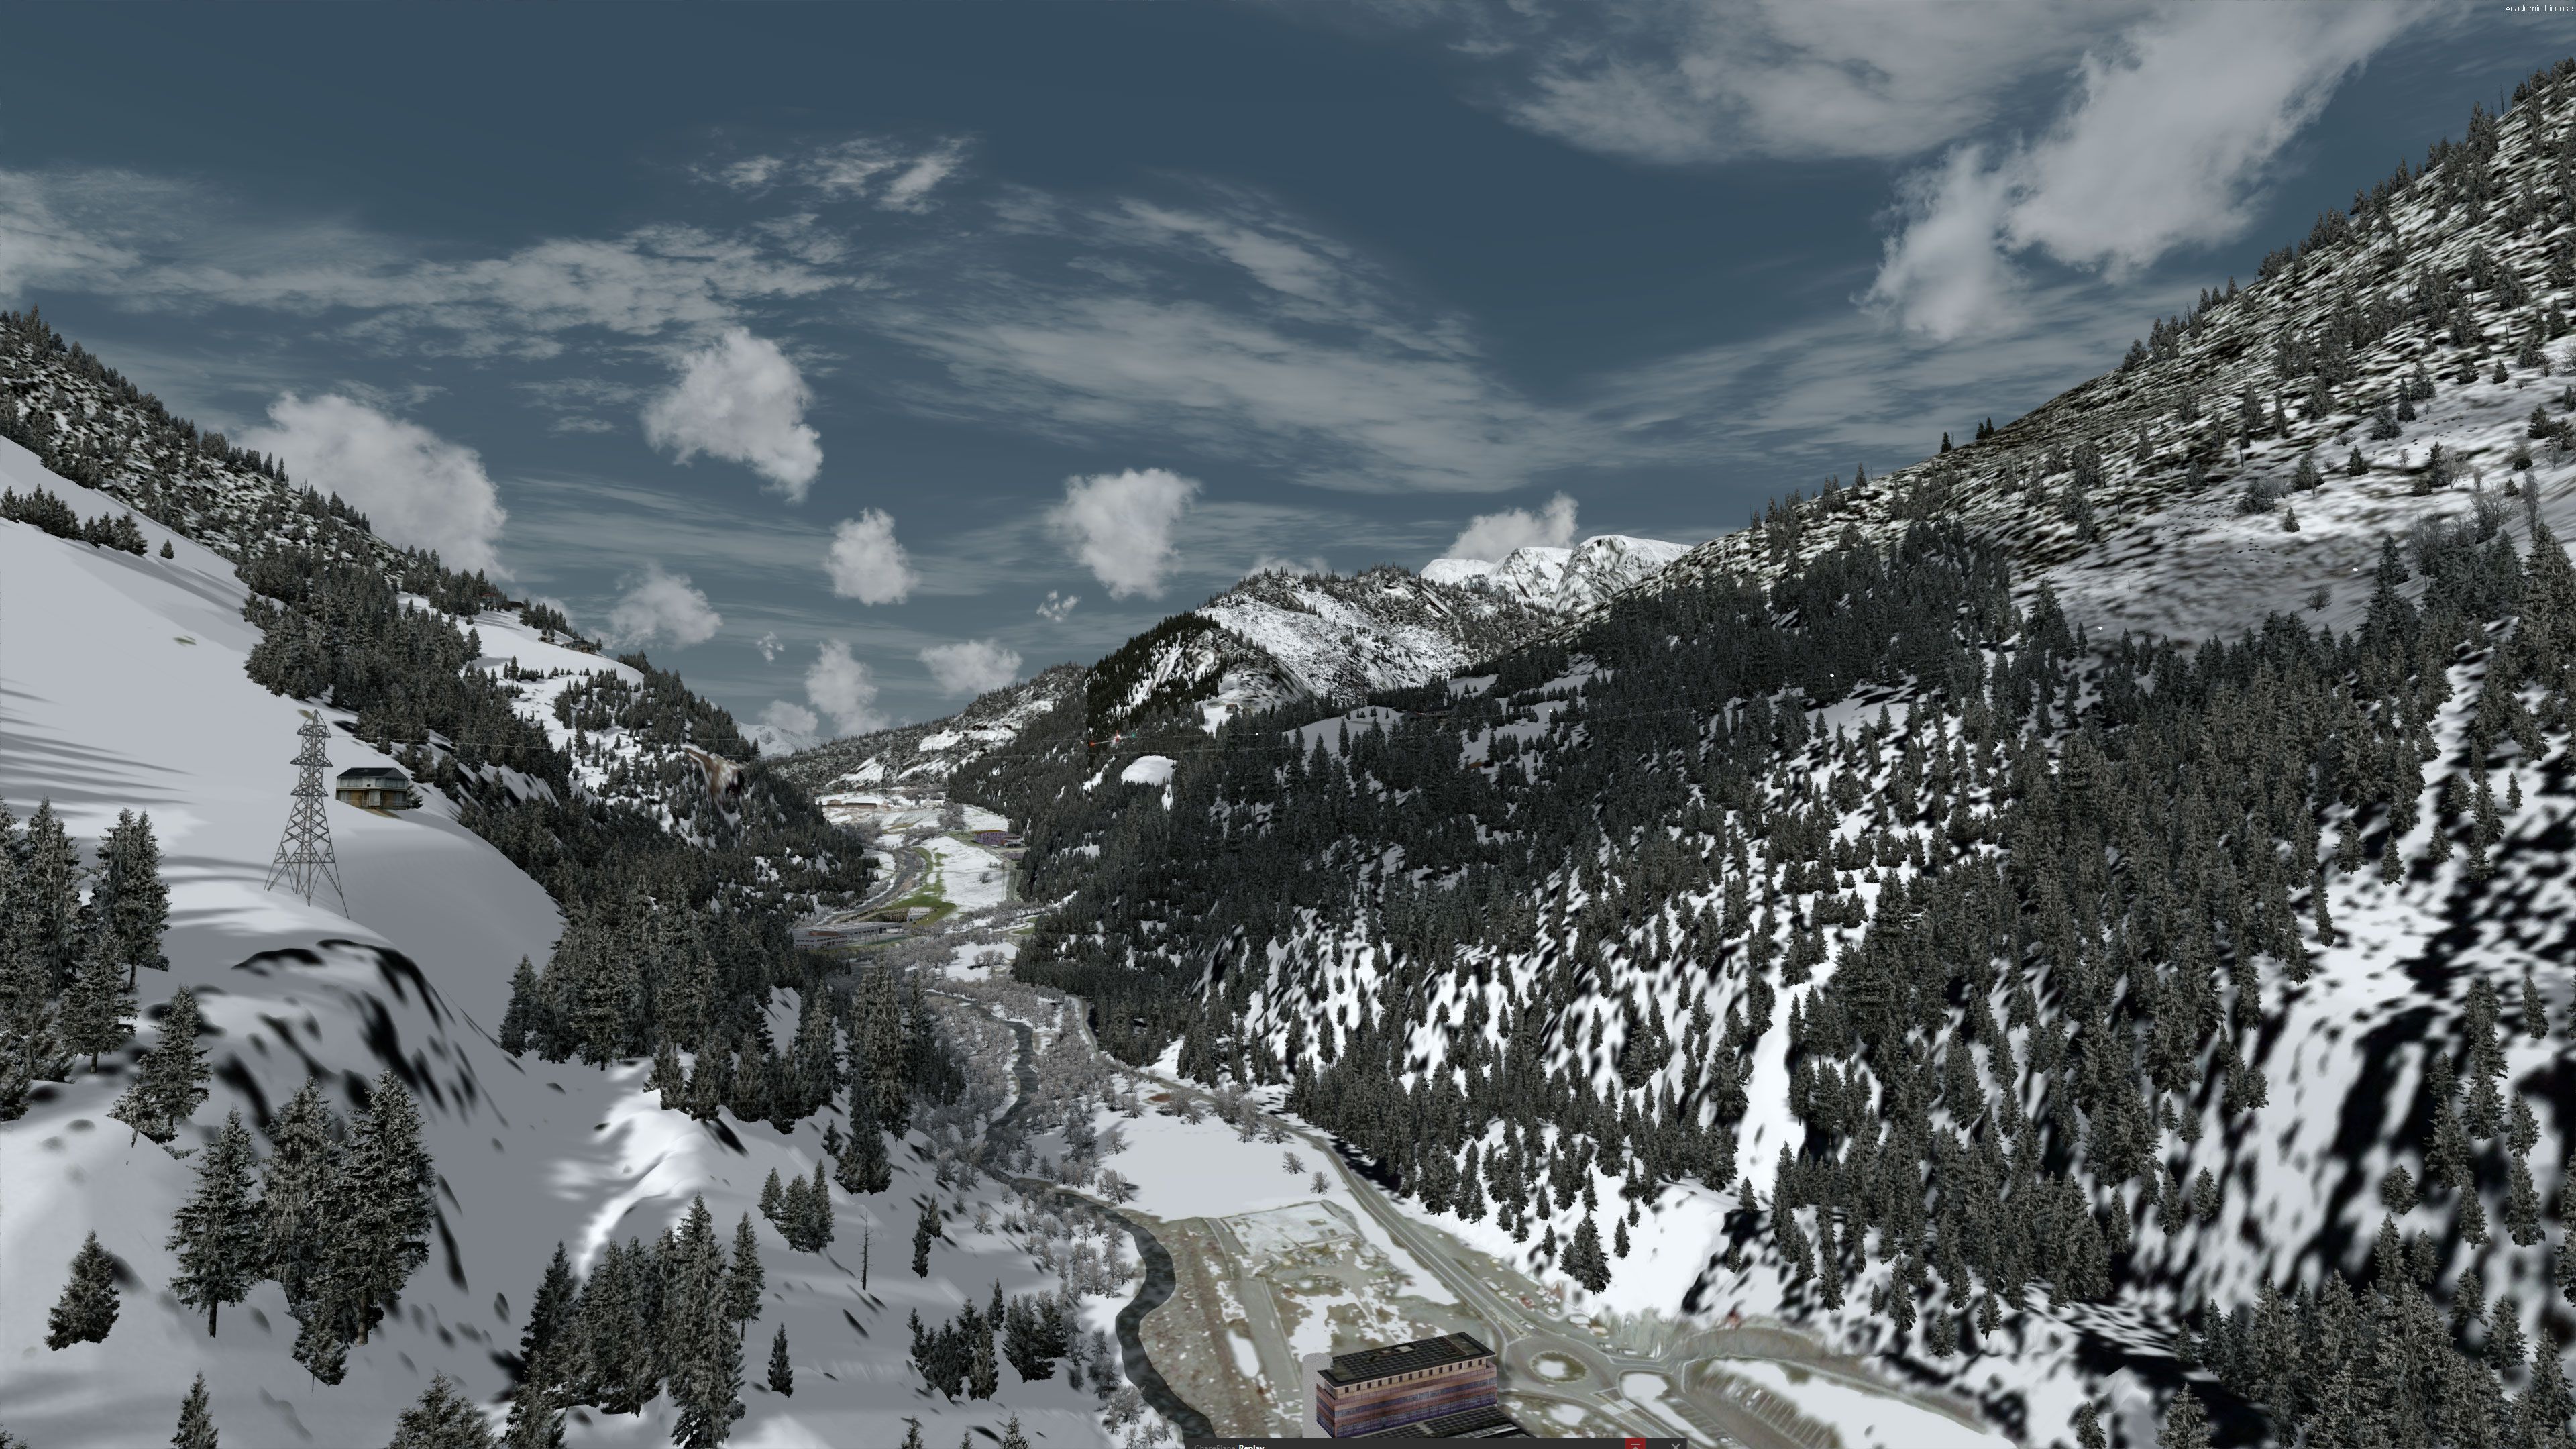
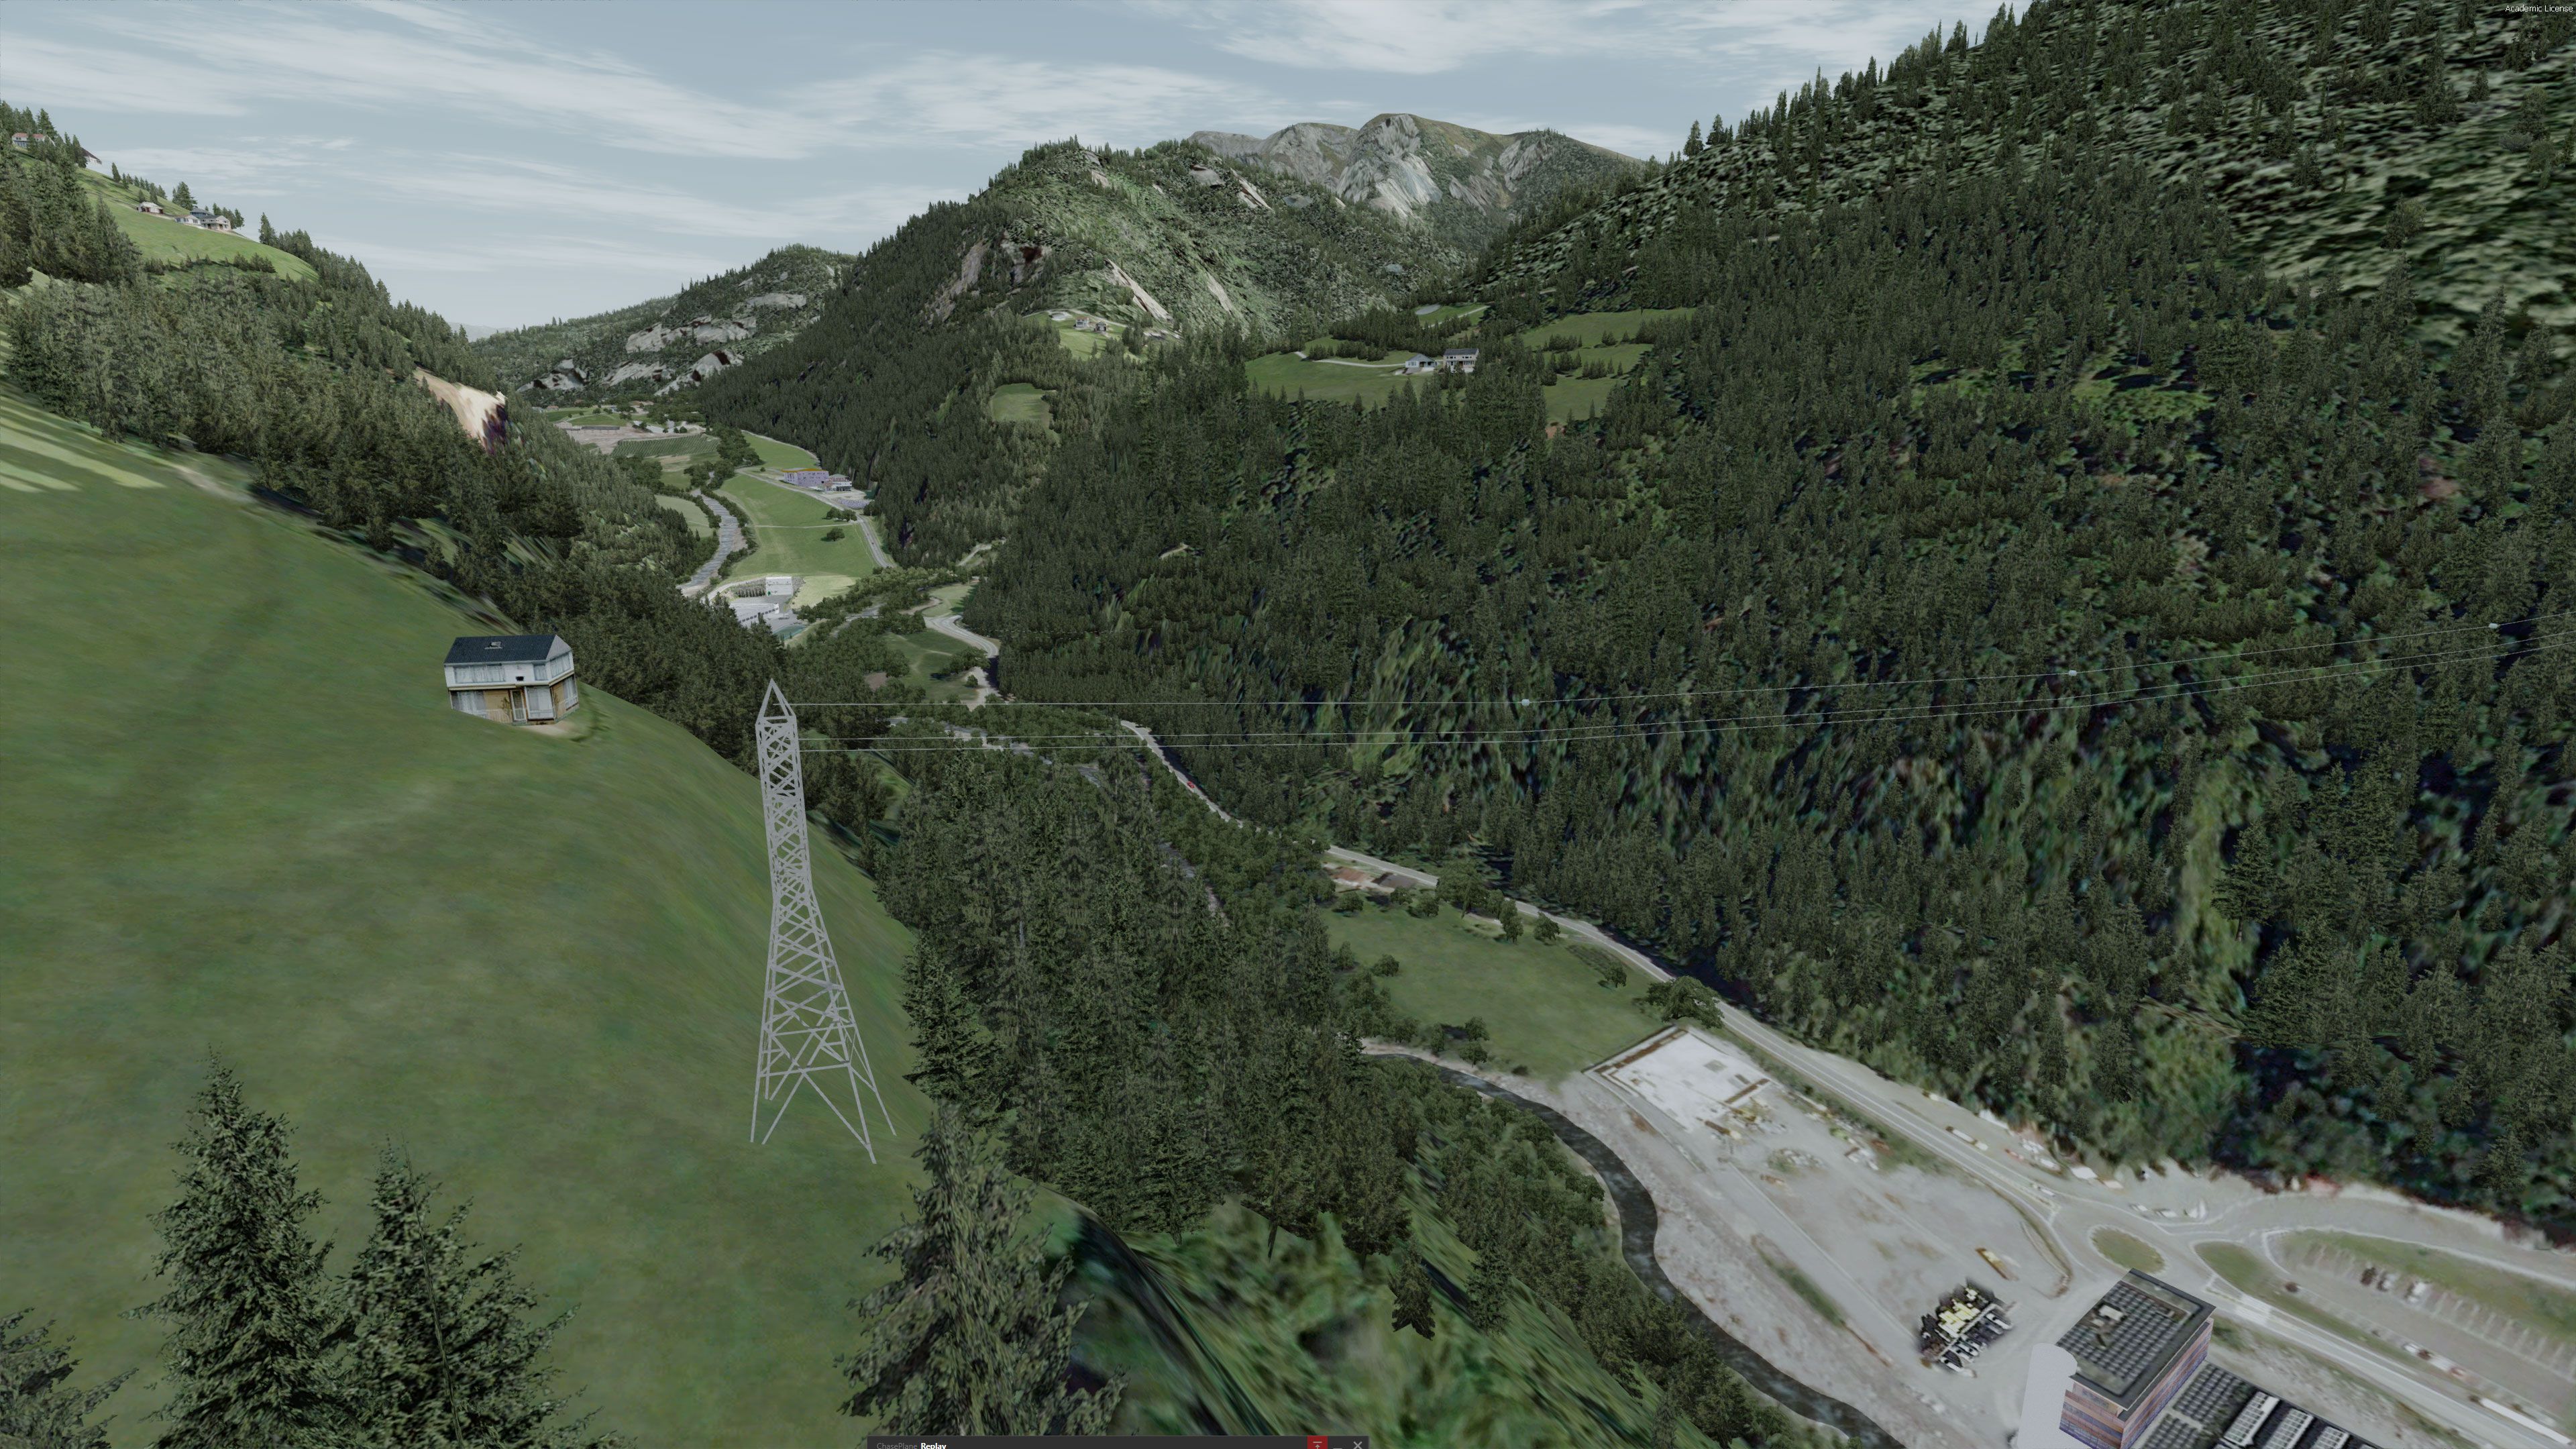
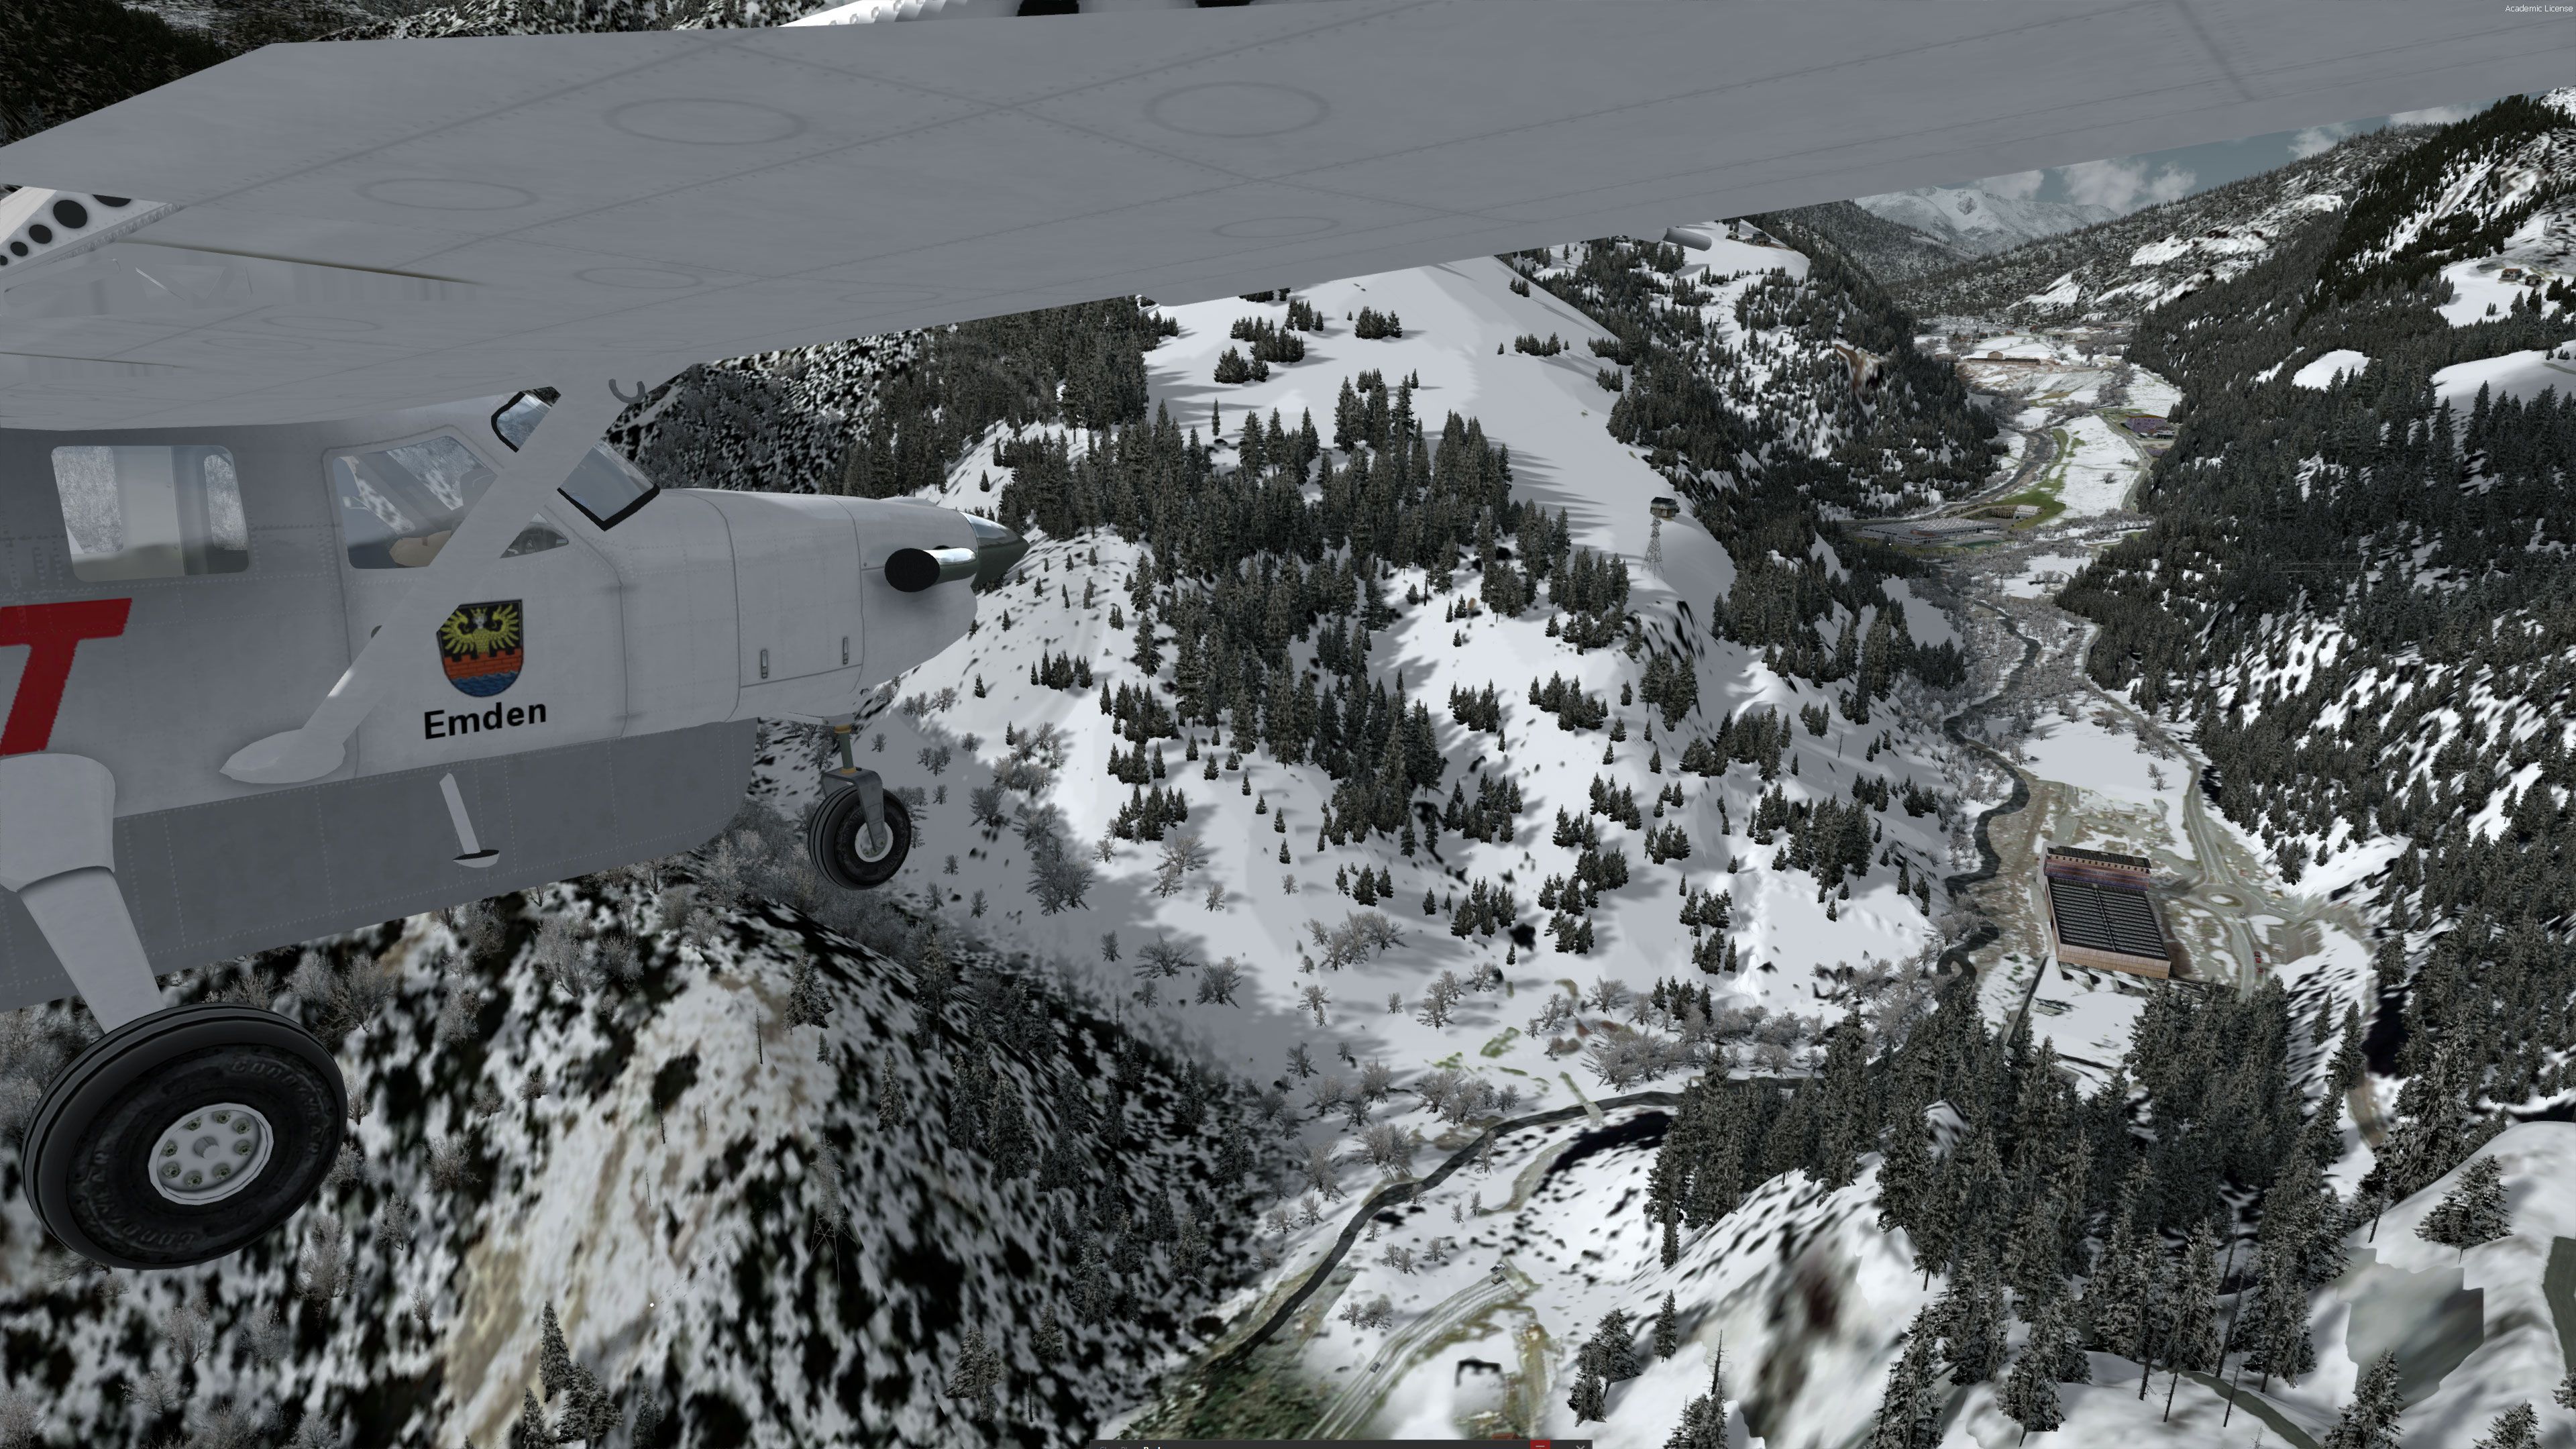
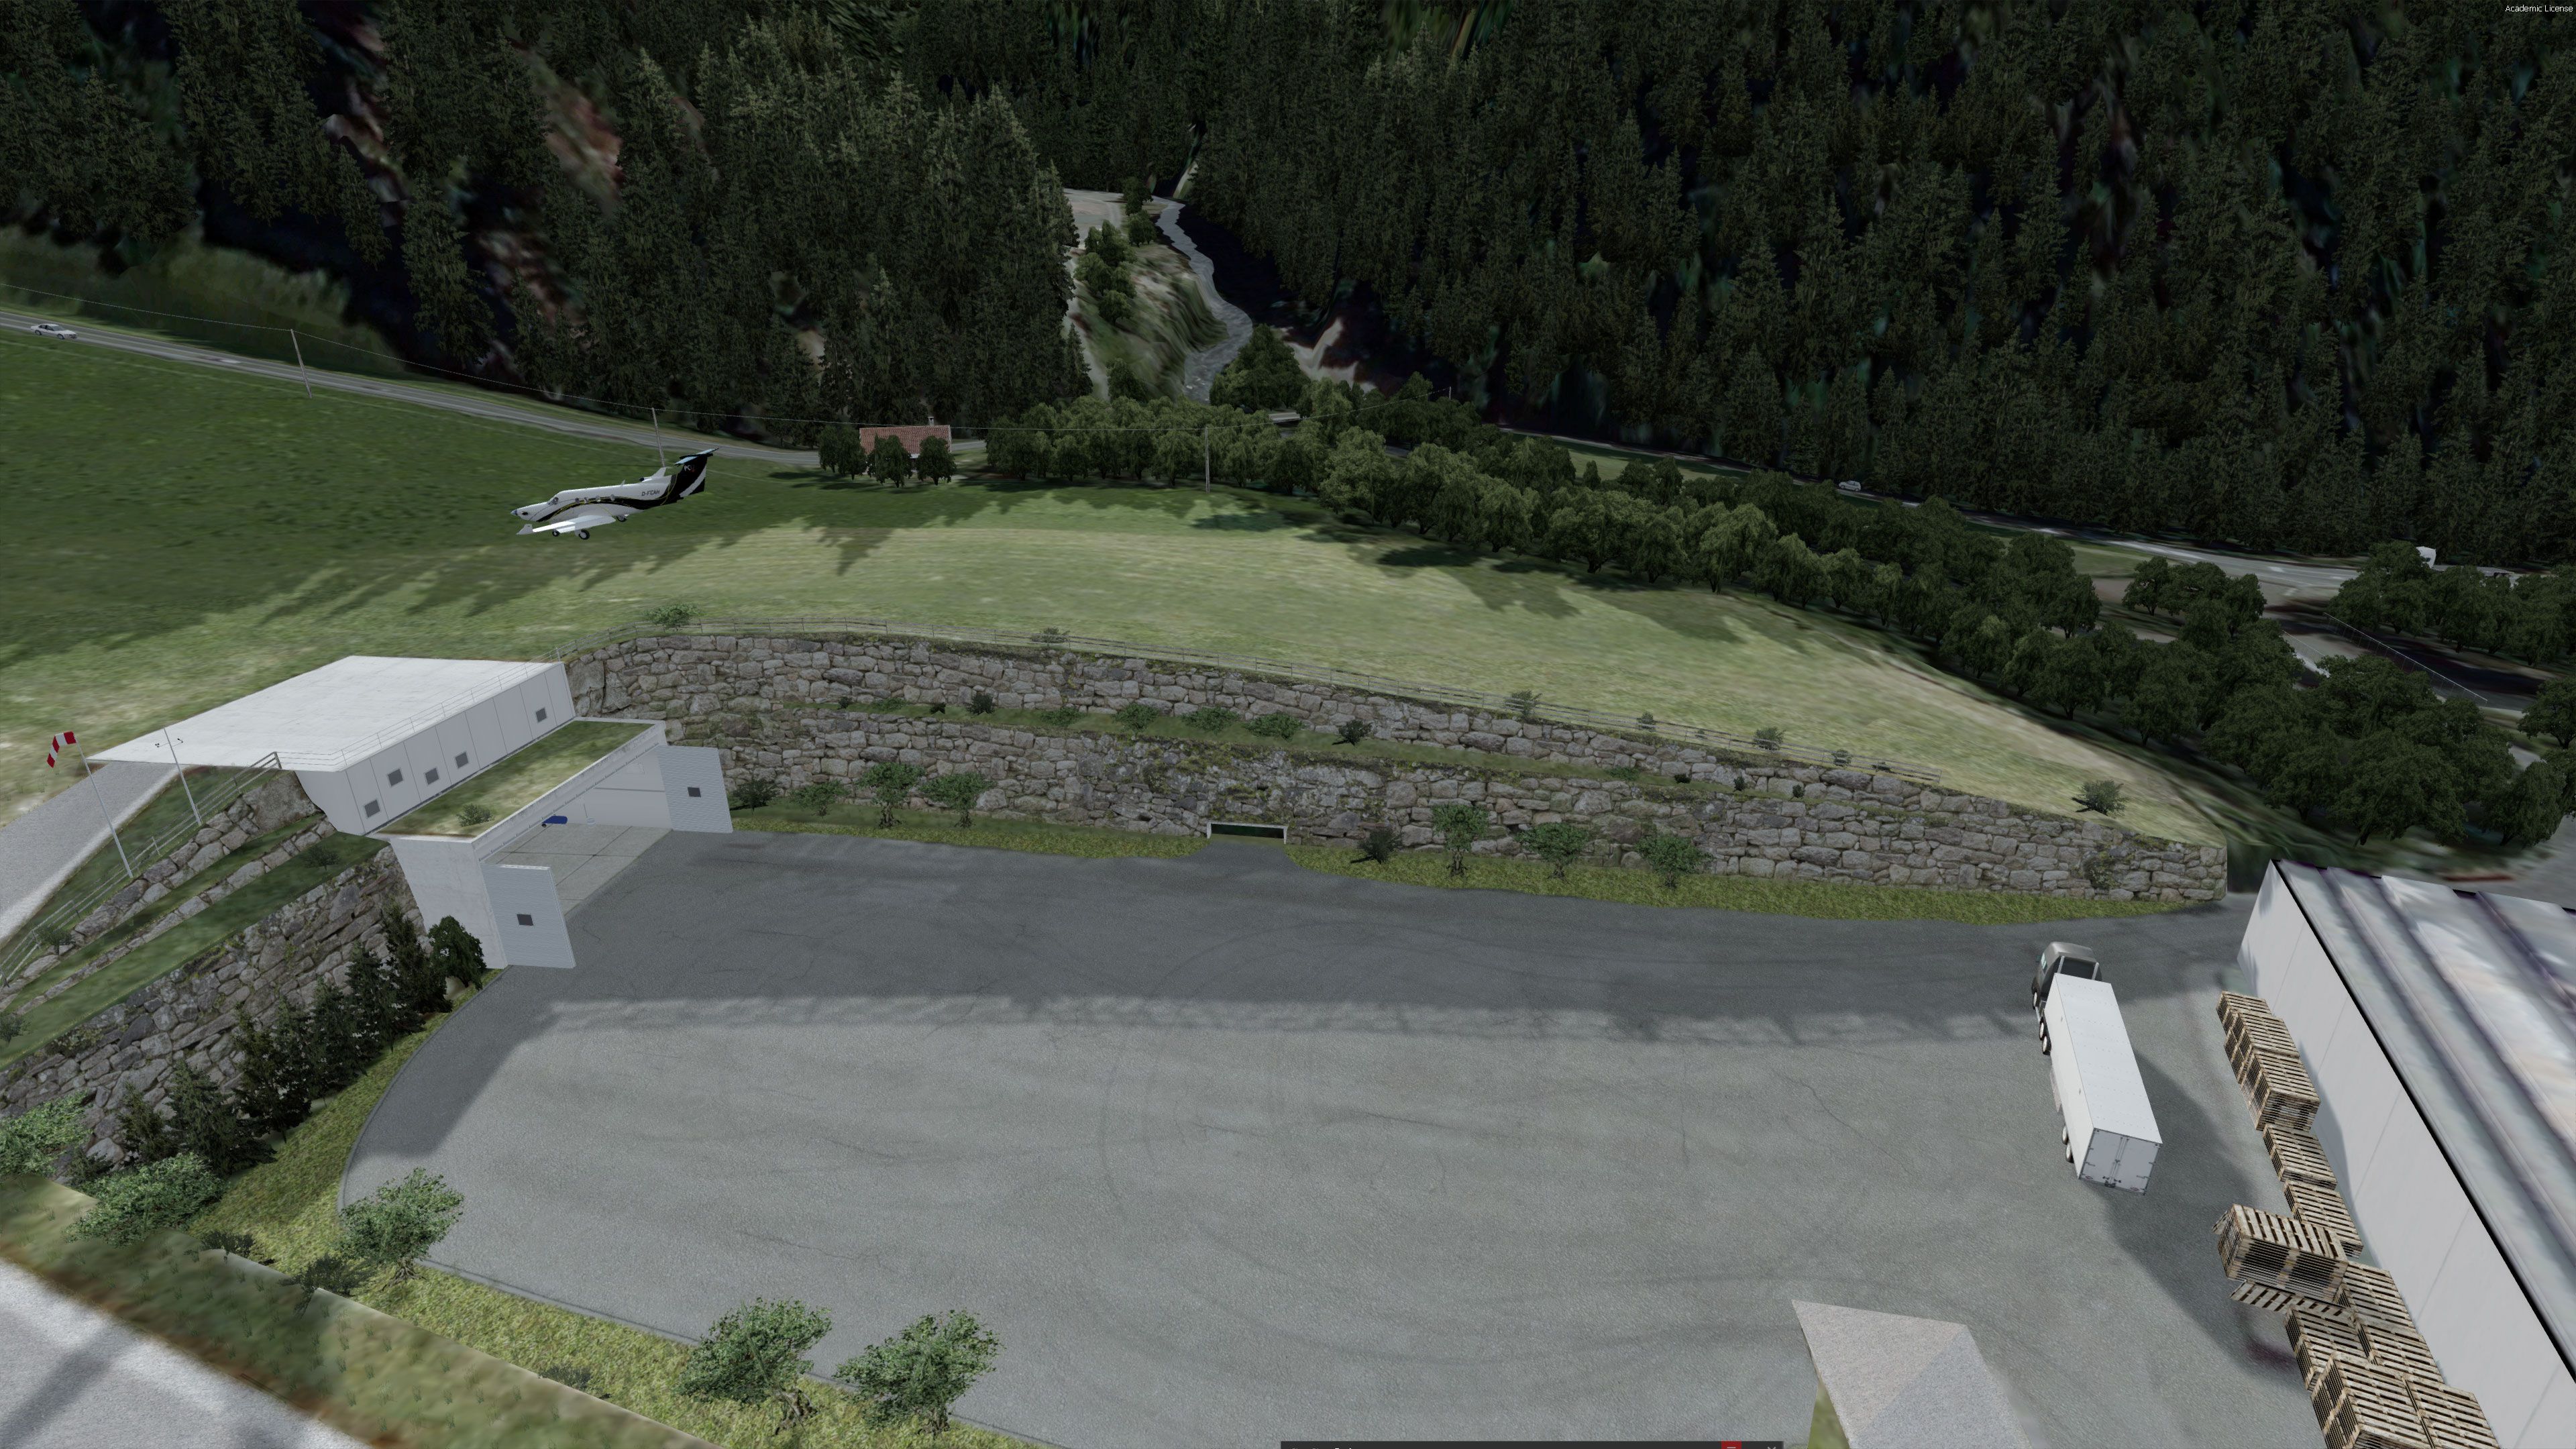
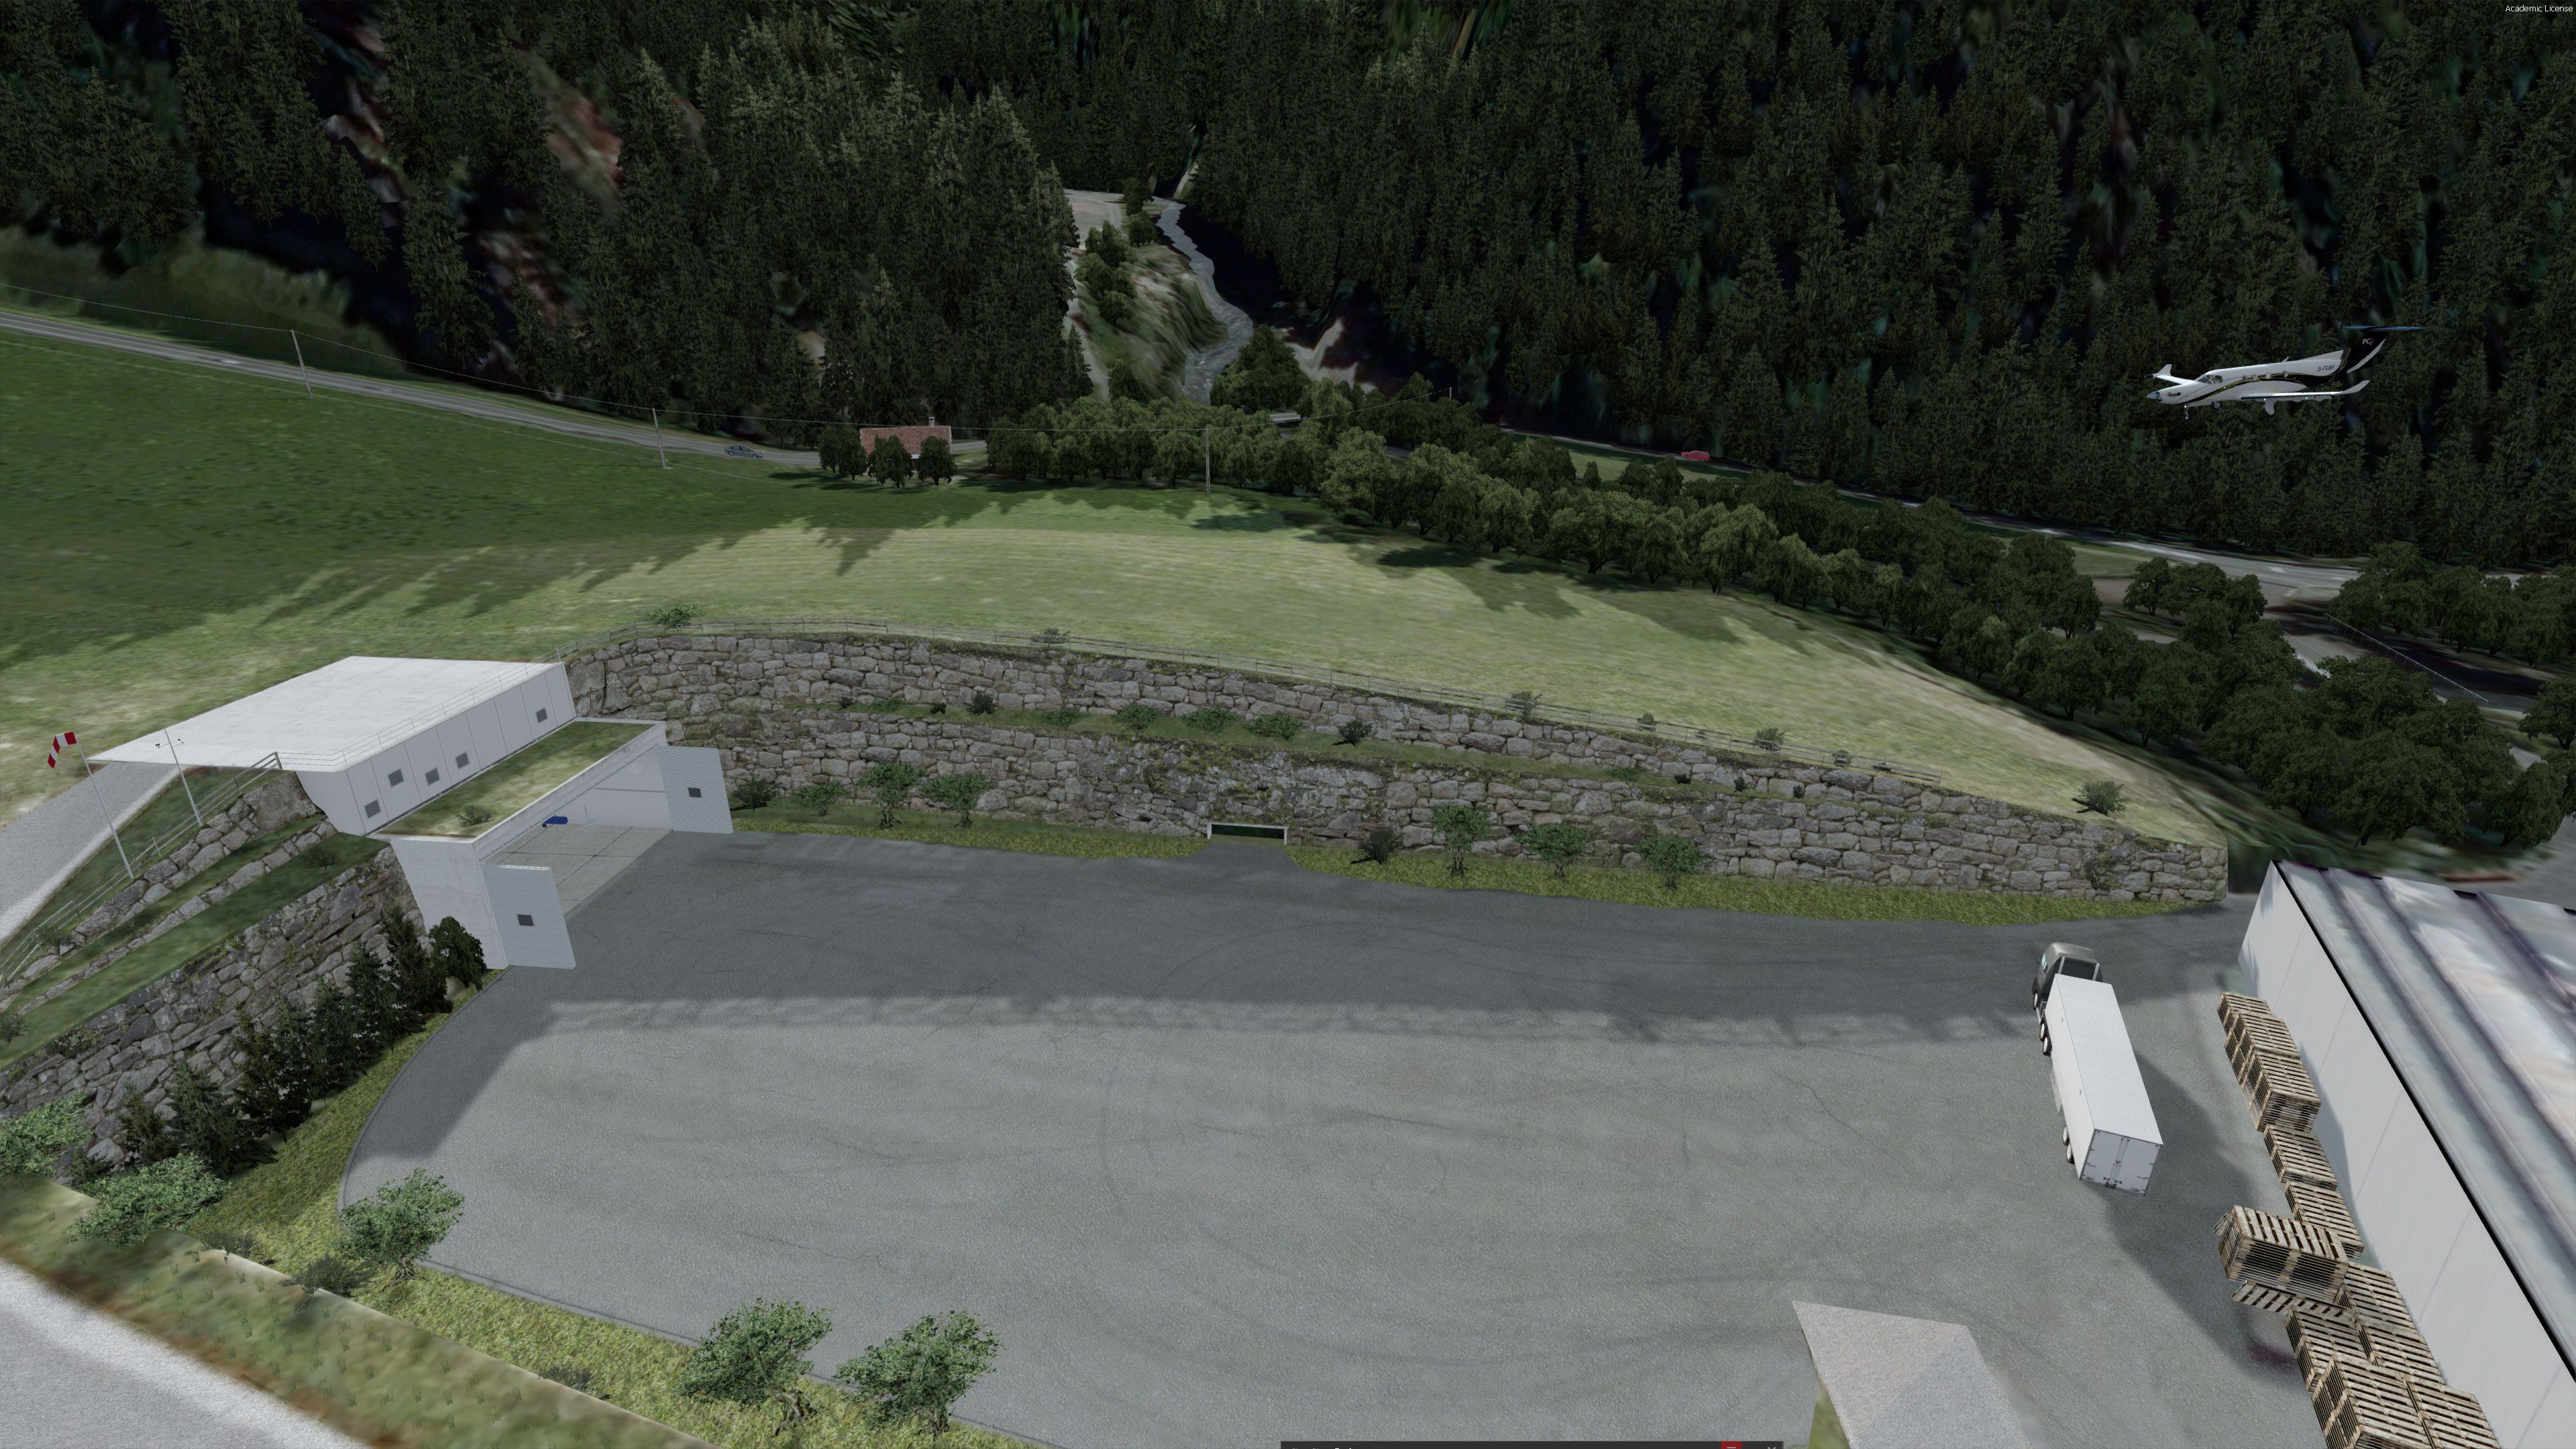
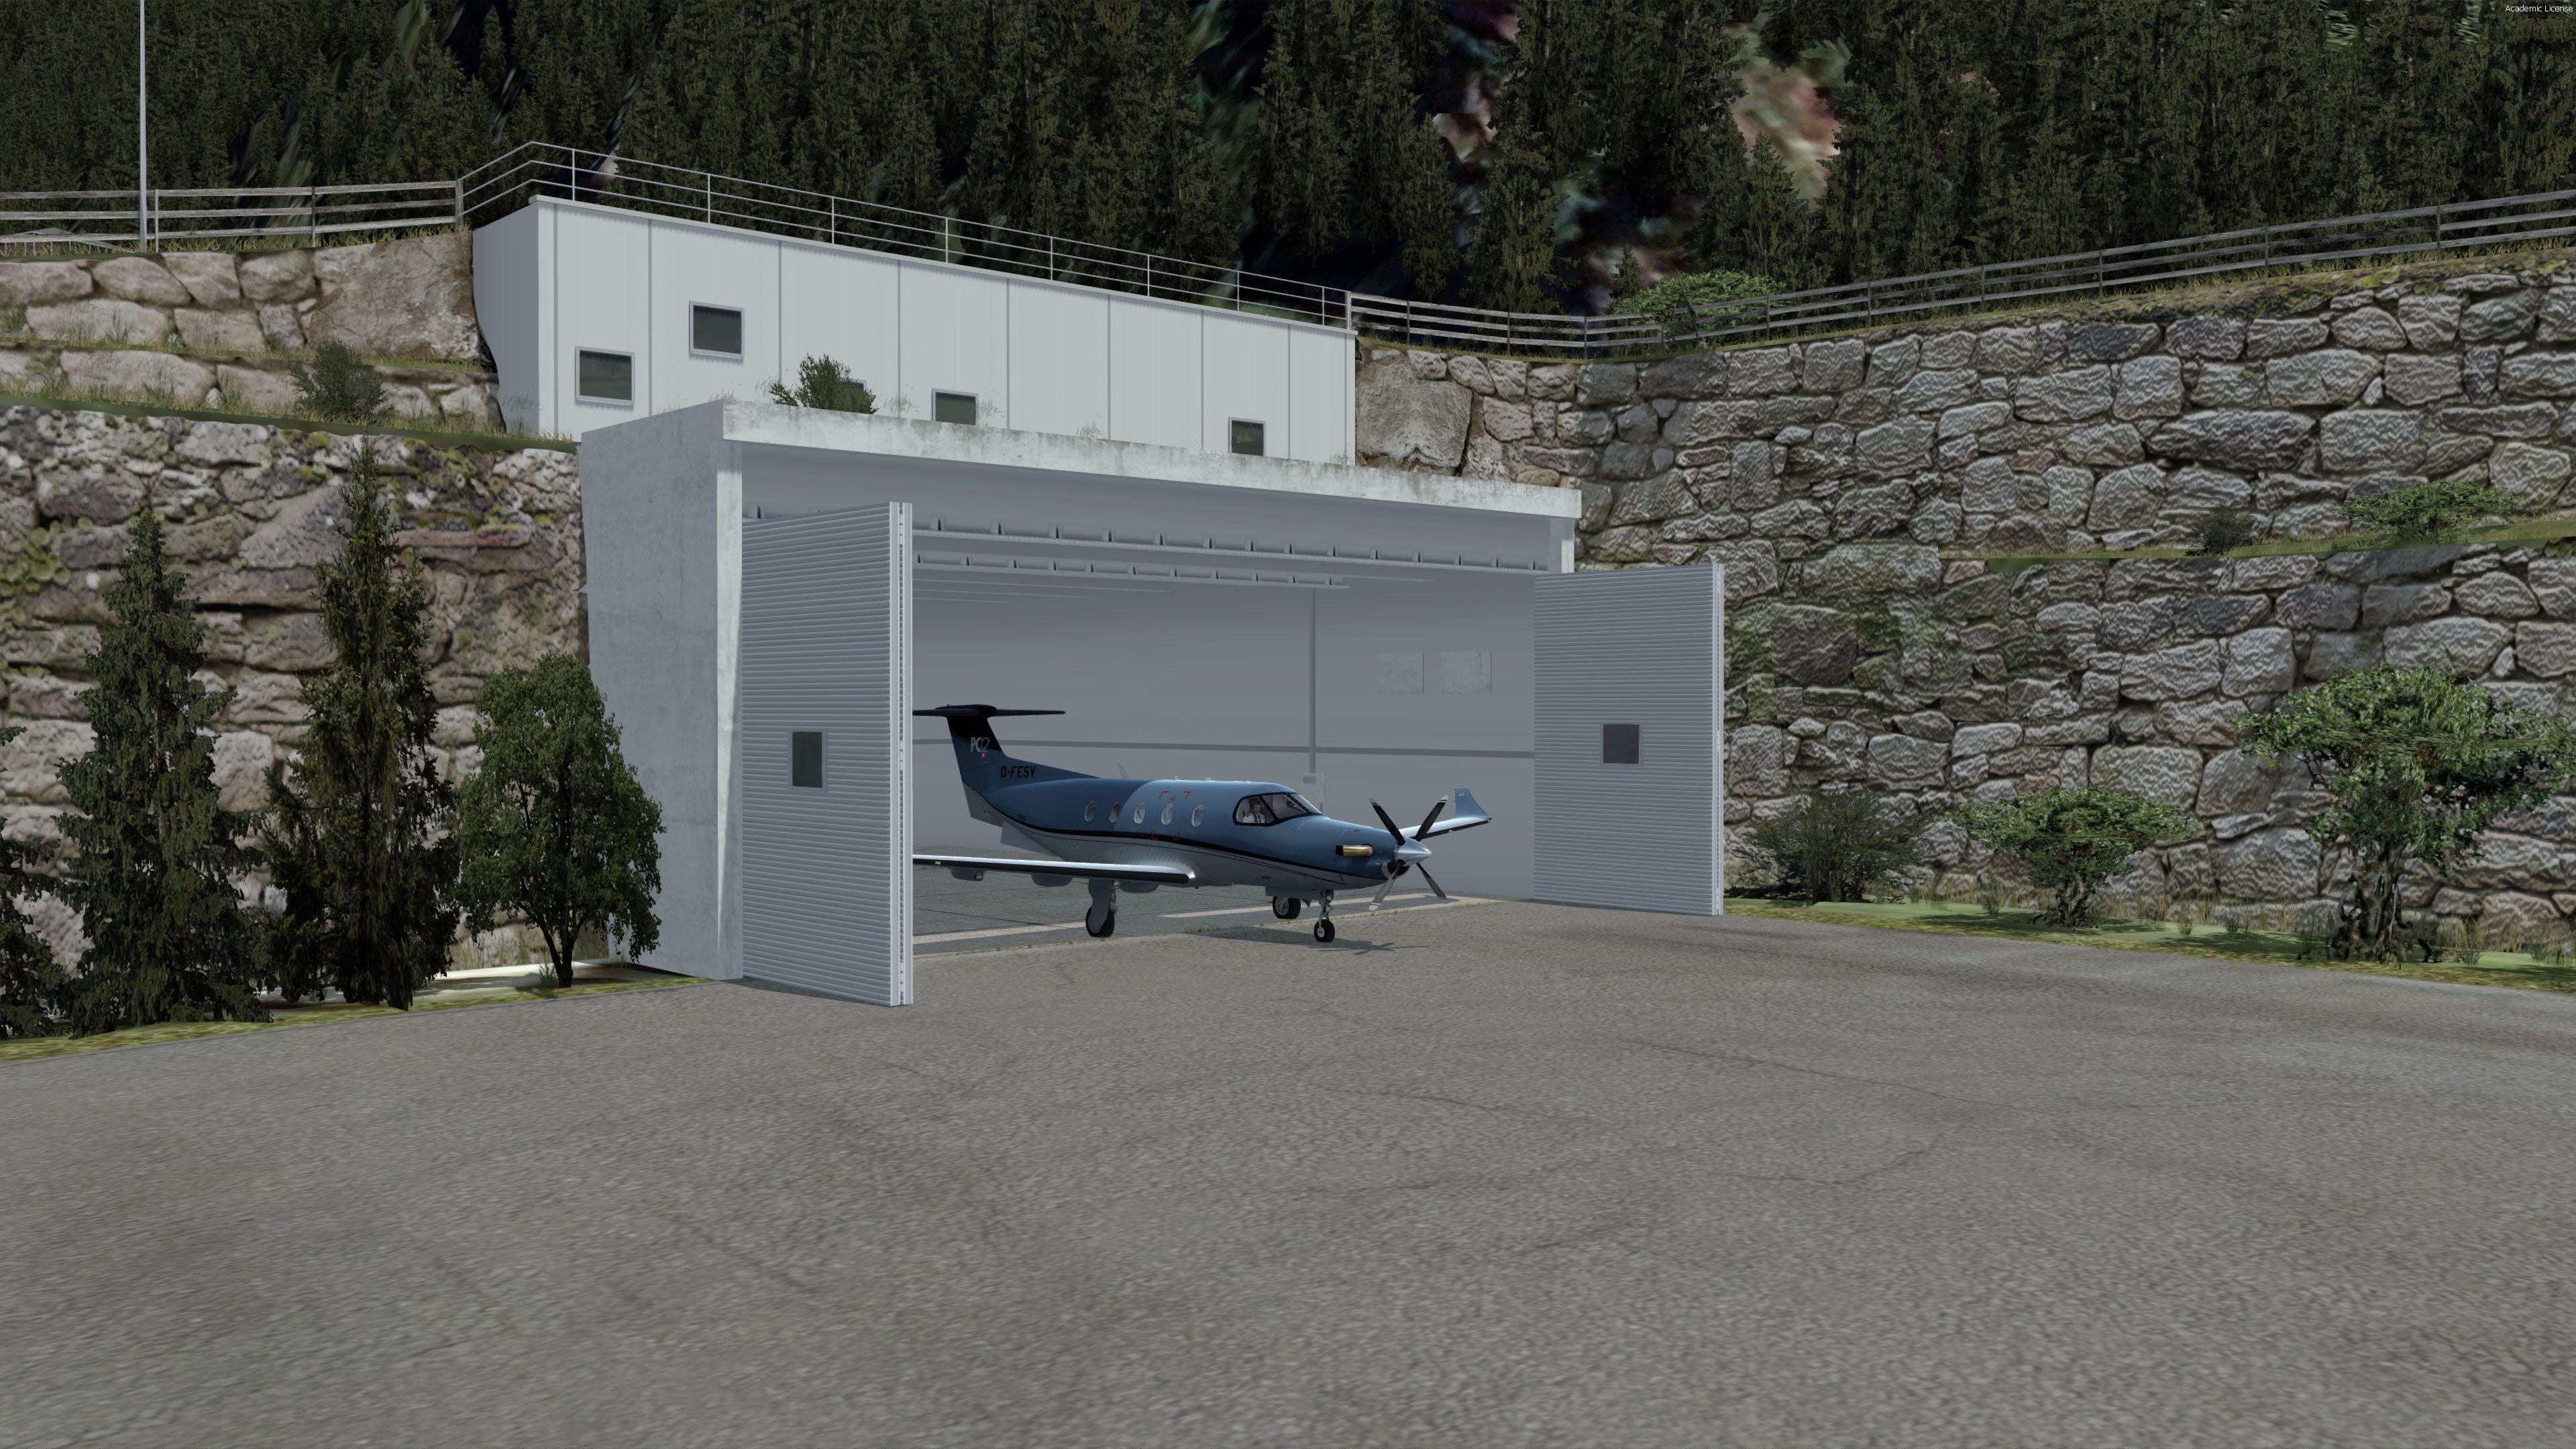
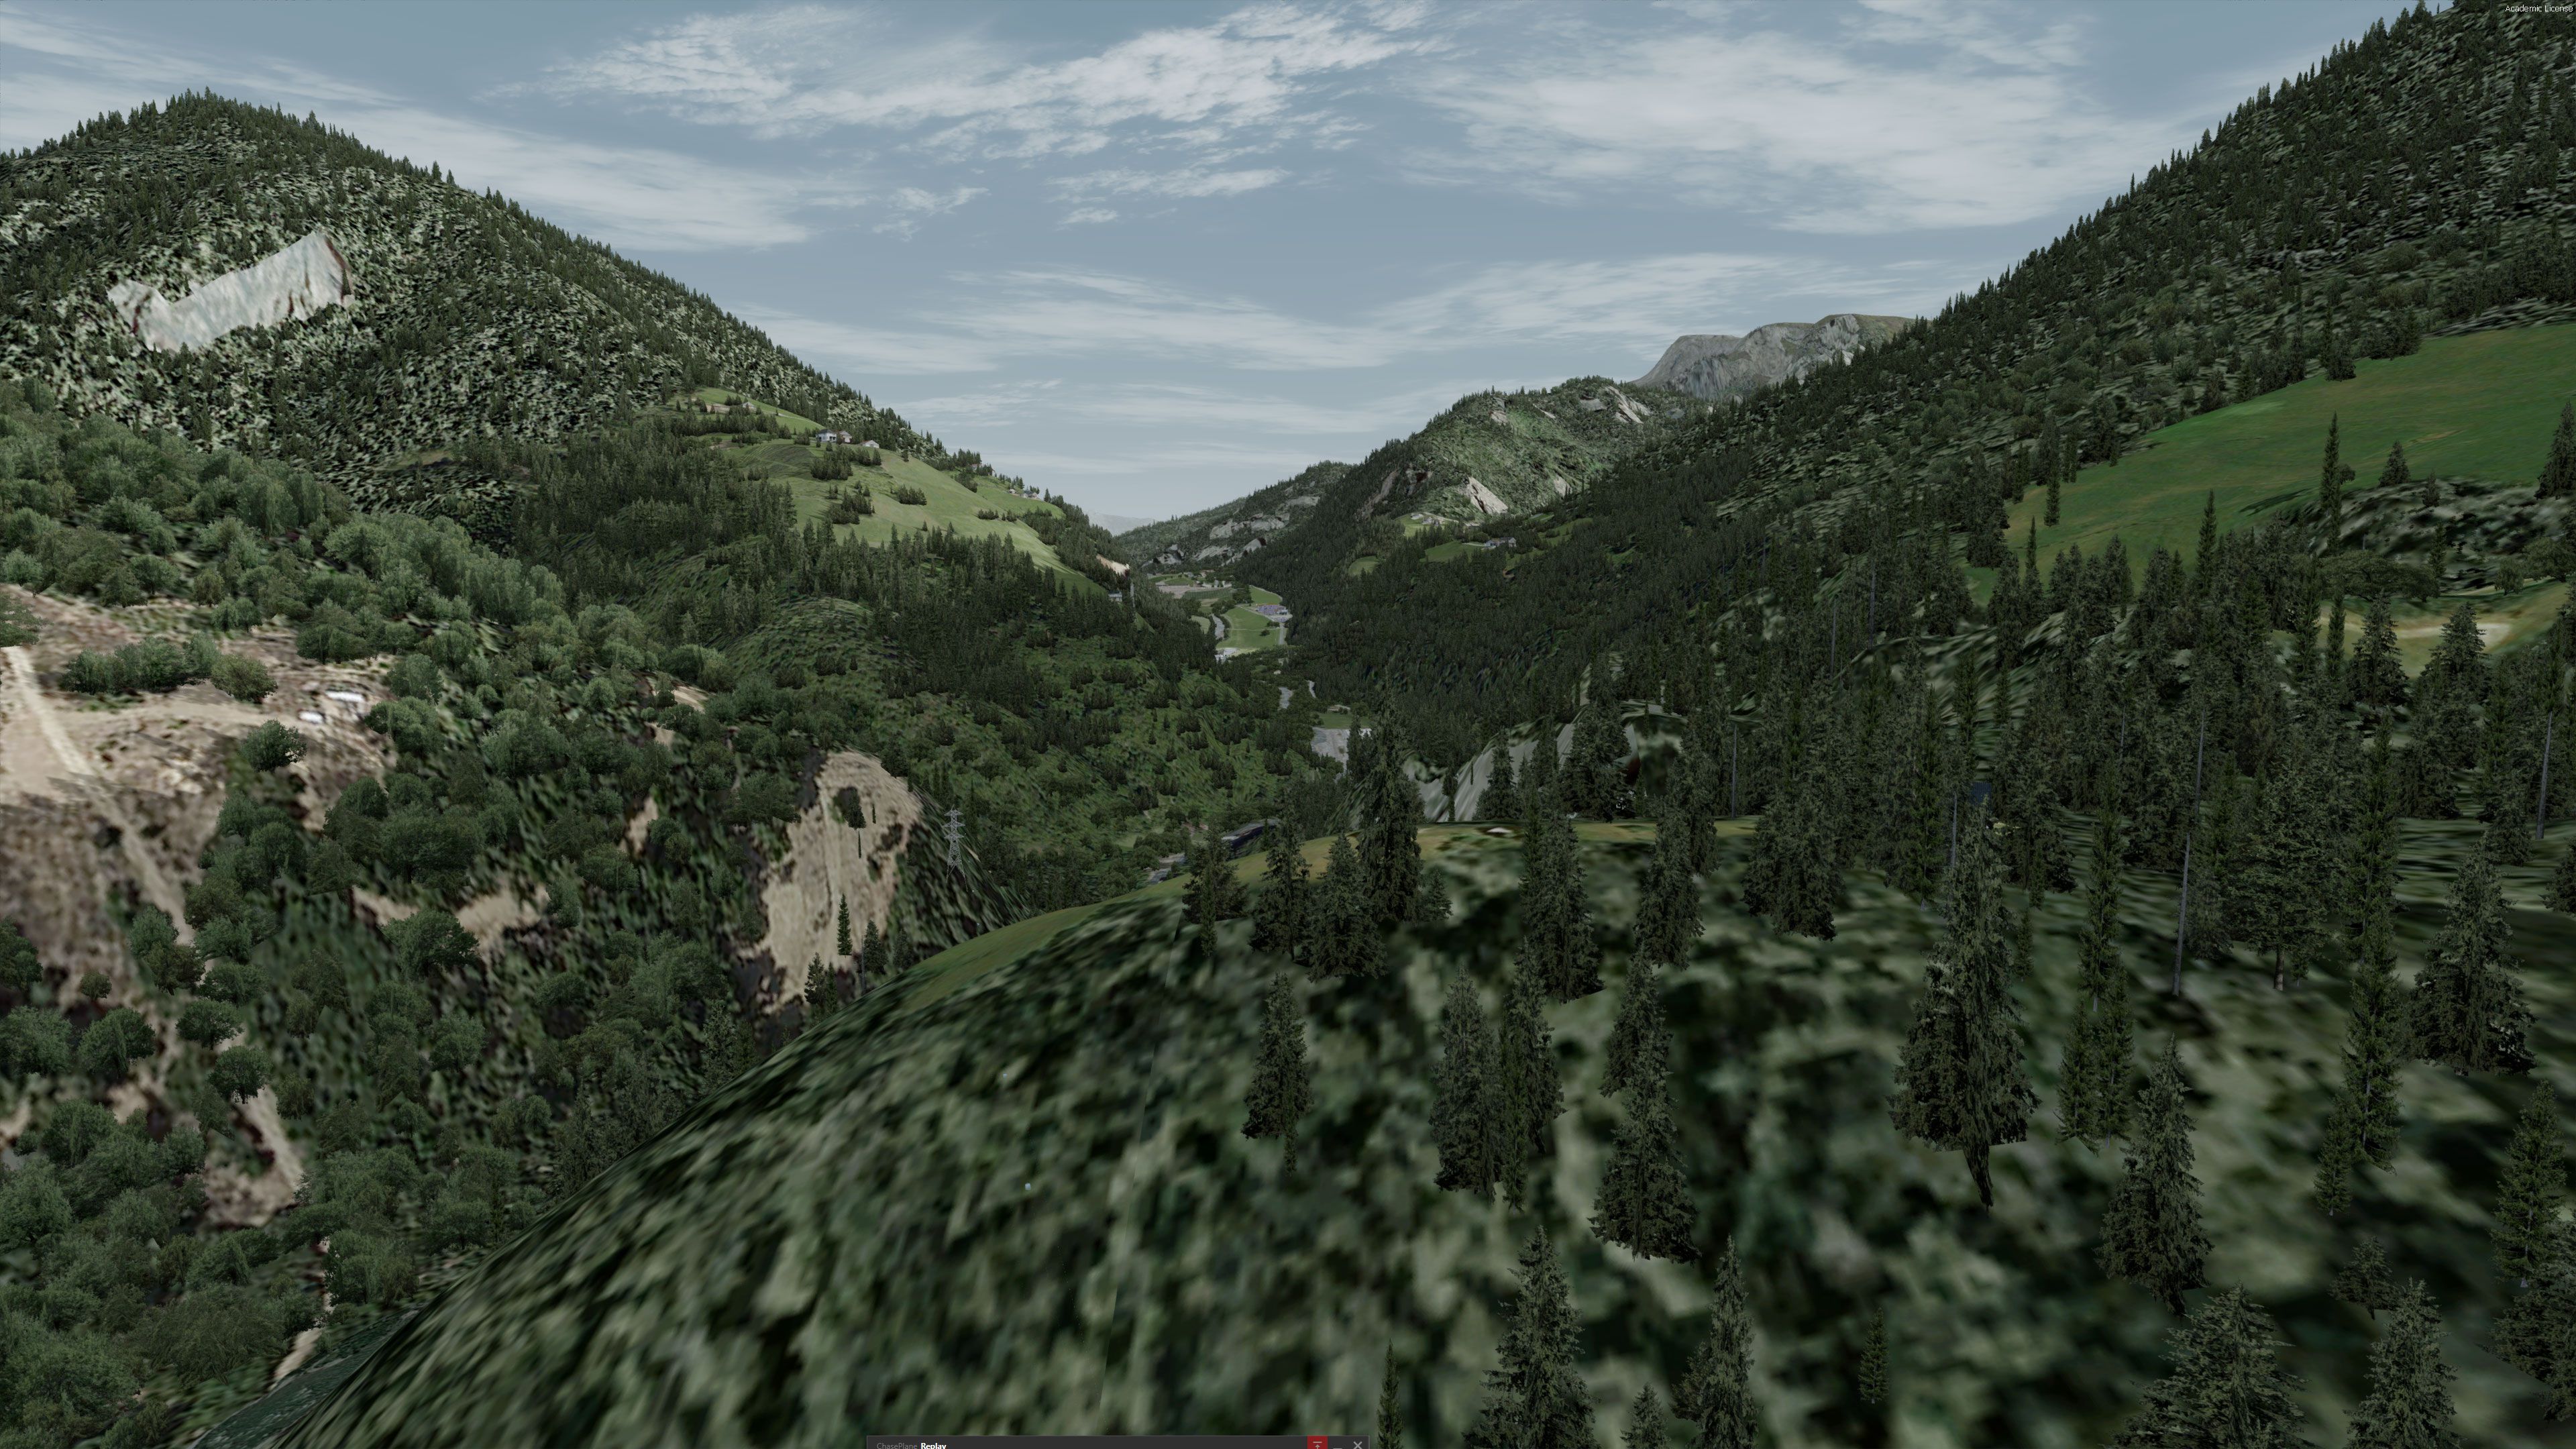
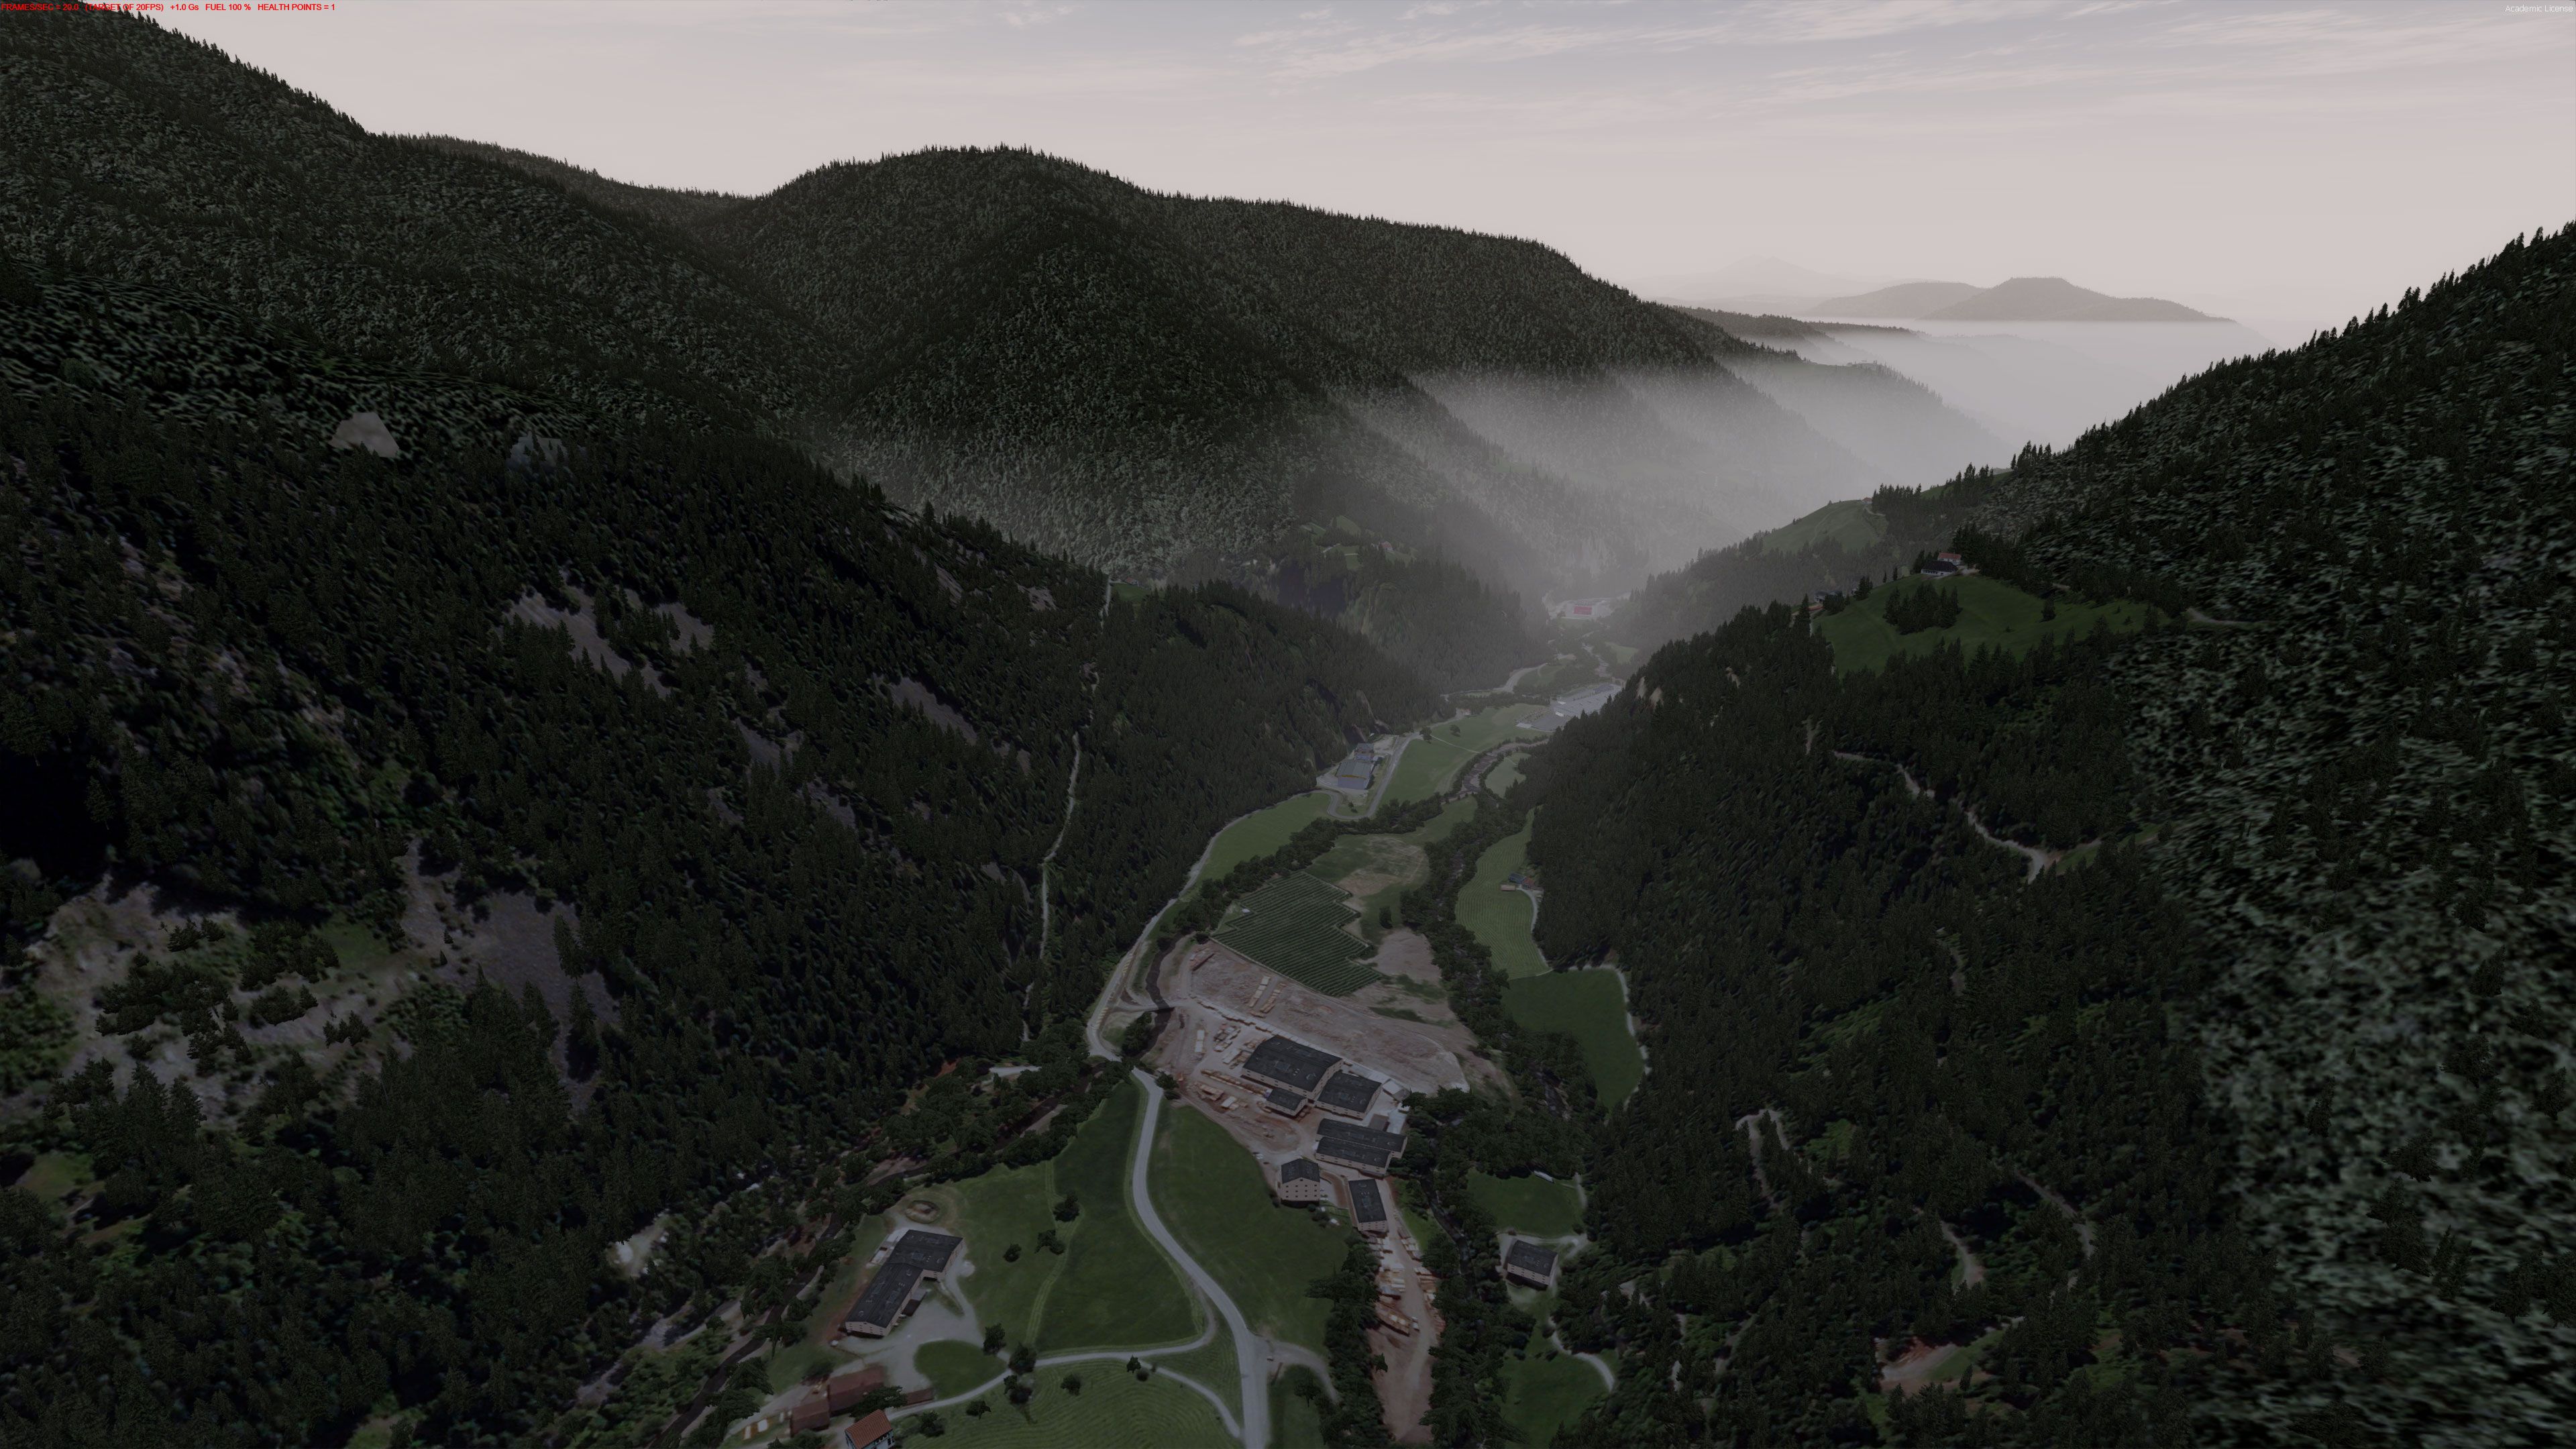
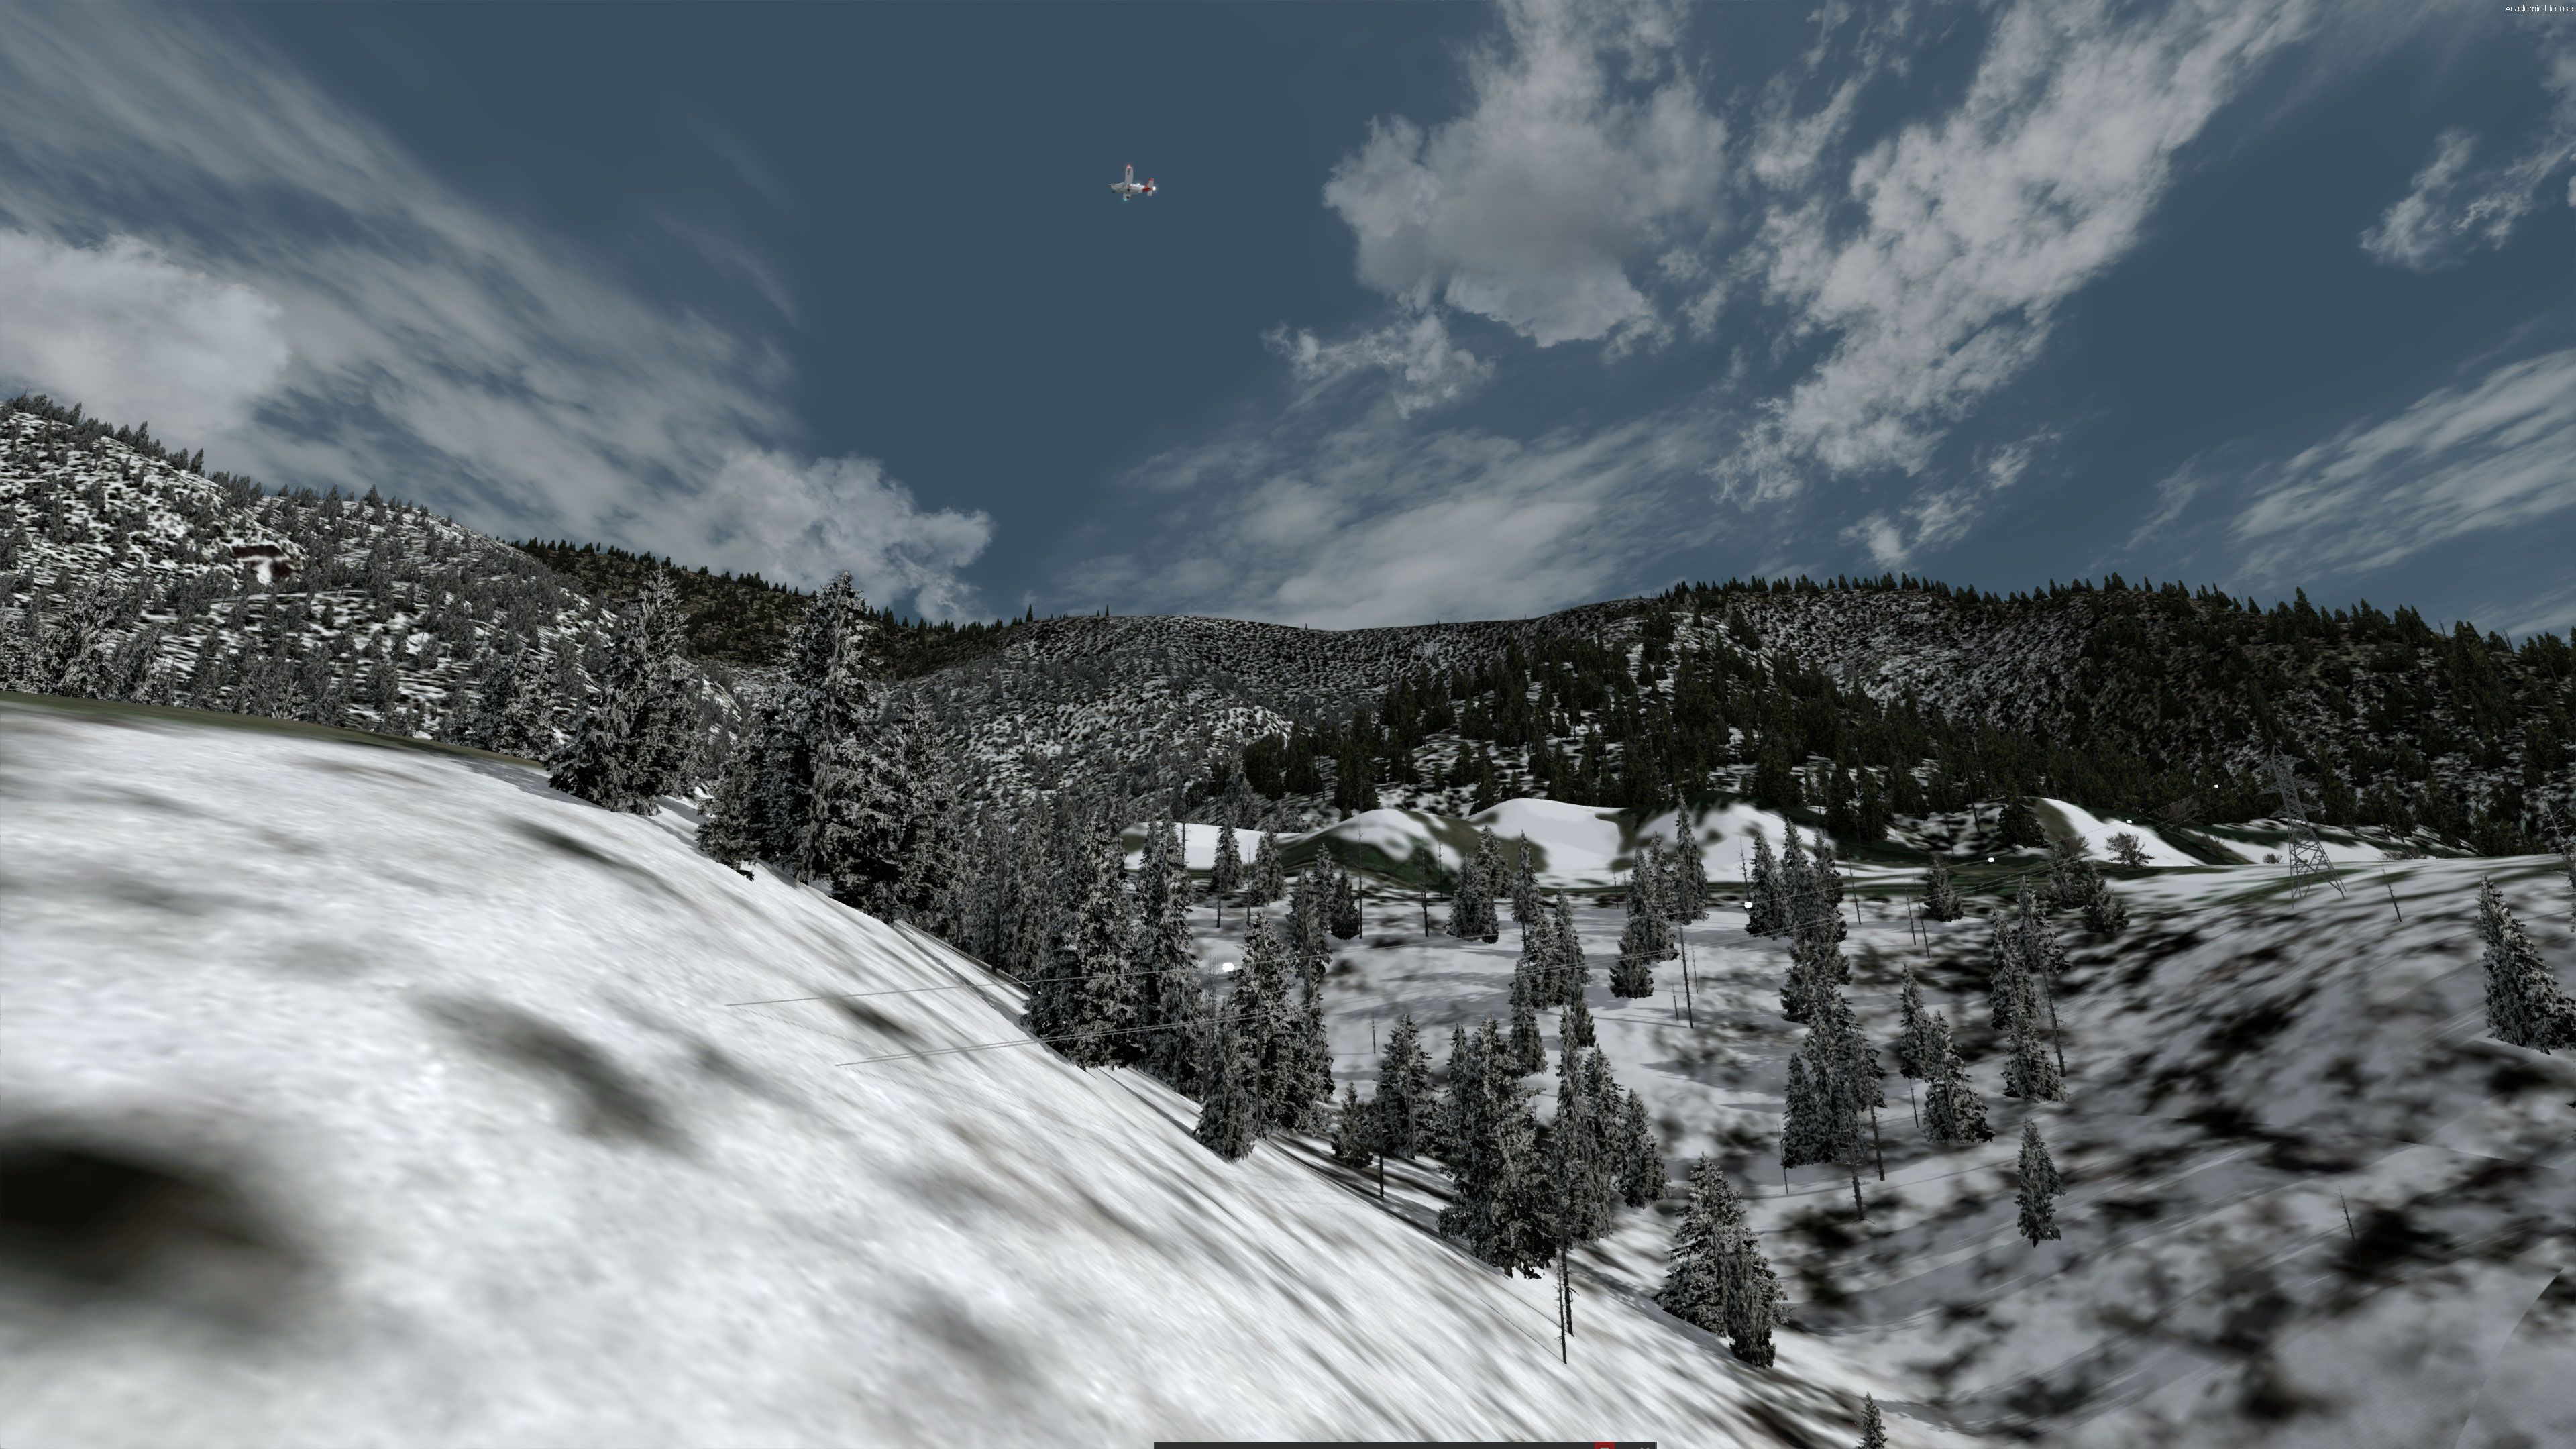
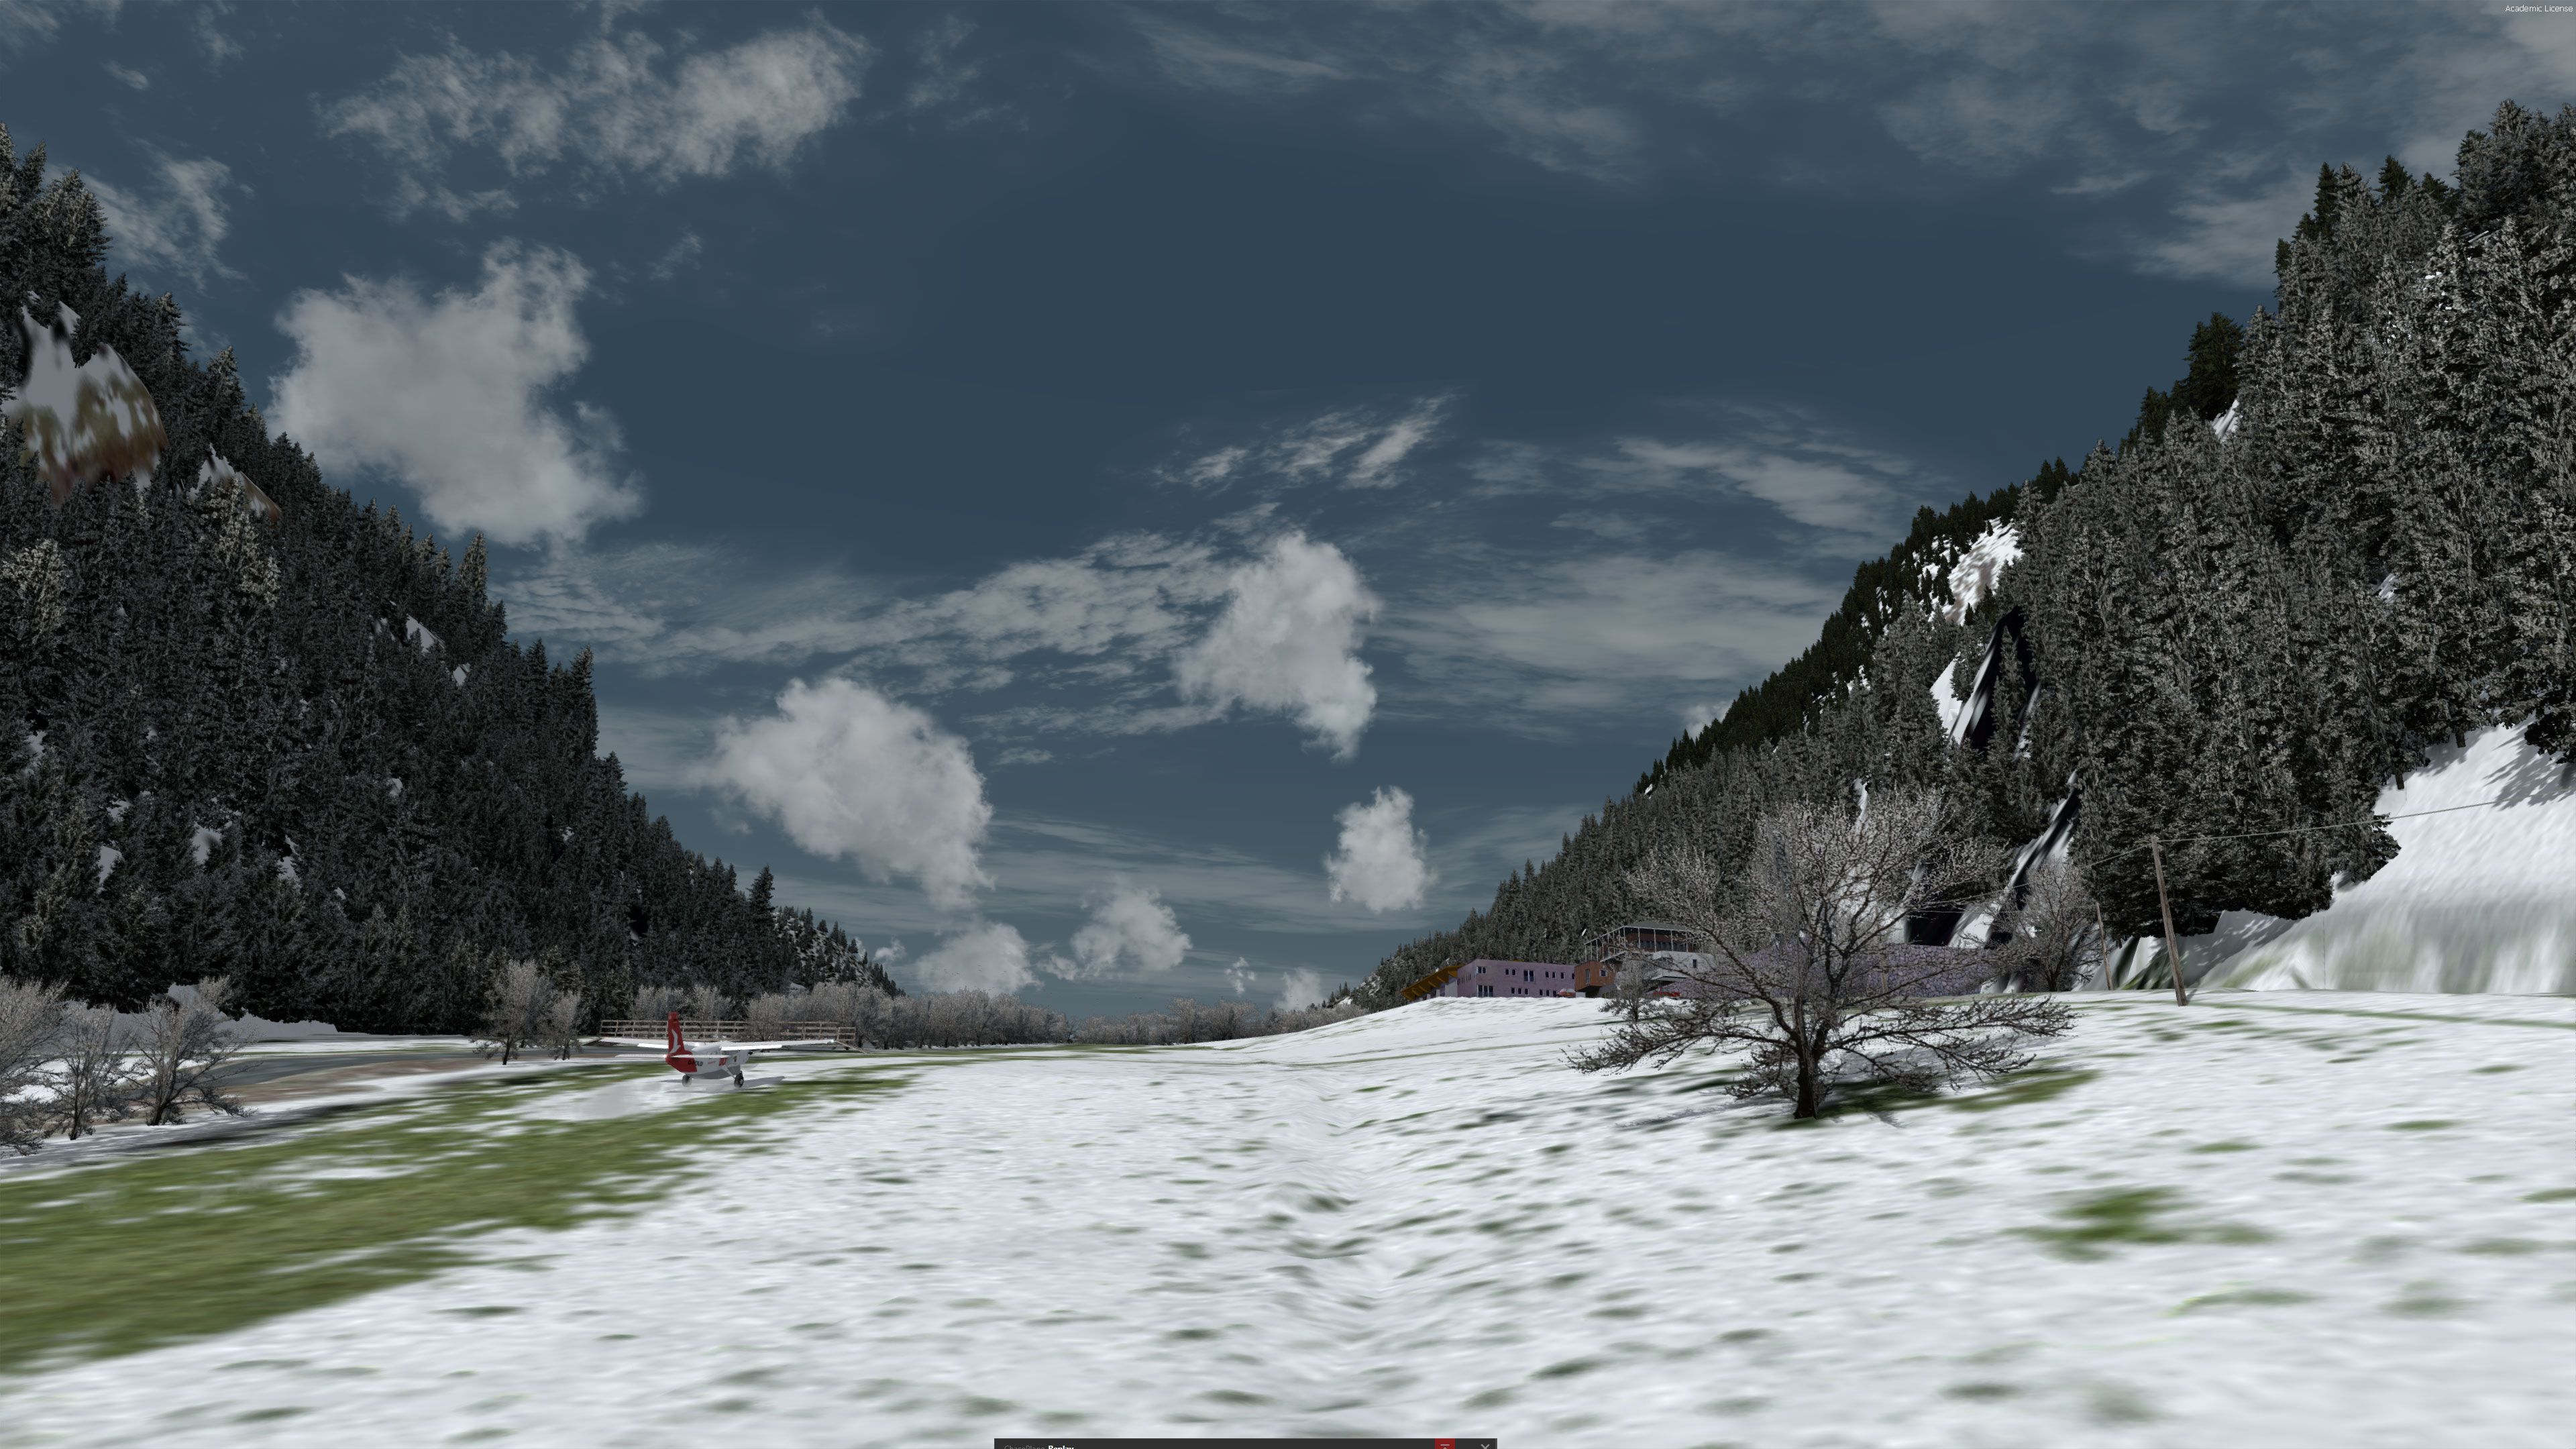
Locher/Sarentino Airfield scenery recreates the private sloped grass strip near Sarentino in northern Italy with seasonal photoreal ground, custom mesh, detailed hangar-side rockwork, and recognizable valley landmarks including power cables for demanding approaches. Built for Microsoft Flight Simulator X and Prepar3D v4, it requires a copied detail1.bmp texture for natural rock and taxiway blending.
A complete package covering the Locher/Sarentino Airfield for Microsoft Flight Simulator X (all versions including the Steam Edition) and Prepar3D (including v4 - P3Dv4).
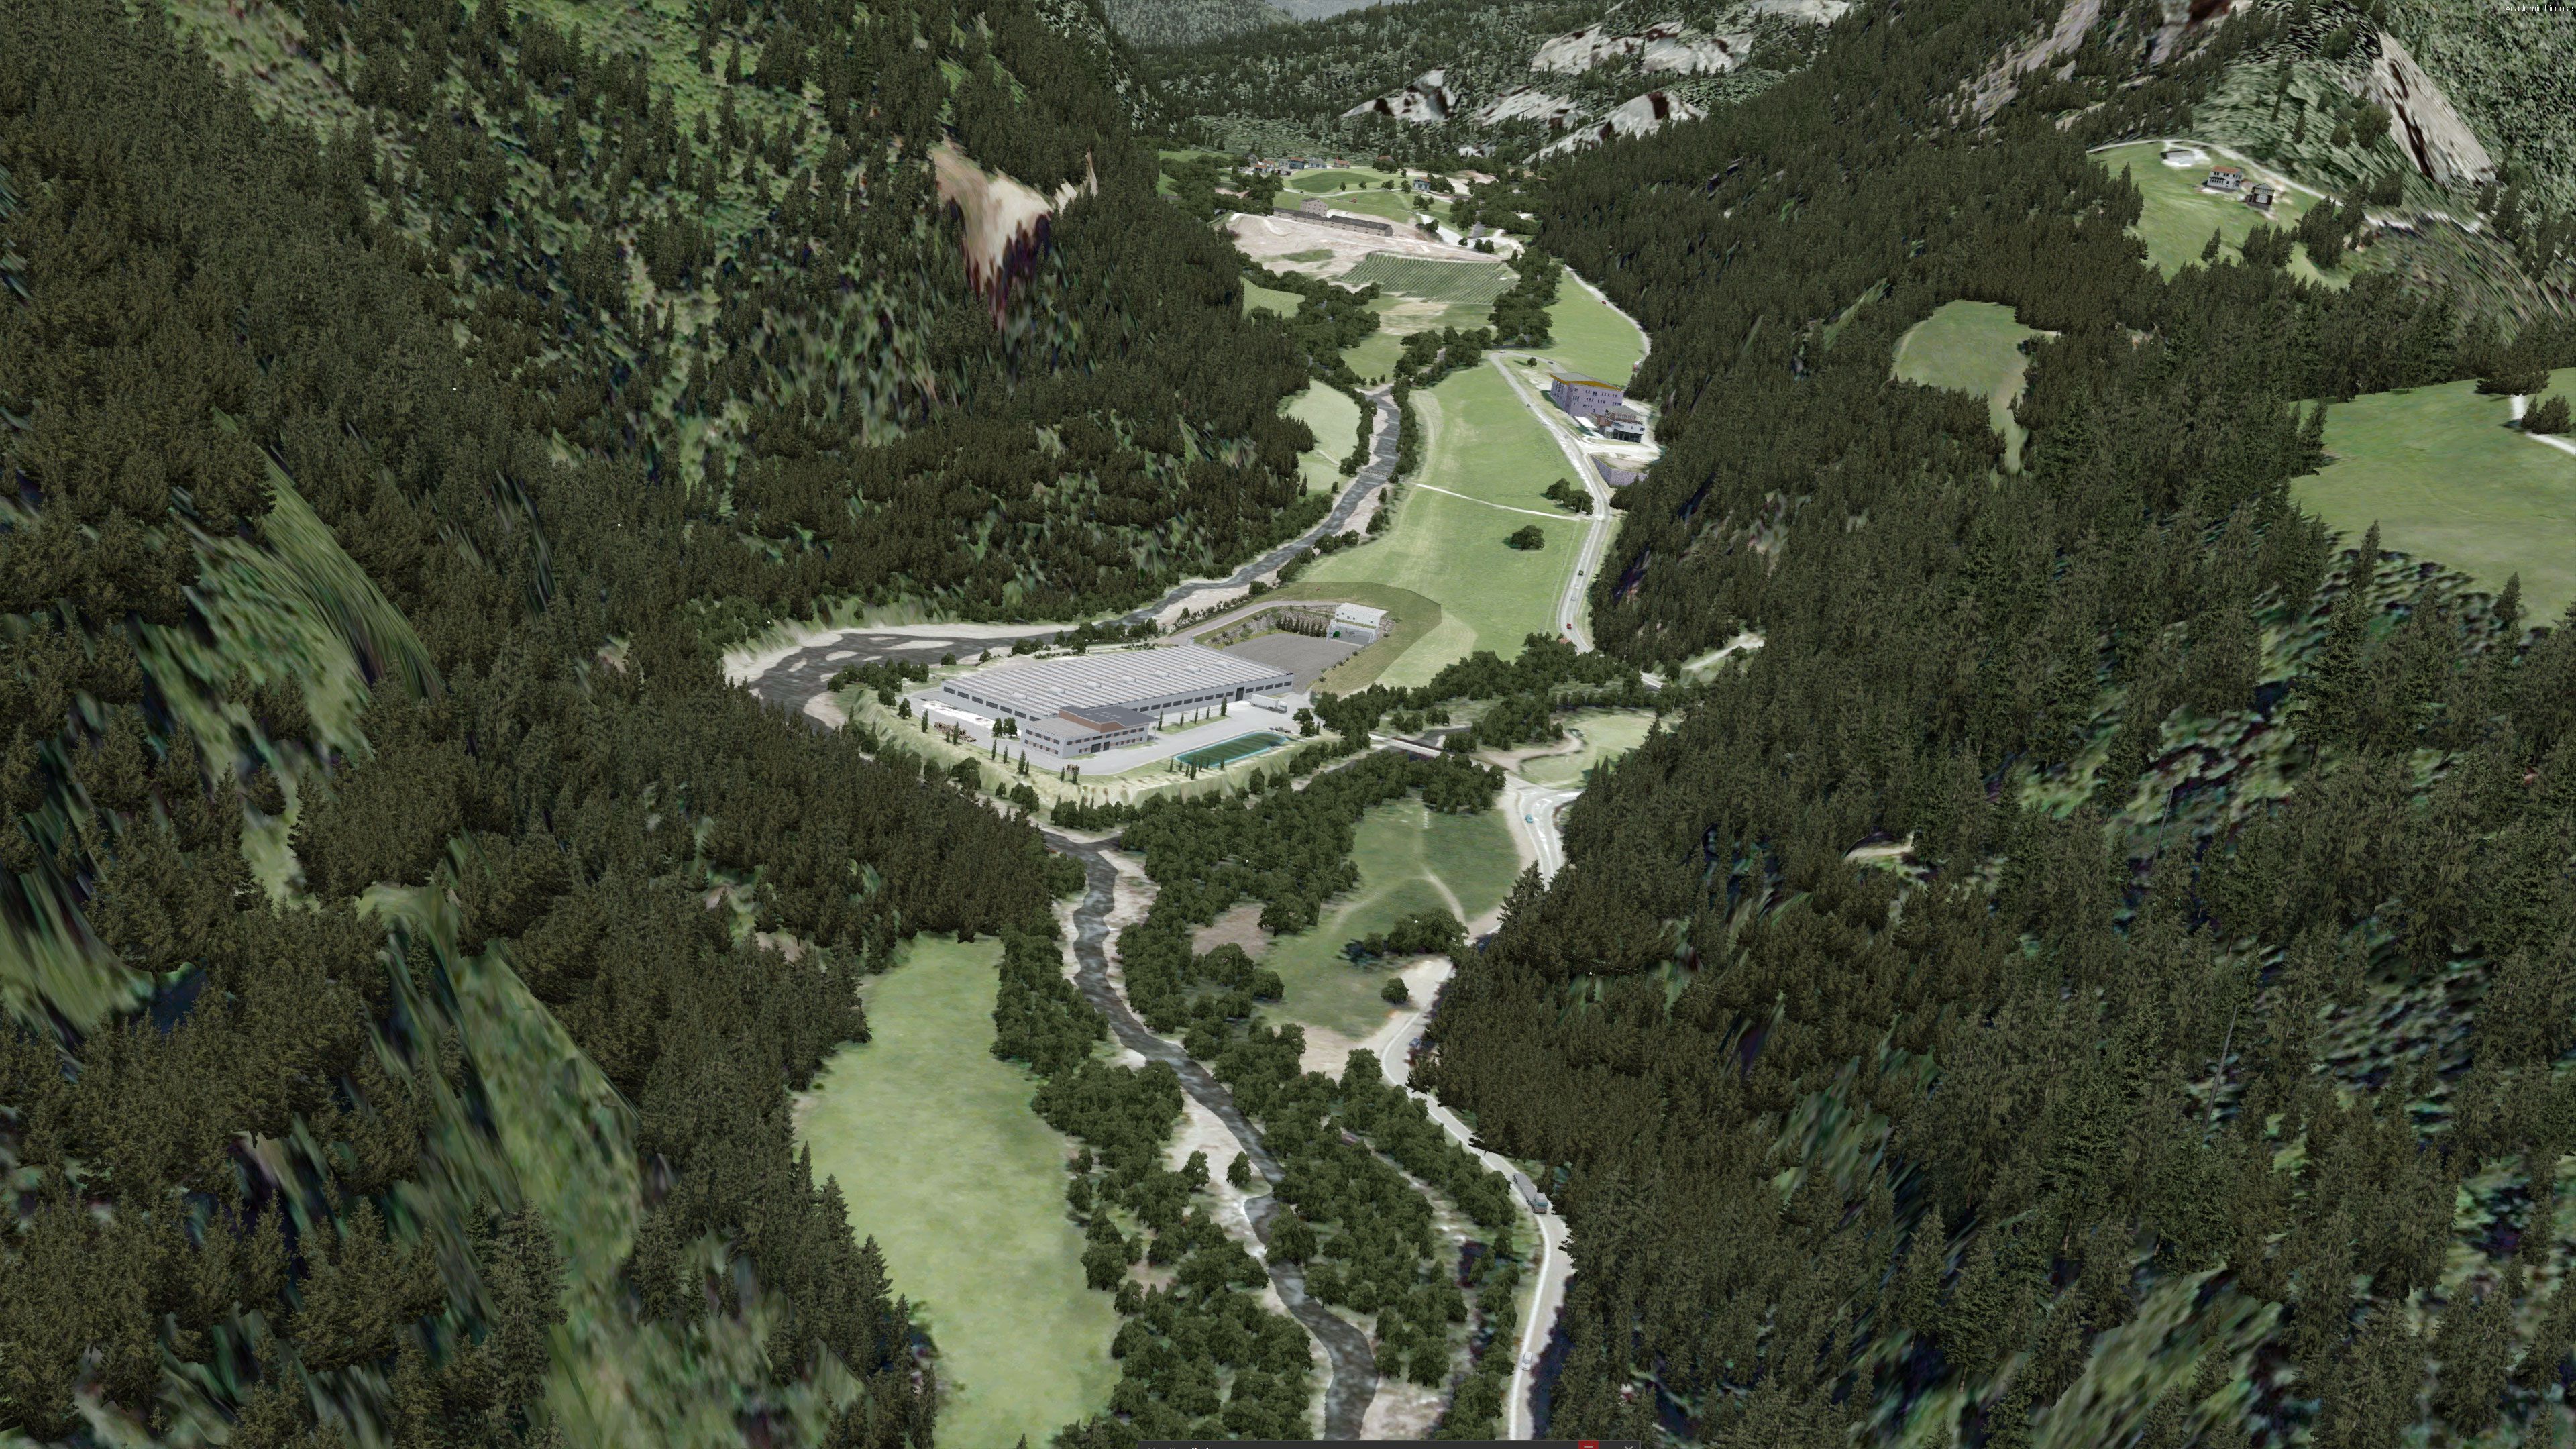
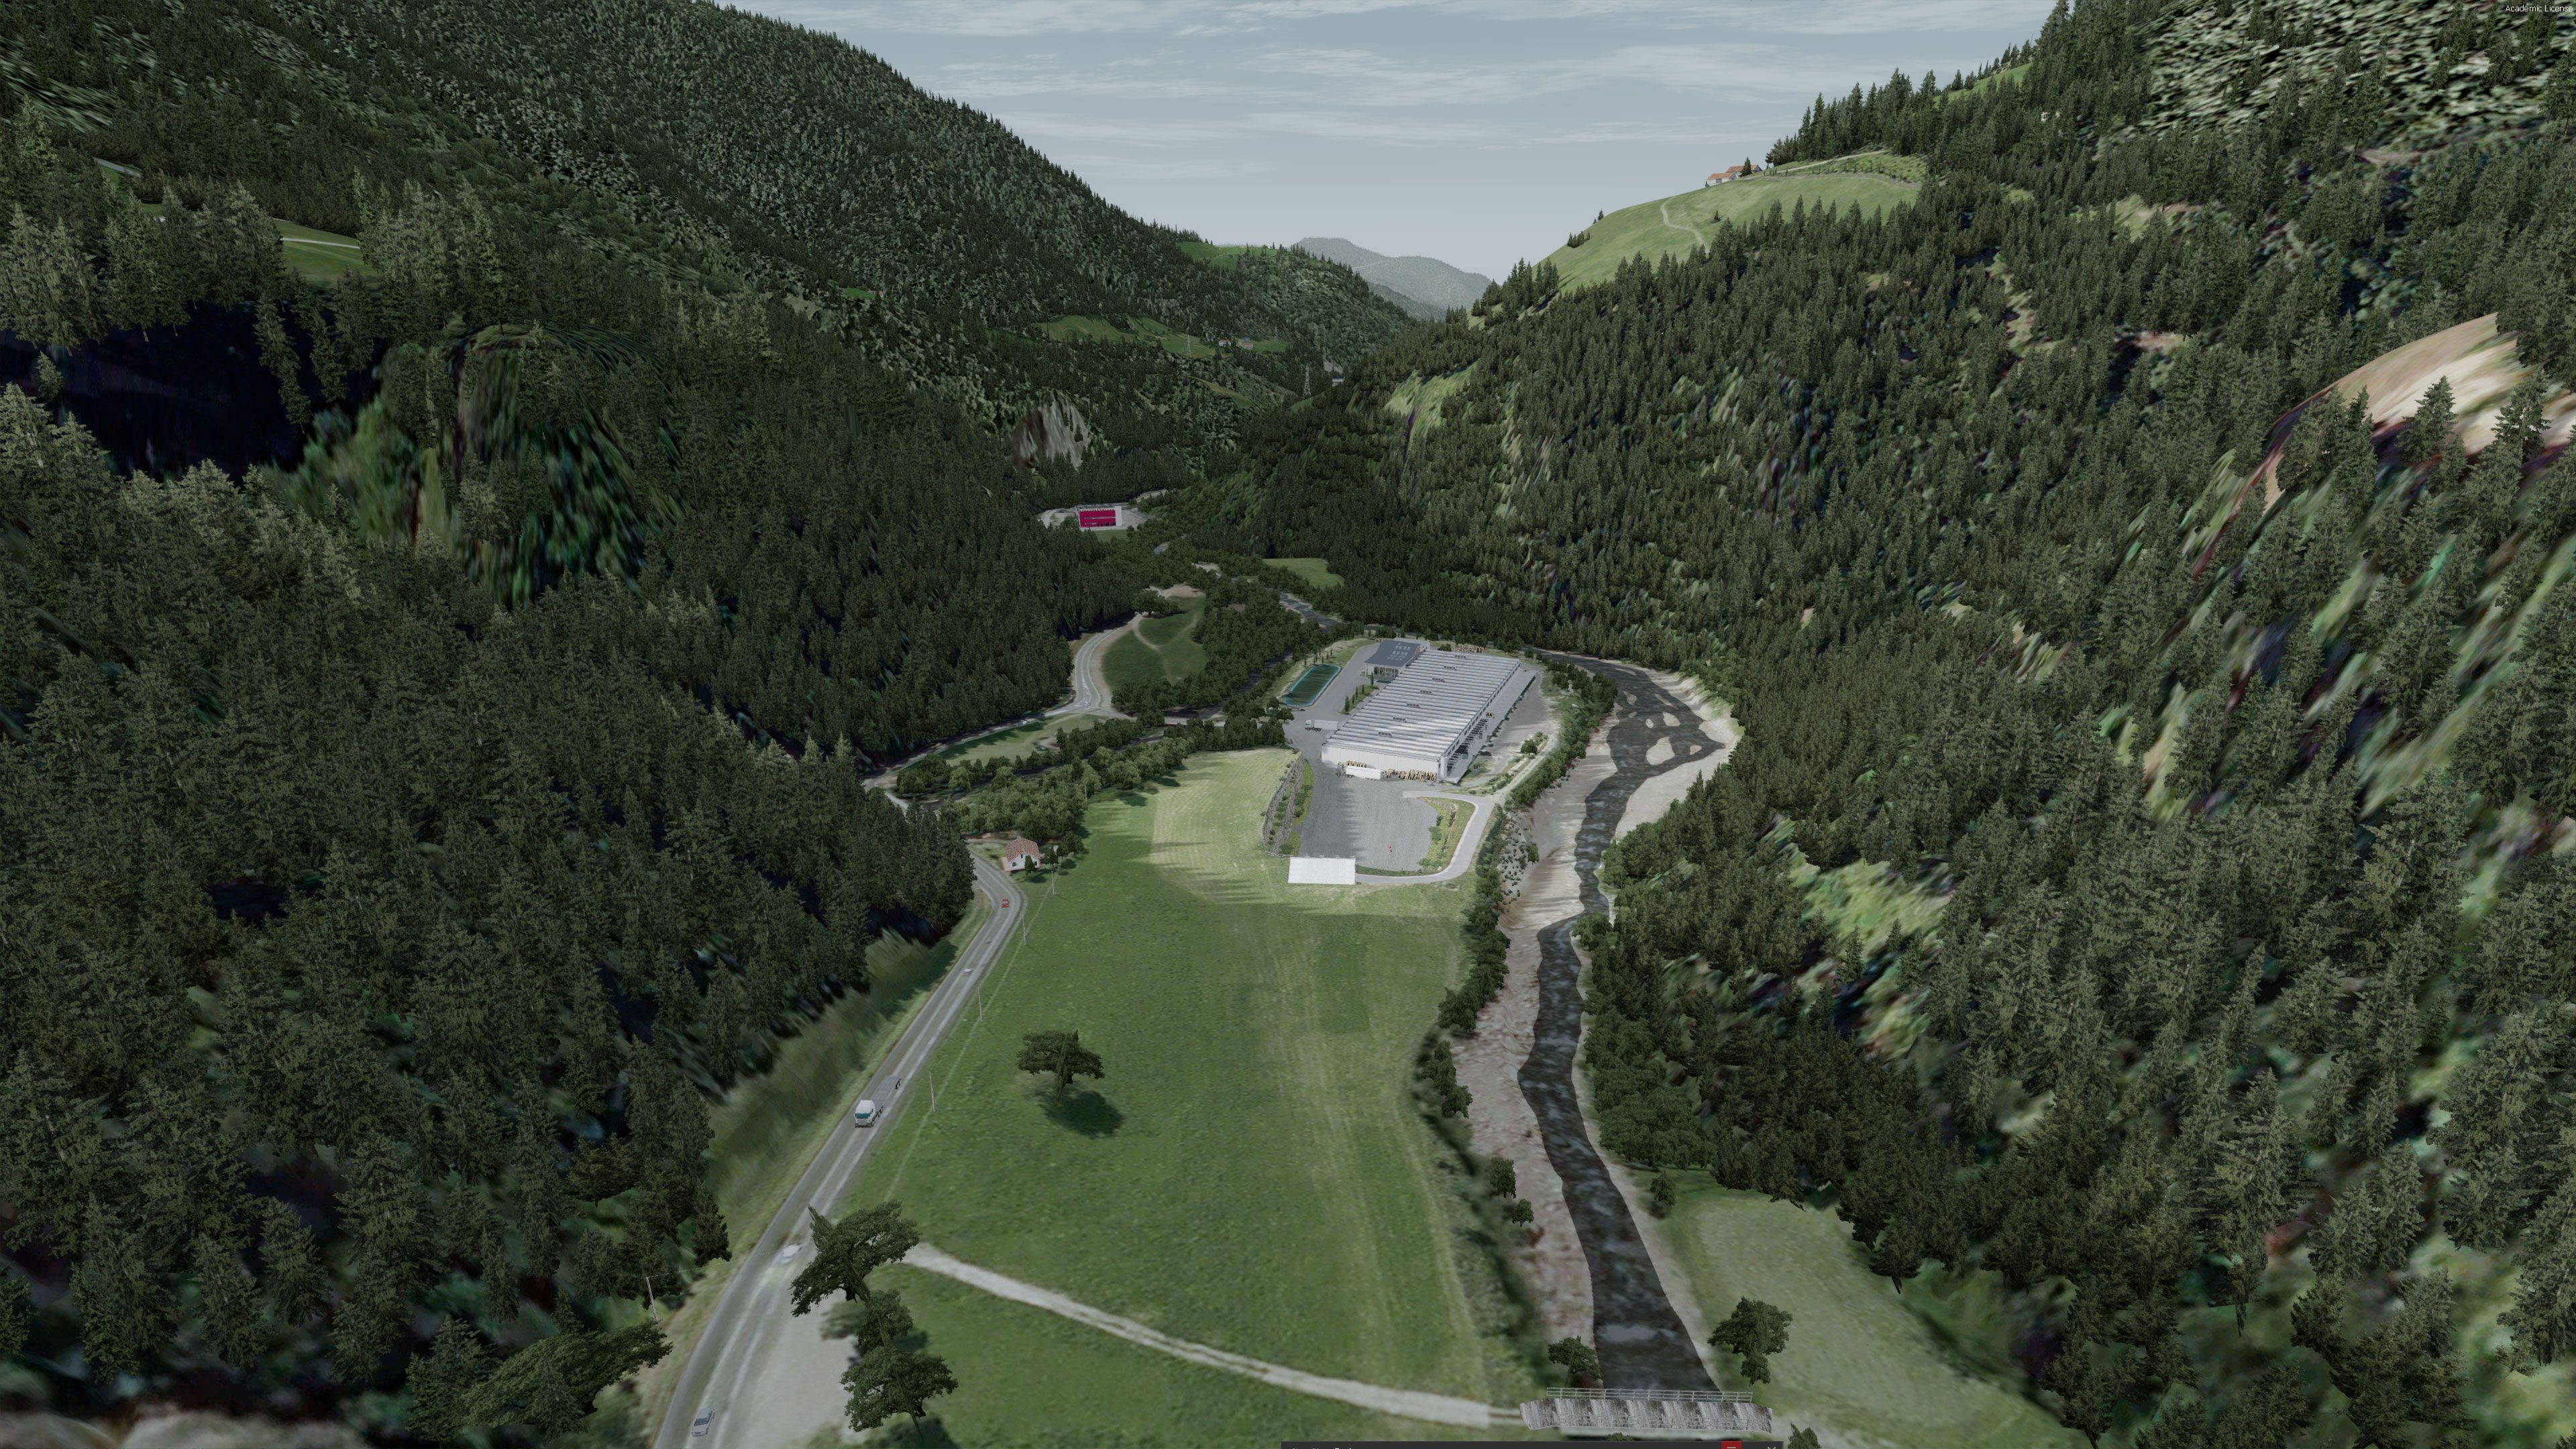
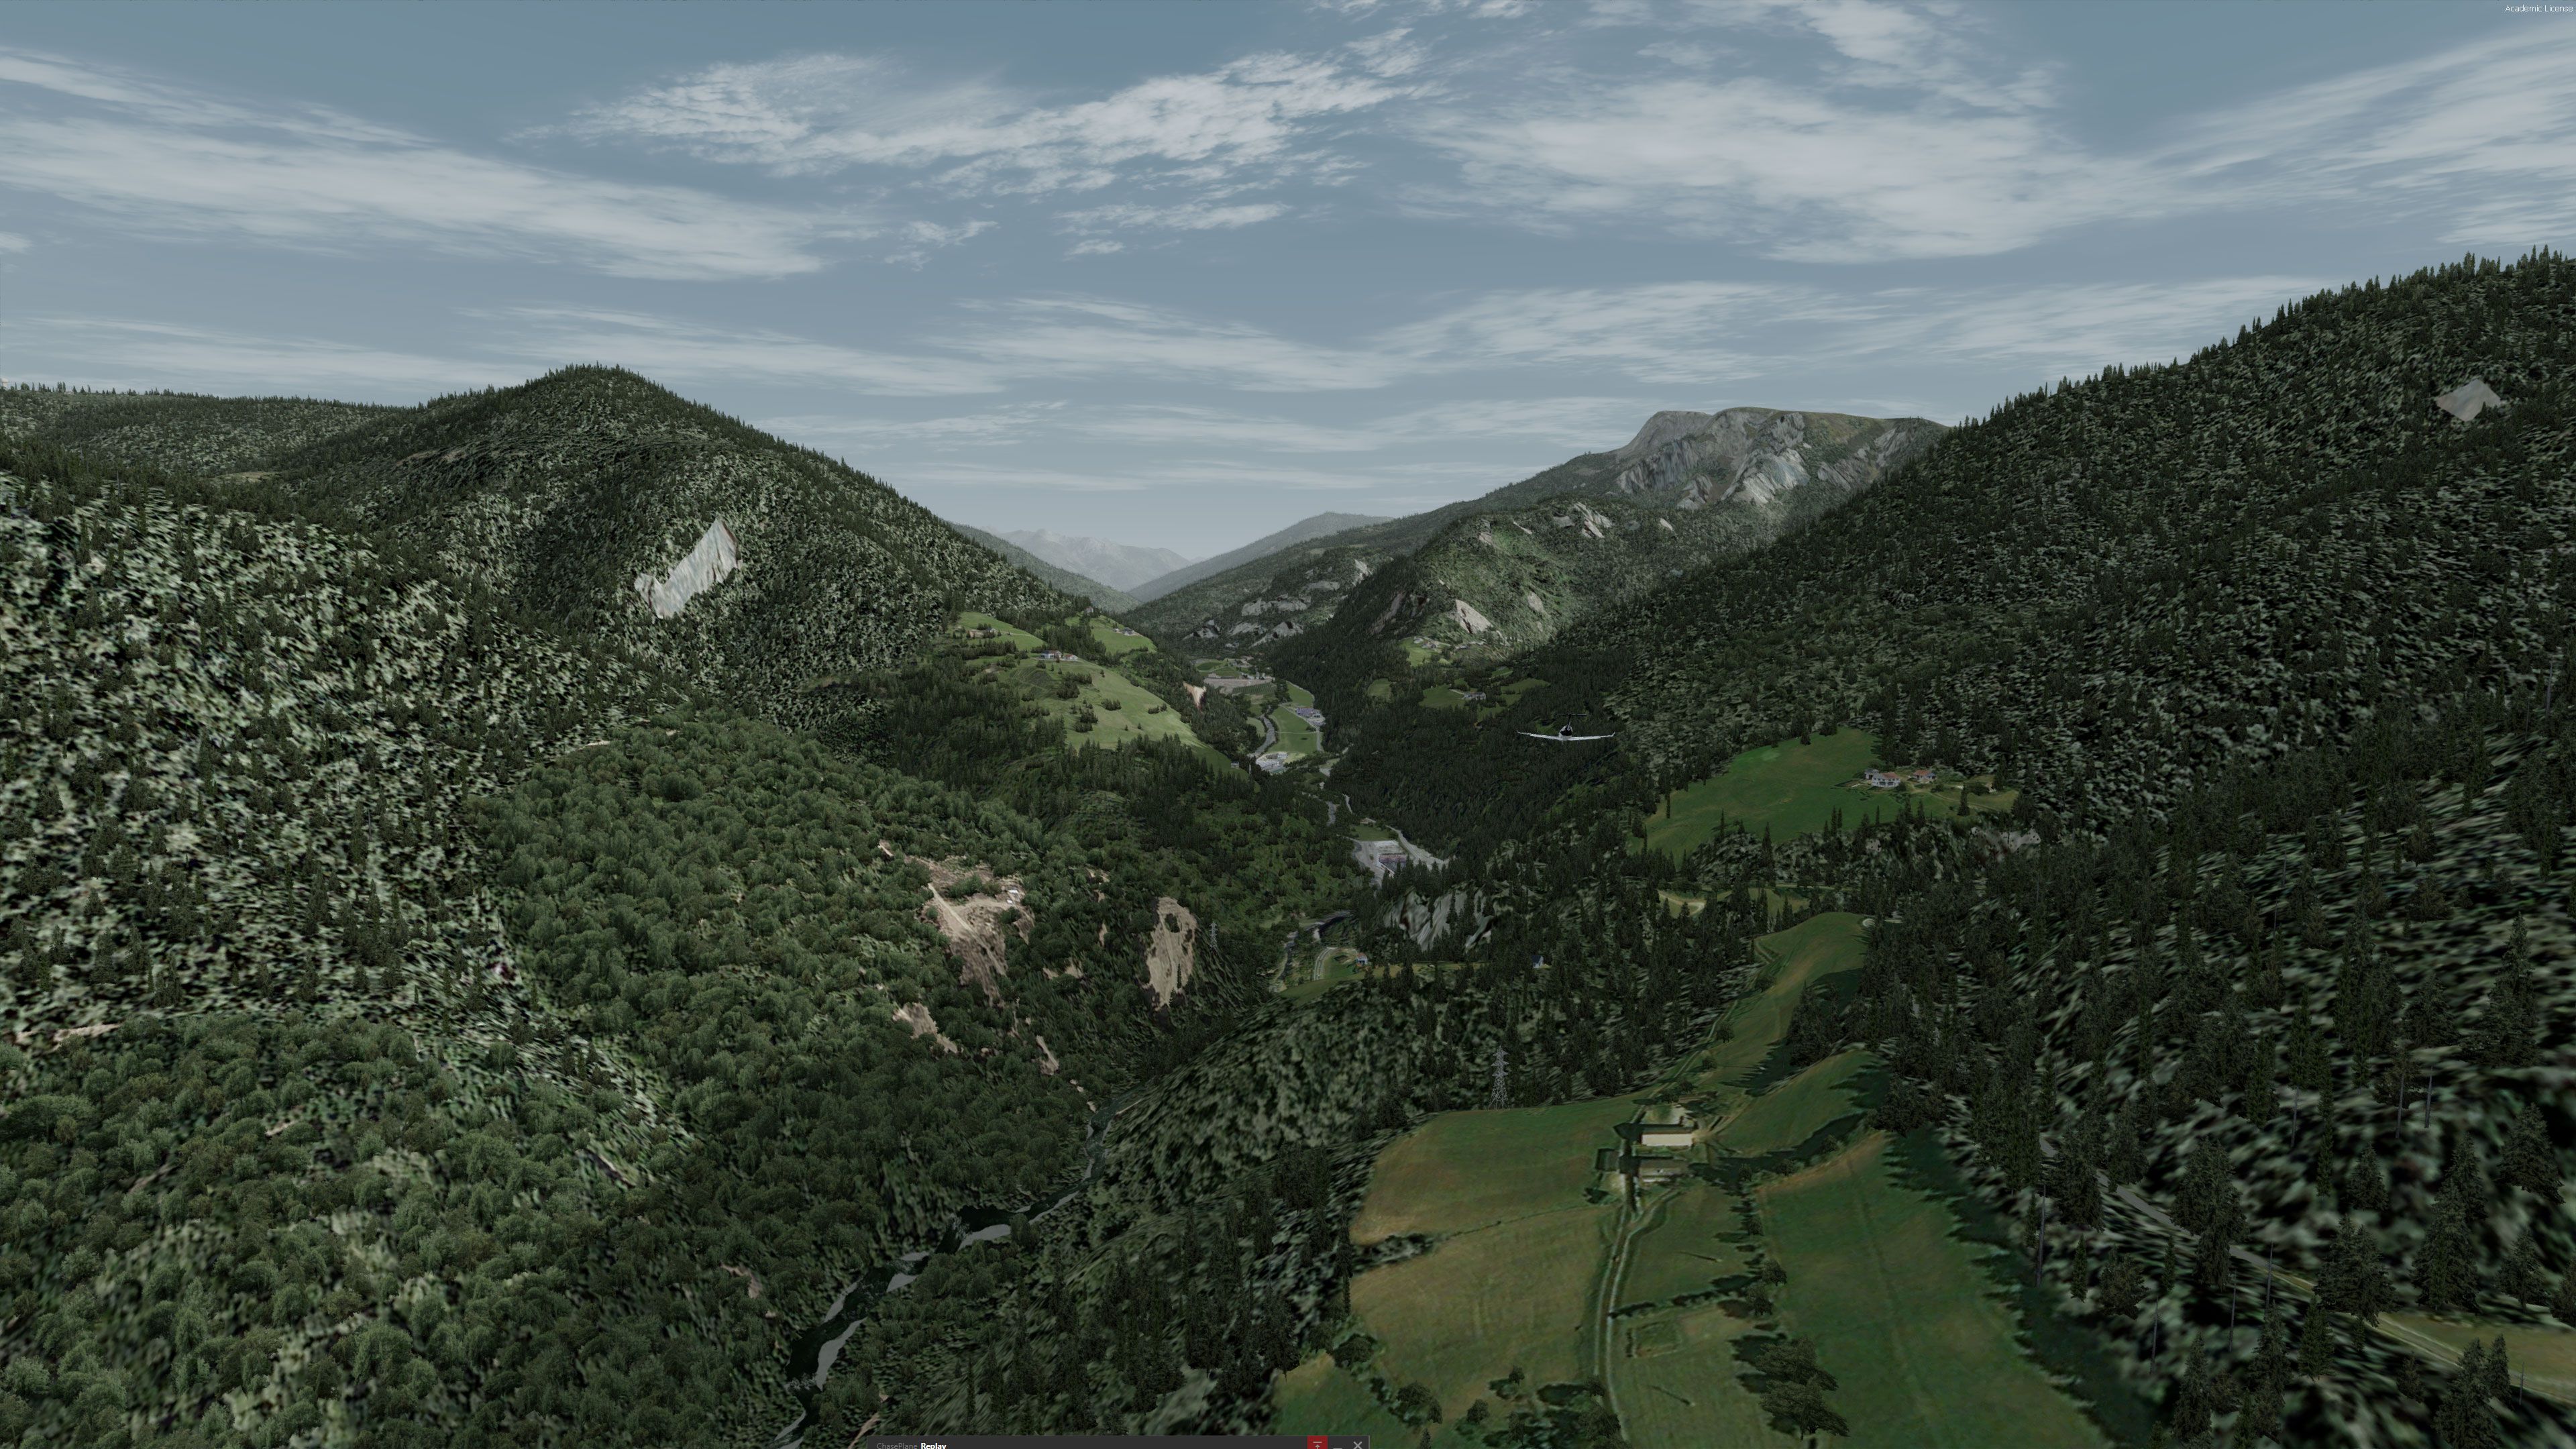
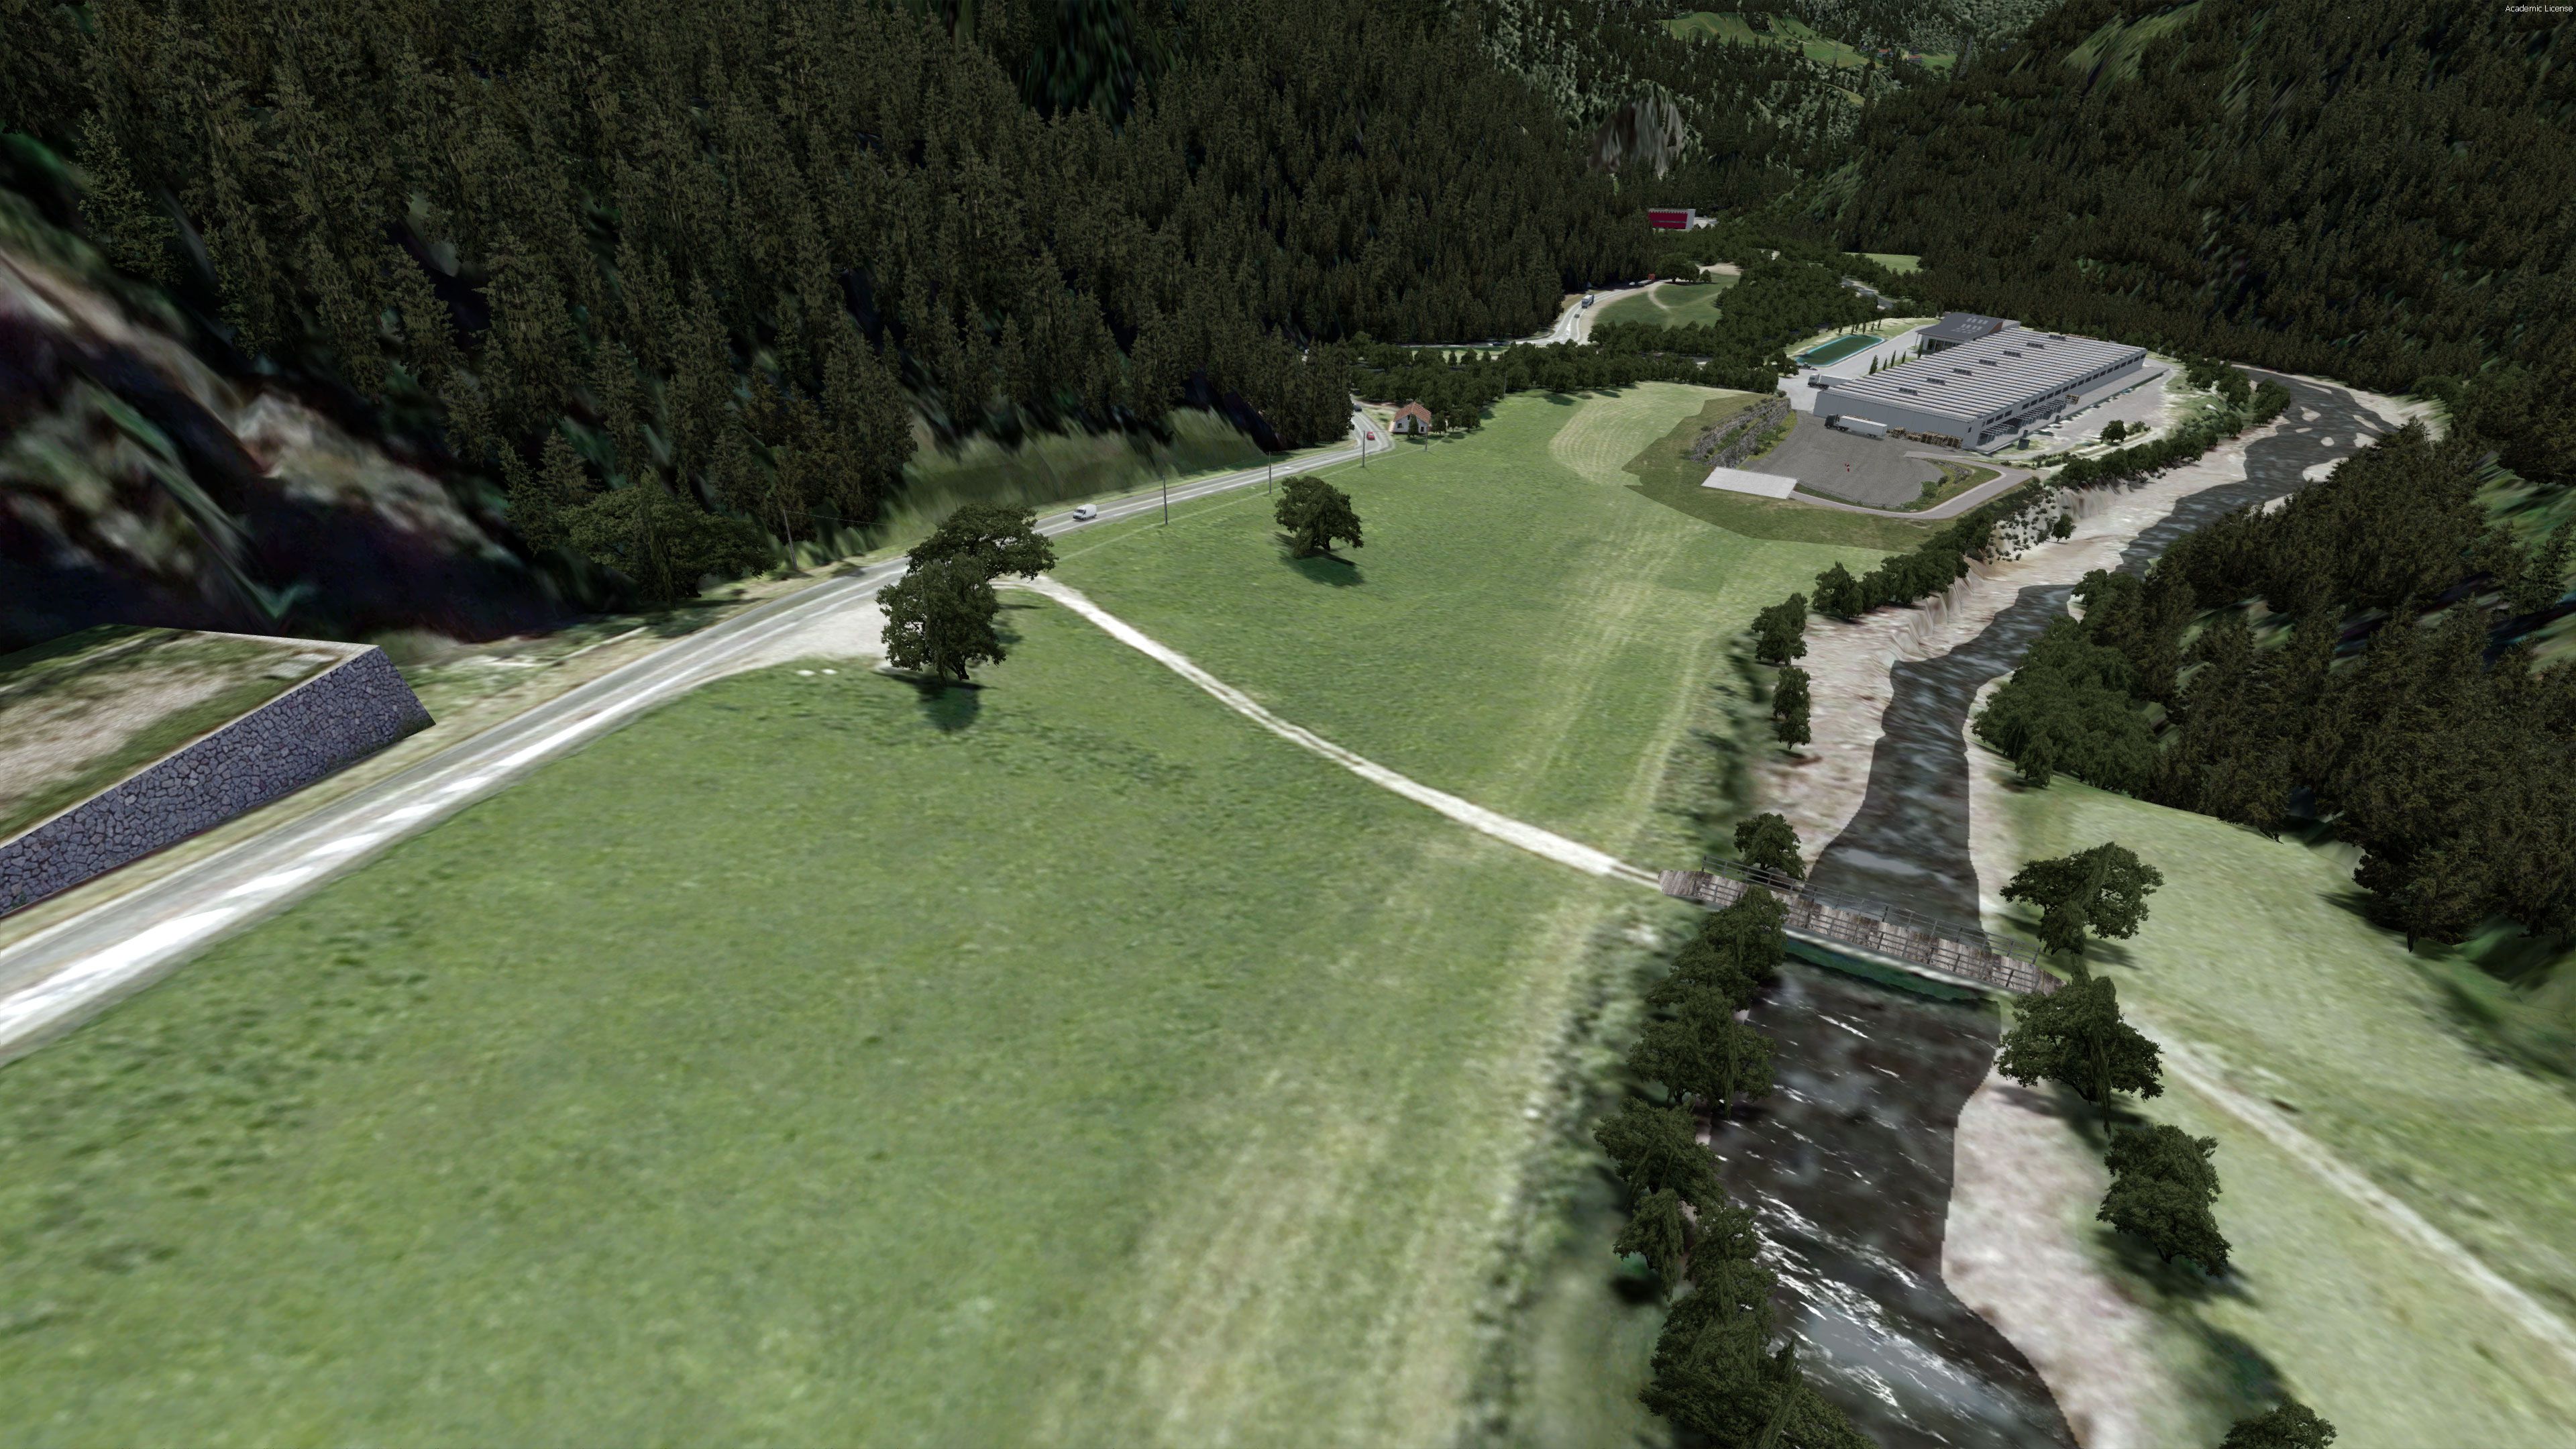
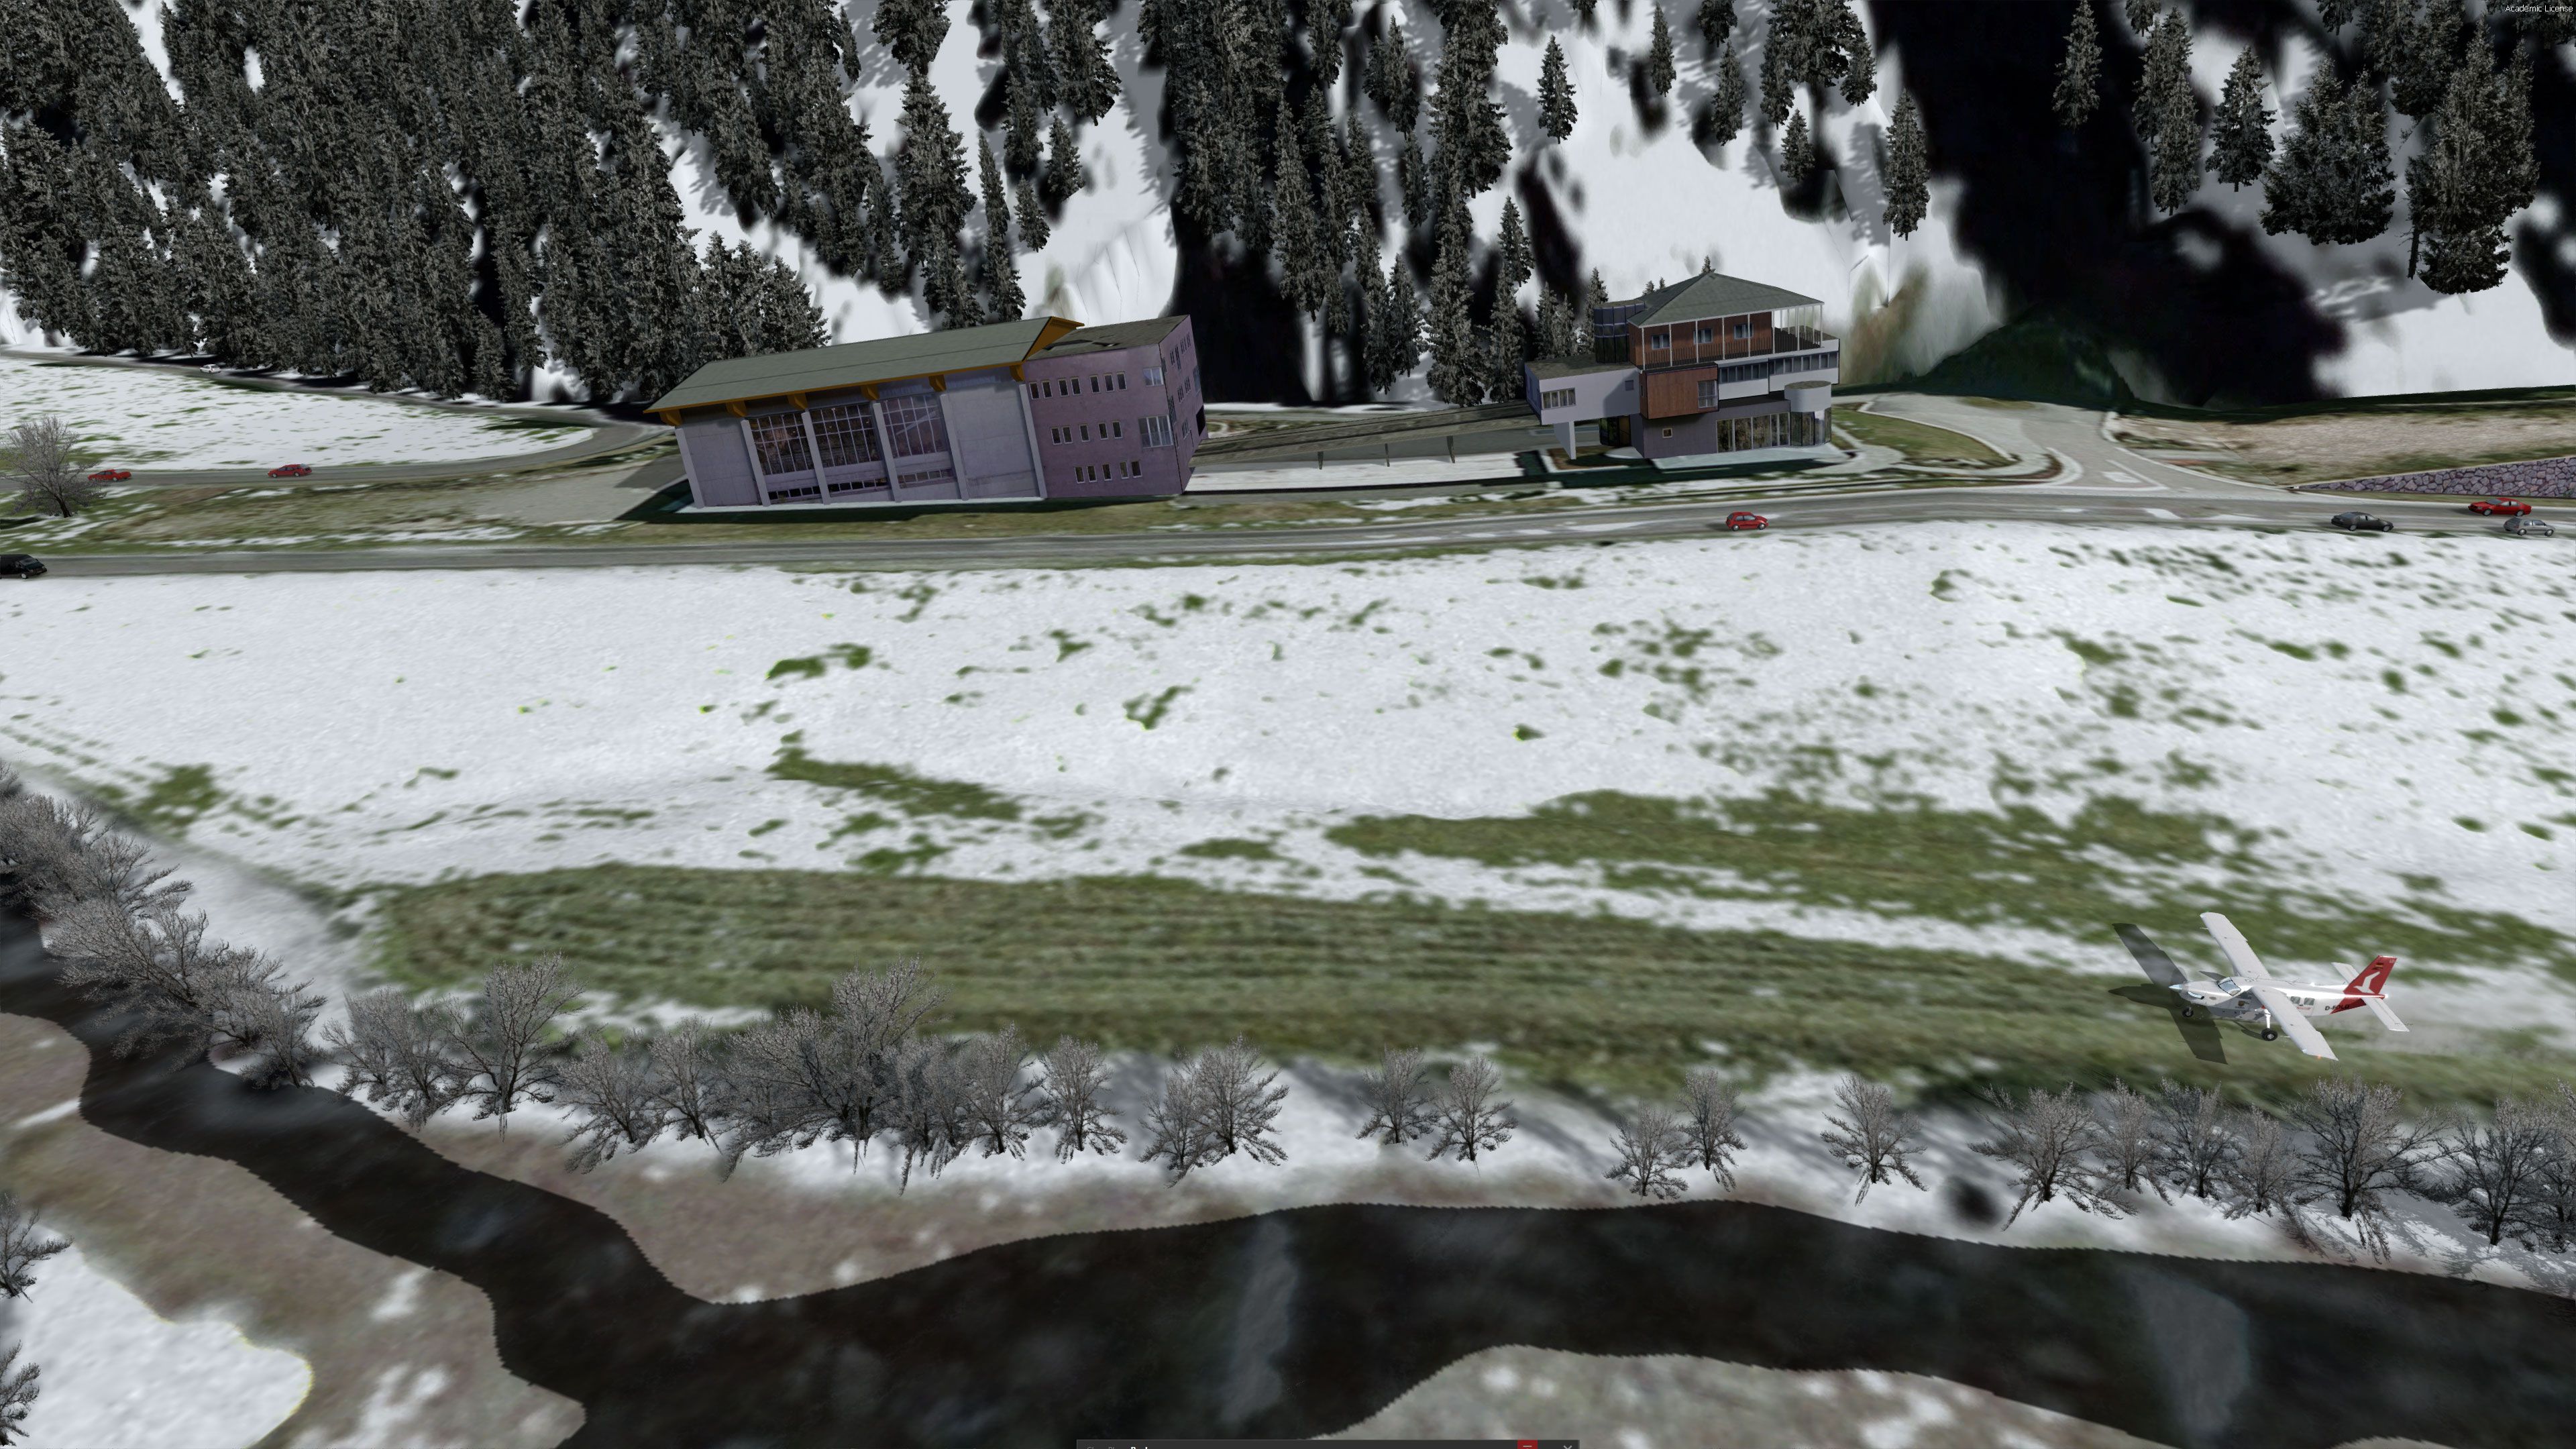
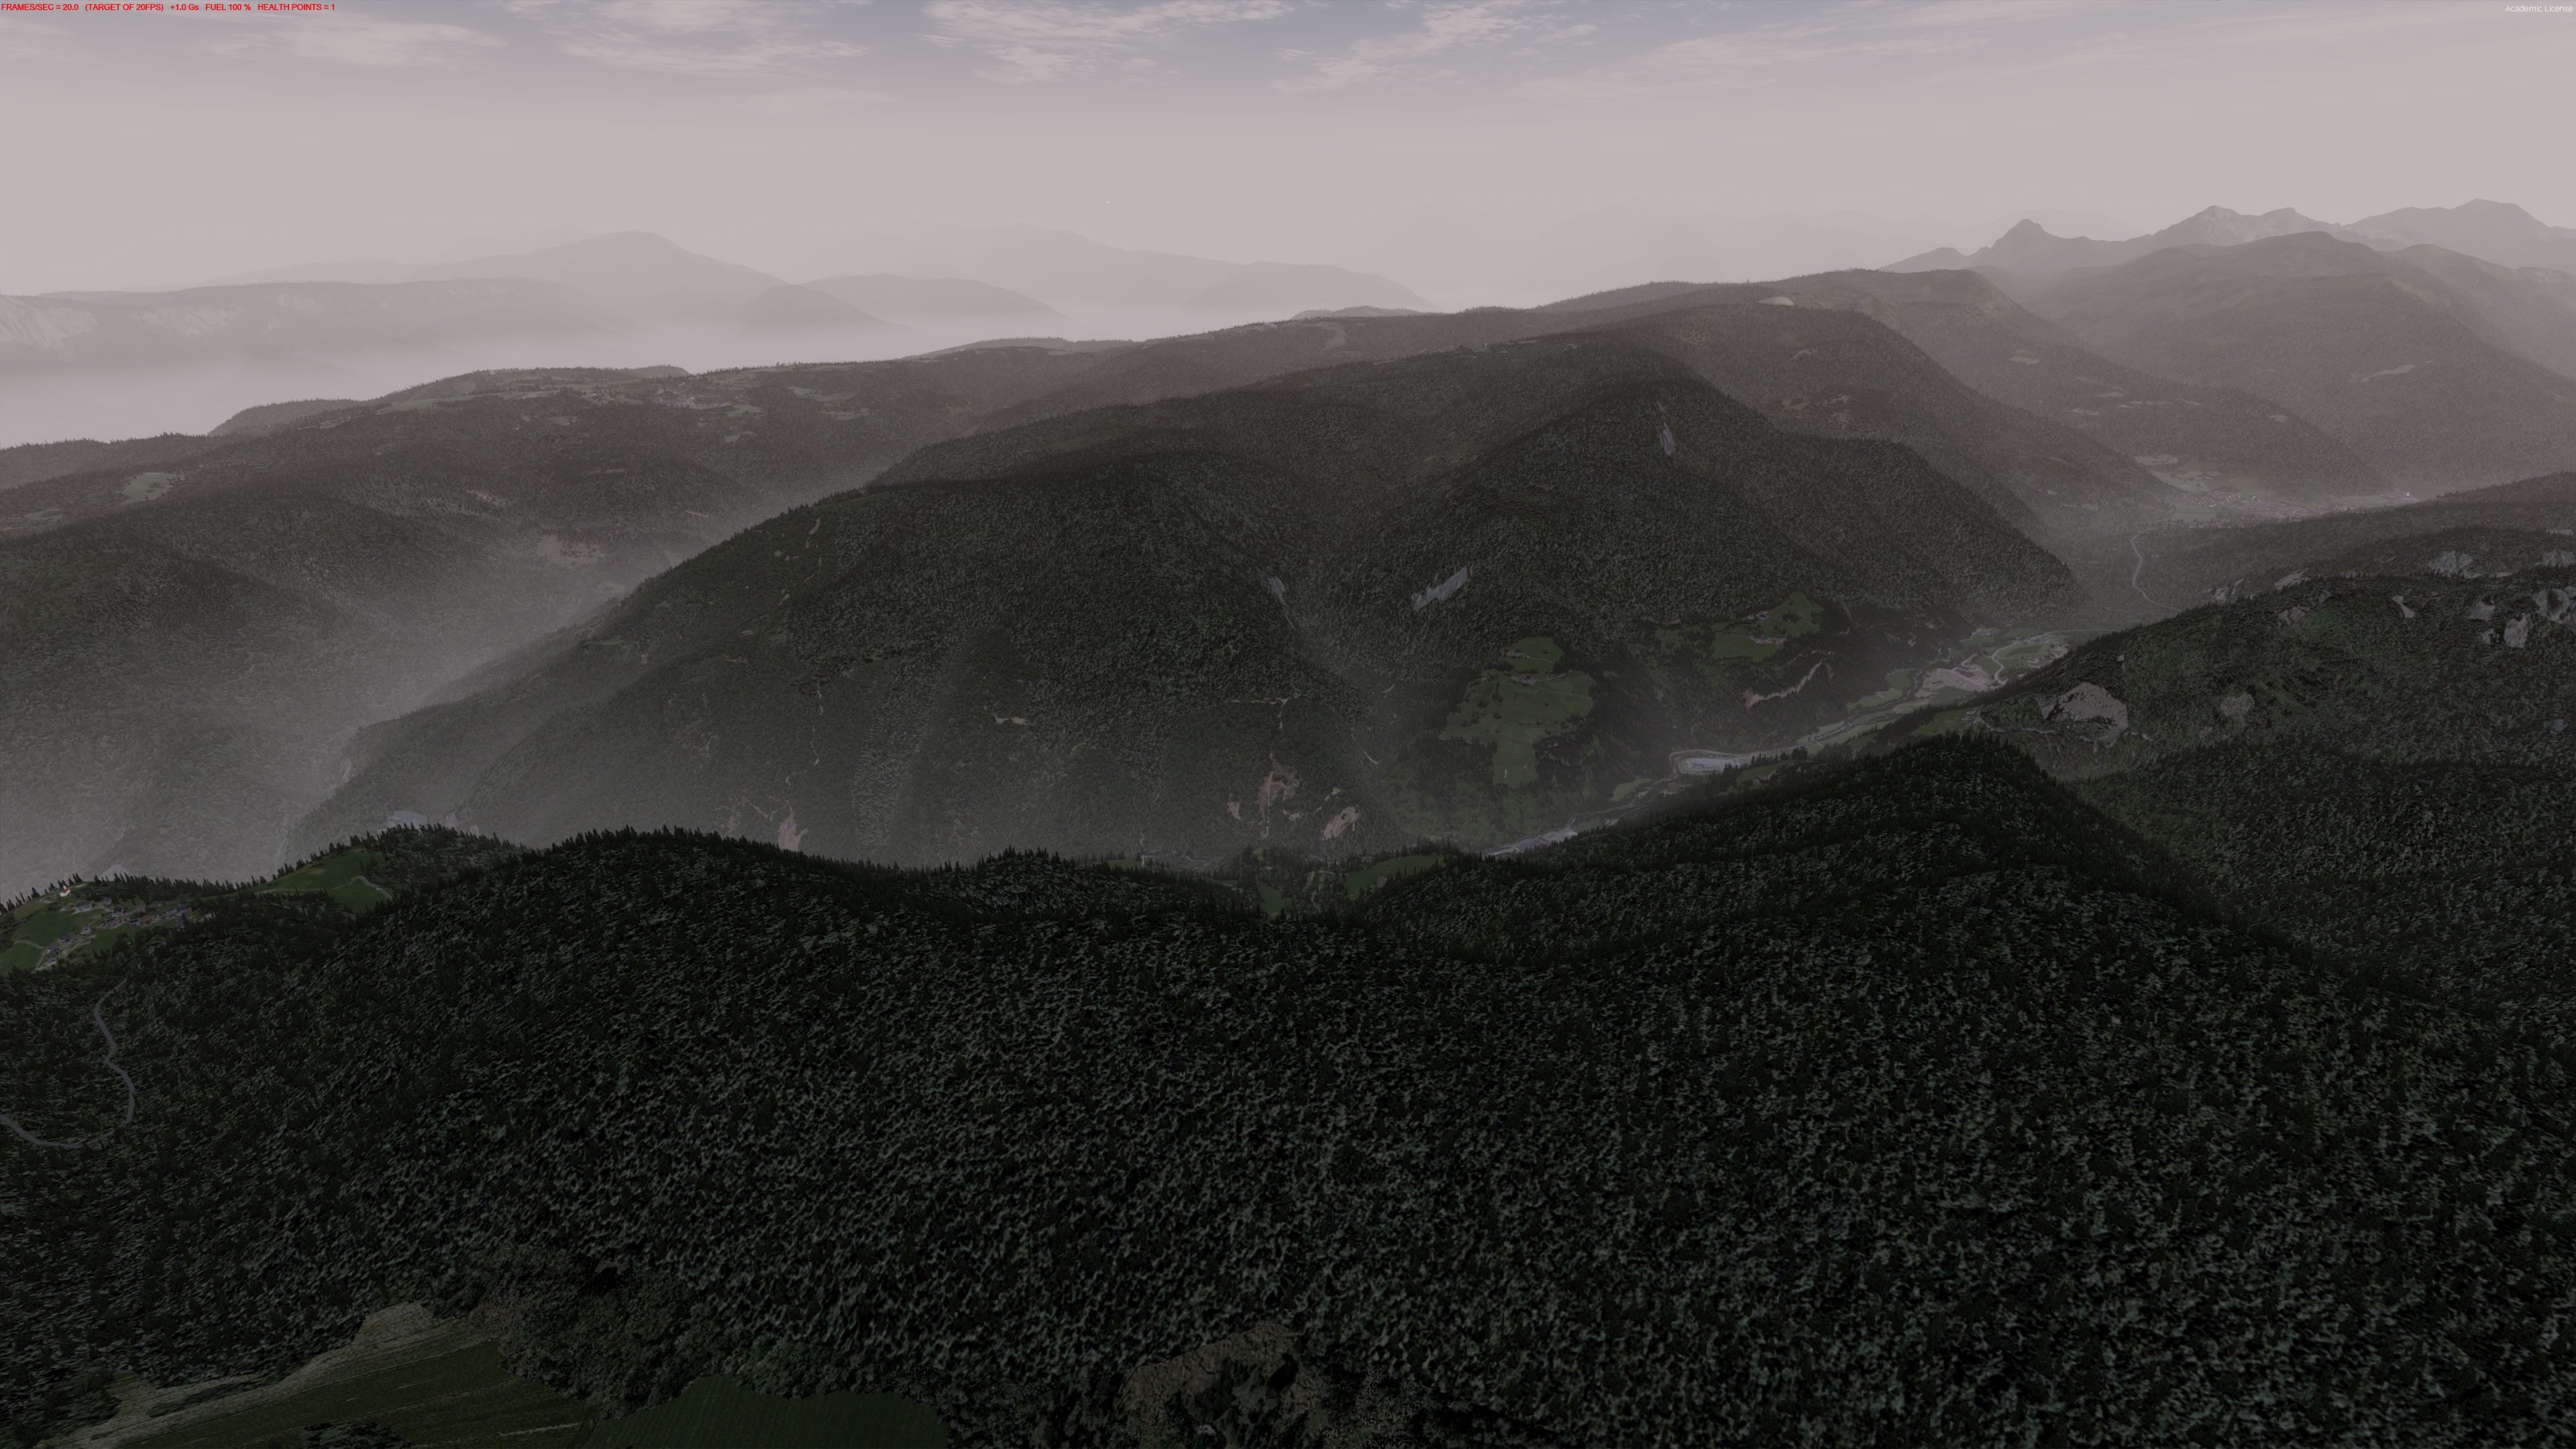
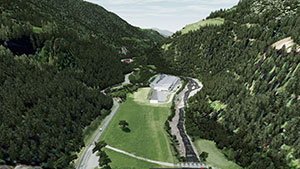
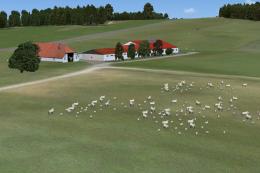
This scenery package is a representation of "Locher" airfield, a private grass field in the Trentino (or South Tyrol) area, close to the town of Sarentino (or Sarnthein, or Sarntal) in northern Italy.
 The town is very close to the border with Austria (hence the many versions of the town name).
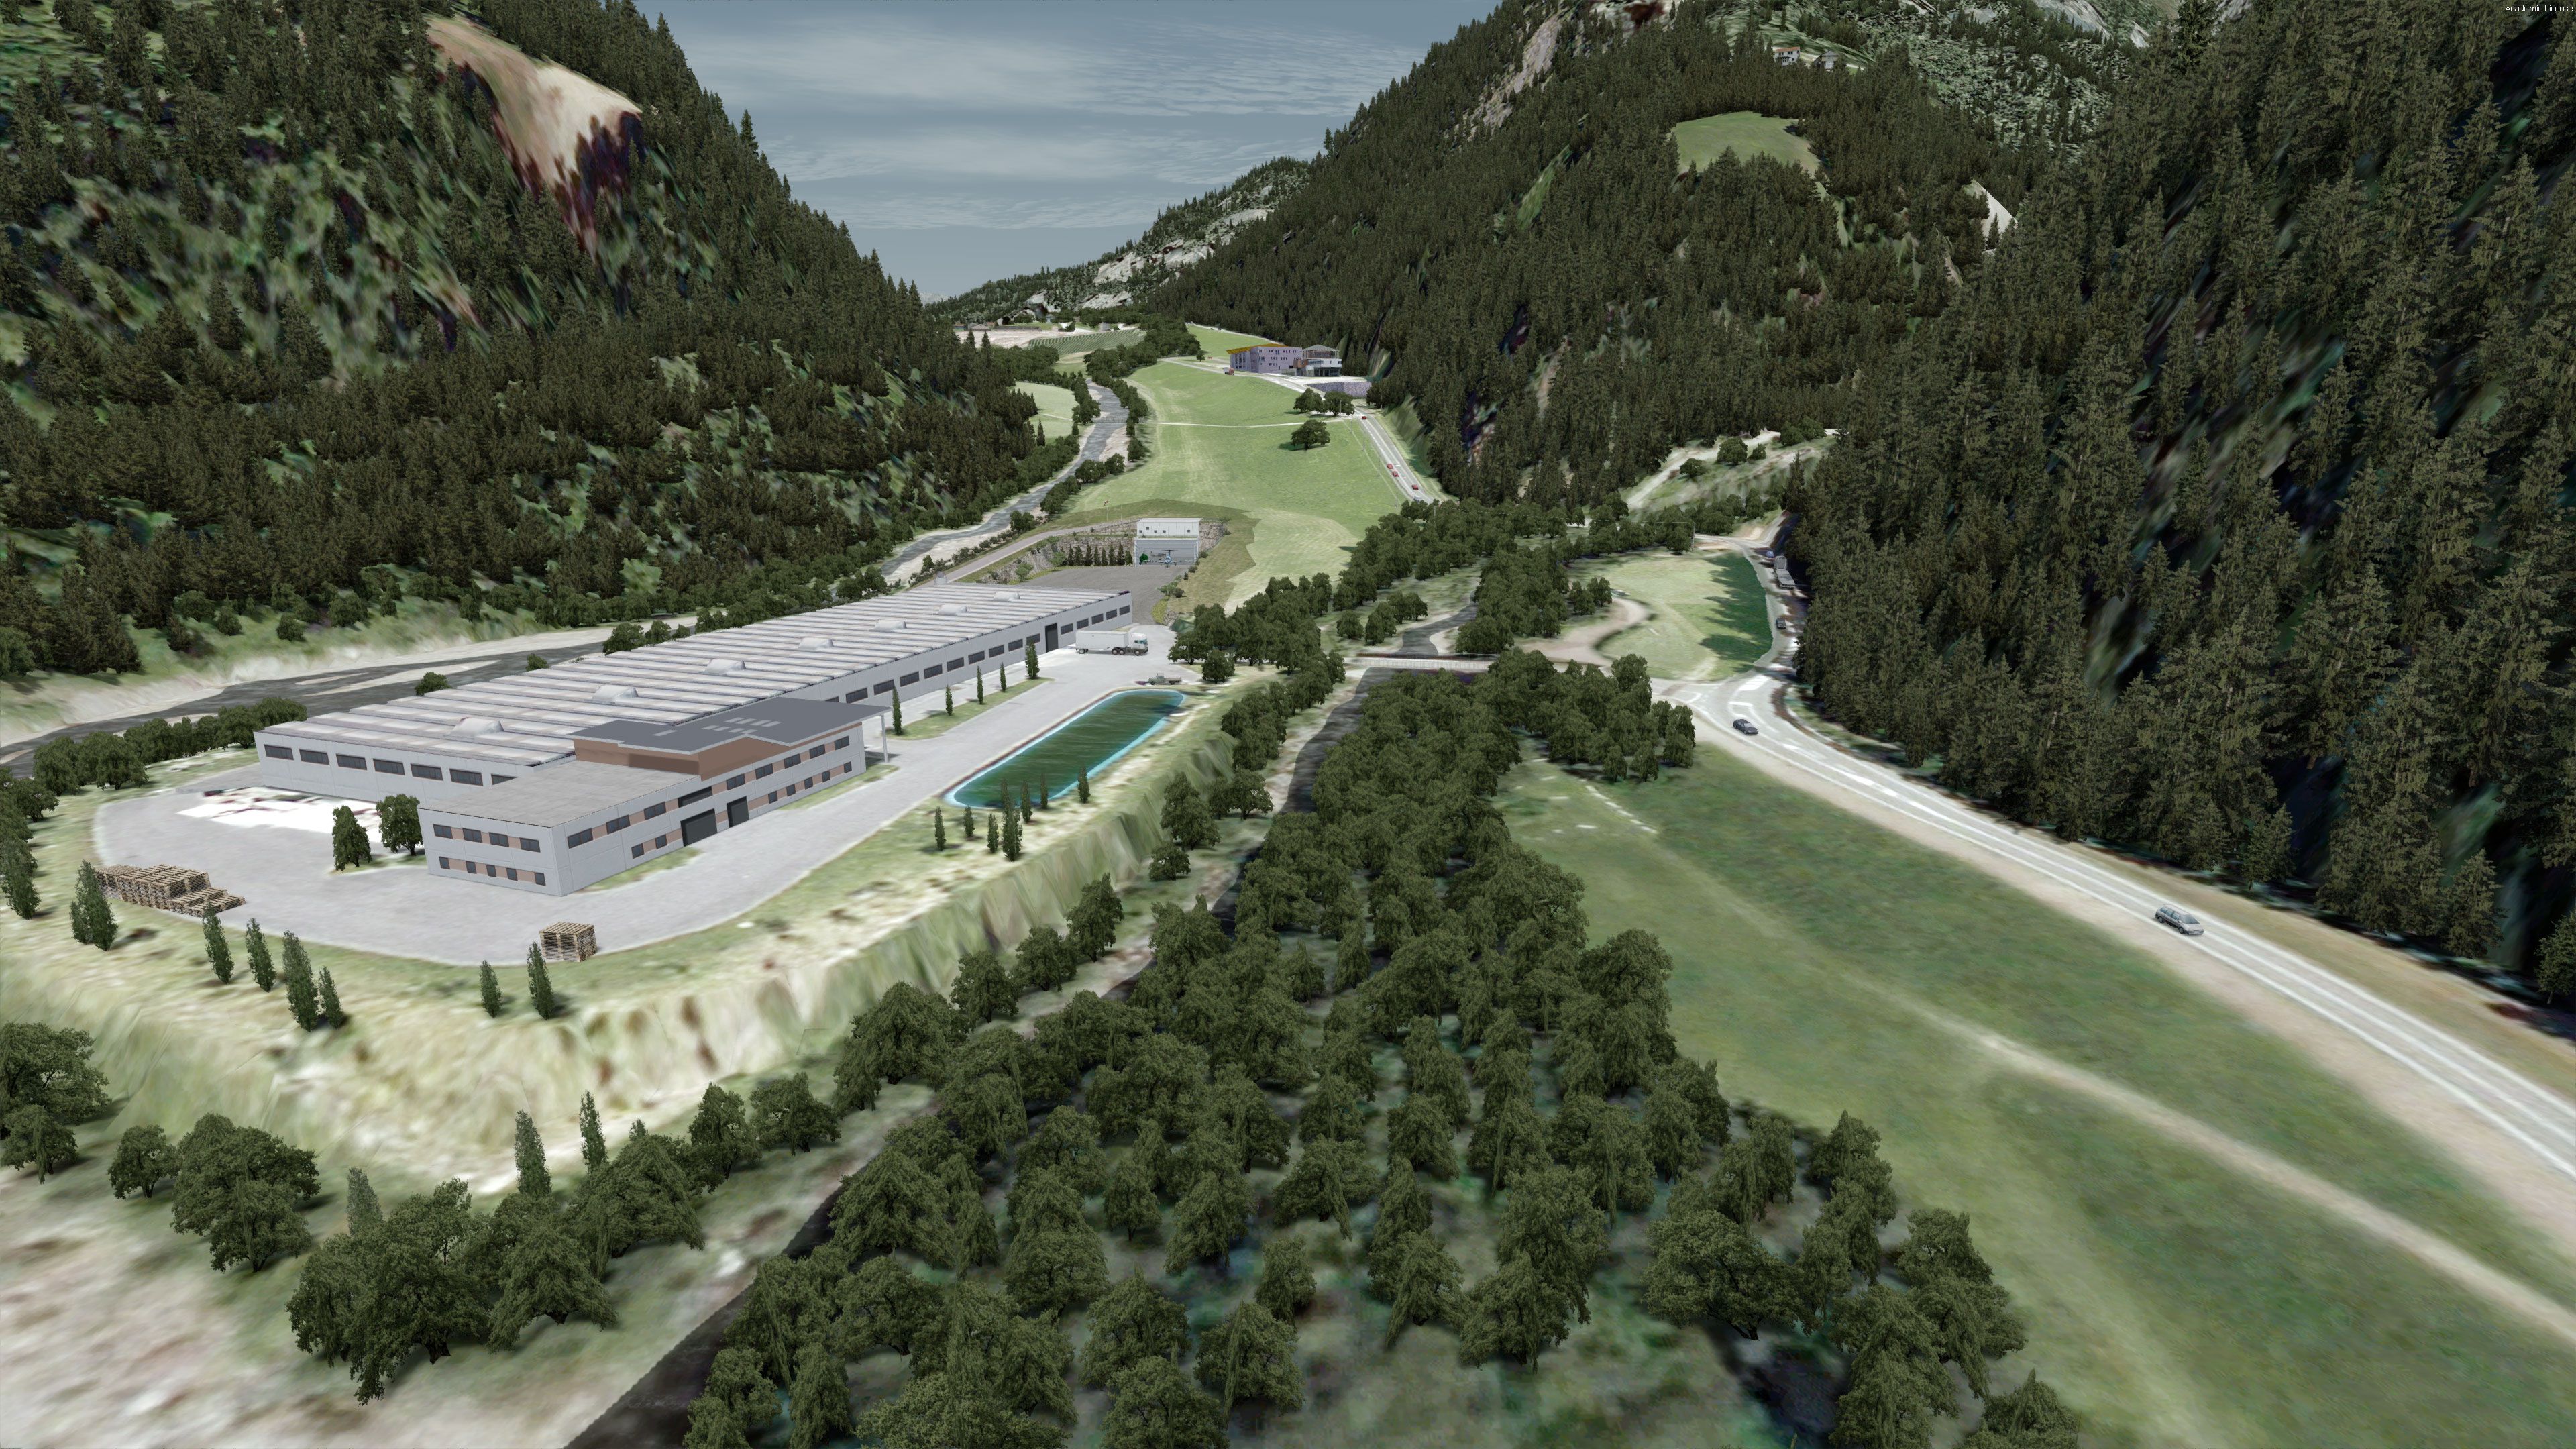
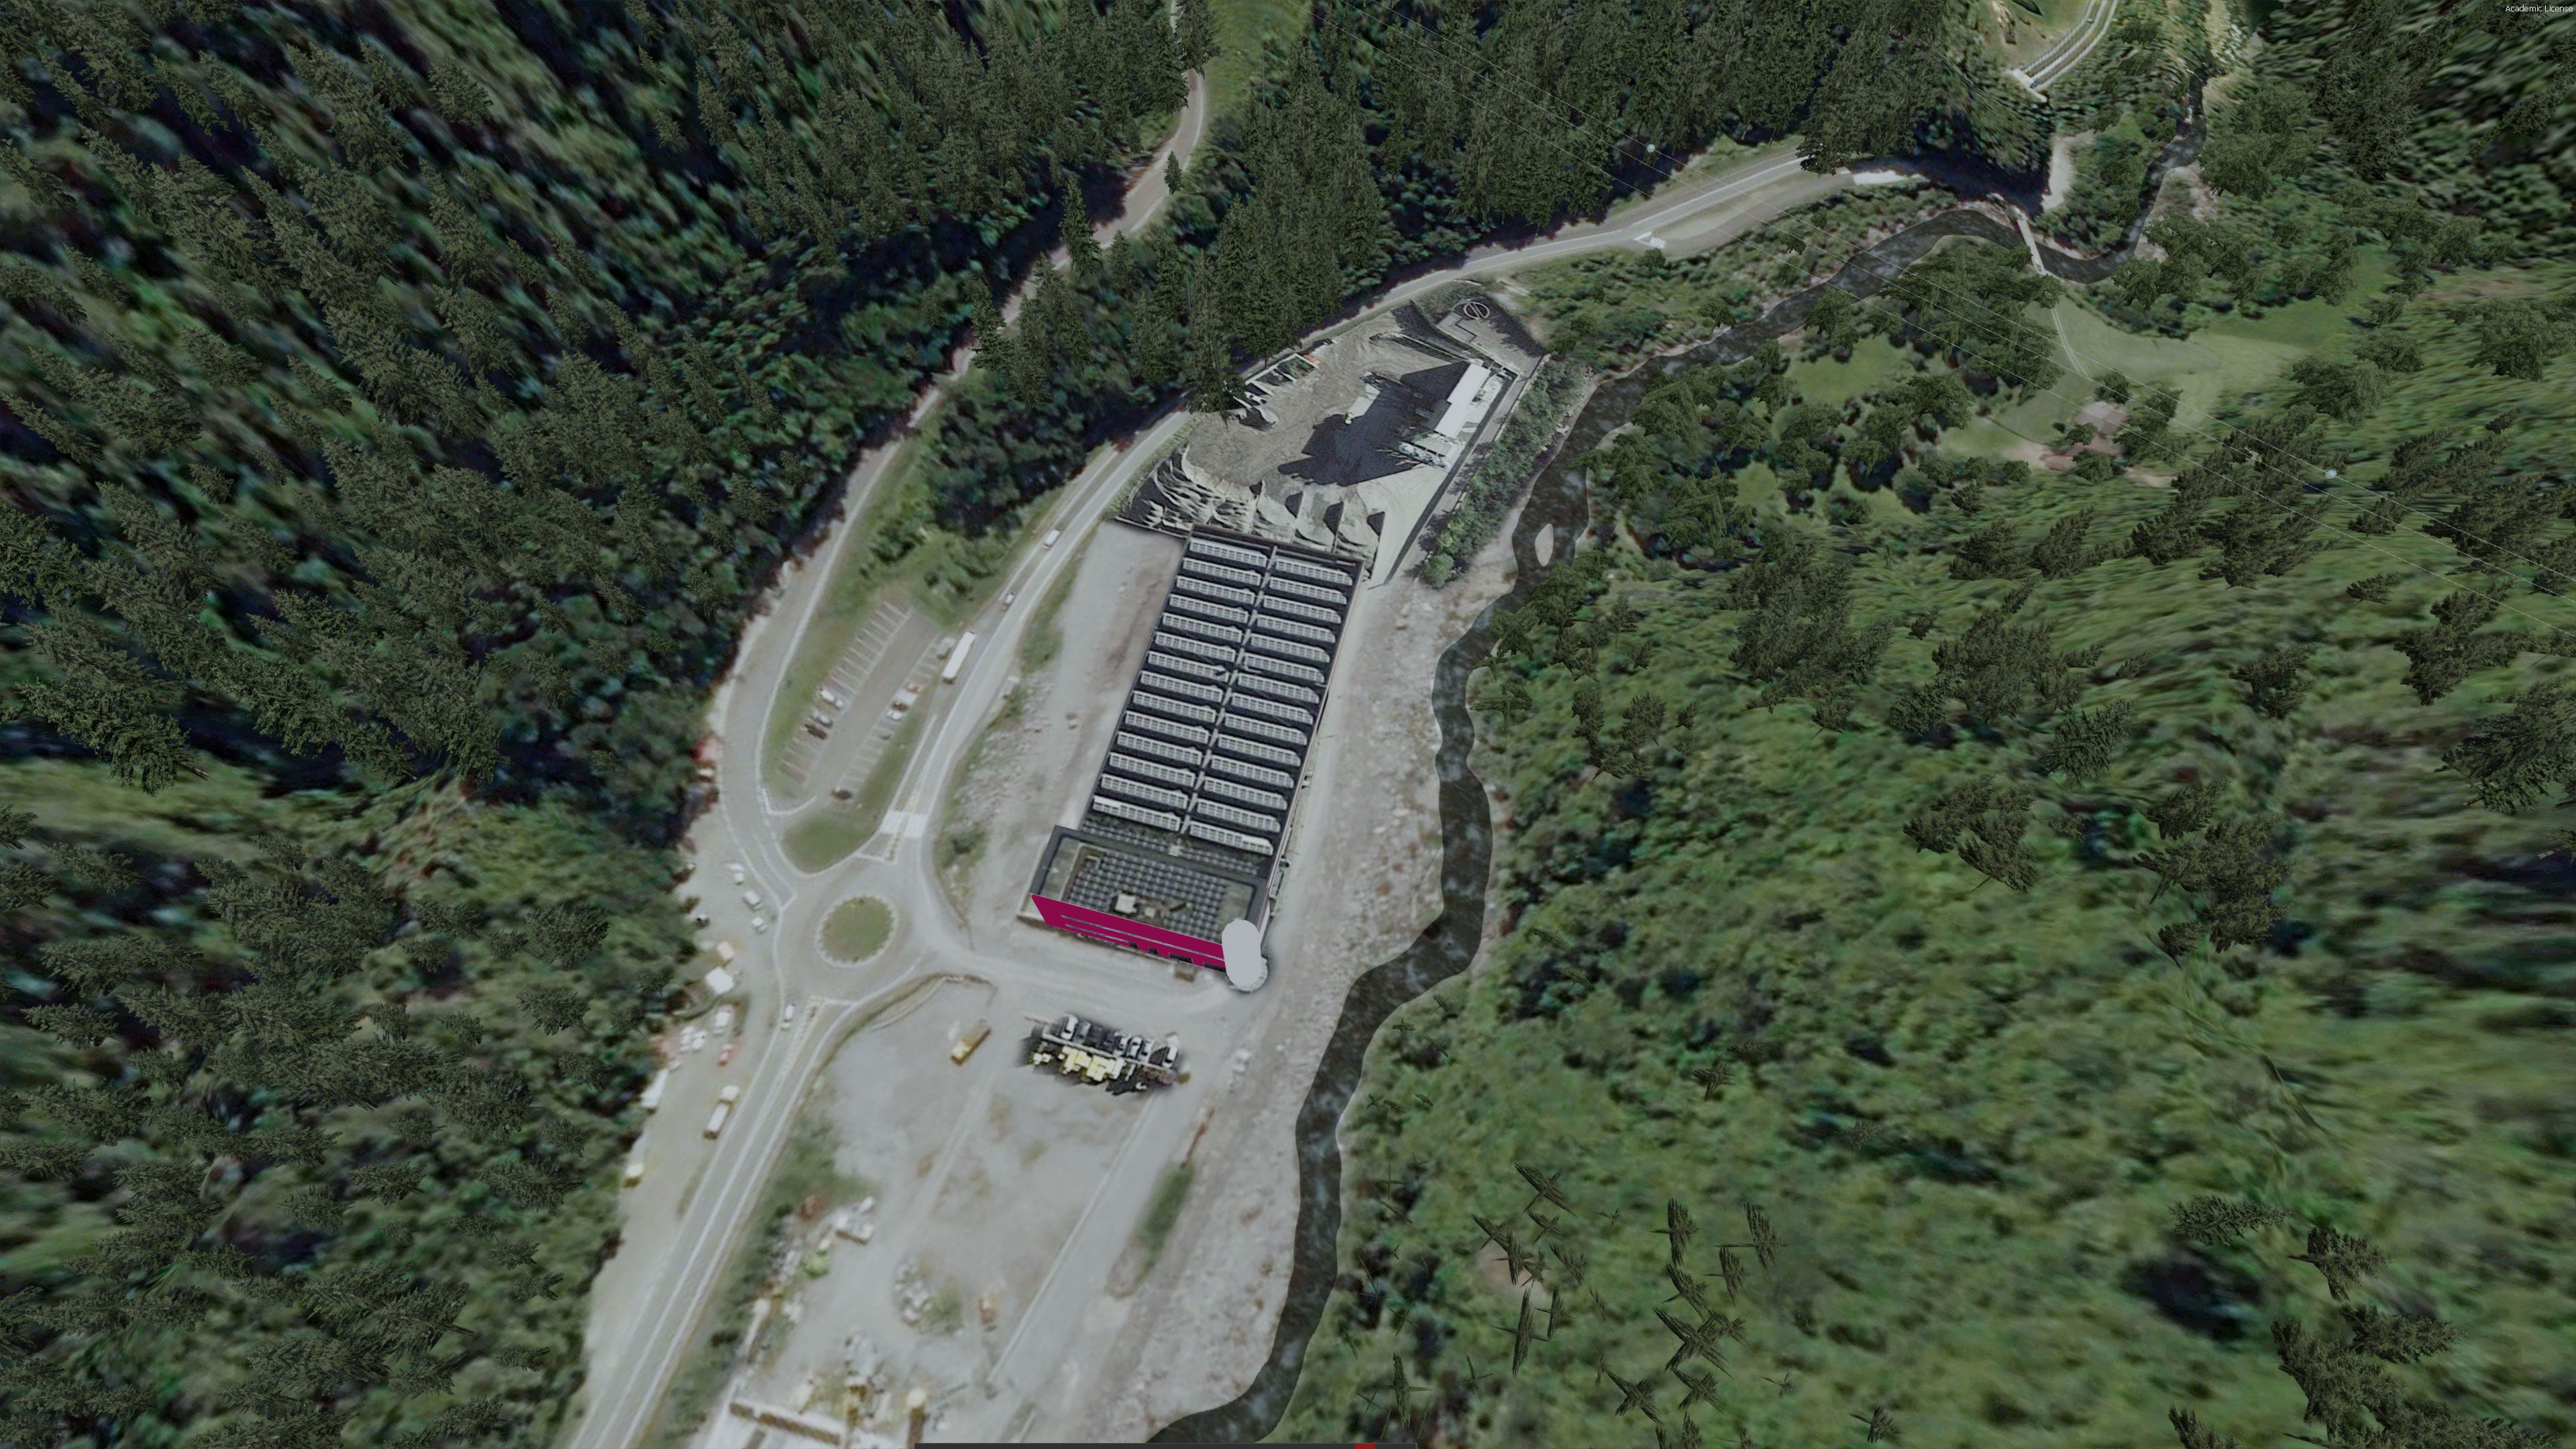
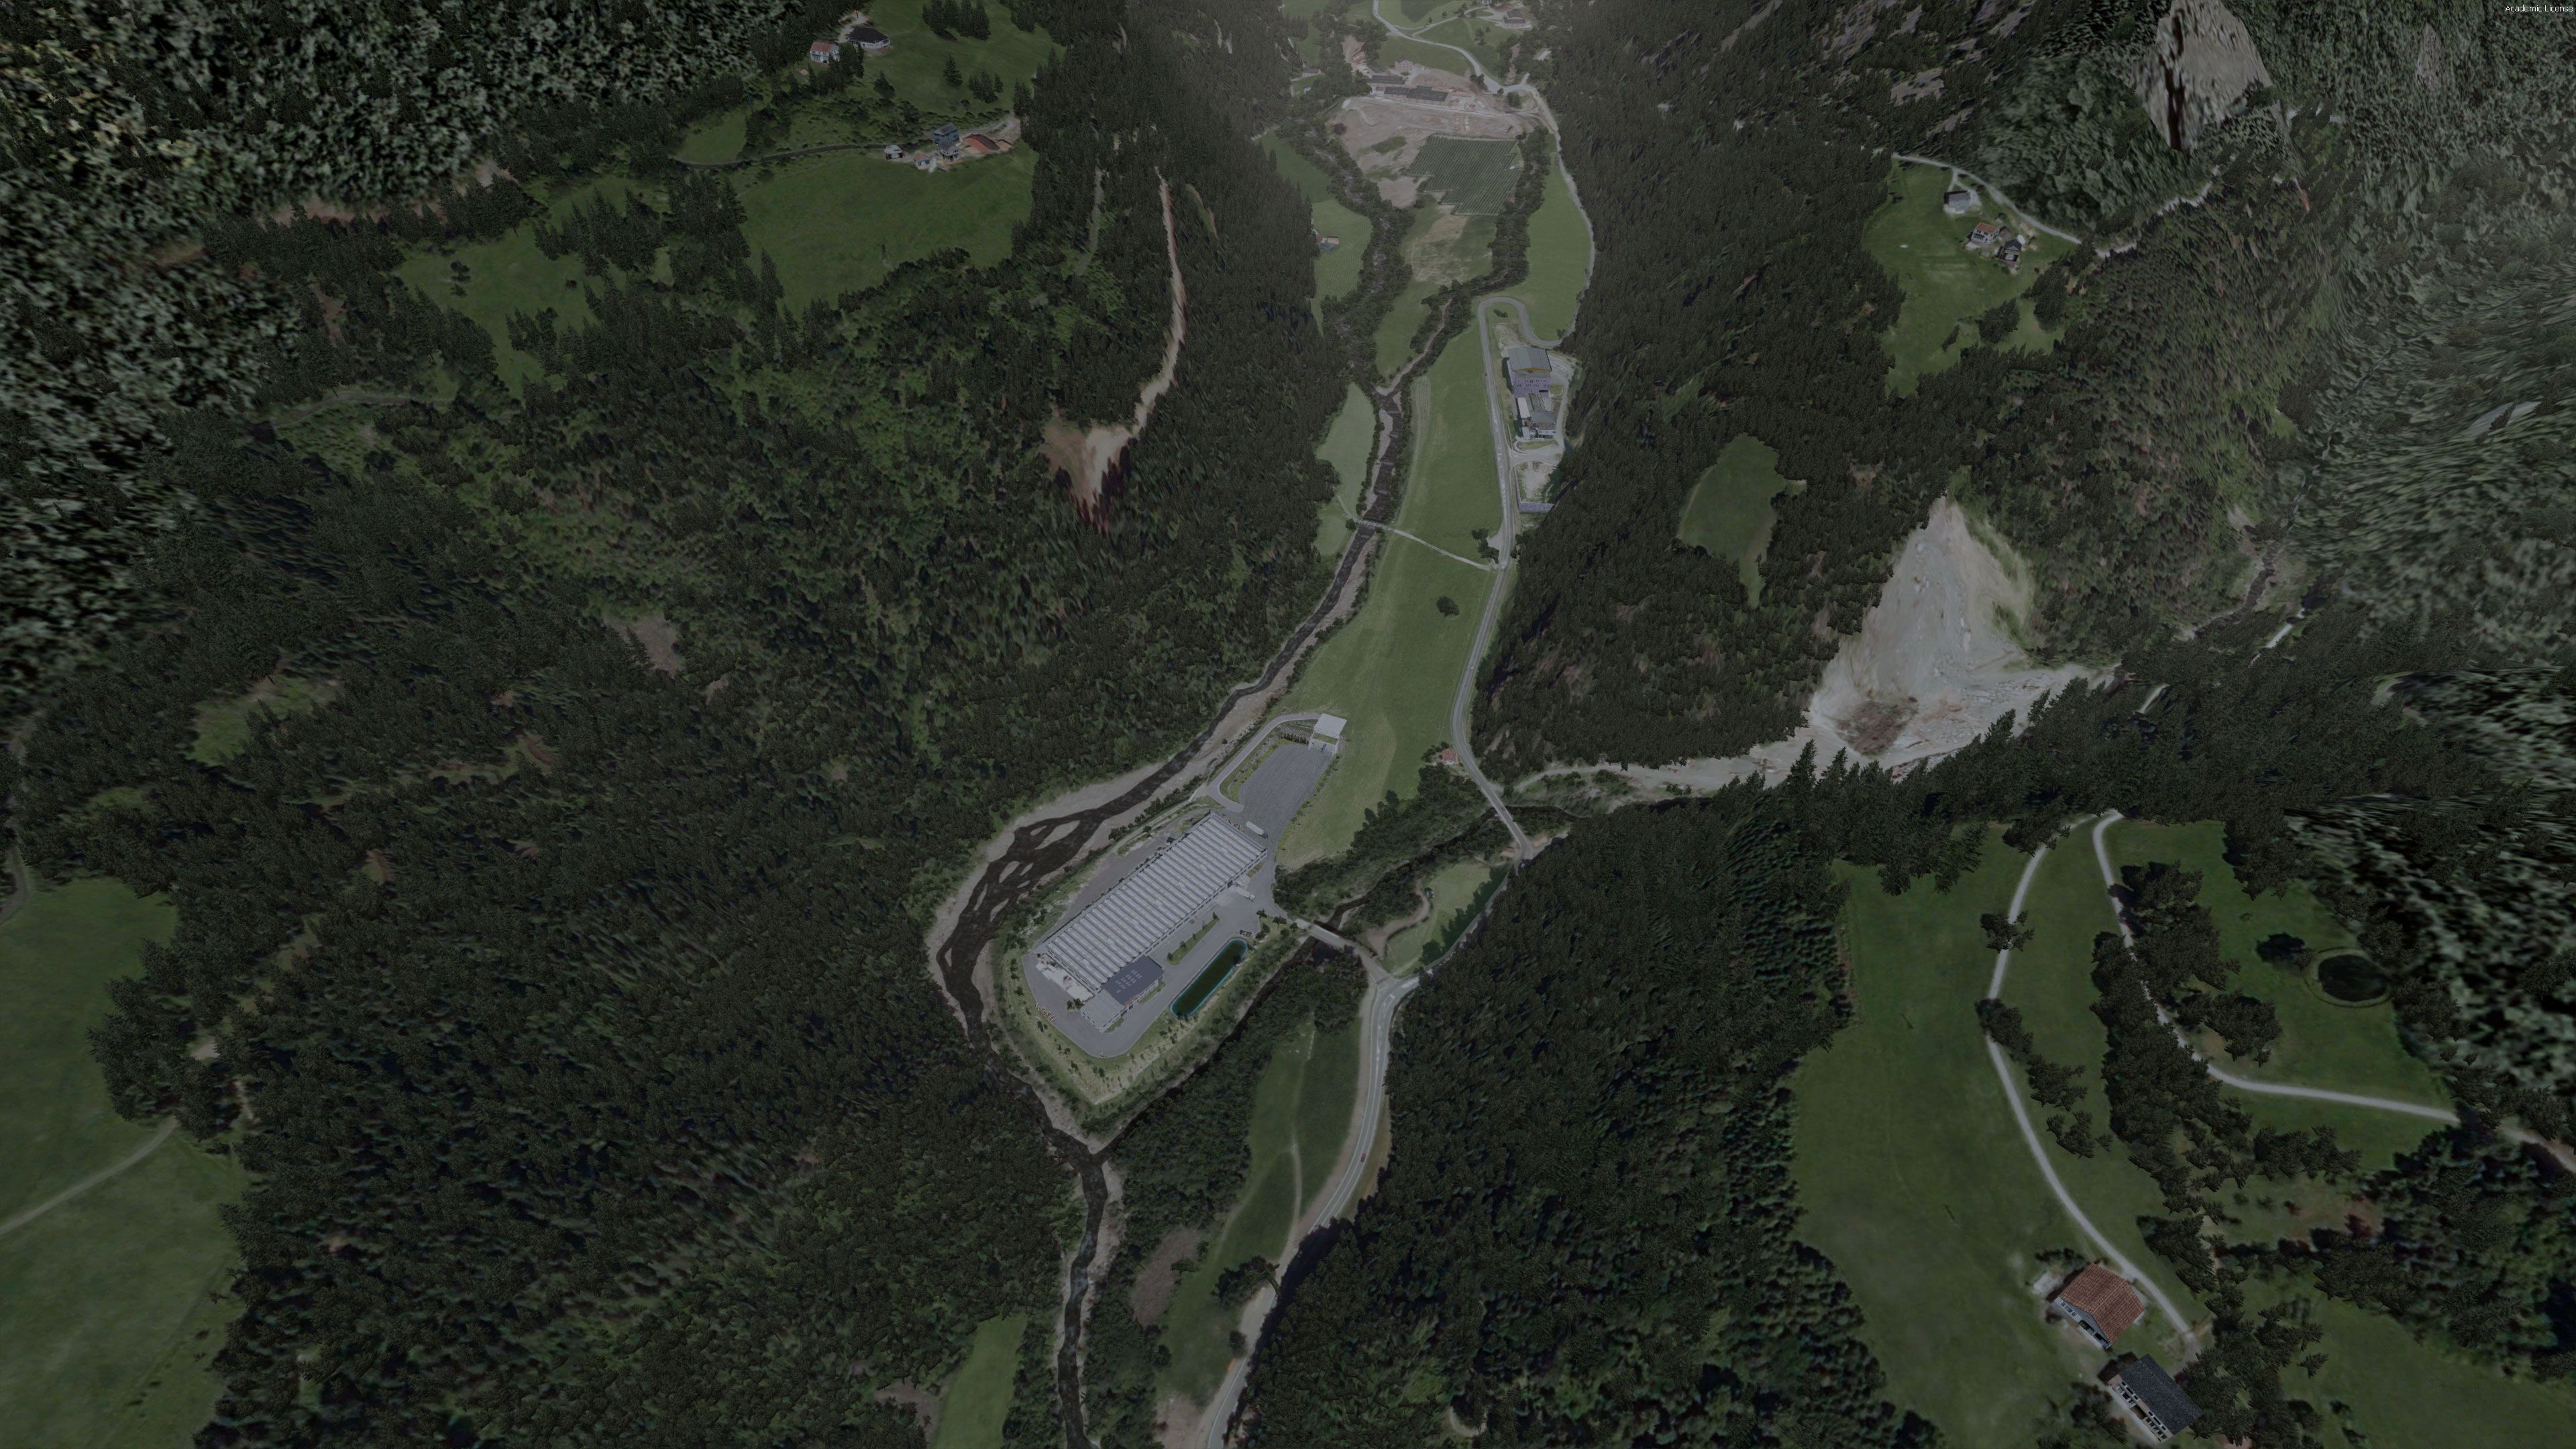
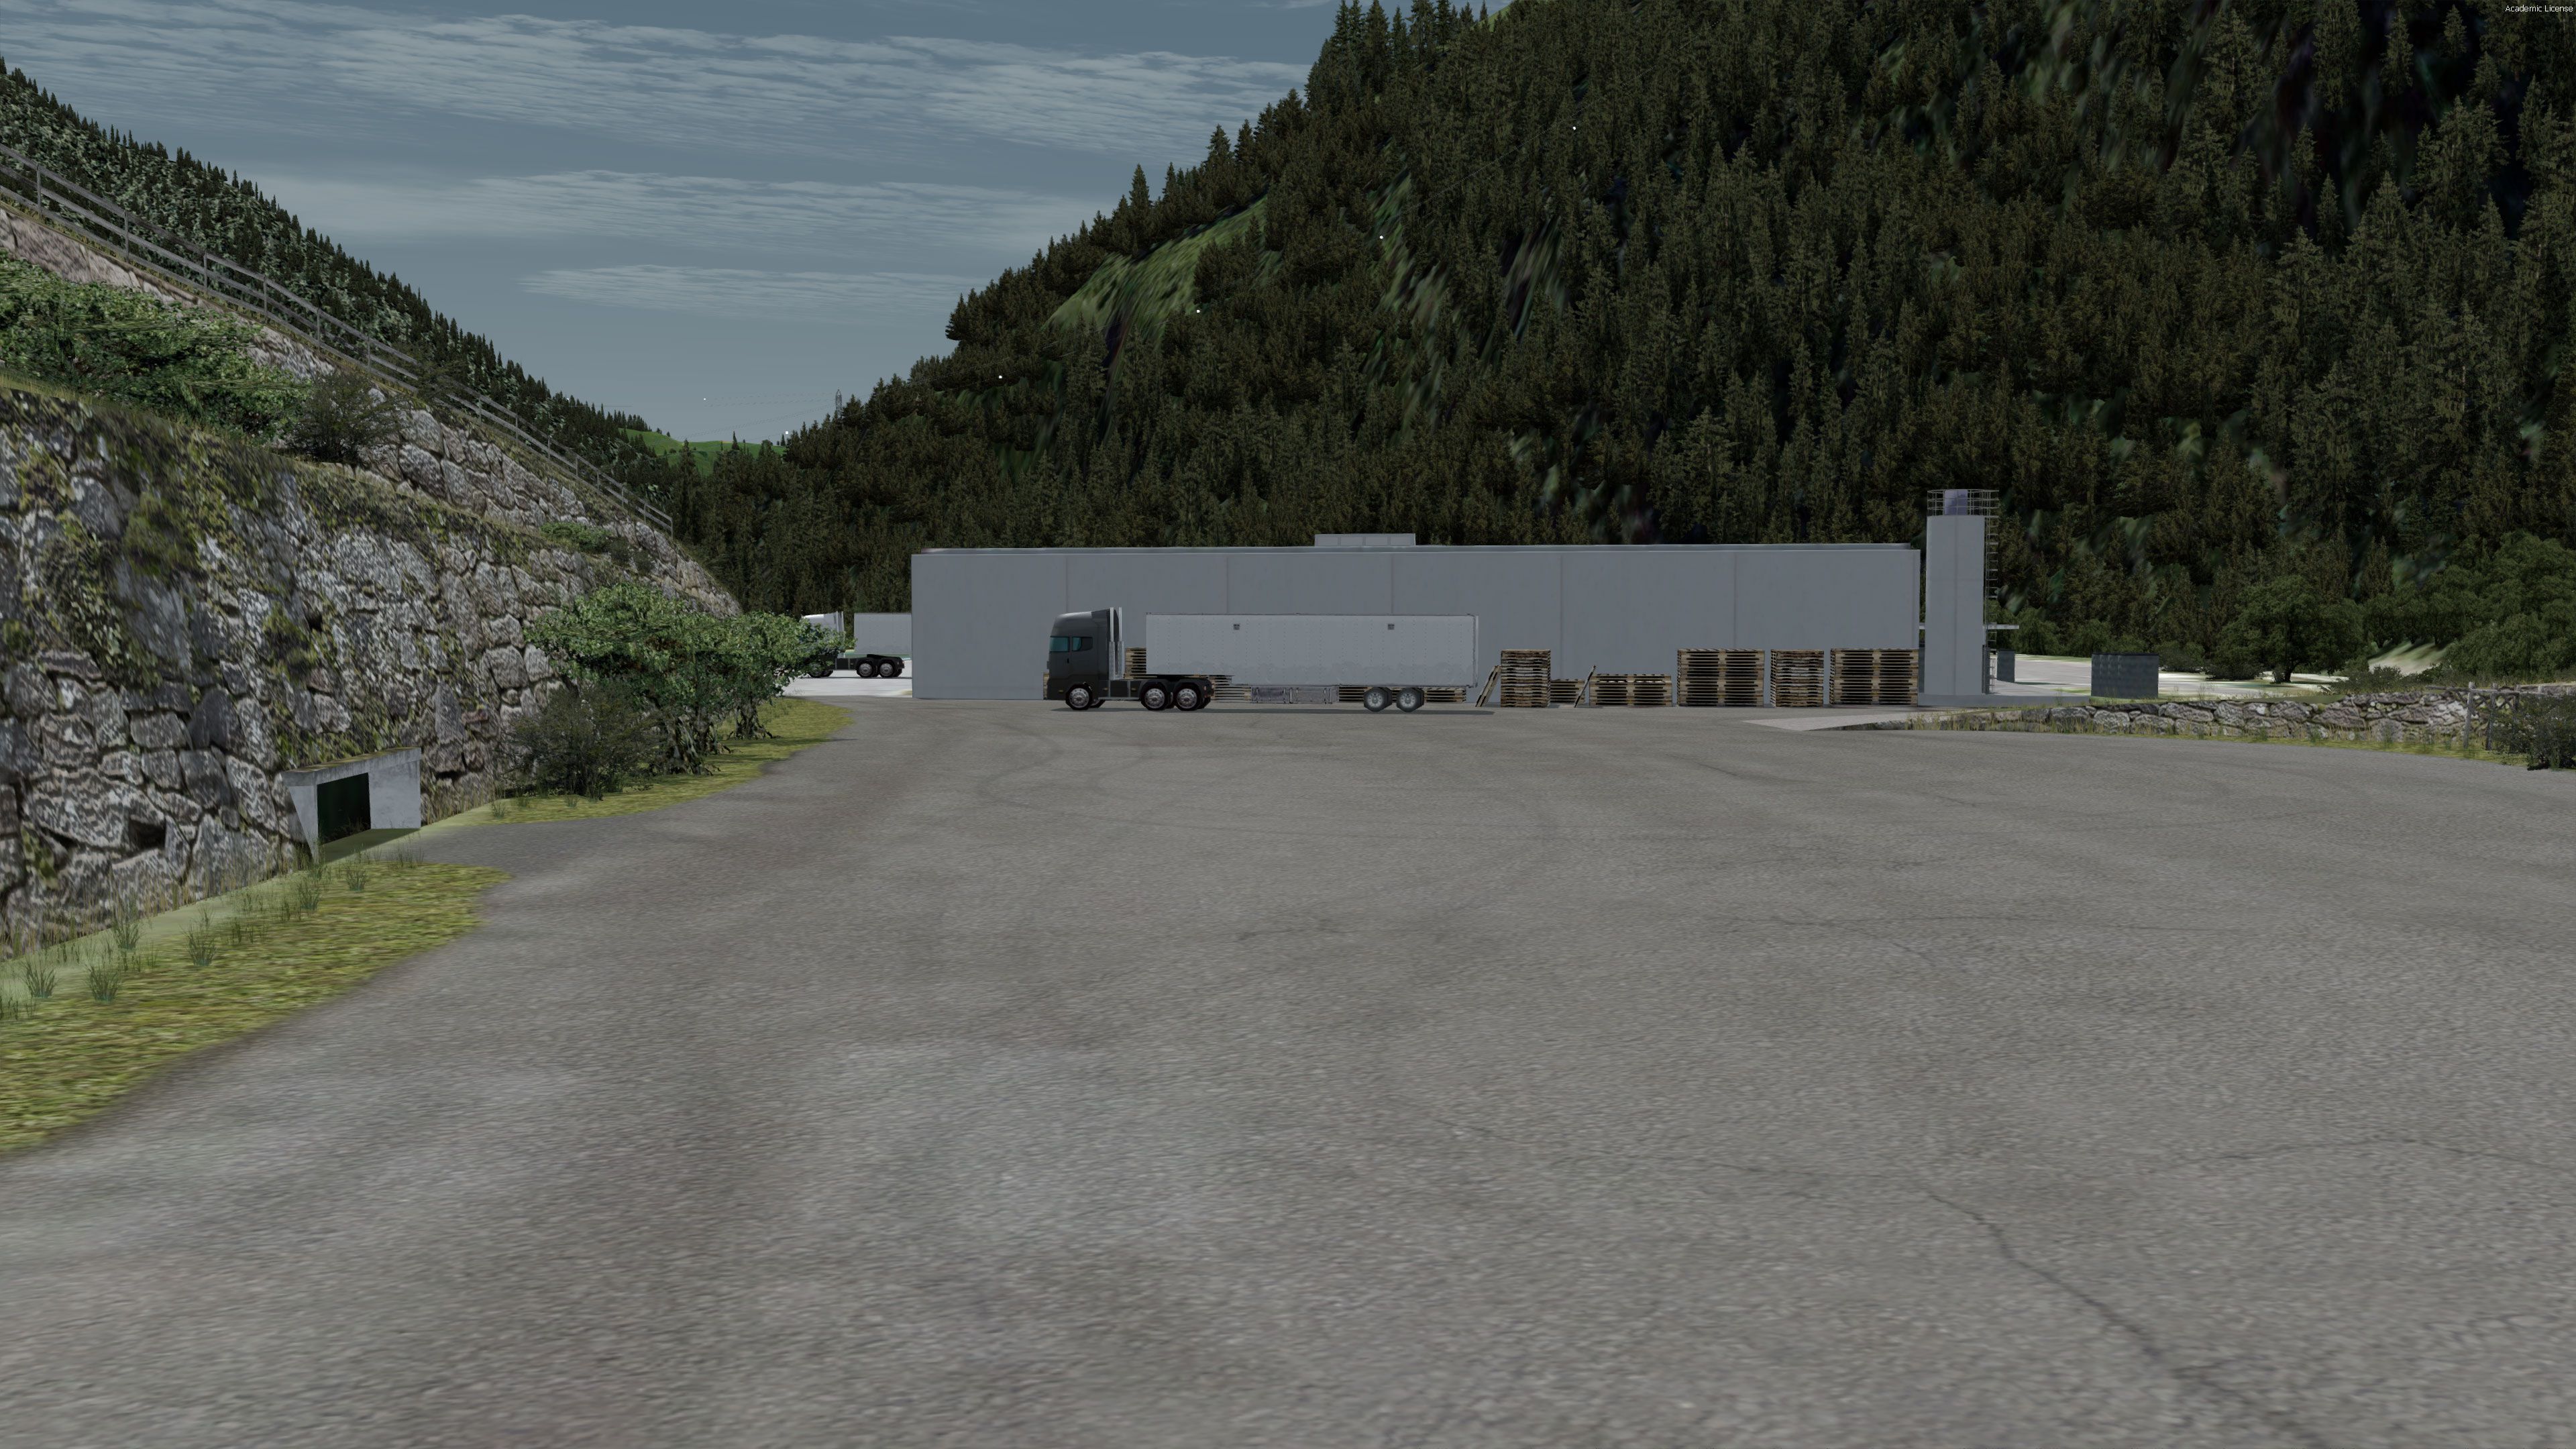
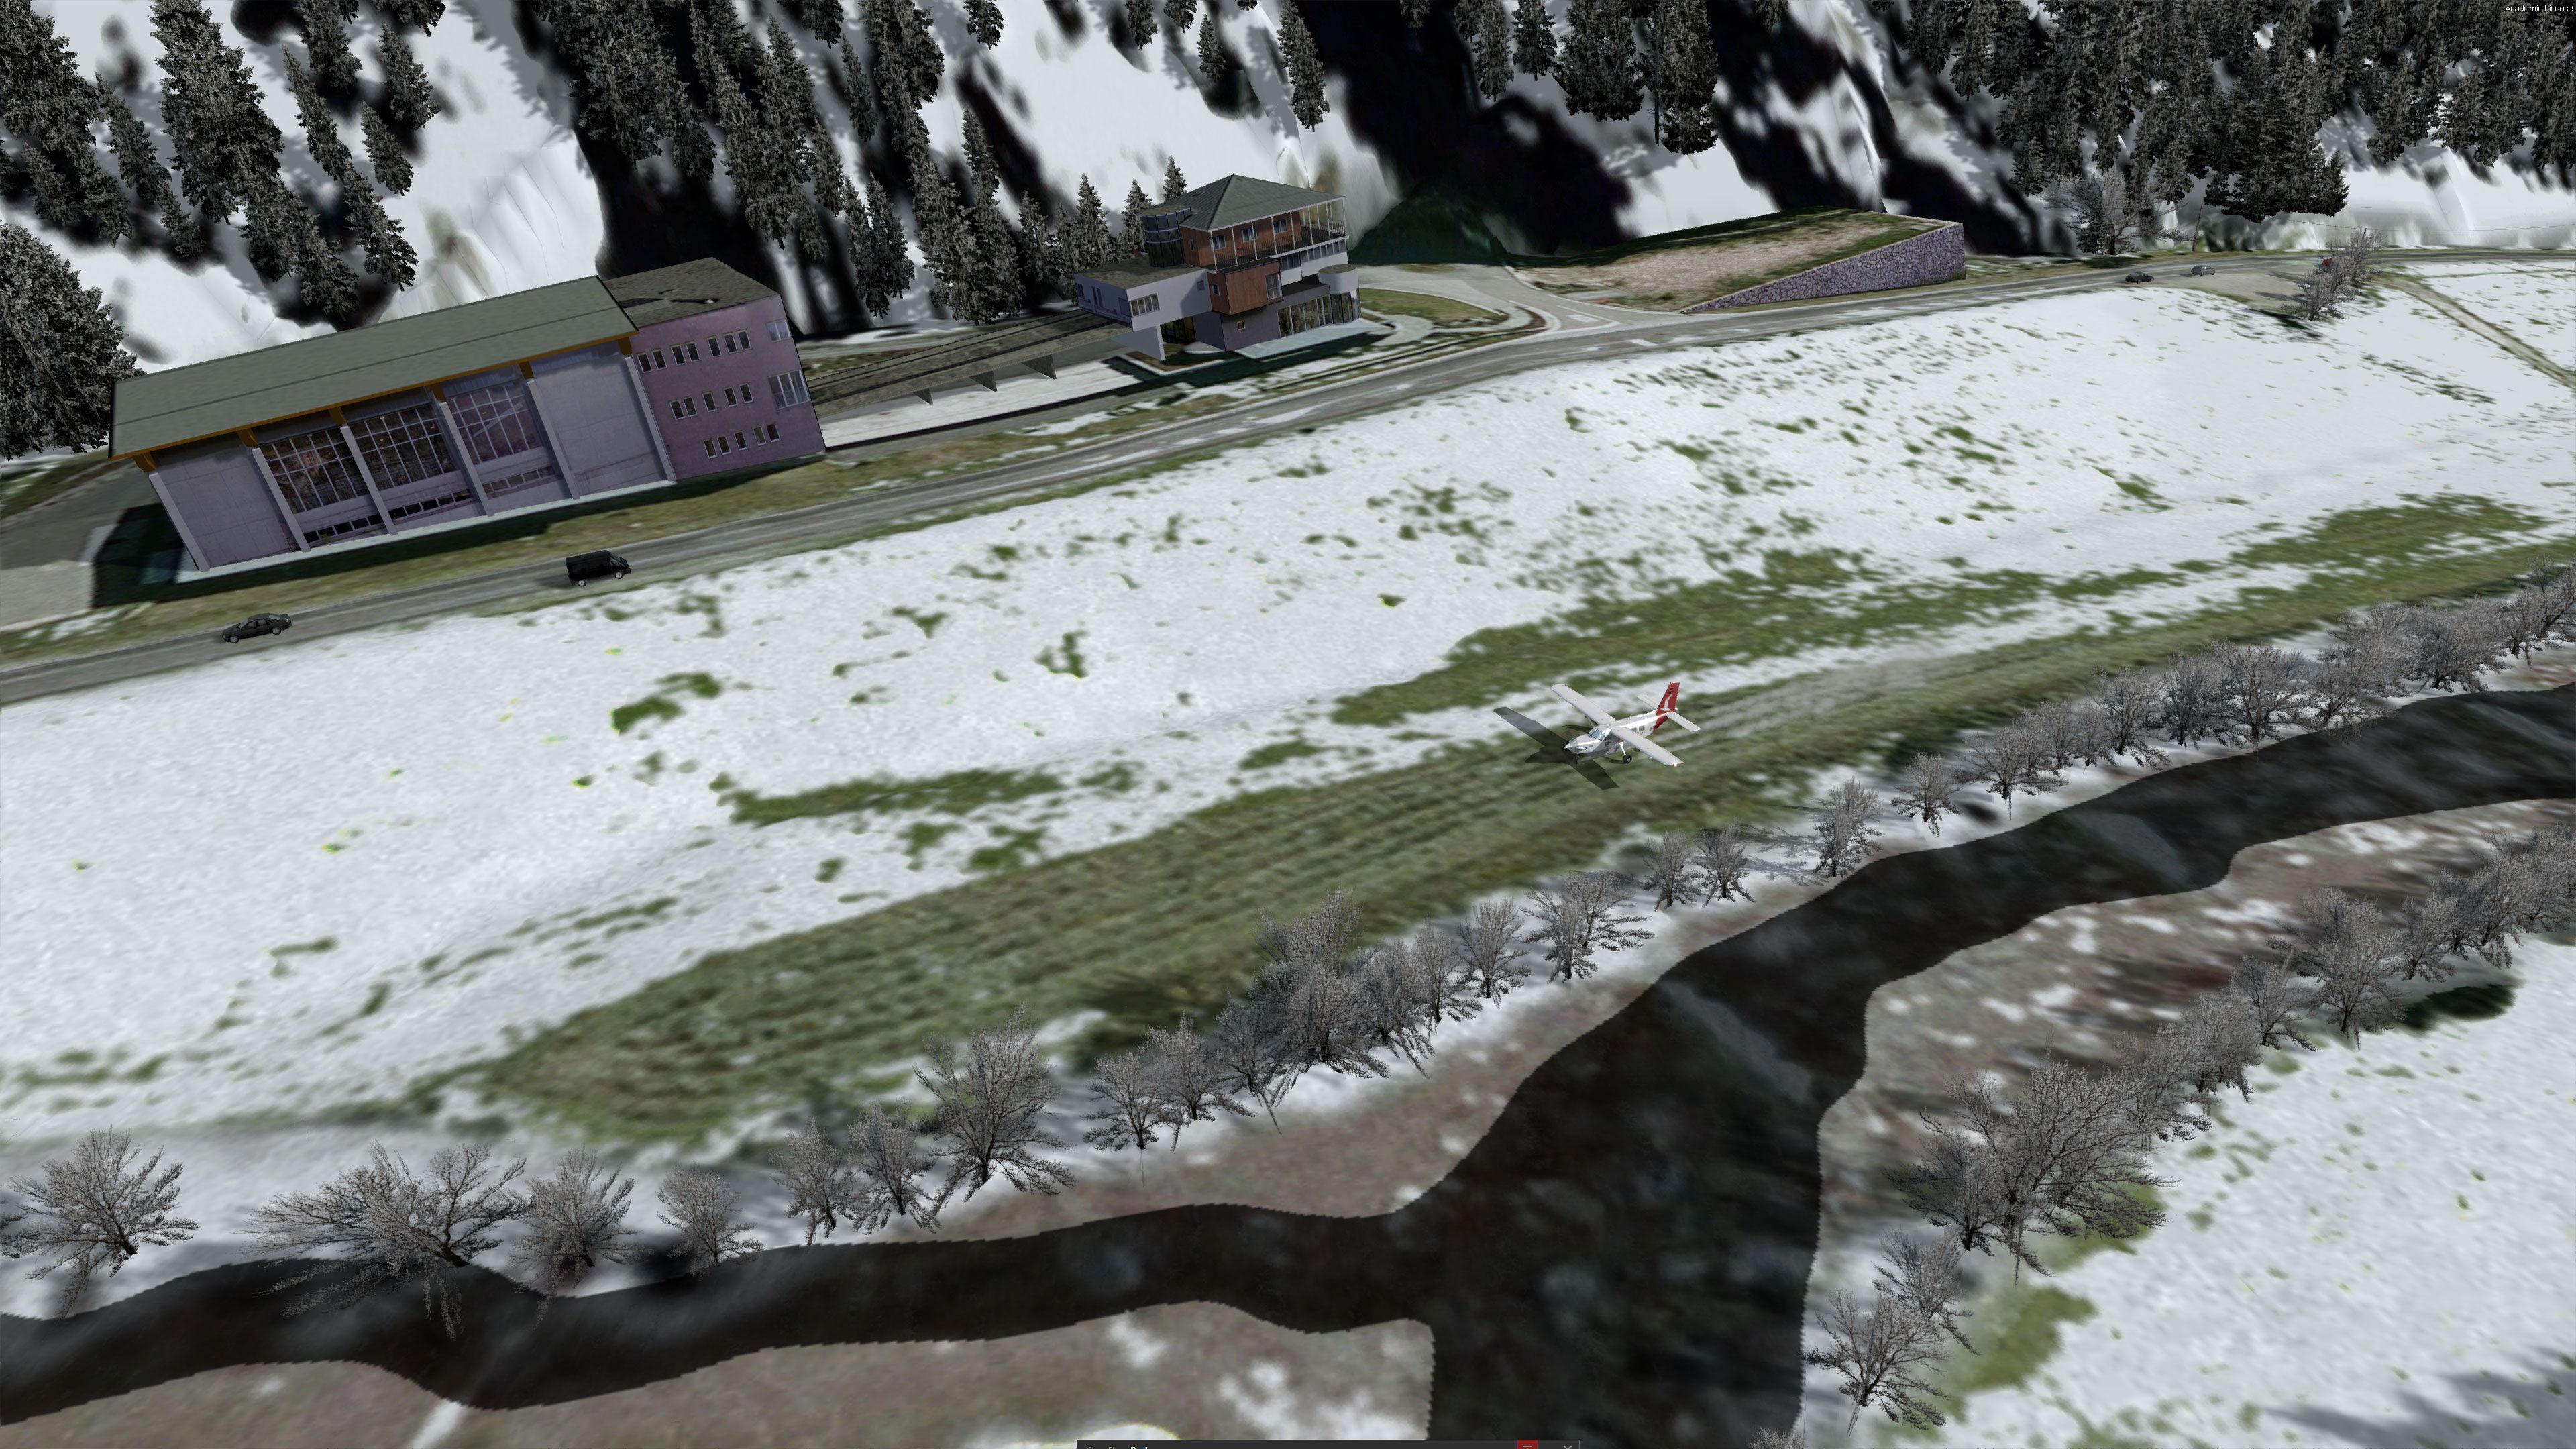
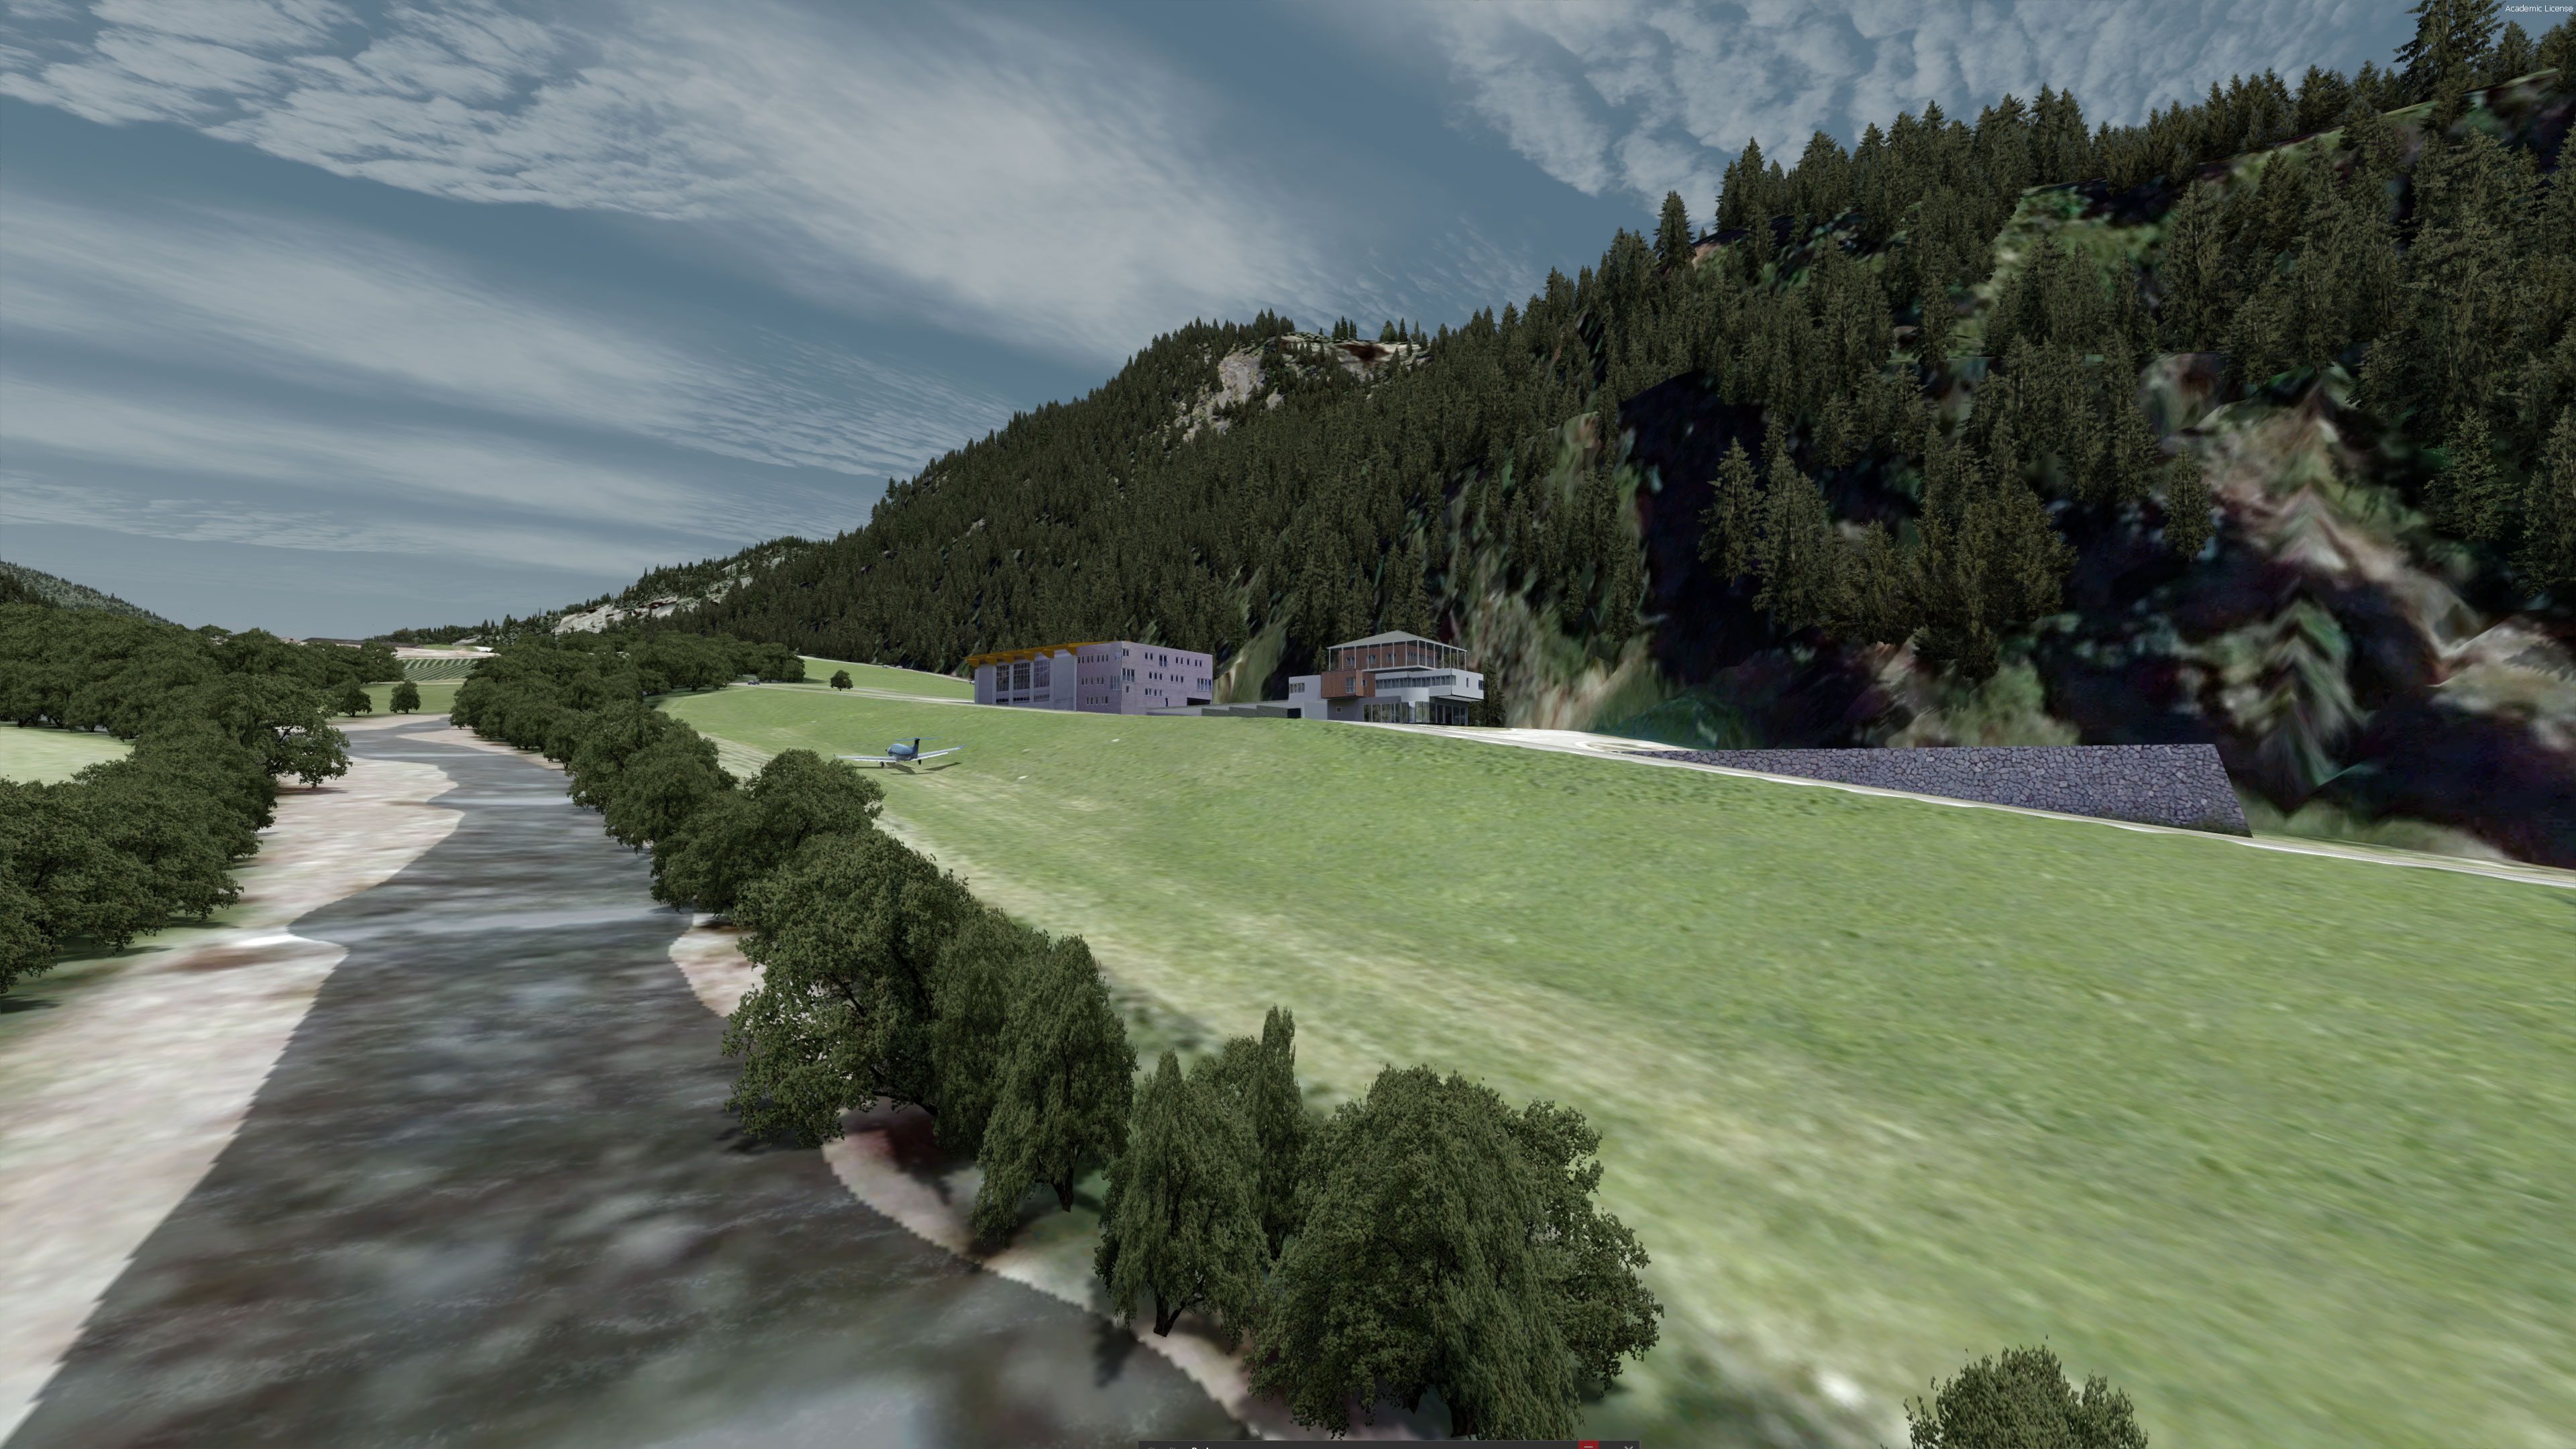
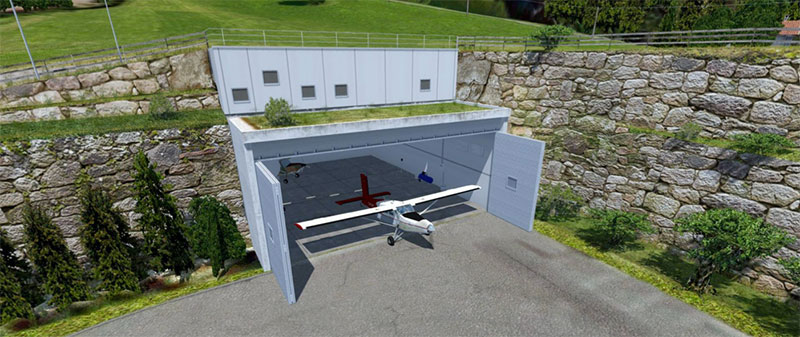
The field belongs to Locher Gebhard and shares the premises with Mr. Gebhard's factory, apparently producing metallic fire-rated doors.
Features of the Locher airfield scenery include:
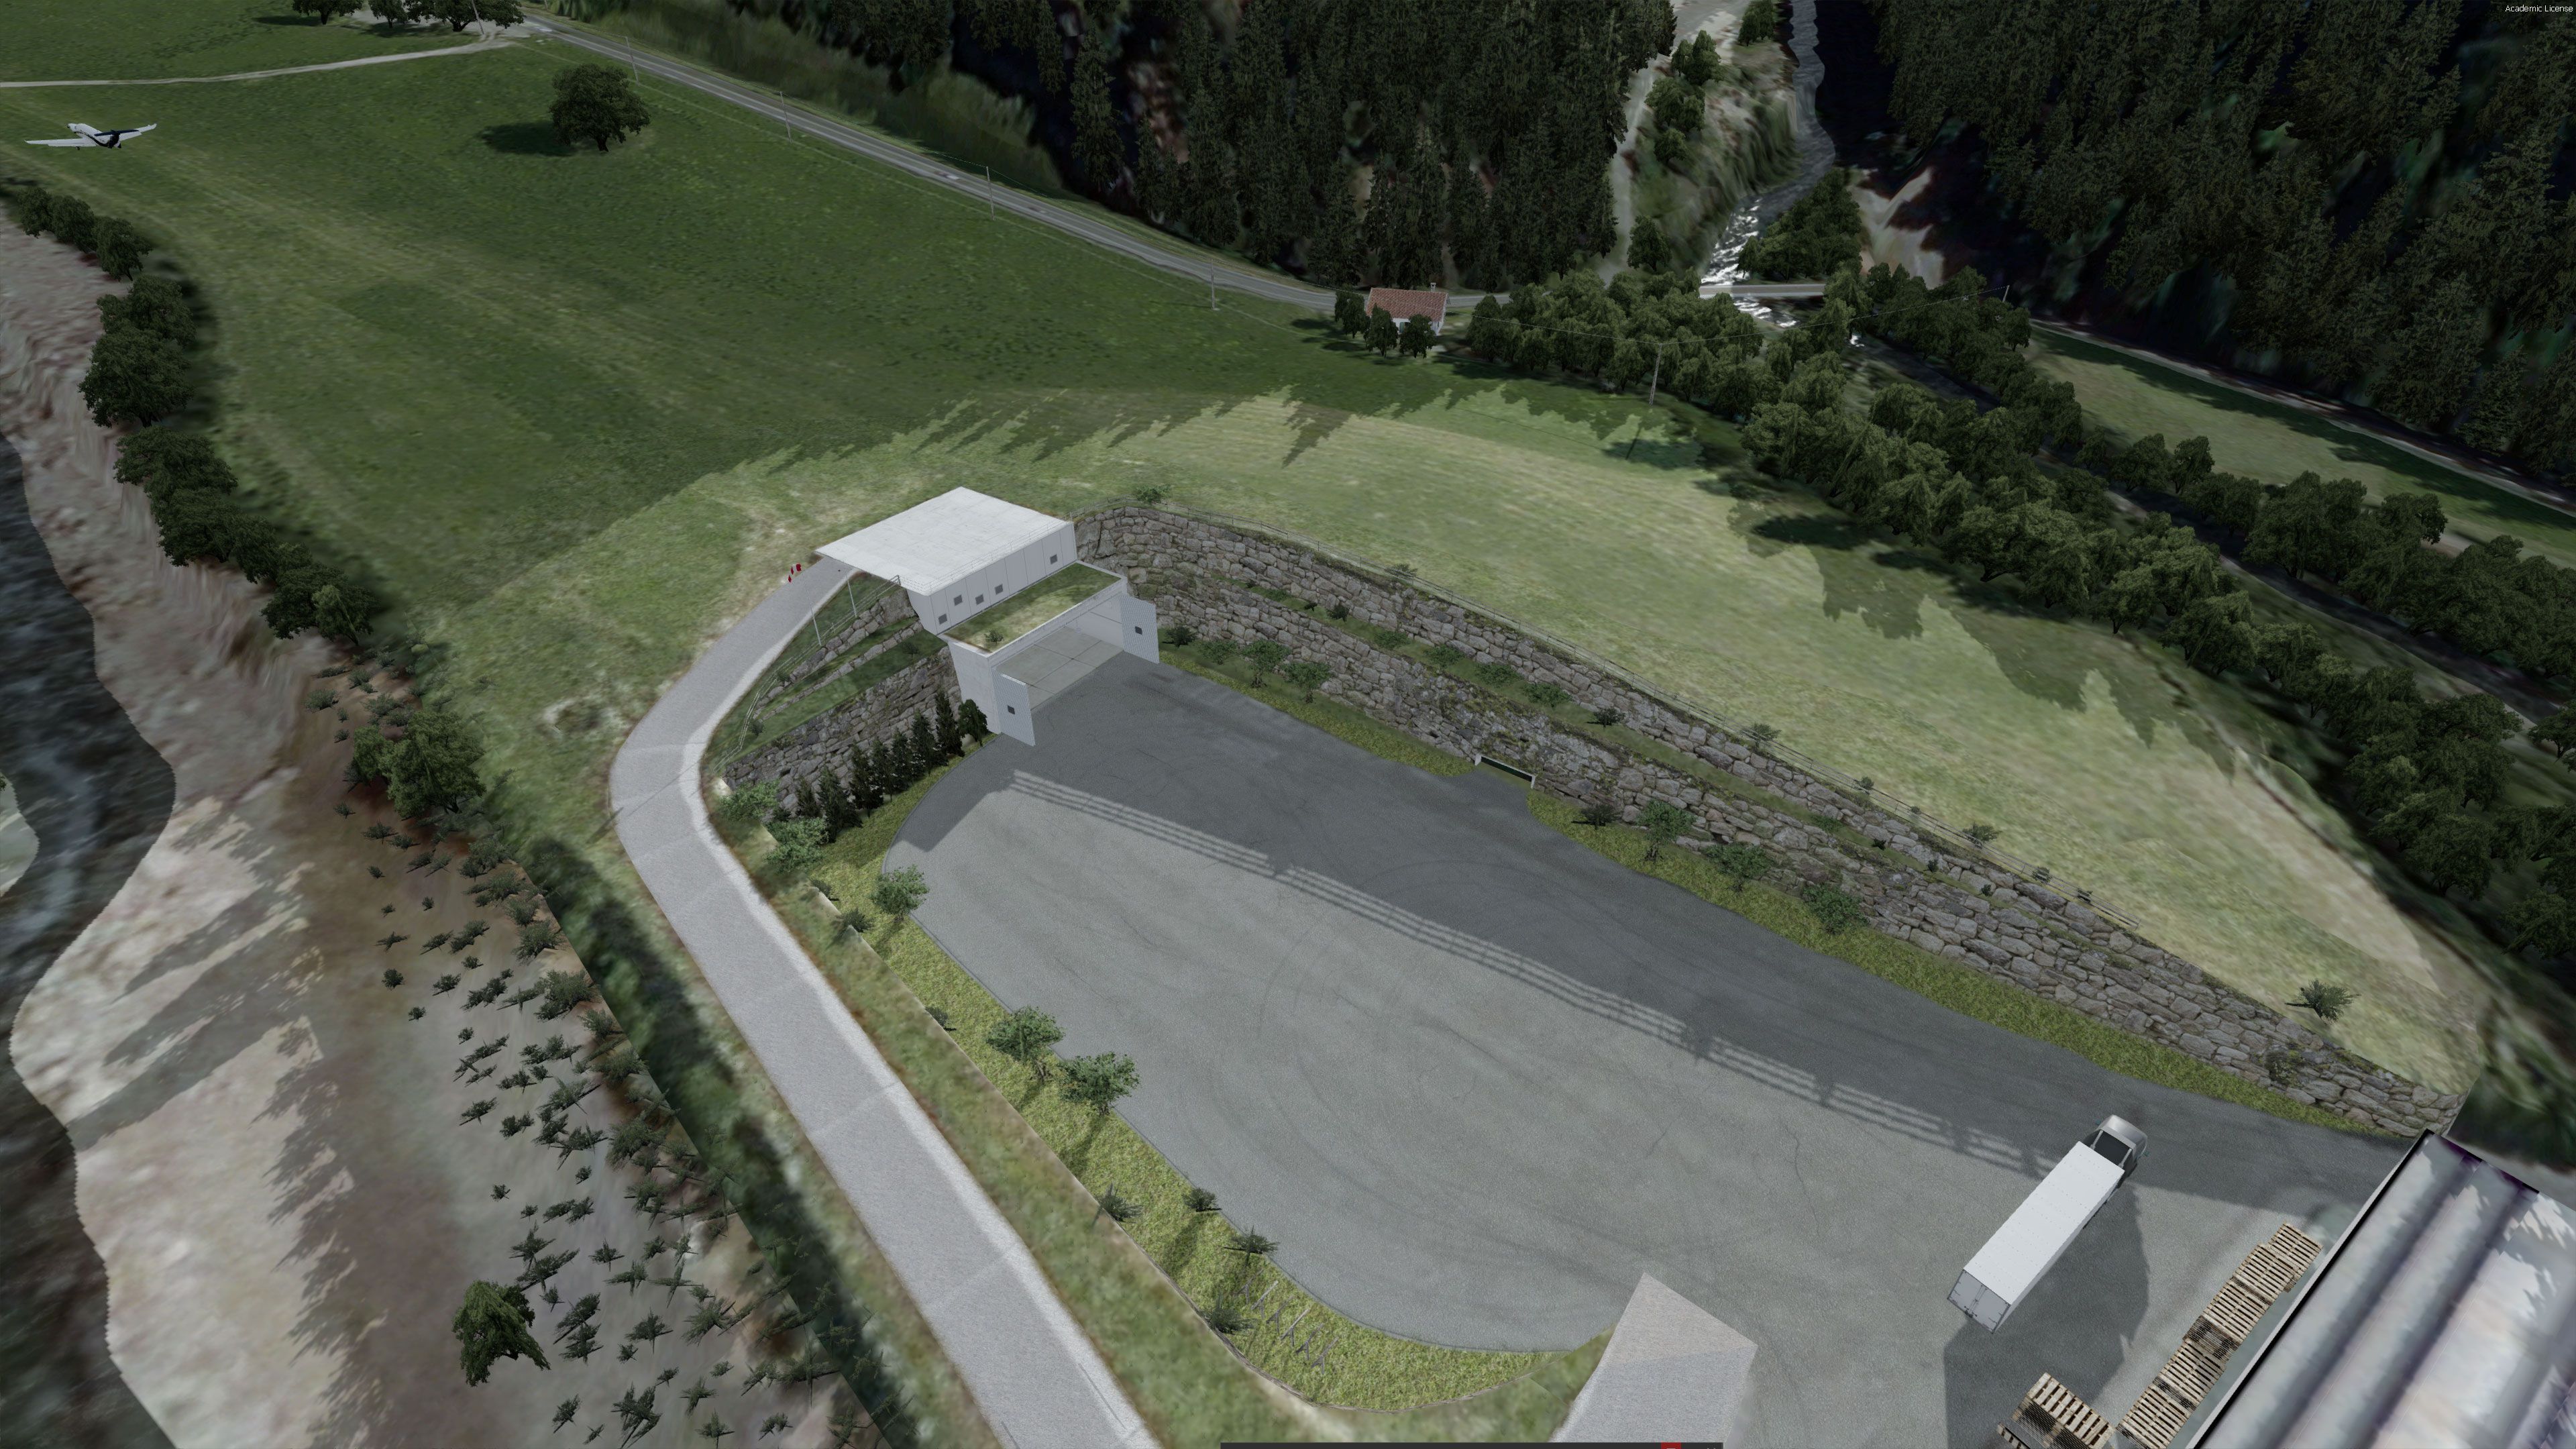
The detail1.bmp is needed to make the rocks and taxiway blend nicely with the ground around it. The file may either be the default FSX/P3D detail texture or a replacement one (e.g. by REX). Whichever it is it will have to be copied as above, otherwise, the ground around the hangar will stand out as very "flat". I could not find a way to work around this copying, apologies.
In order to avoid chunks of ground sticking through the rocks or the sloped taxiway, the mesh slider has to be set to 2m or less, when using this scenery. Autogen is suggested to be set to at least dense level or more if your rig can handle it to enjoy the vegetation. If you suffer in FPS, reduce that slider.
The airfield is given the imaginary LILX ICAO code. The name of the field is "Locher". There is no runway or taxiways defined, just three starting points:
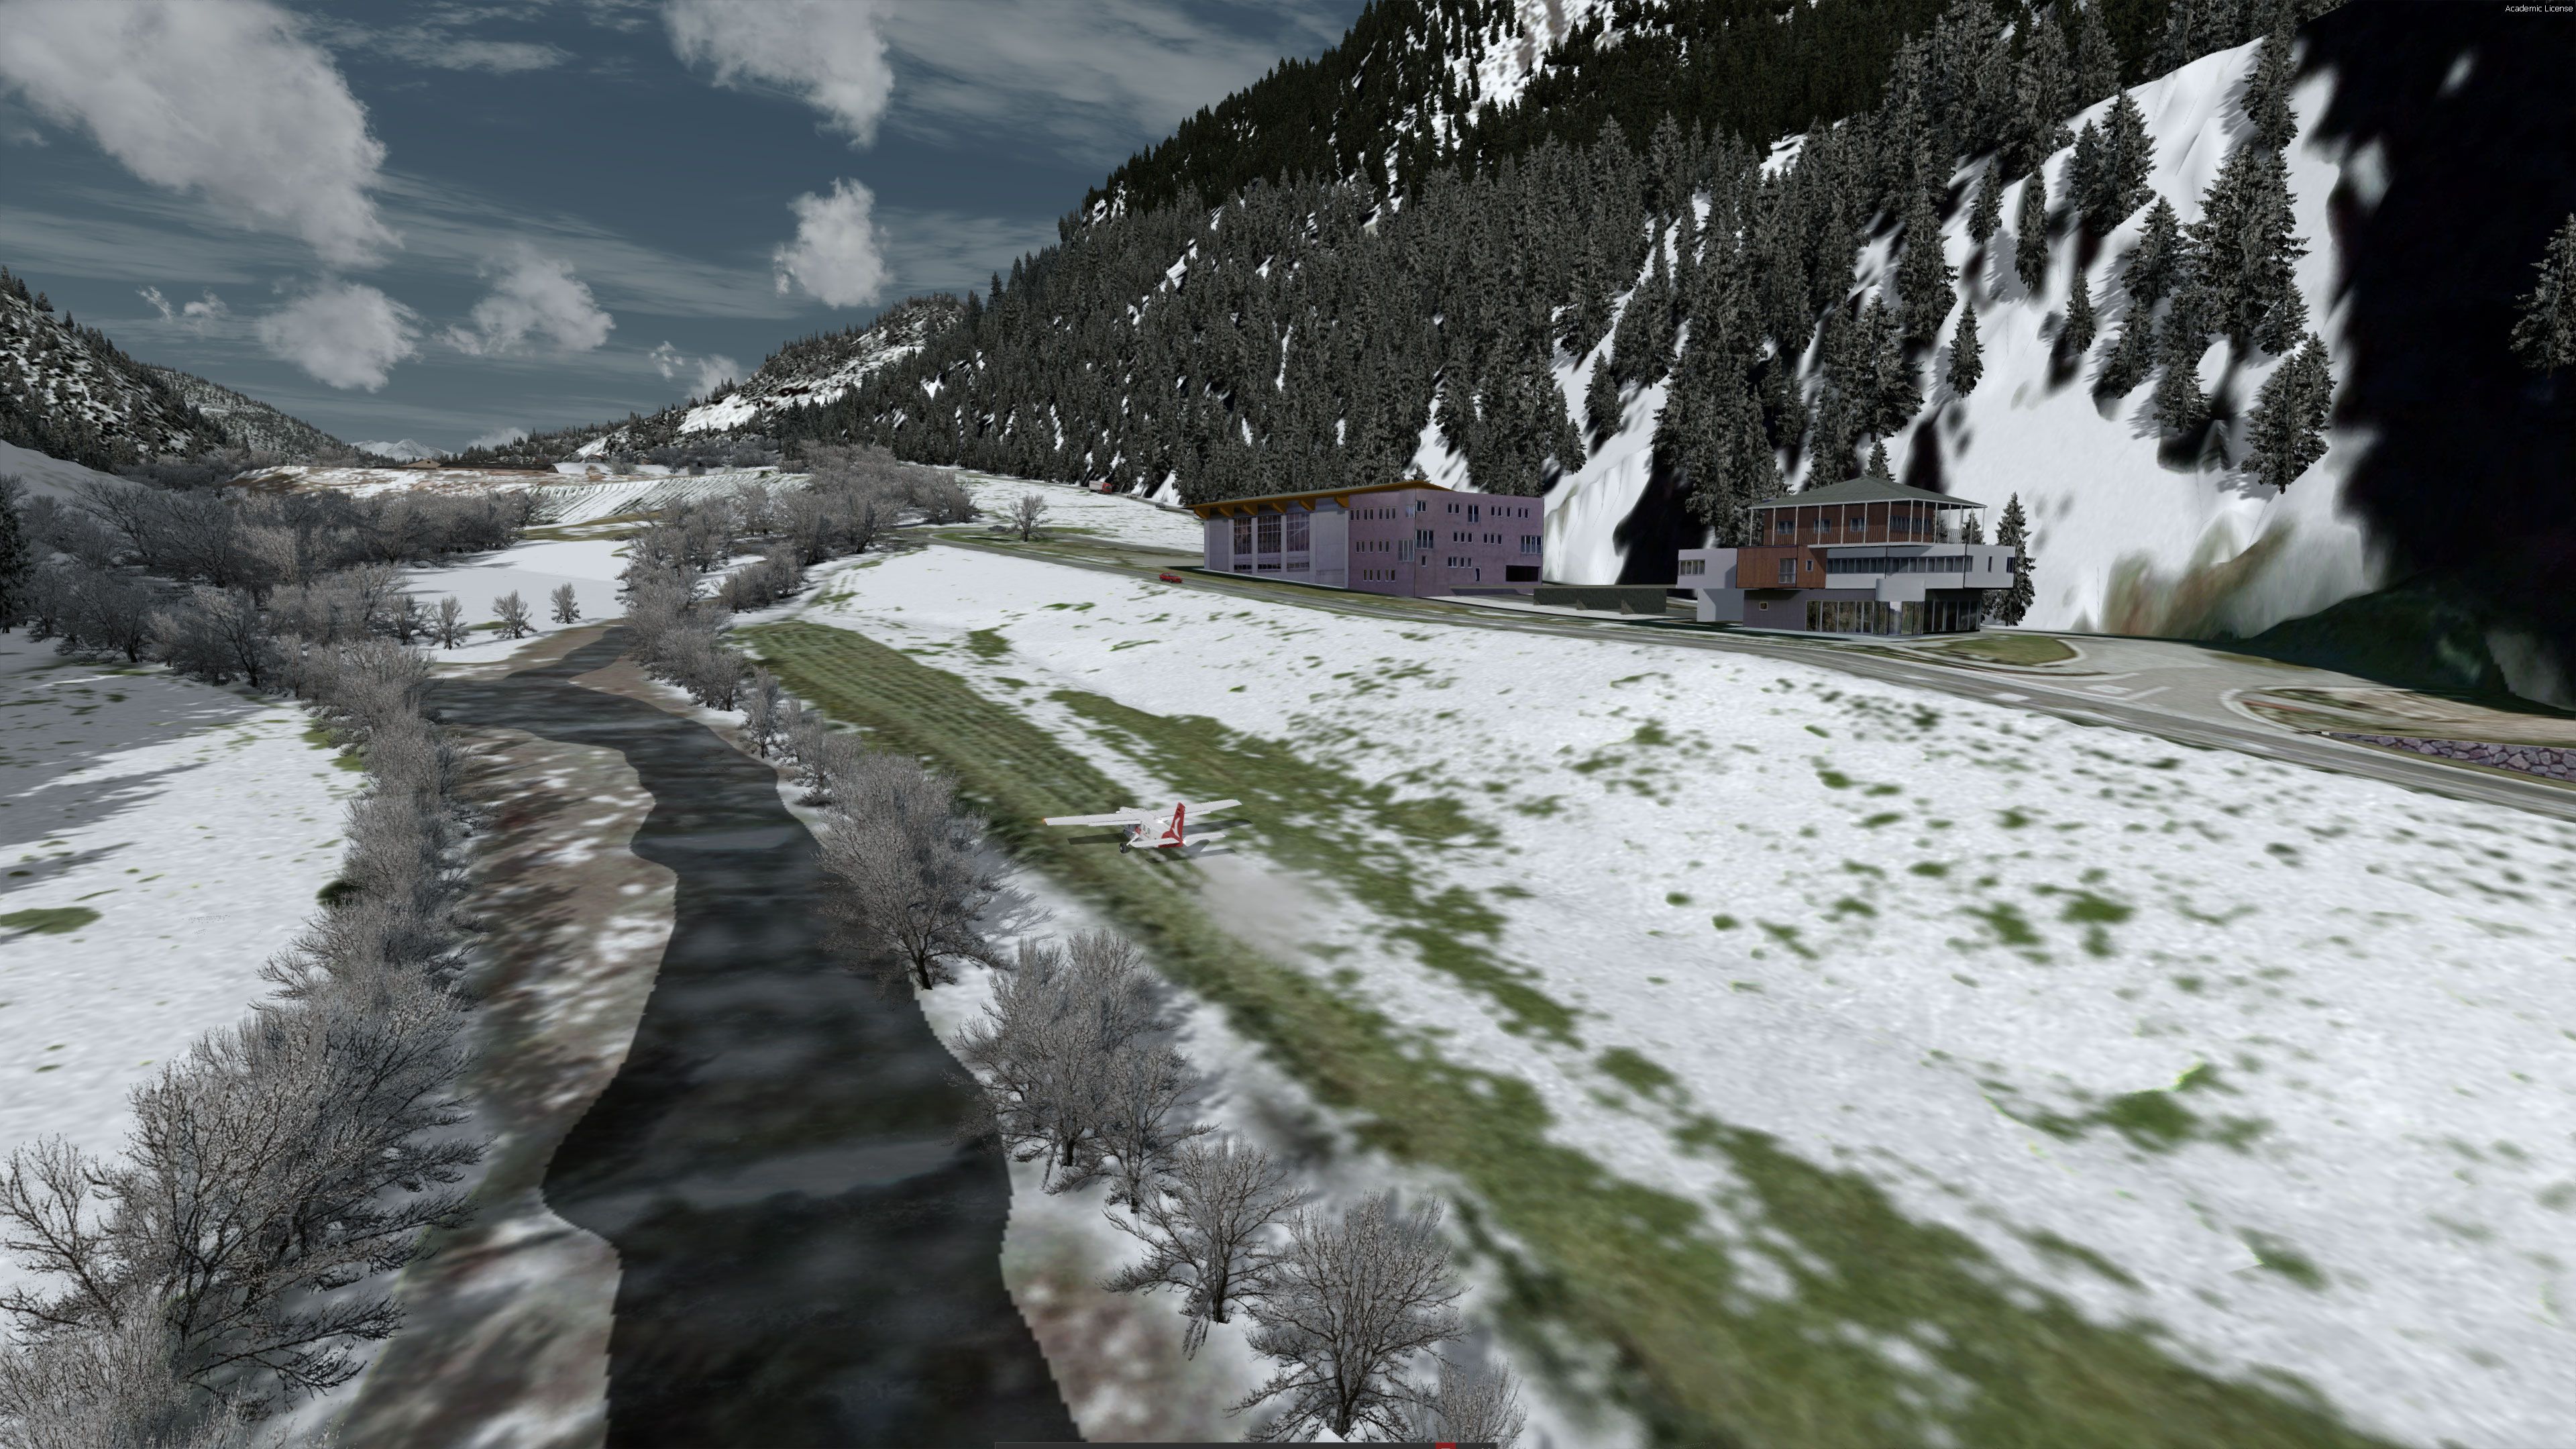
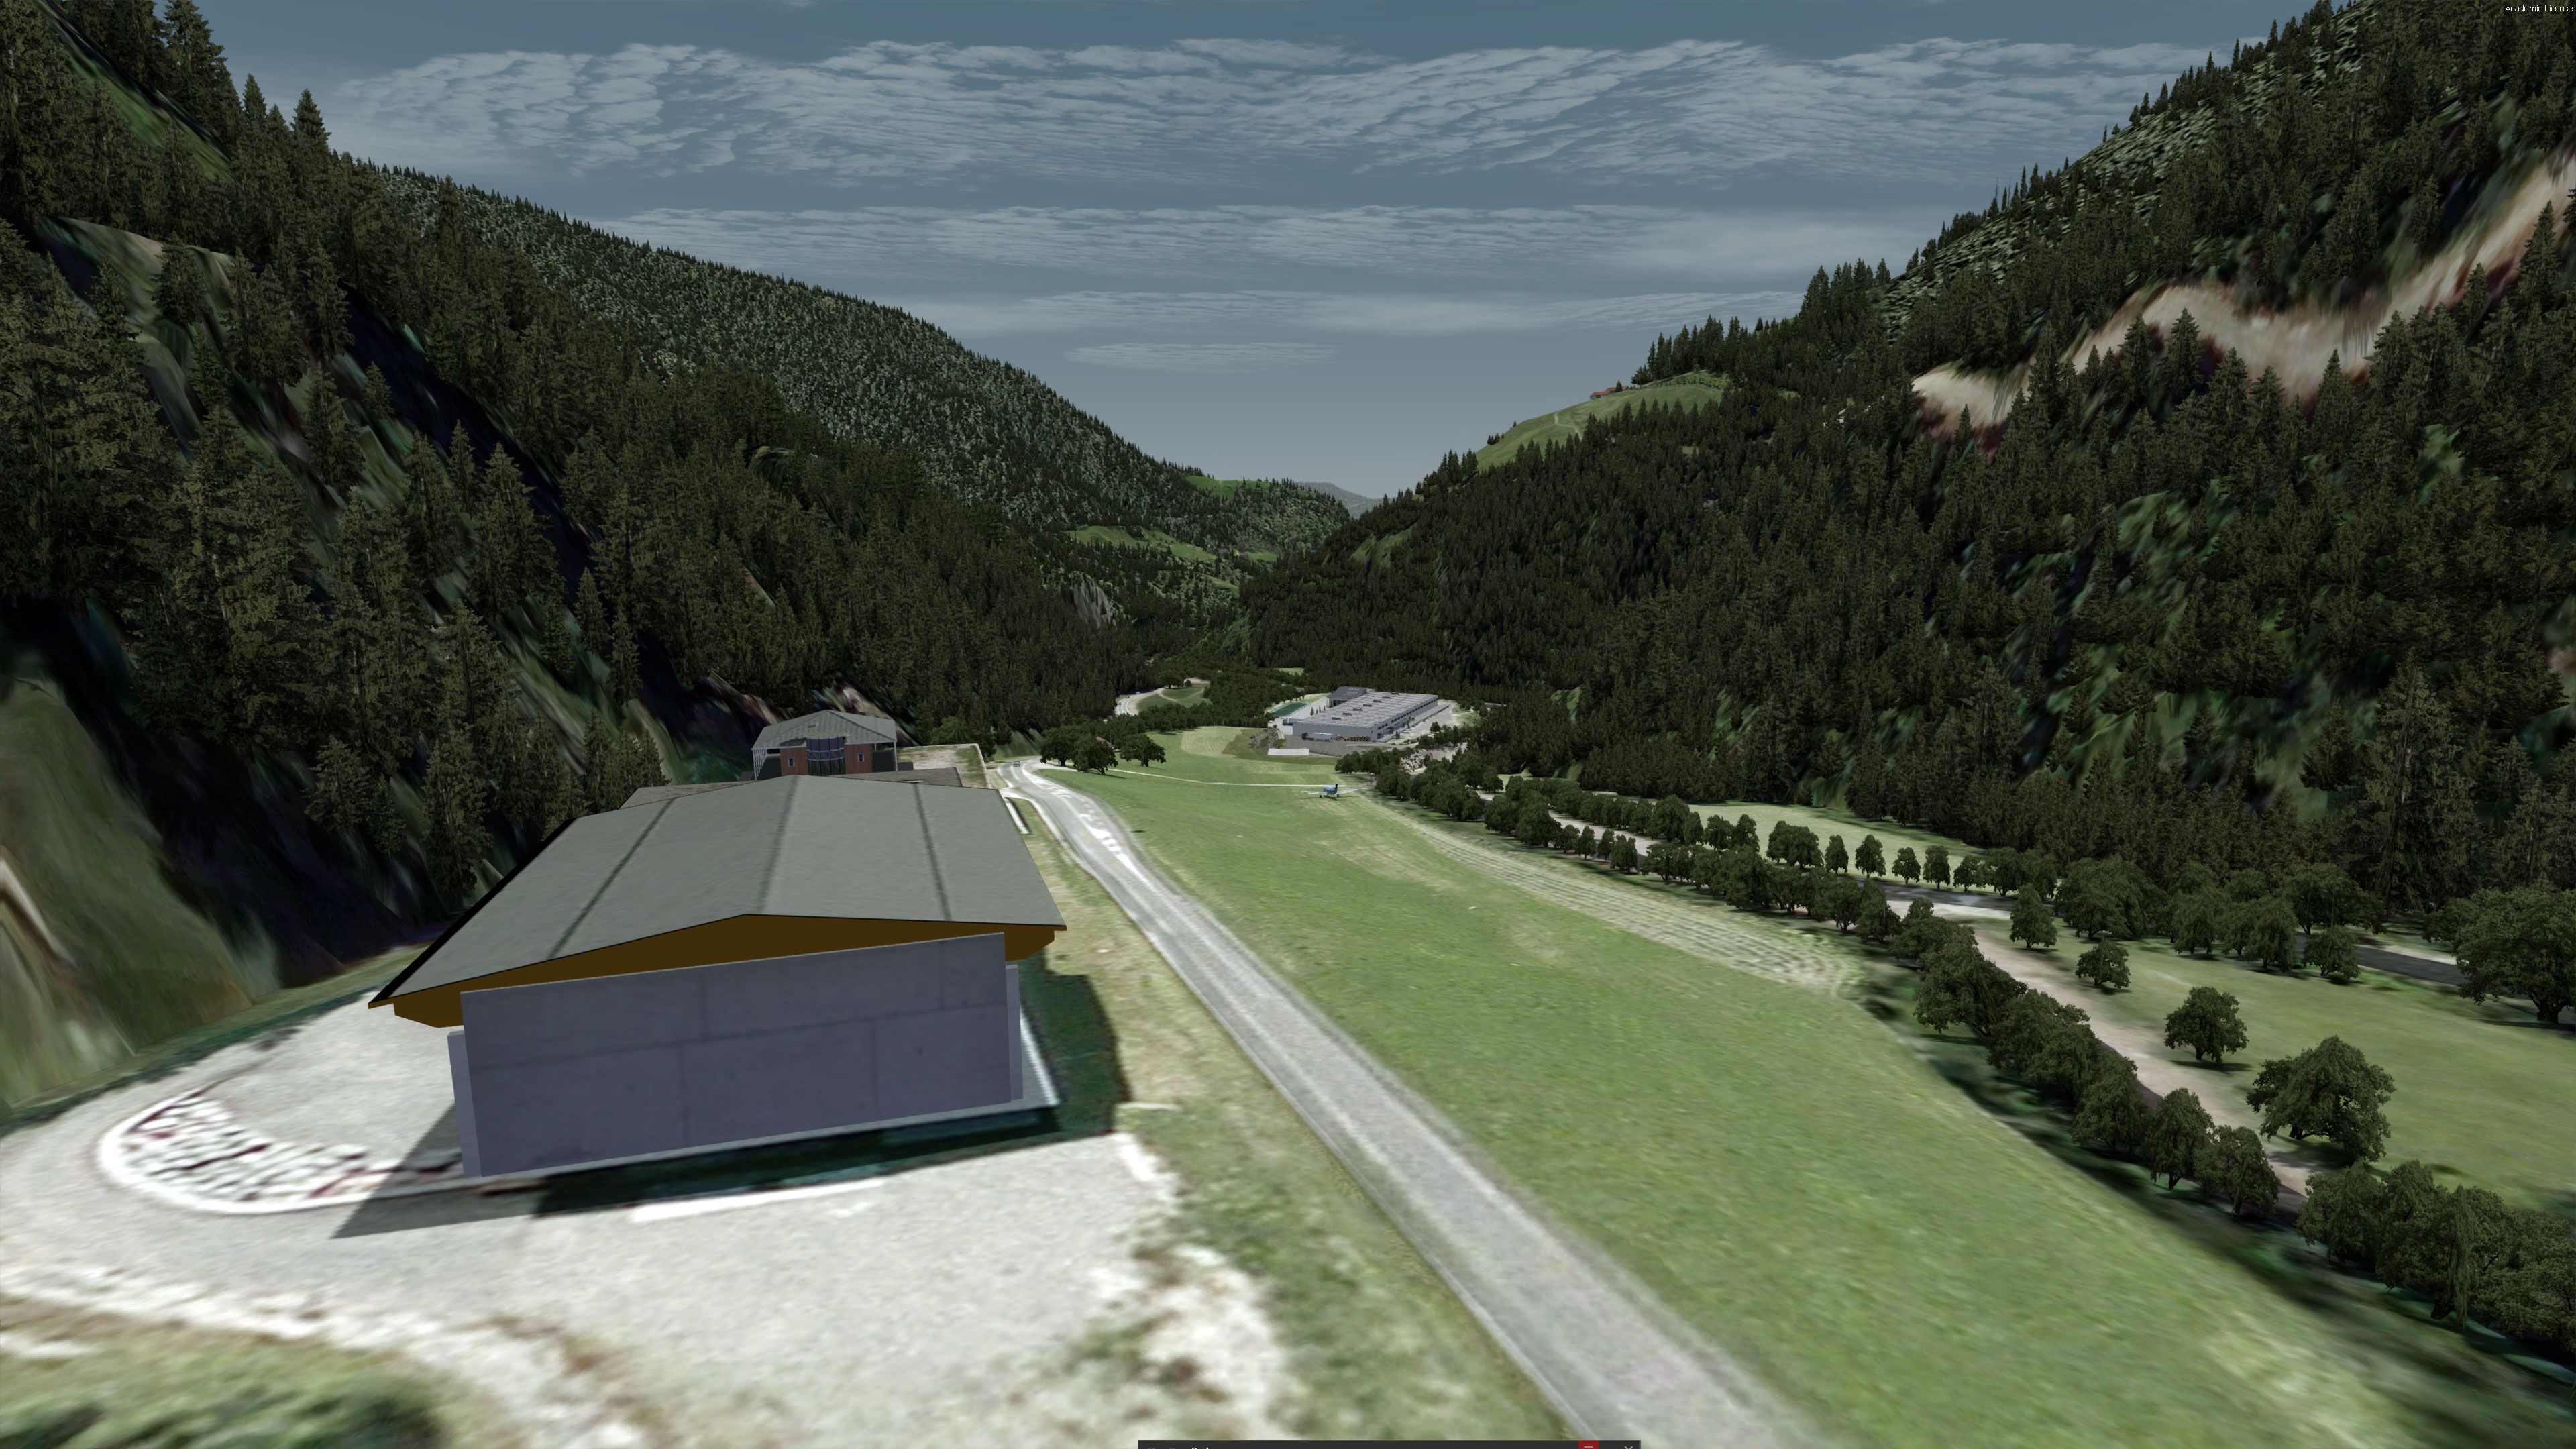
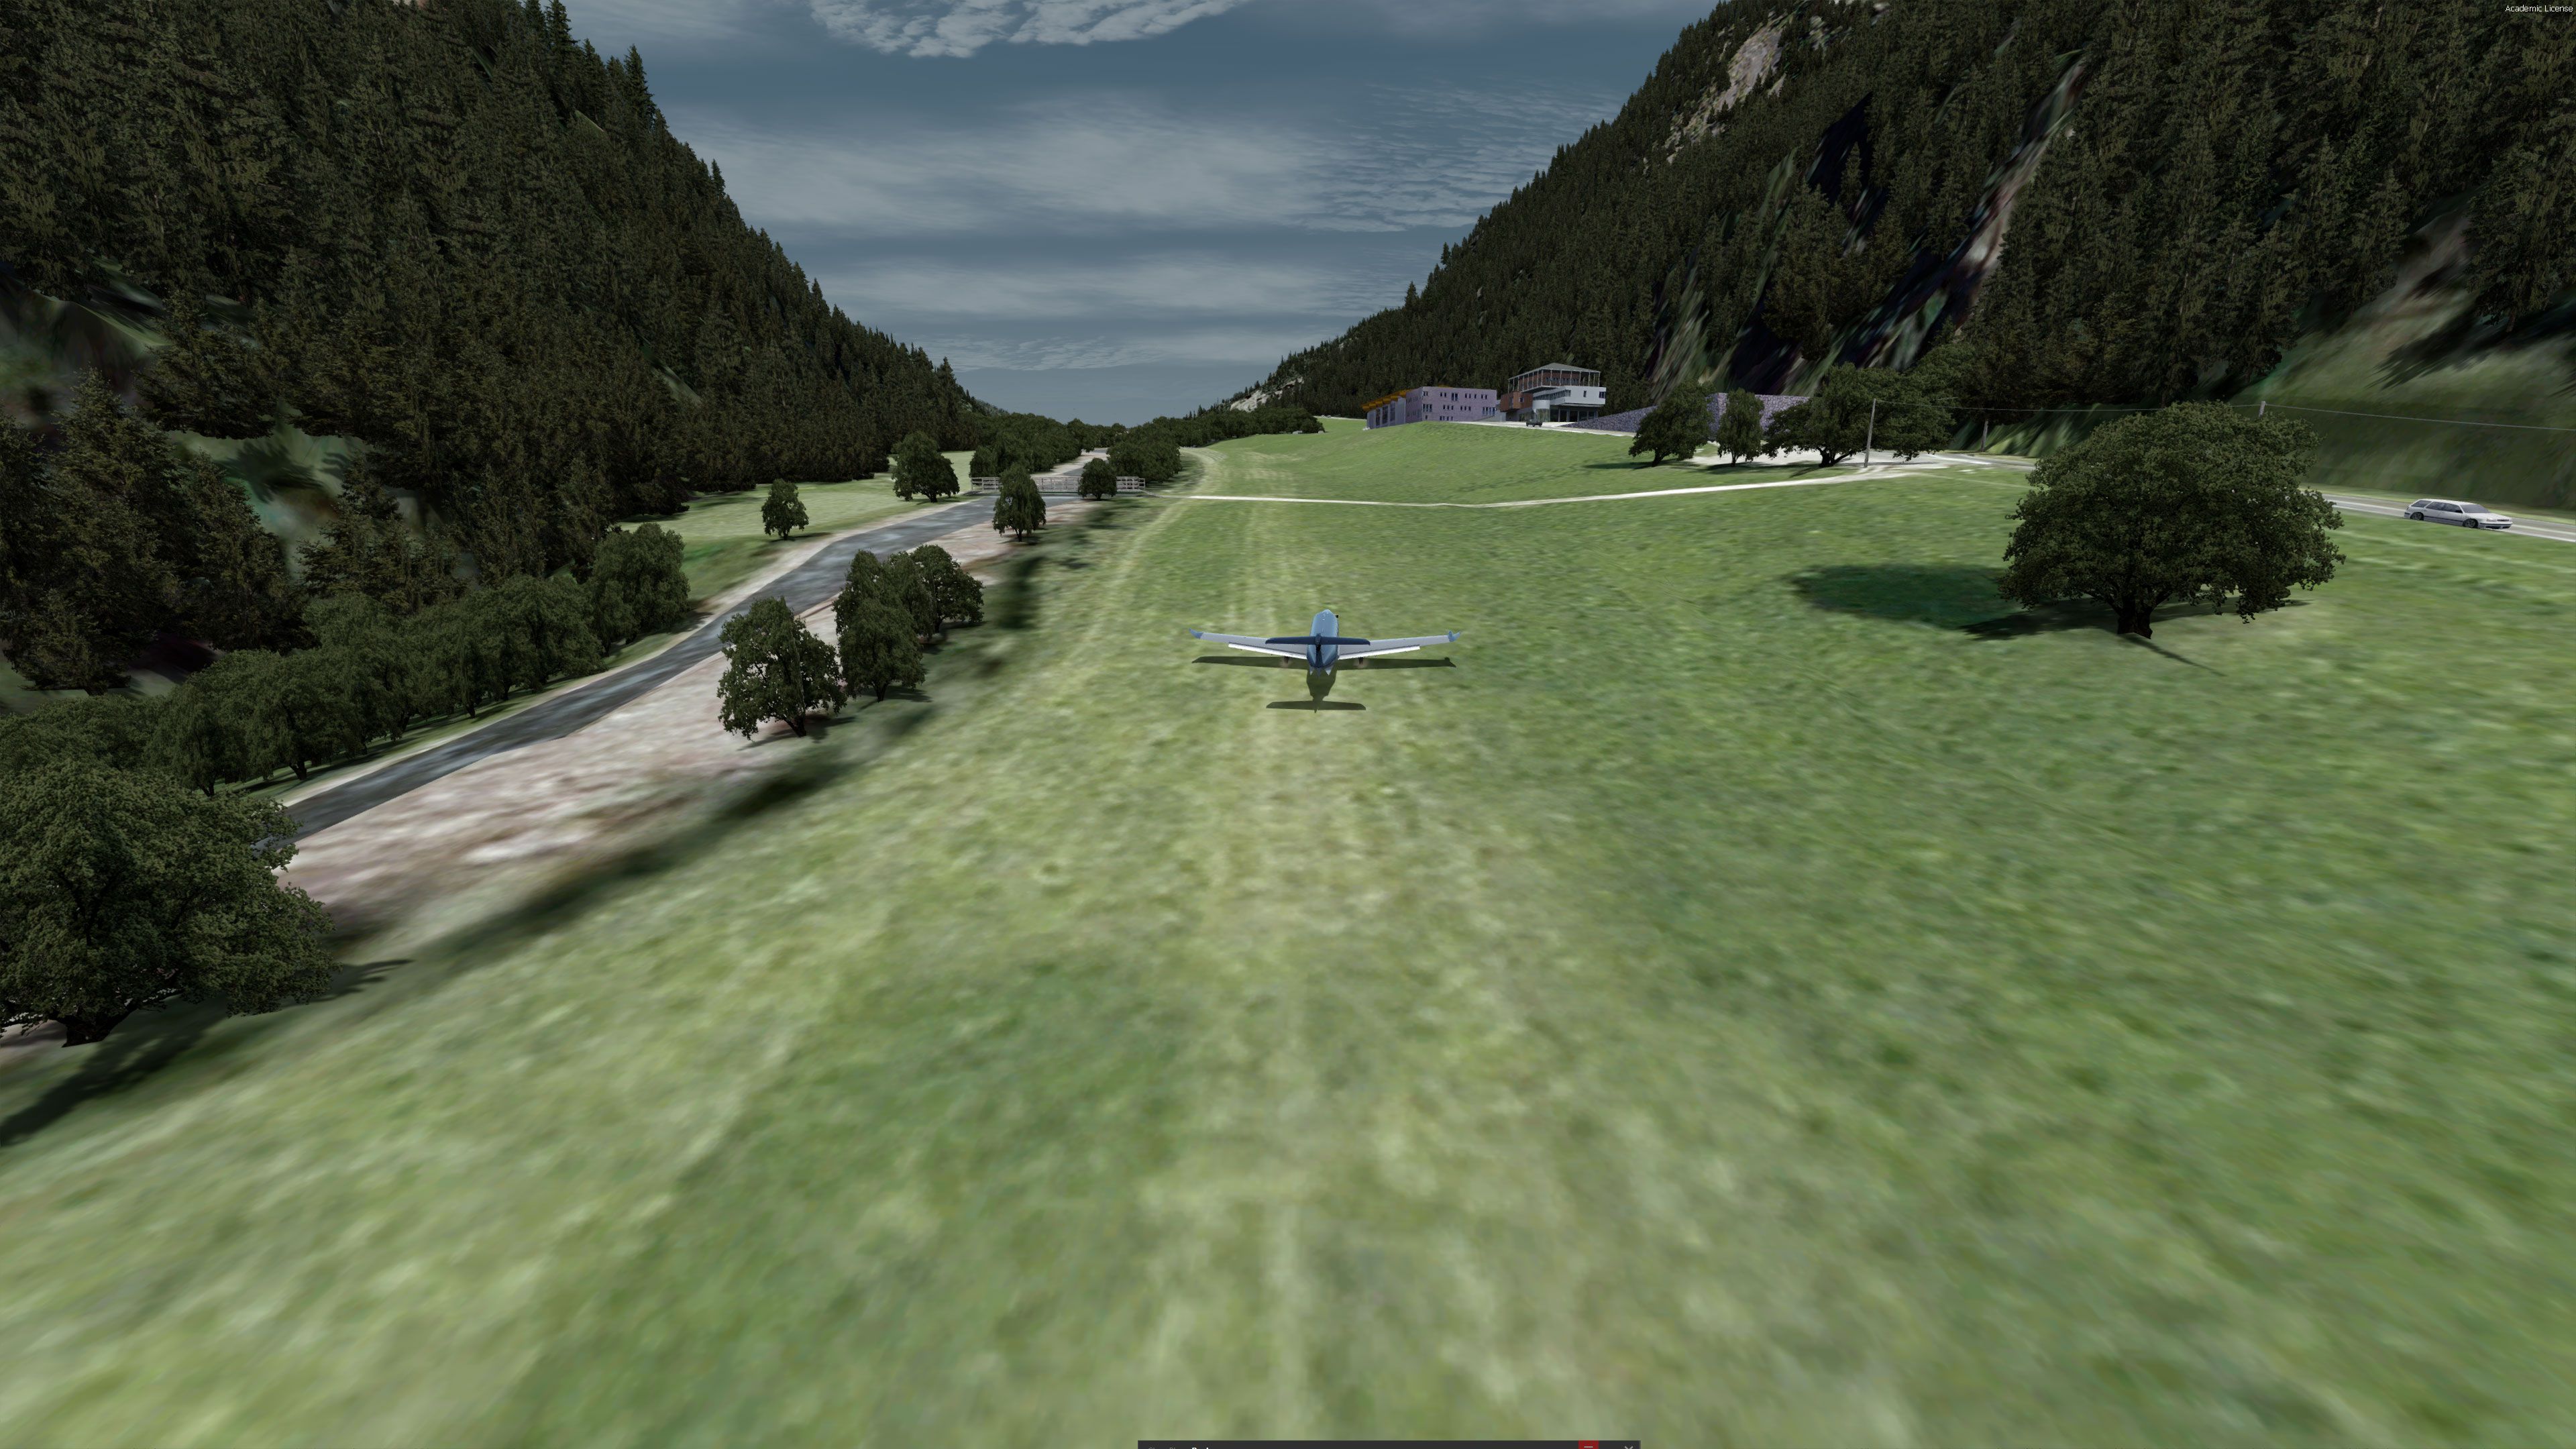
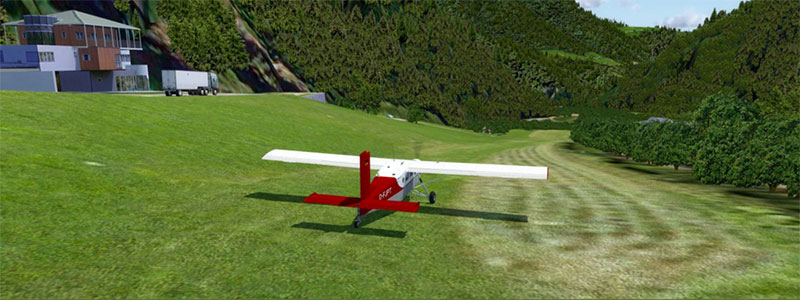
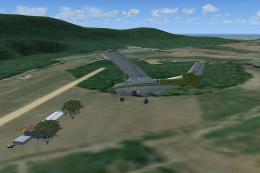
The plane will be placed on the top of the grass field looking south ready for take-off. You must be ready to step on the brakes immediately upon starting as the slope is steep:
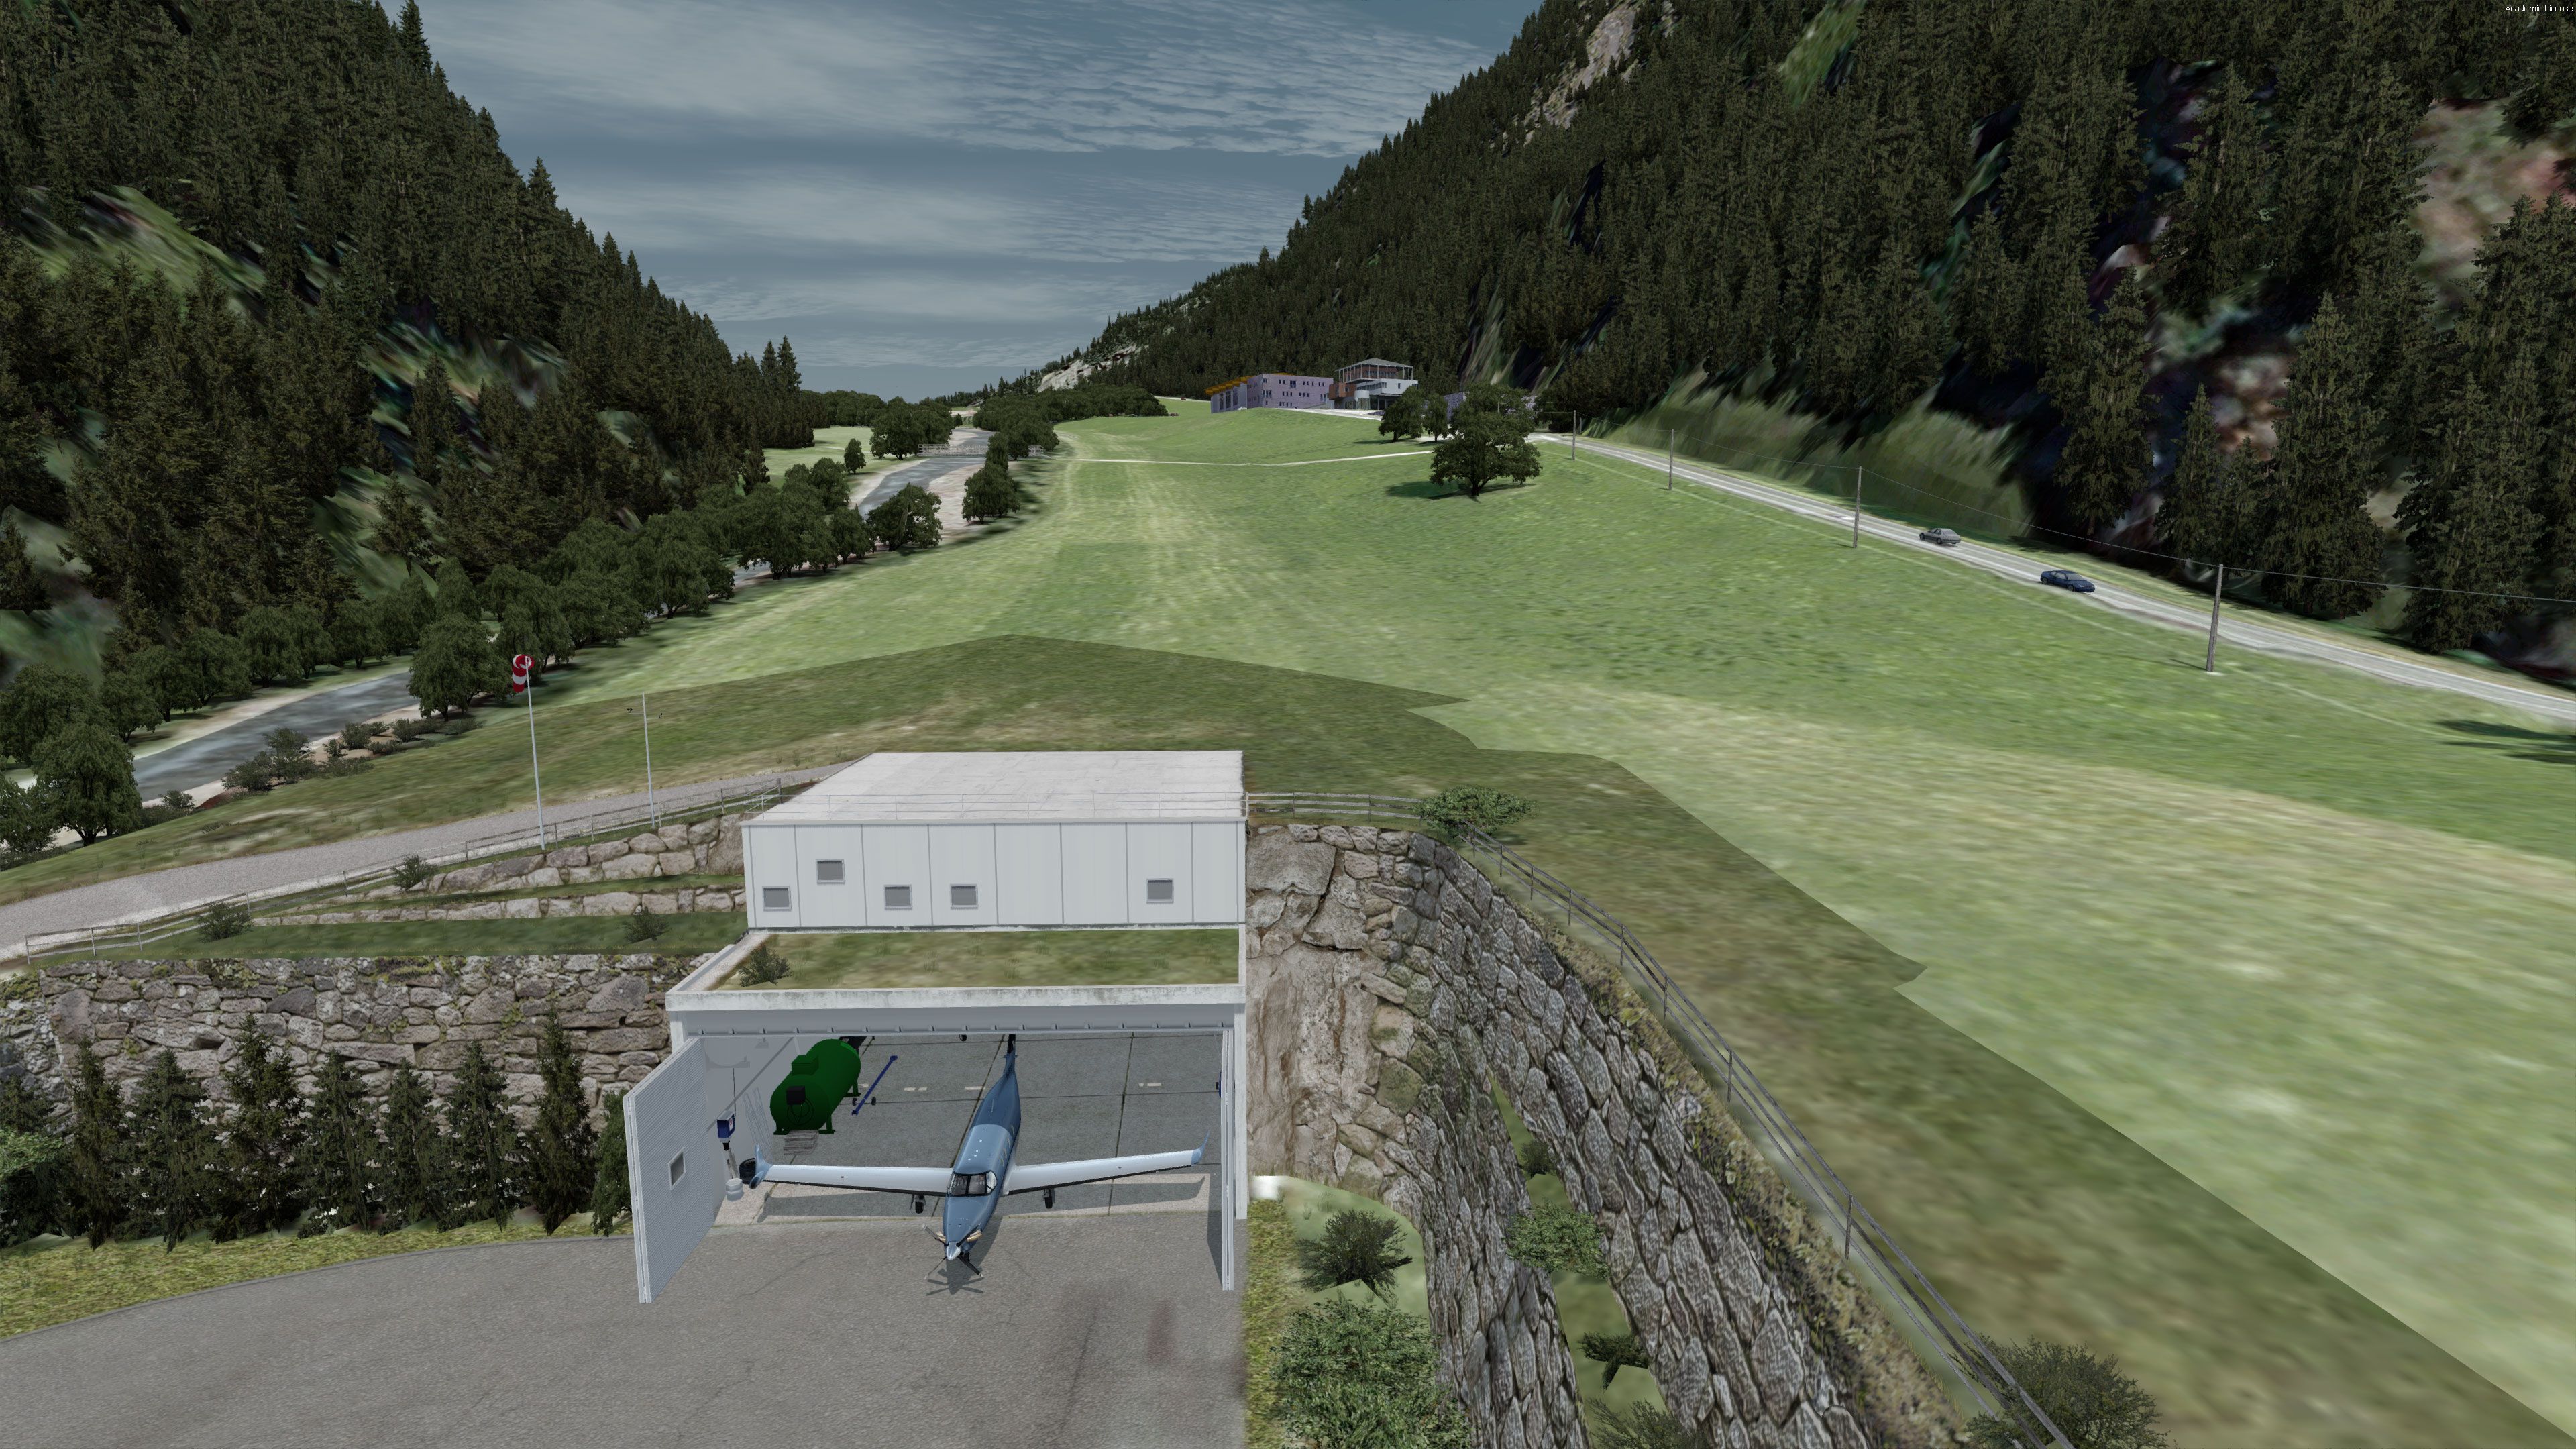
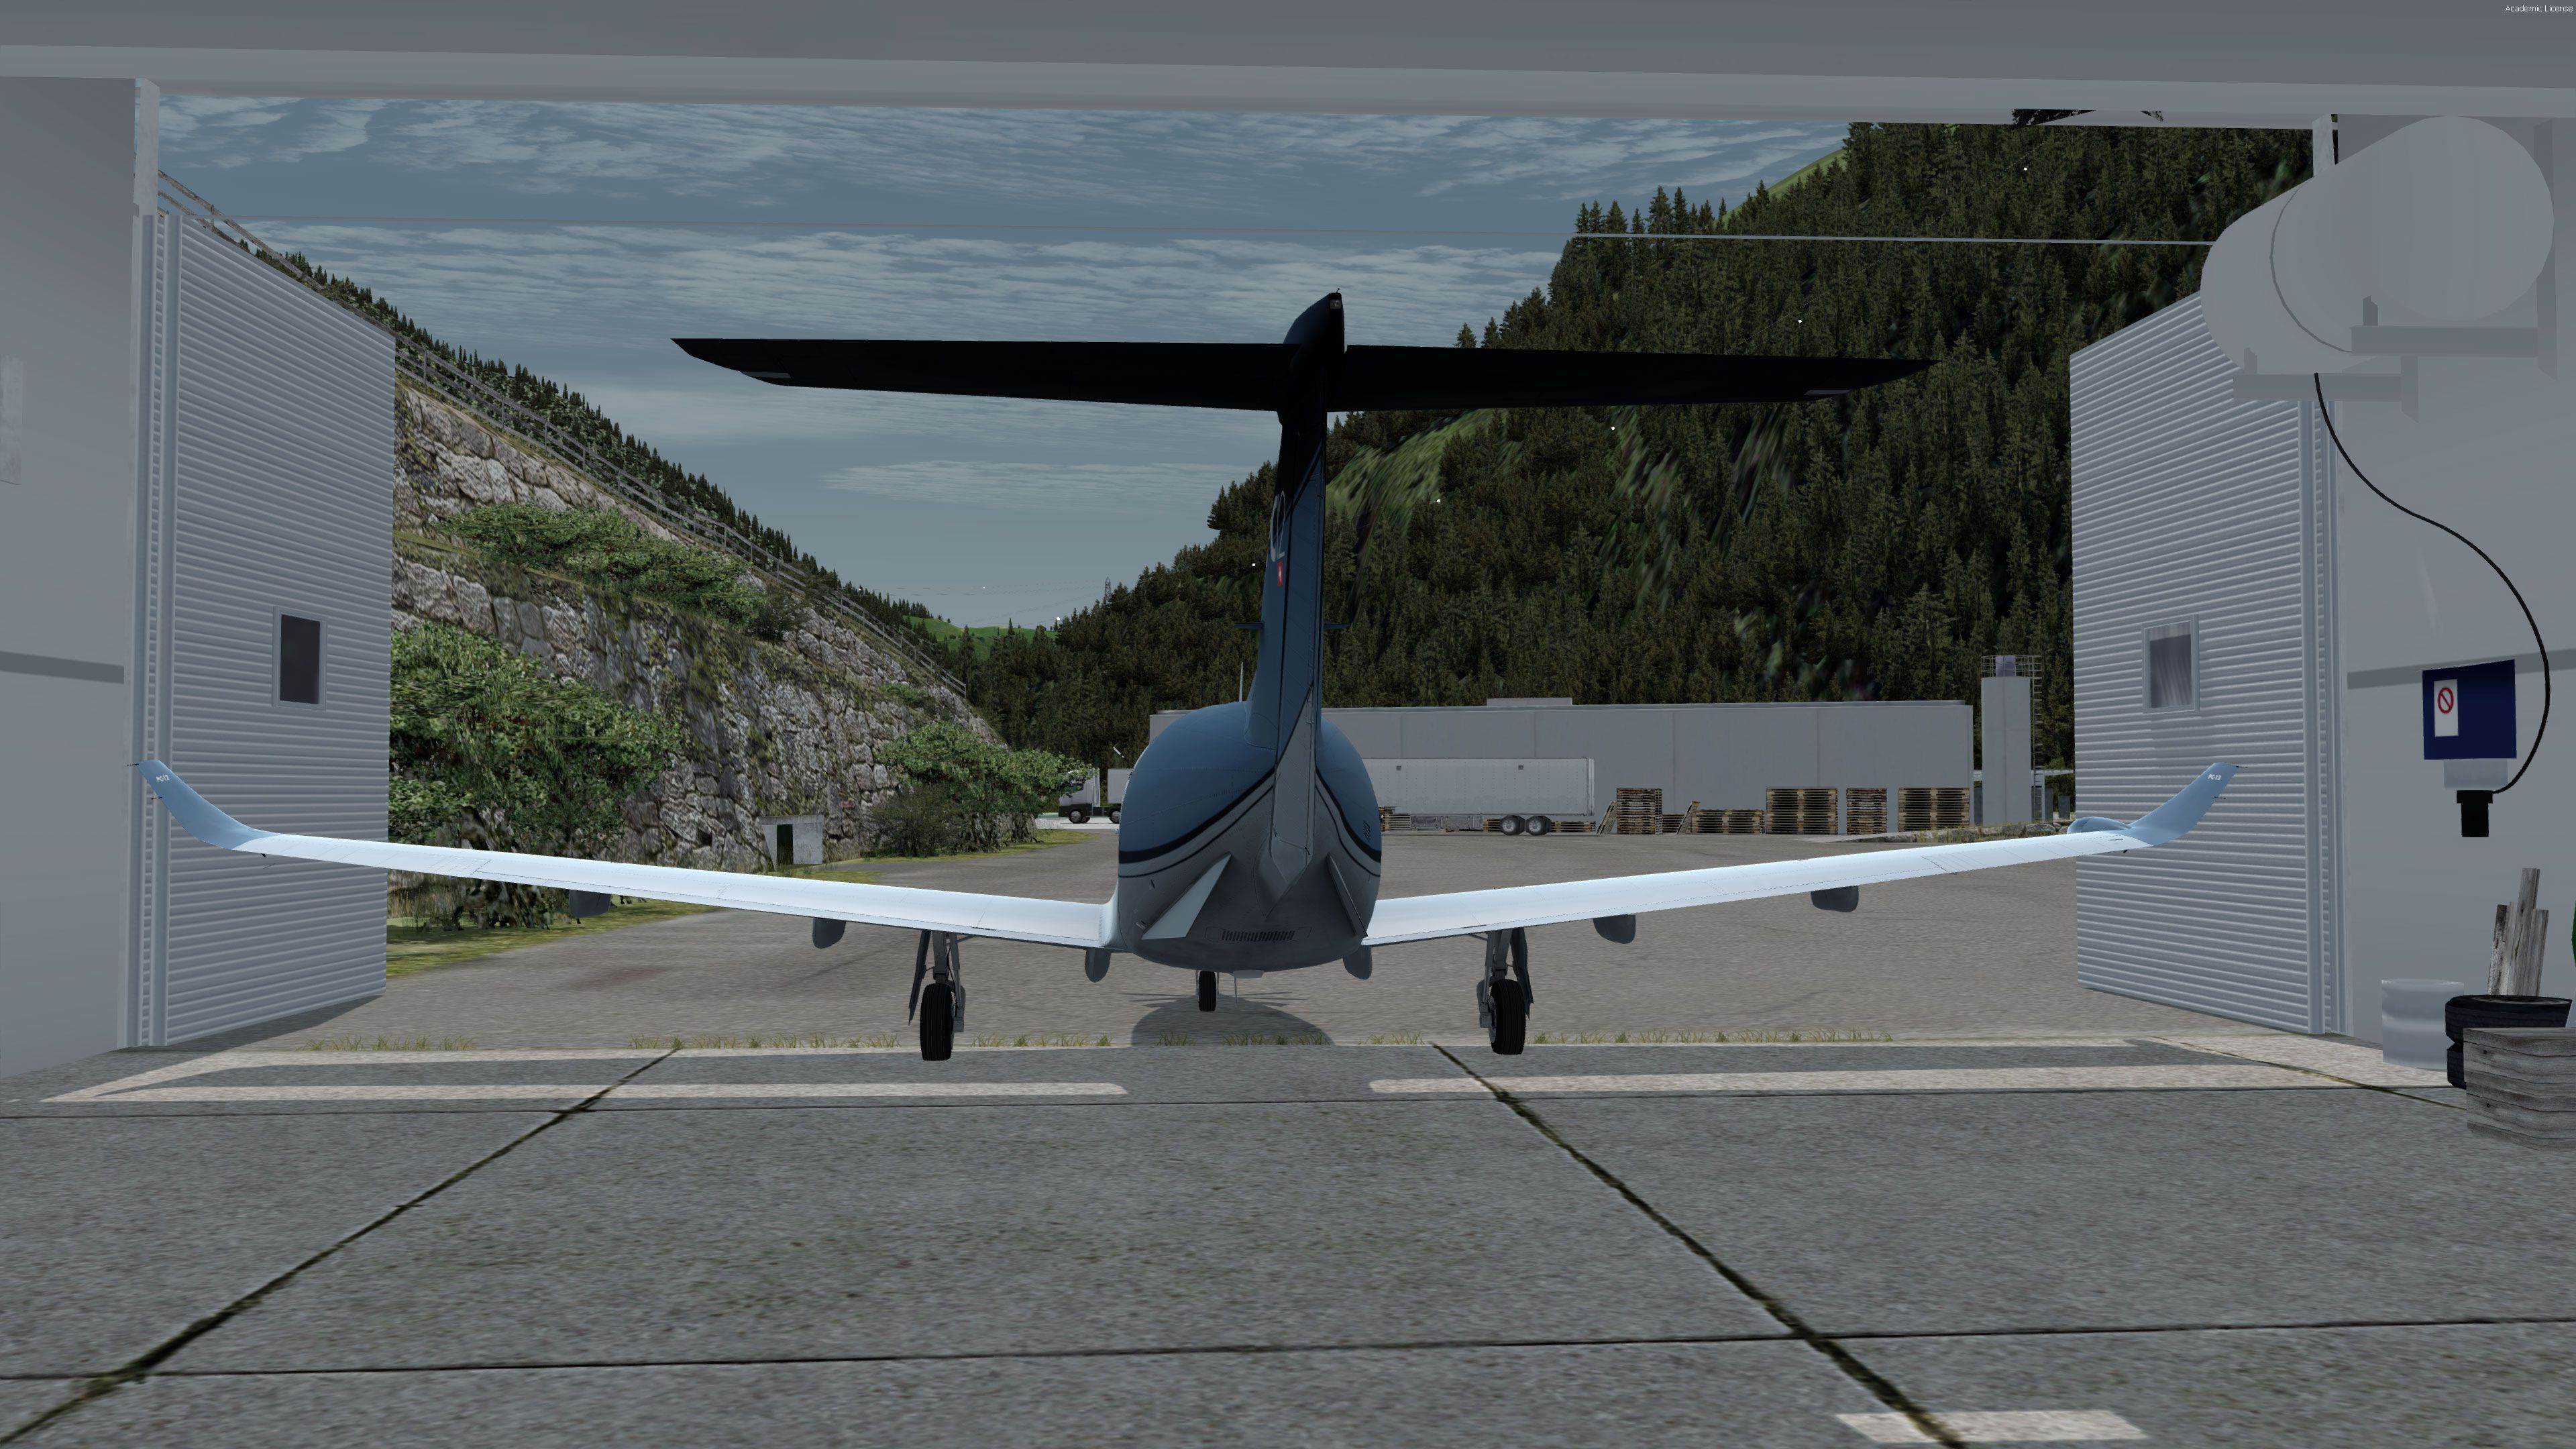
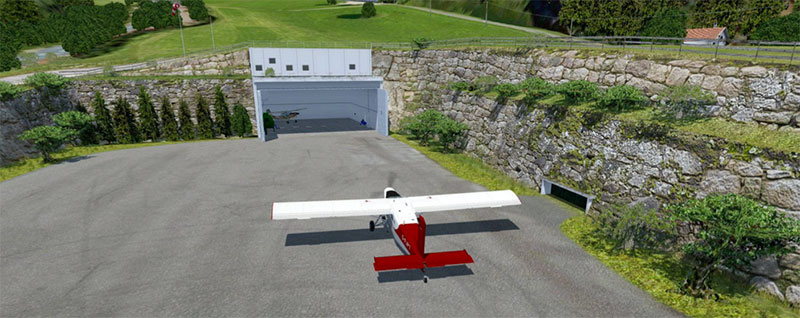
The plane will be parked between the open doors of the hangar looking south ready to start taxiing:
The plane is parked on the apron's east side looking towards the hangar. You will need to make a hard 270 degree turn to the left and then another 180 to the right to reach the start of the taxiway ramp:
AI planes can not use this airfield due to lack of a taxiway/runway system, not possible due to the sloped grass field and taxiway.
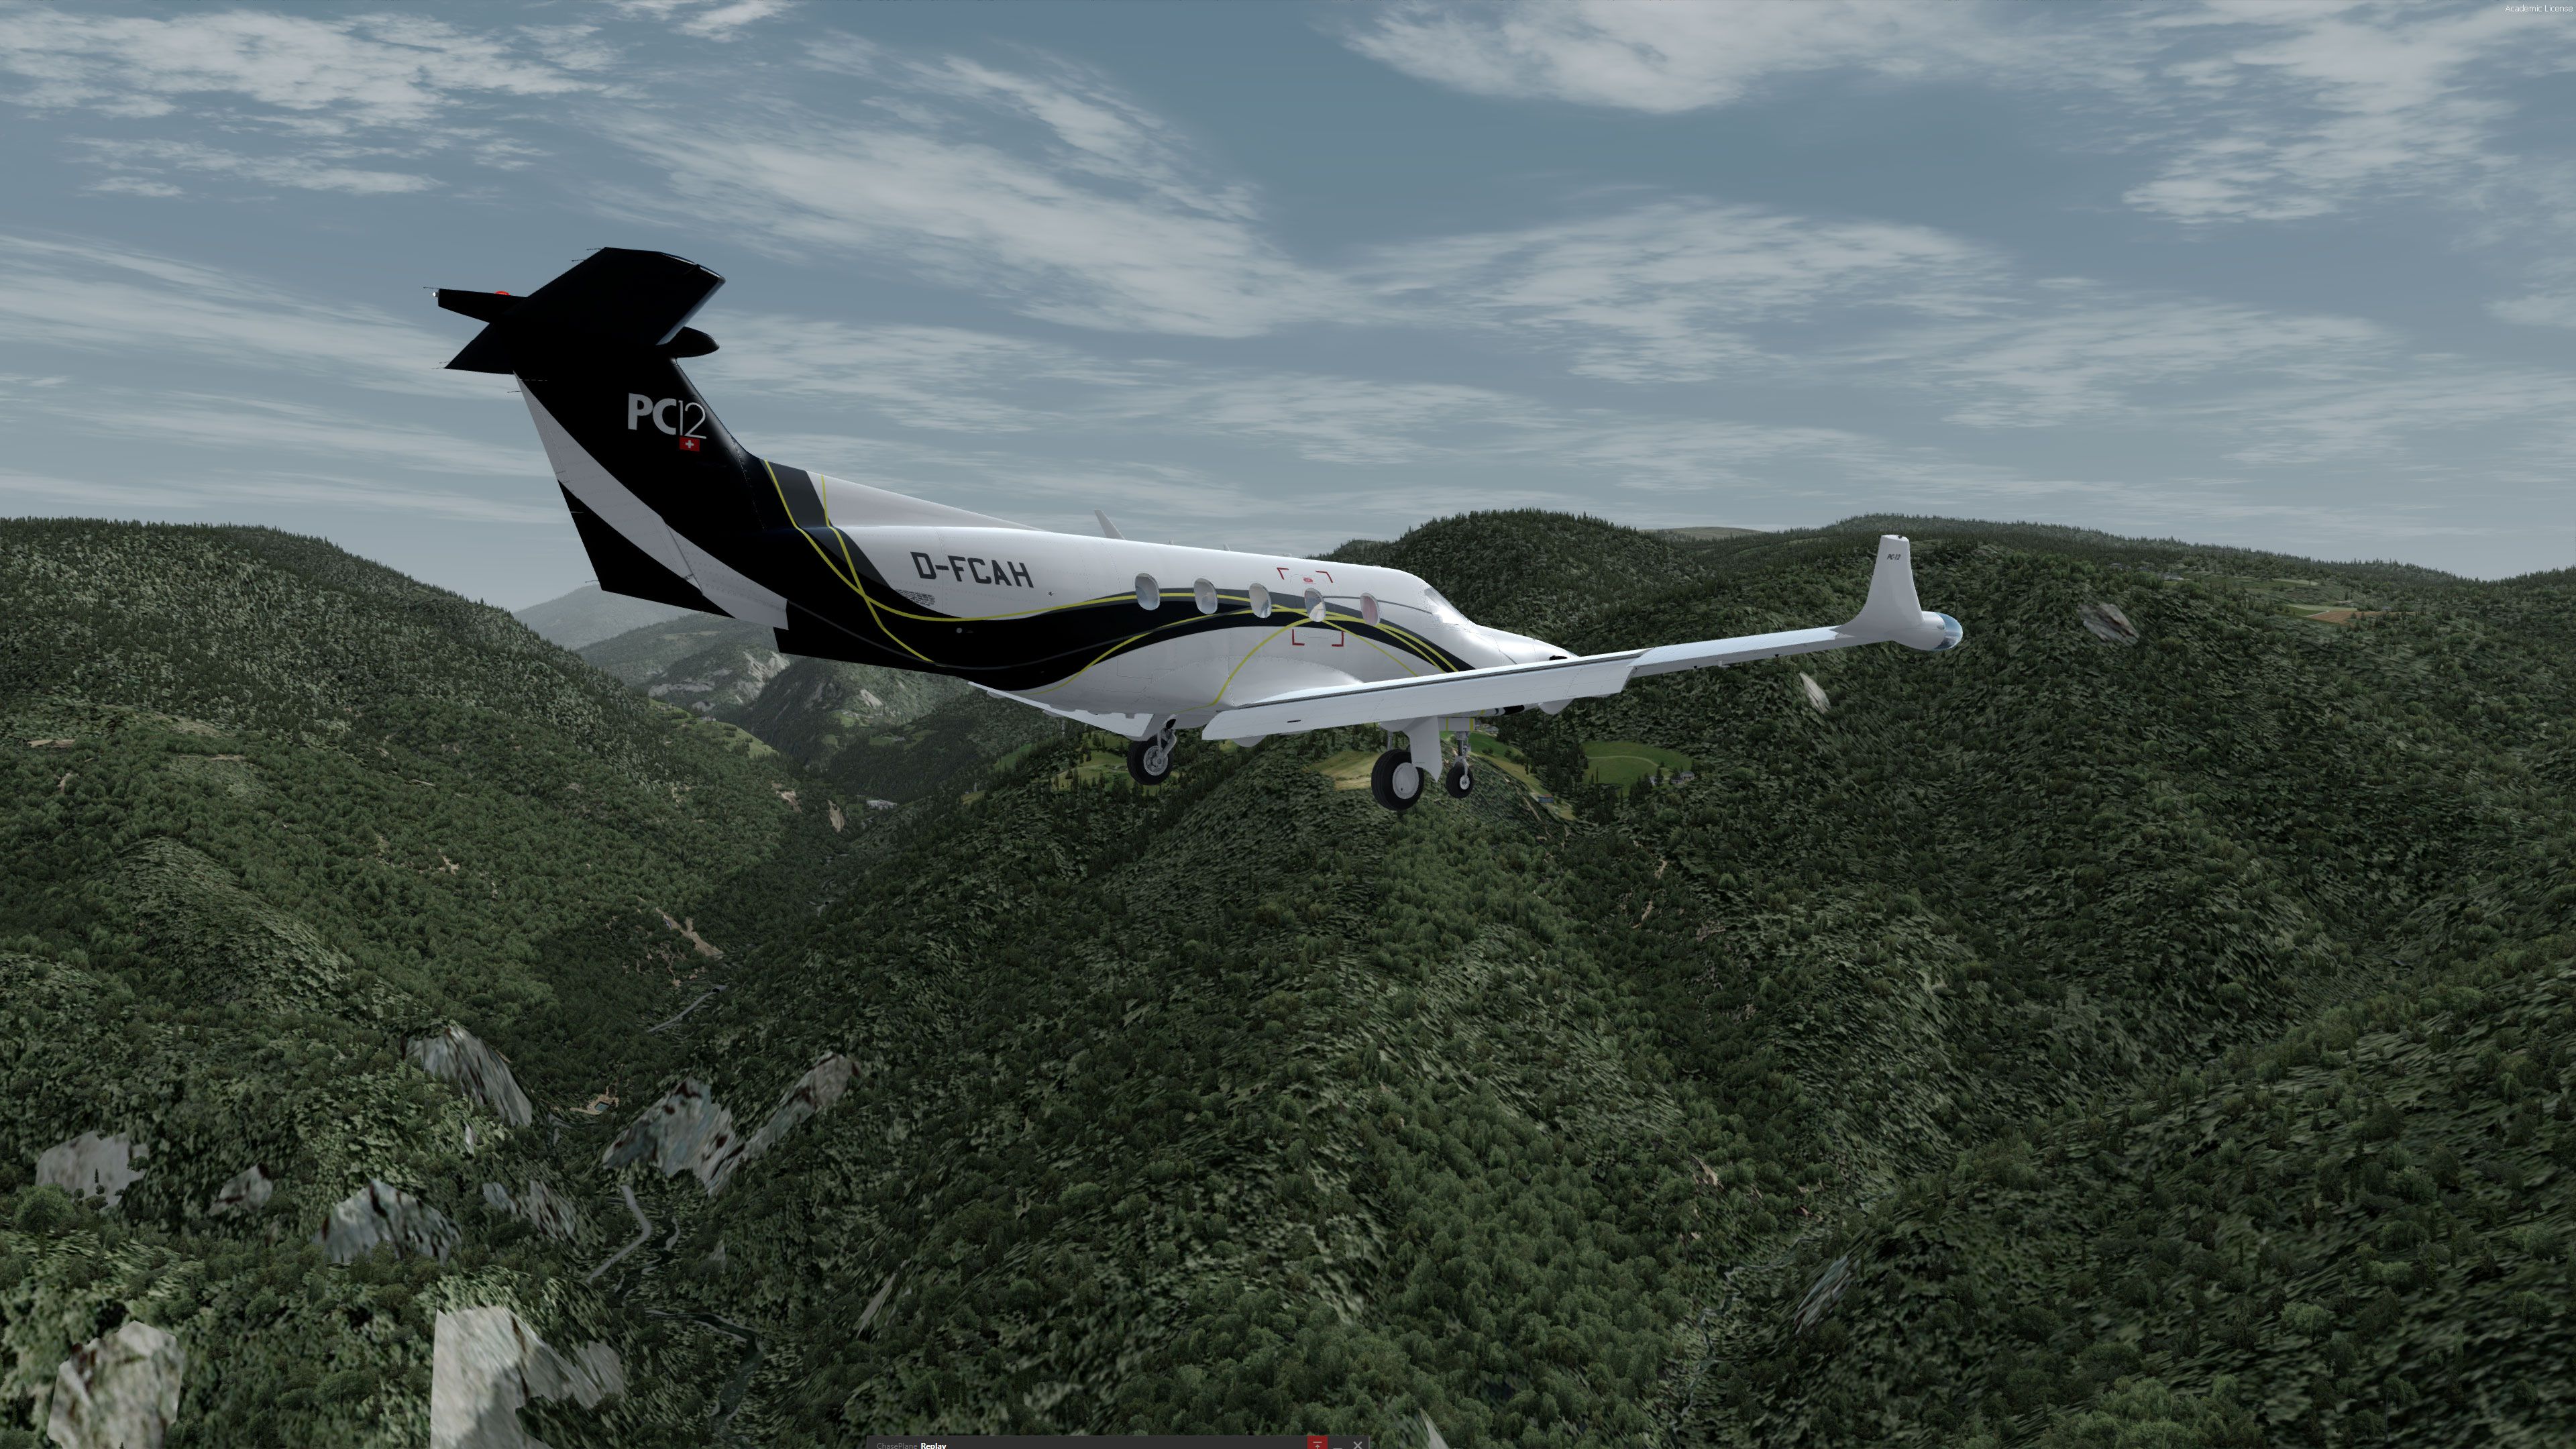
The surface of the apron is set as asphalt and the taxiway as cement. All of the rest is FSX/P3D ground so friction will be as dirt. As the slopes of the taxiway and runway are steep you need to have a powerful, or light airplane to be able to climb. The default or A2A 172 can not do it. Turboprops are preferred, like the planes the owner uses (PC12, Kodiak, Pocket Rocket, SM1019). Also, ultralights and high power to weight ratio small planes like the SuperCub can also make it.
The objects are all set to ignore crashes in order not to ruin your experience. Use enough power to climb on the ramp and still be able to turn. Some points will be a bit wobbly due to the change of slope. I can not avoid that.
Once up the ramp taxi as far up the grass runway as you can, past the little bridge on the left. Try to stay on the flat part as far on the right as you can. There are two slope changes along the length of the runway.
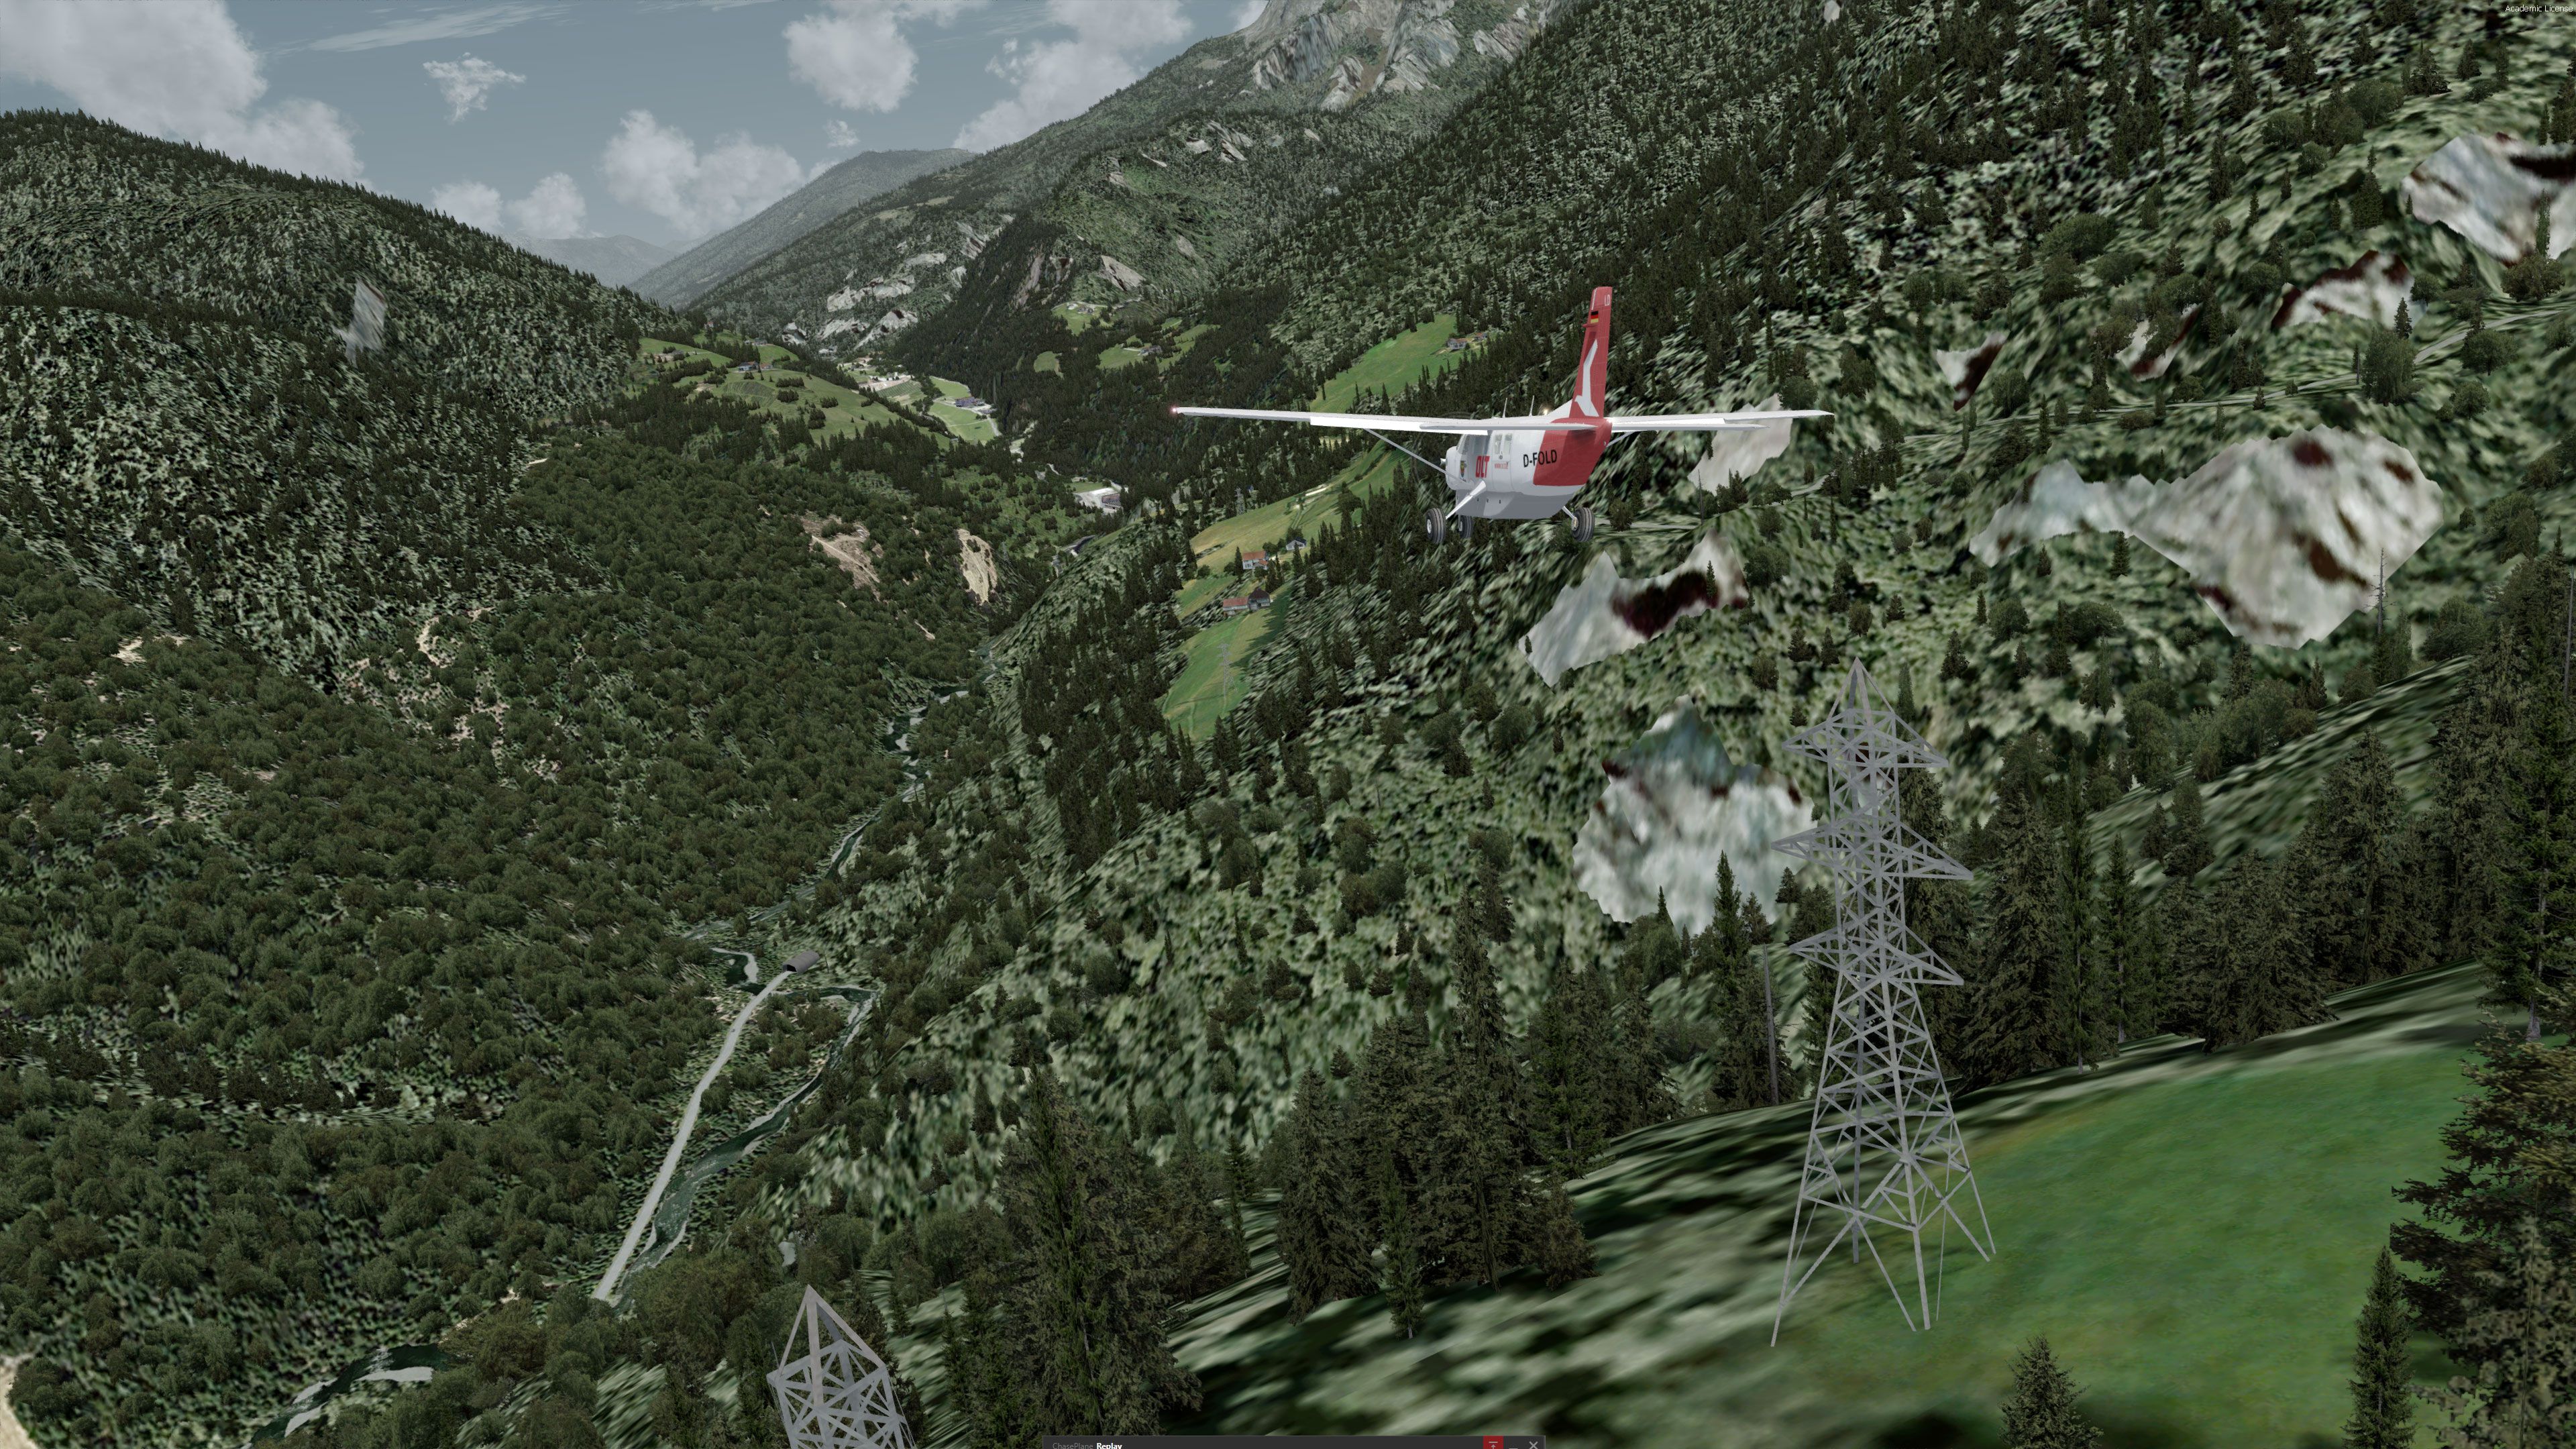
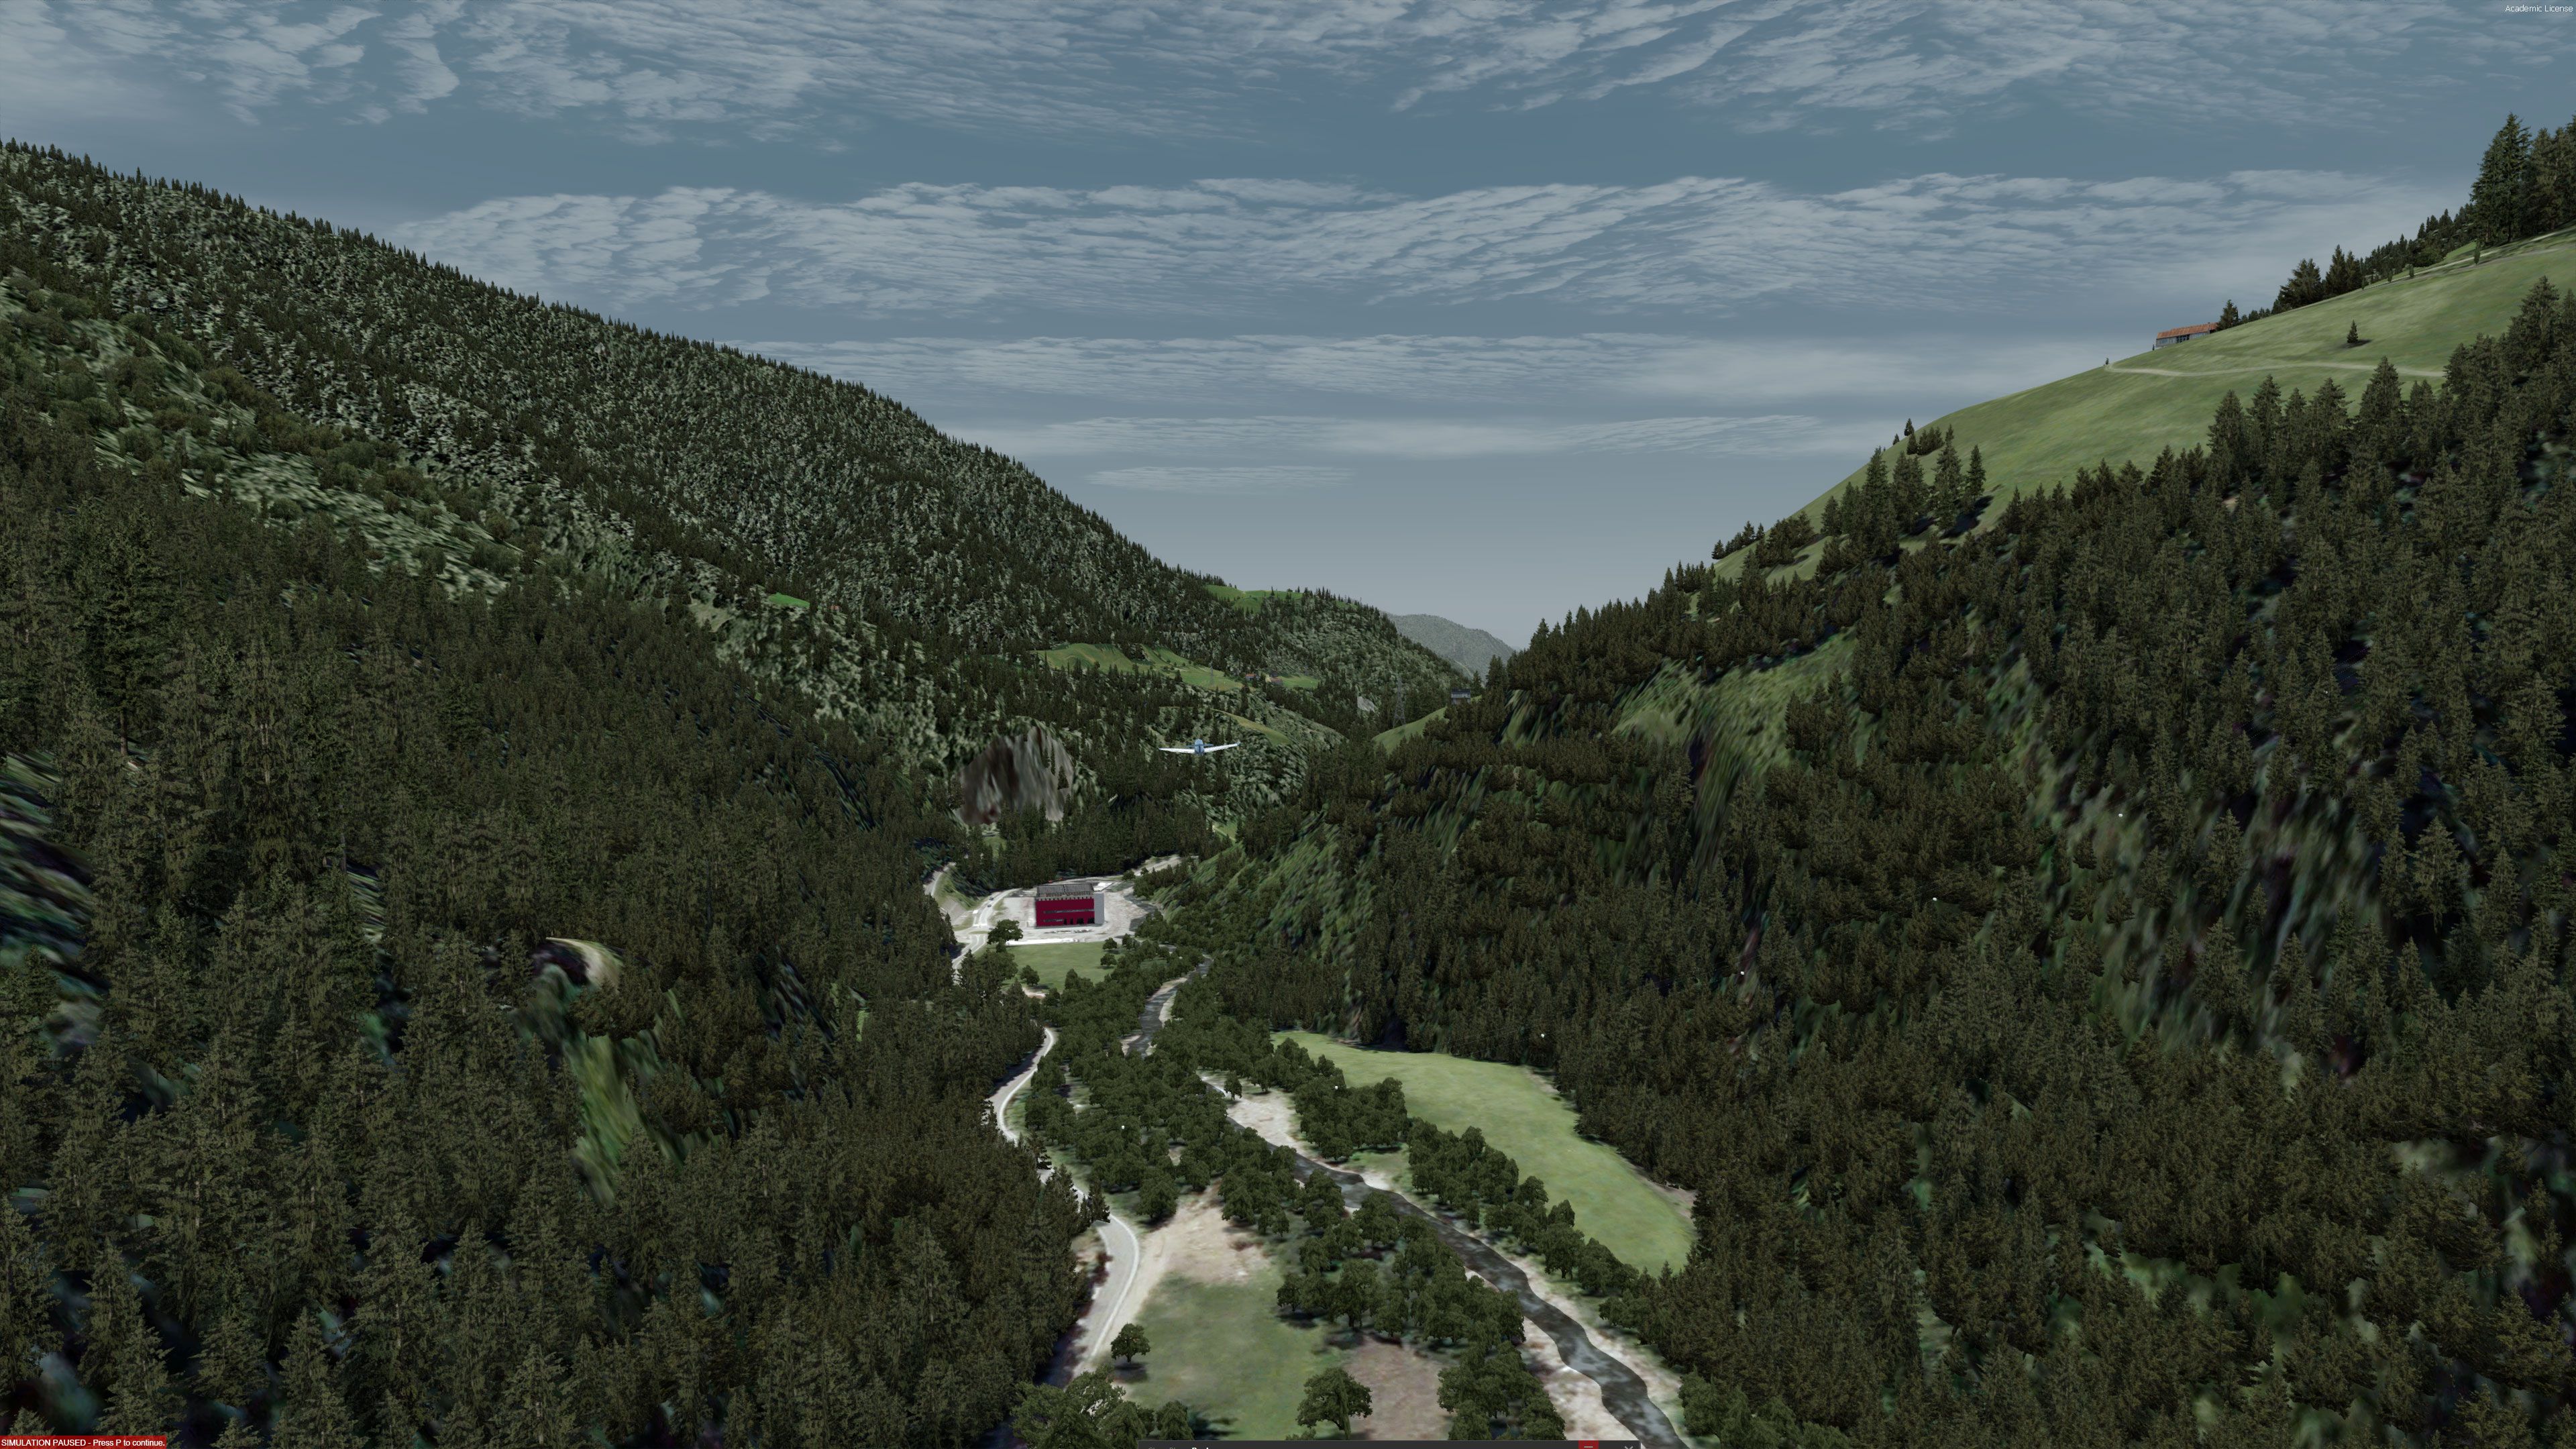
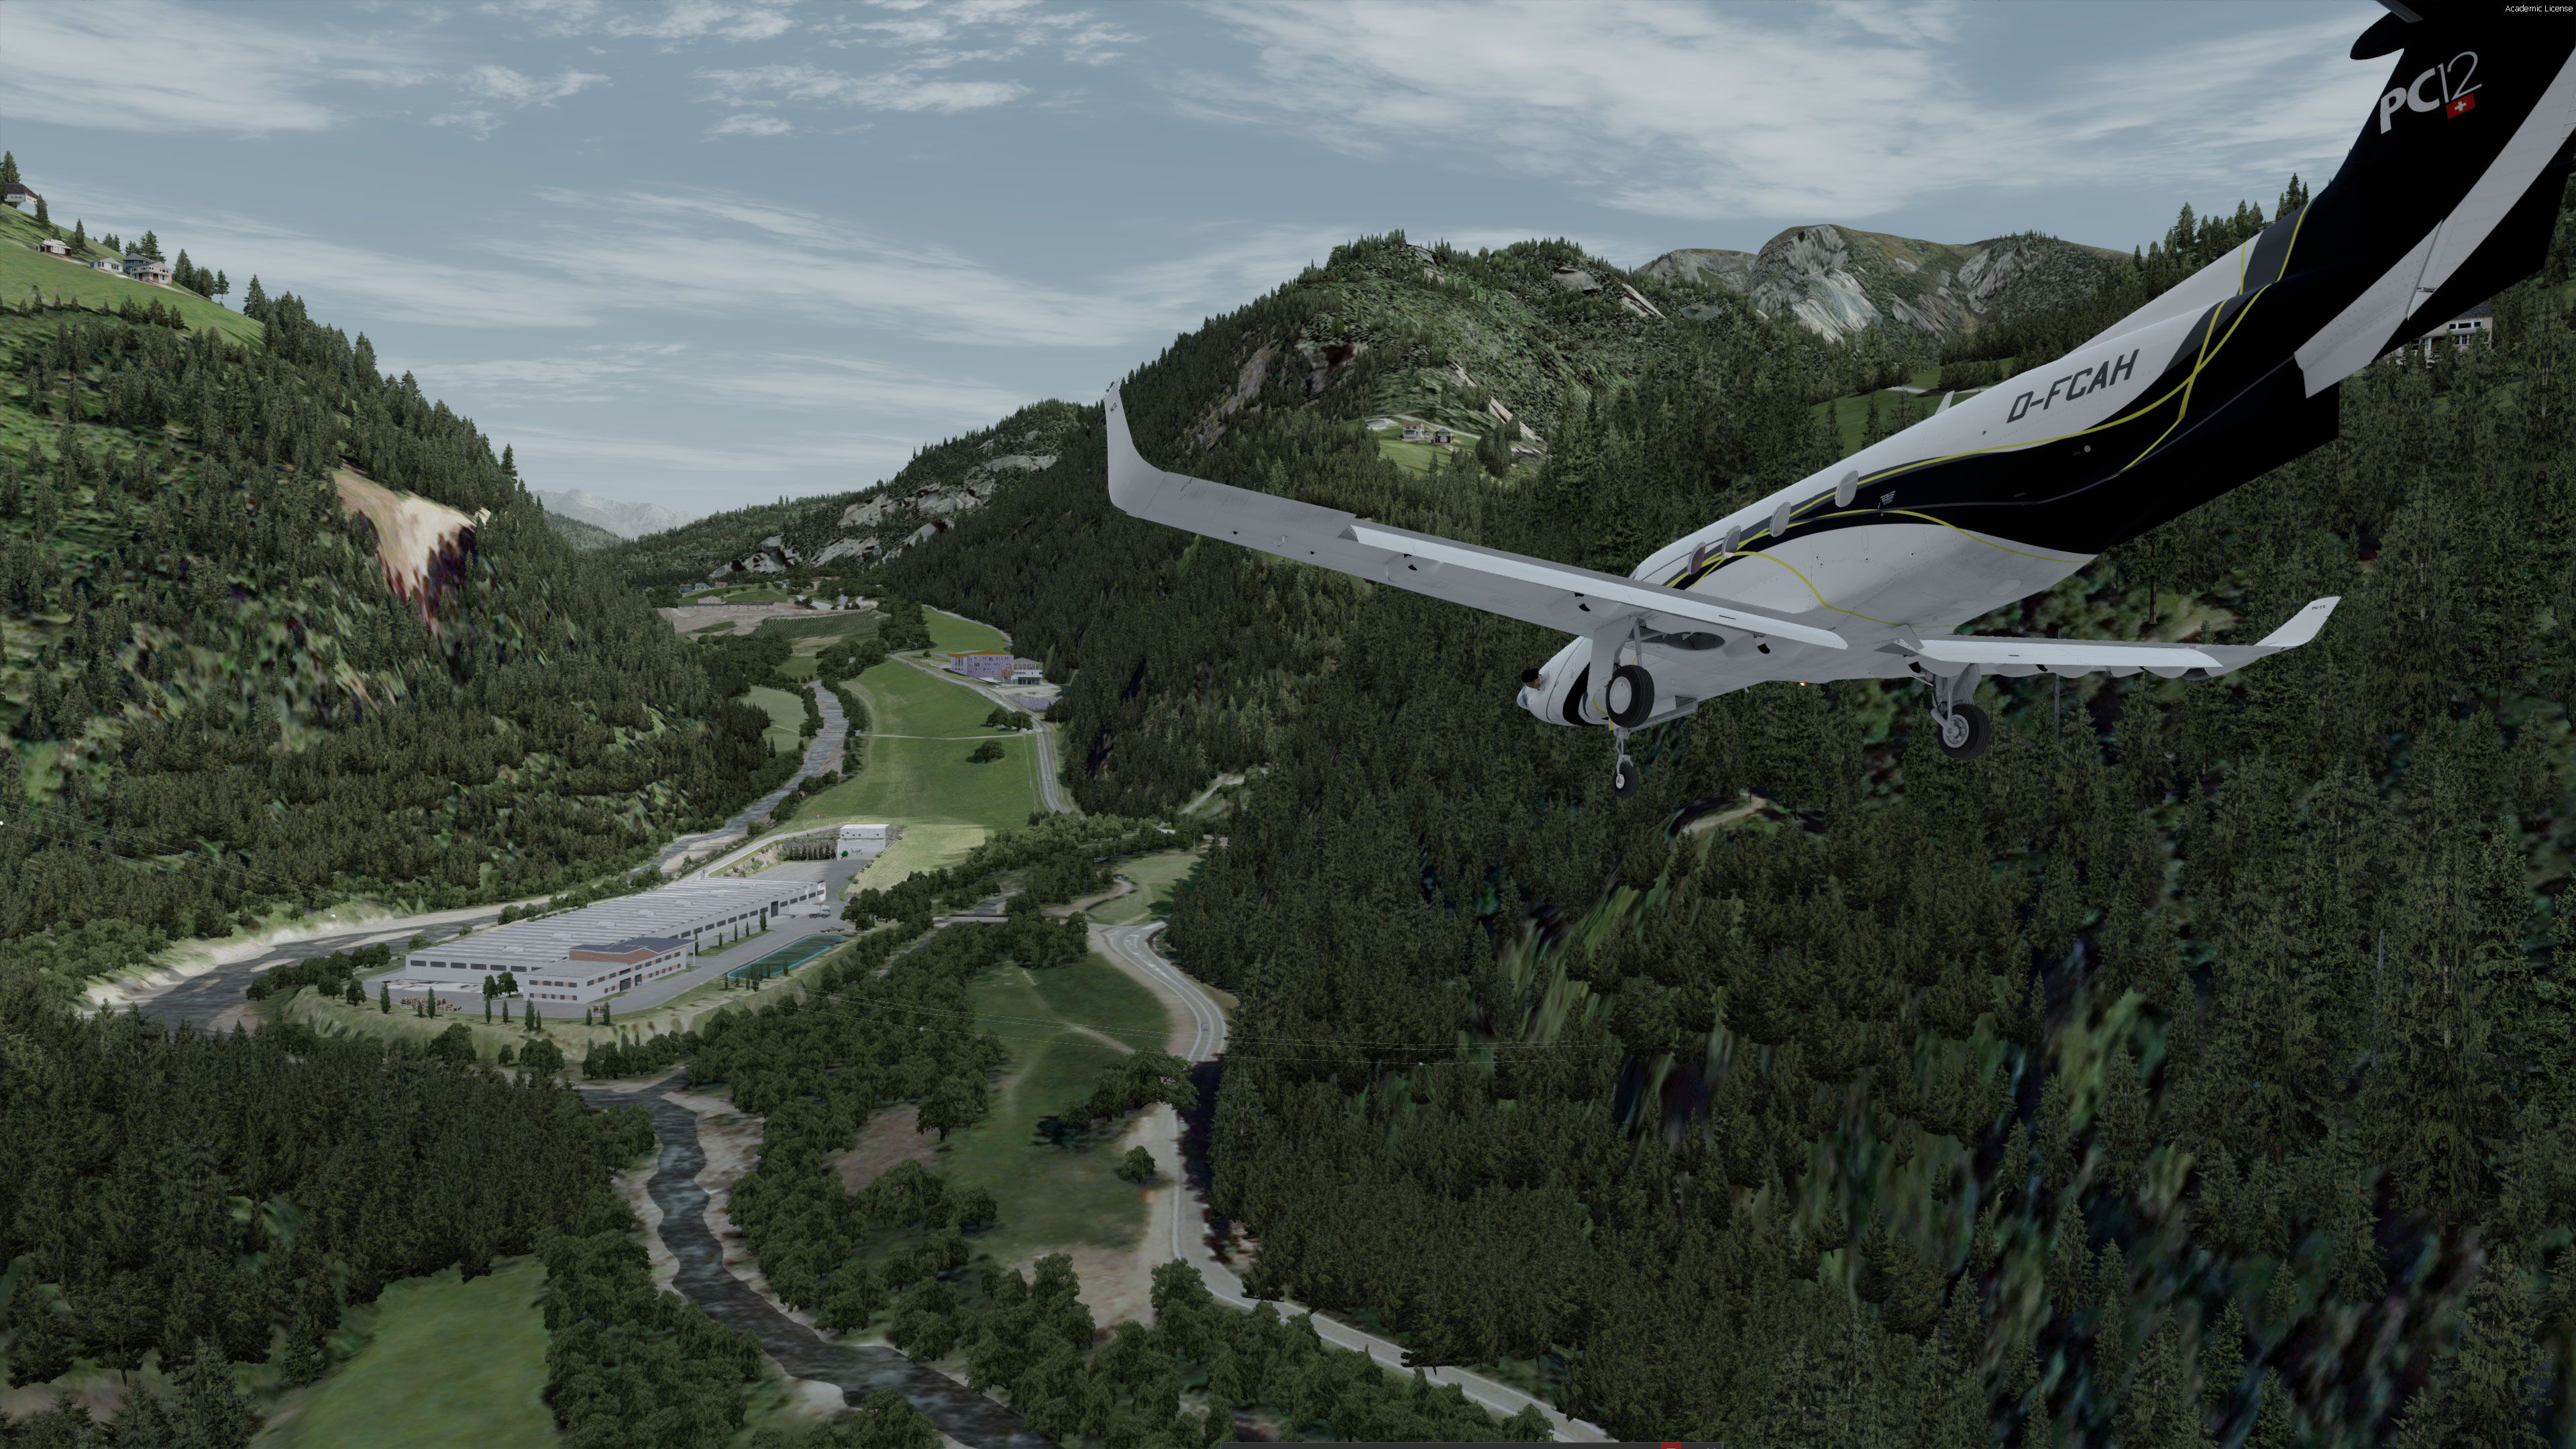
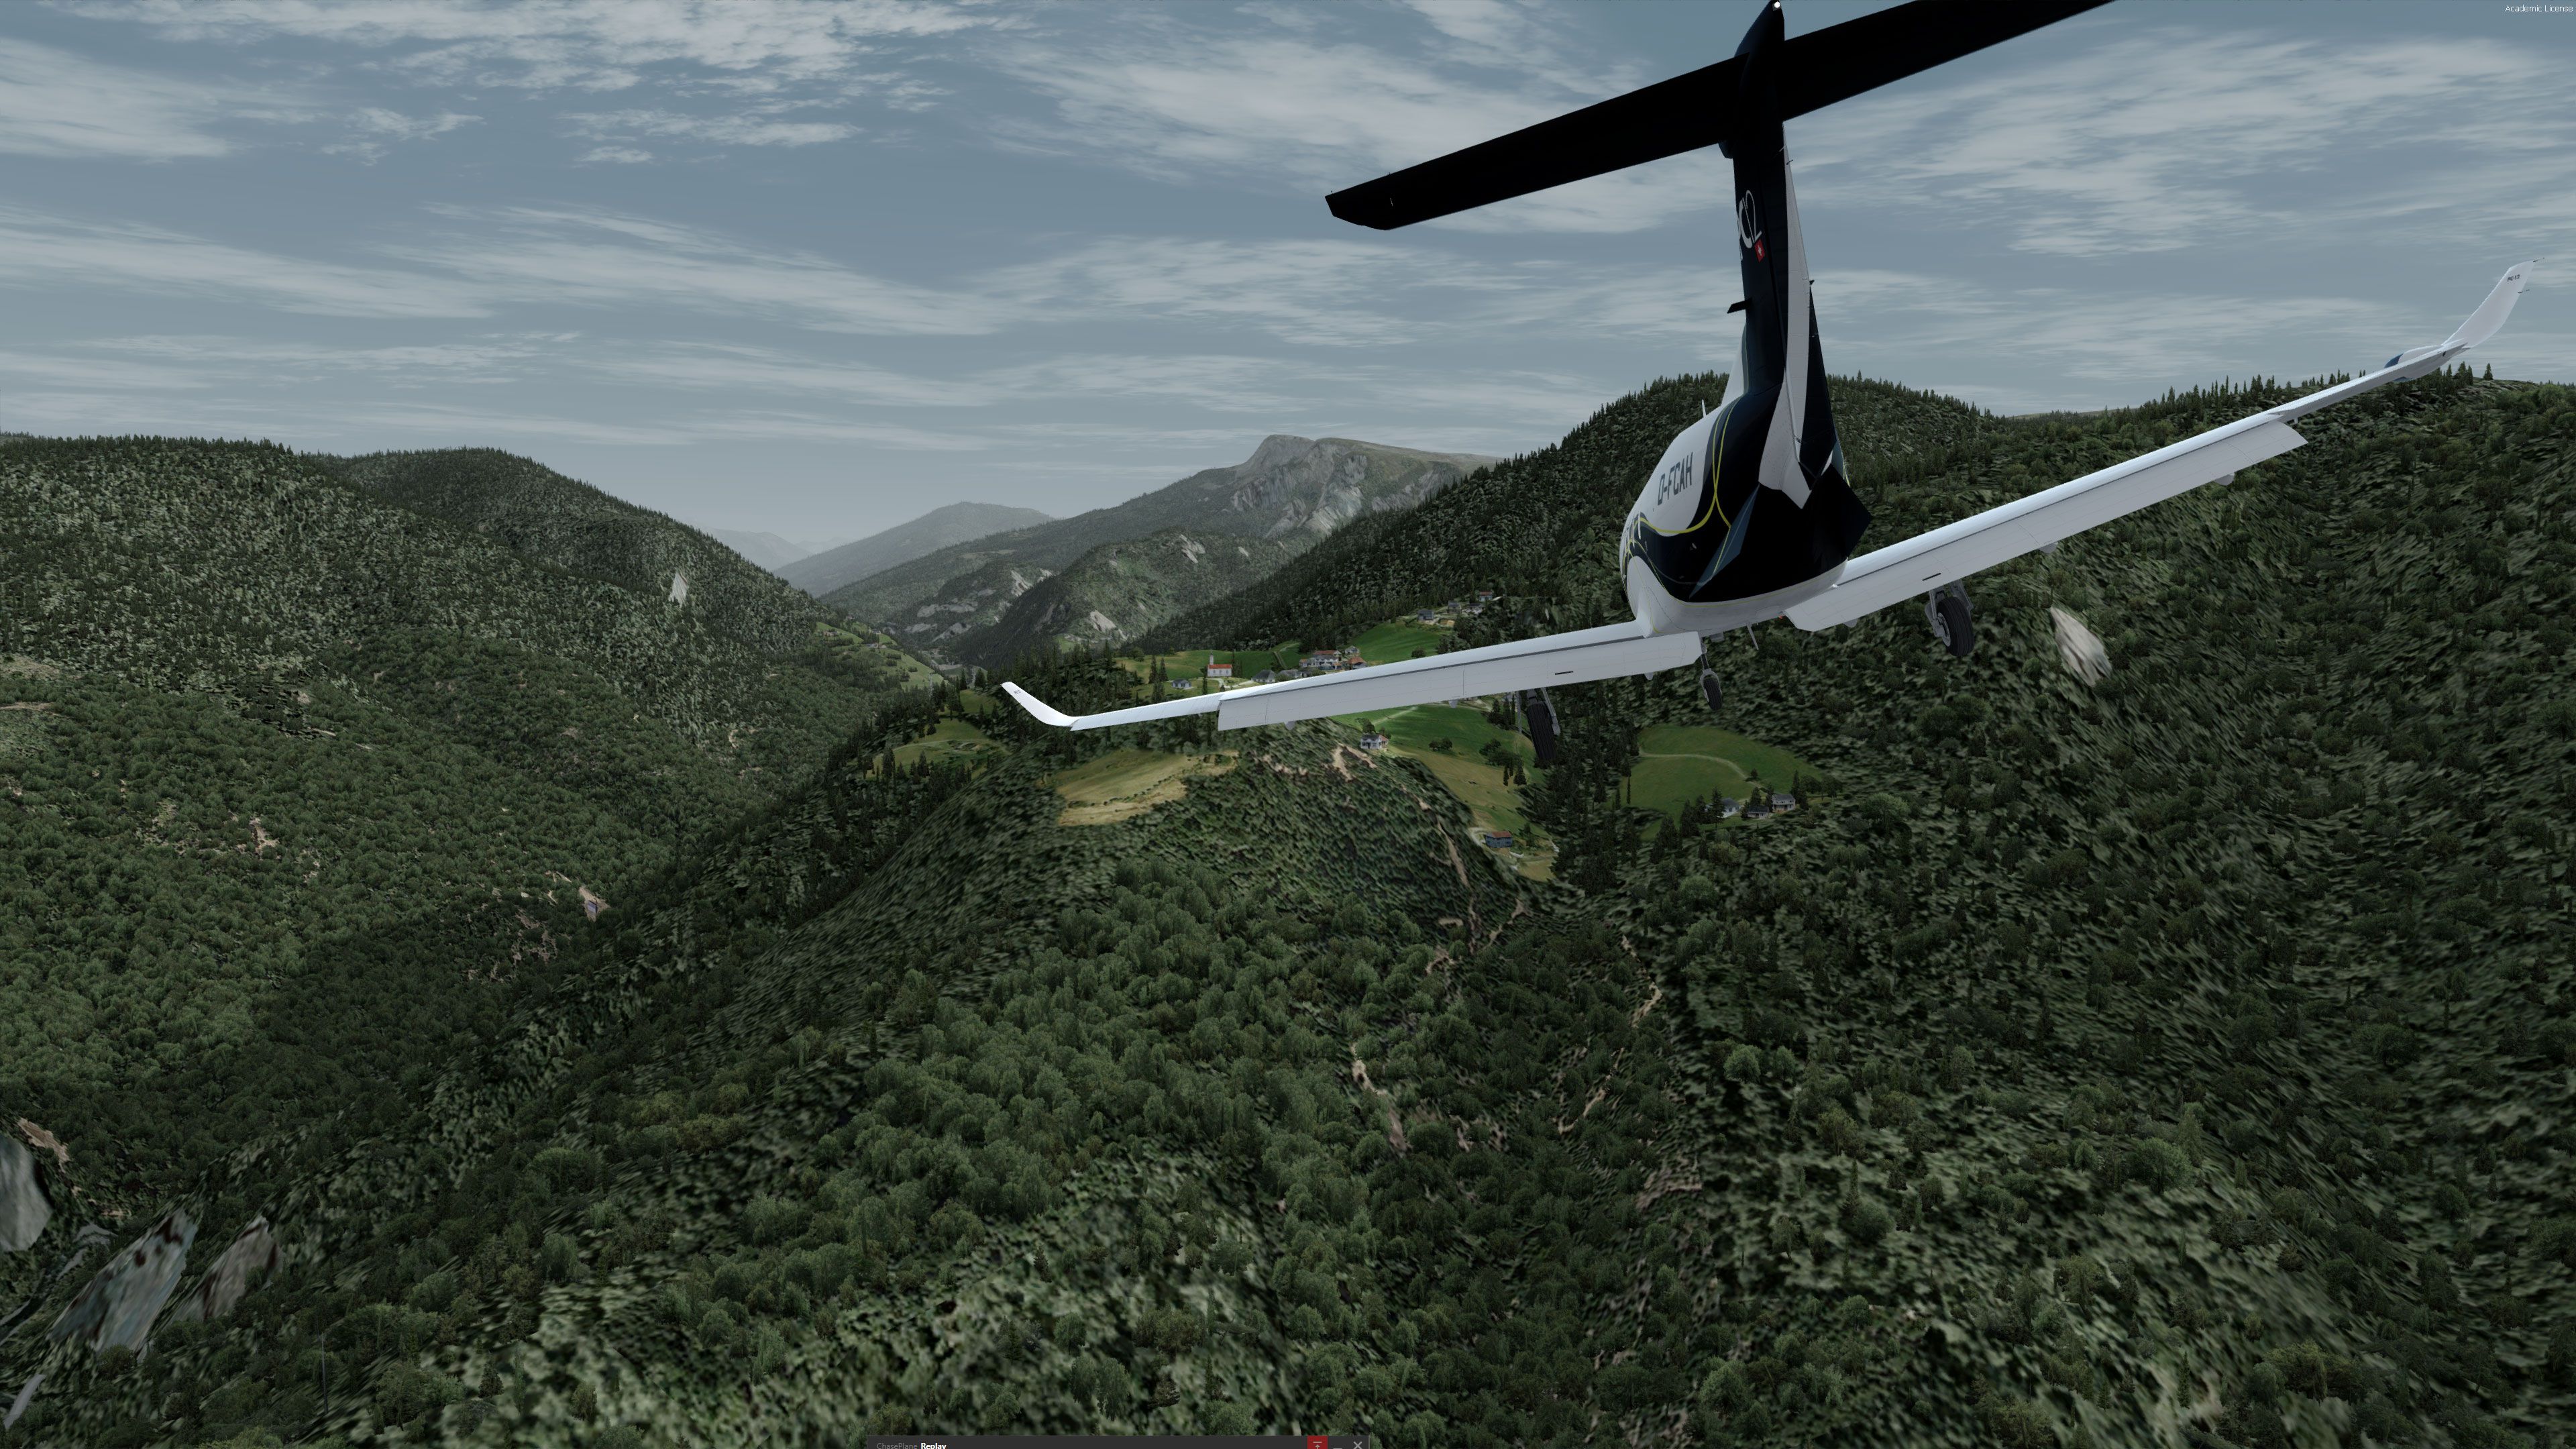
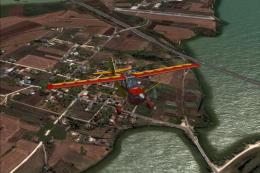
You may need to increase power on the first slope increase and reduce after you finish that climb next to the bridge. You will have to make a hard 180 on the end of the field to position your plane for take-off. Takeoff will be quick due to the high slope. Use maximum climbing settings of your plane to avoid the three sets of cables on the valley to the south.
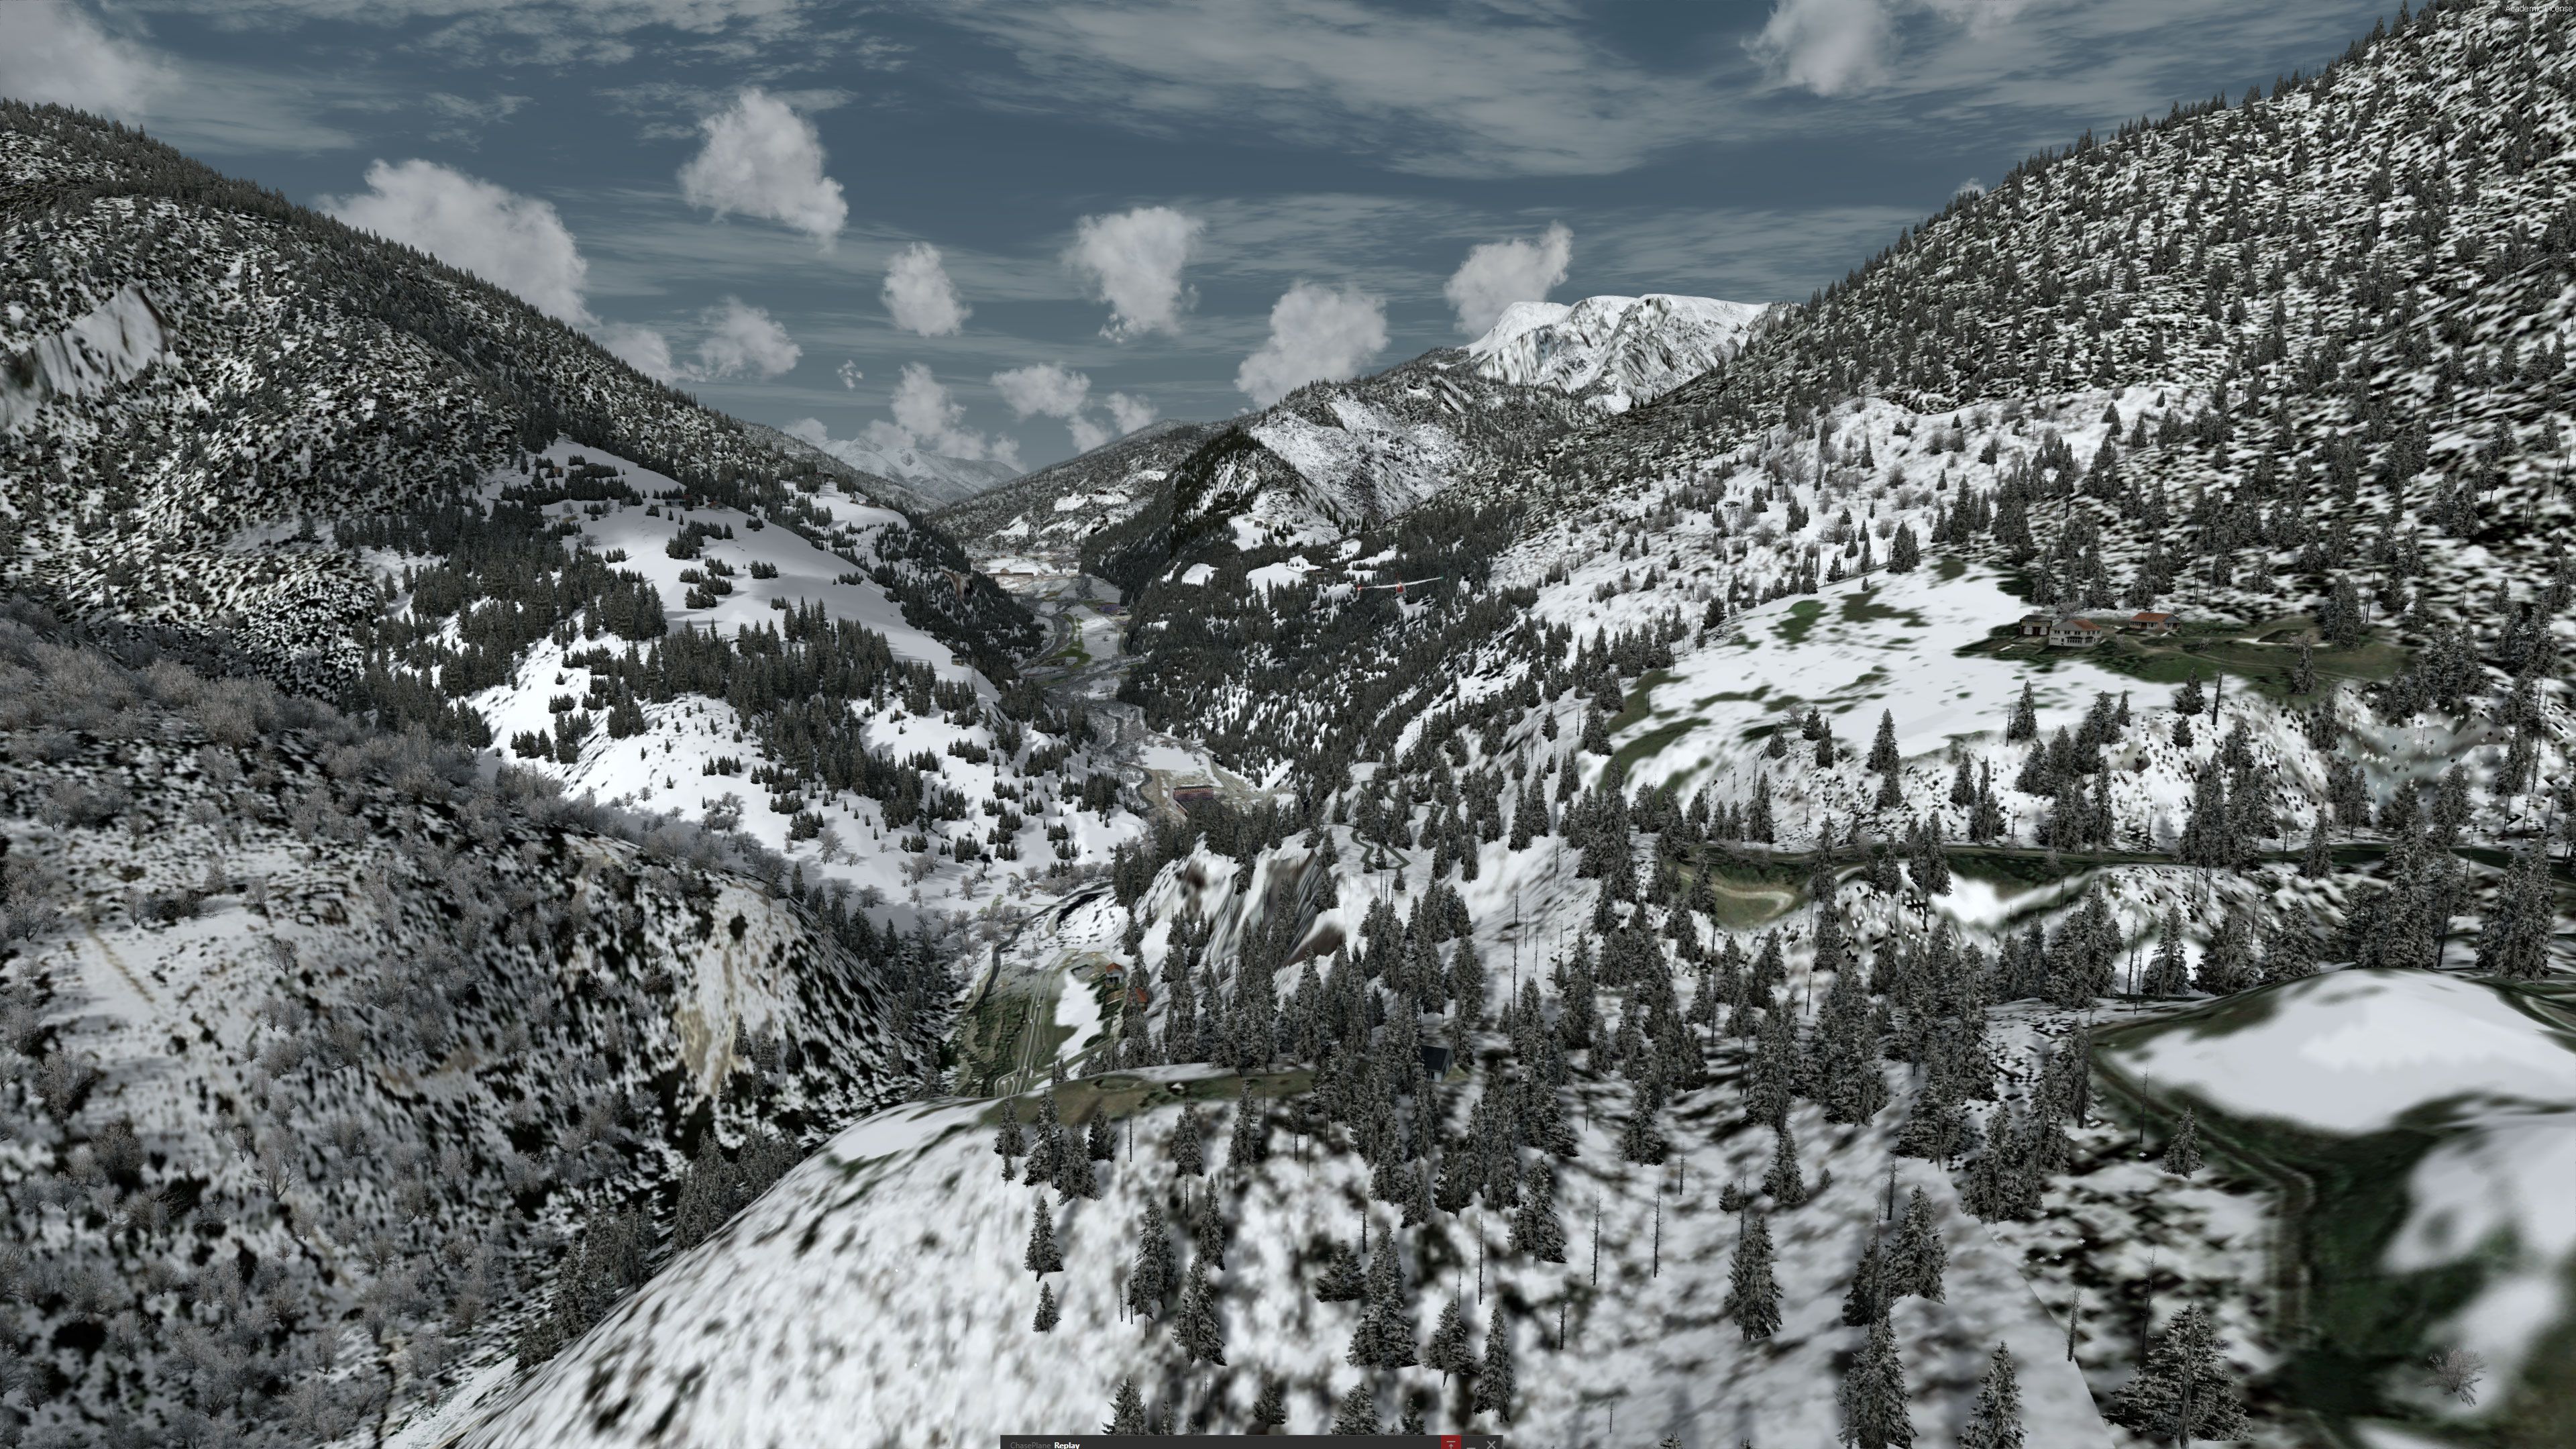
The closest airport is LIPB Bolzano. From there you can fly directly north and enter the valley.
All landmarks mentioned in the video can be found after the installation of the scenery. Check out also all the videos from Christian Oberkofler showing flight operations from Locher. You will be inspired, as I was.
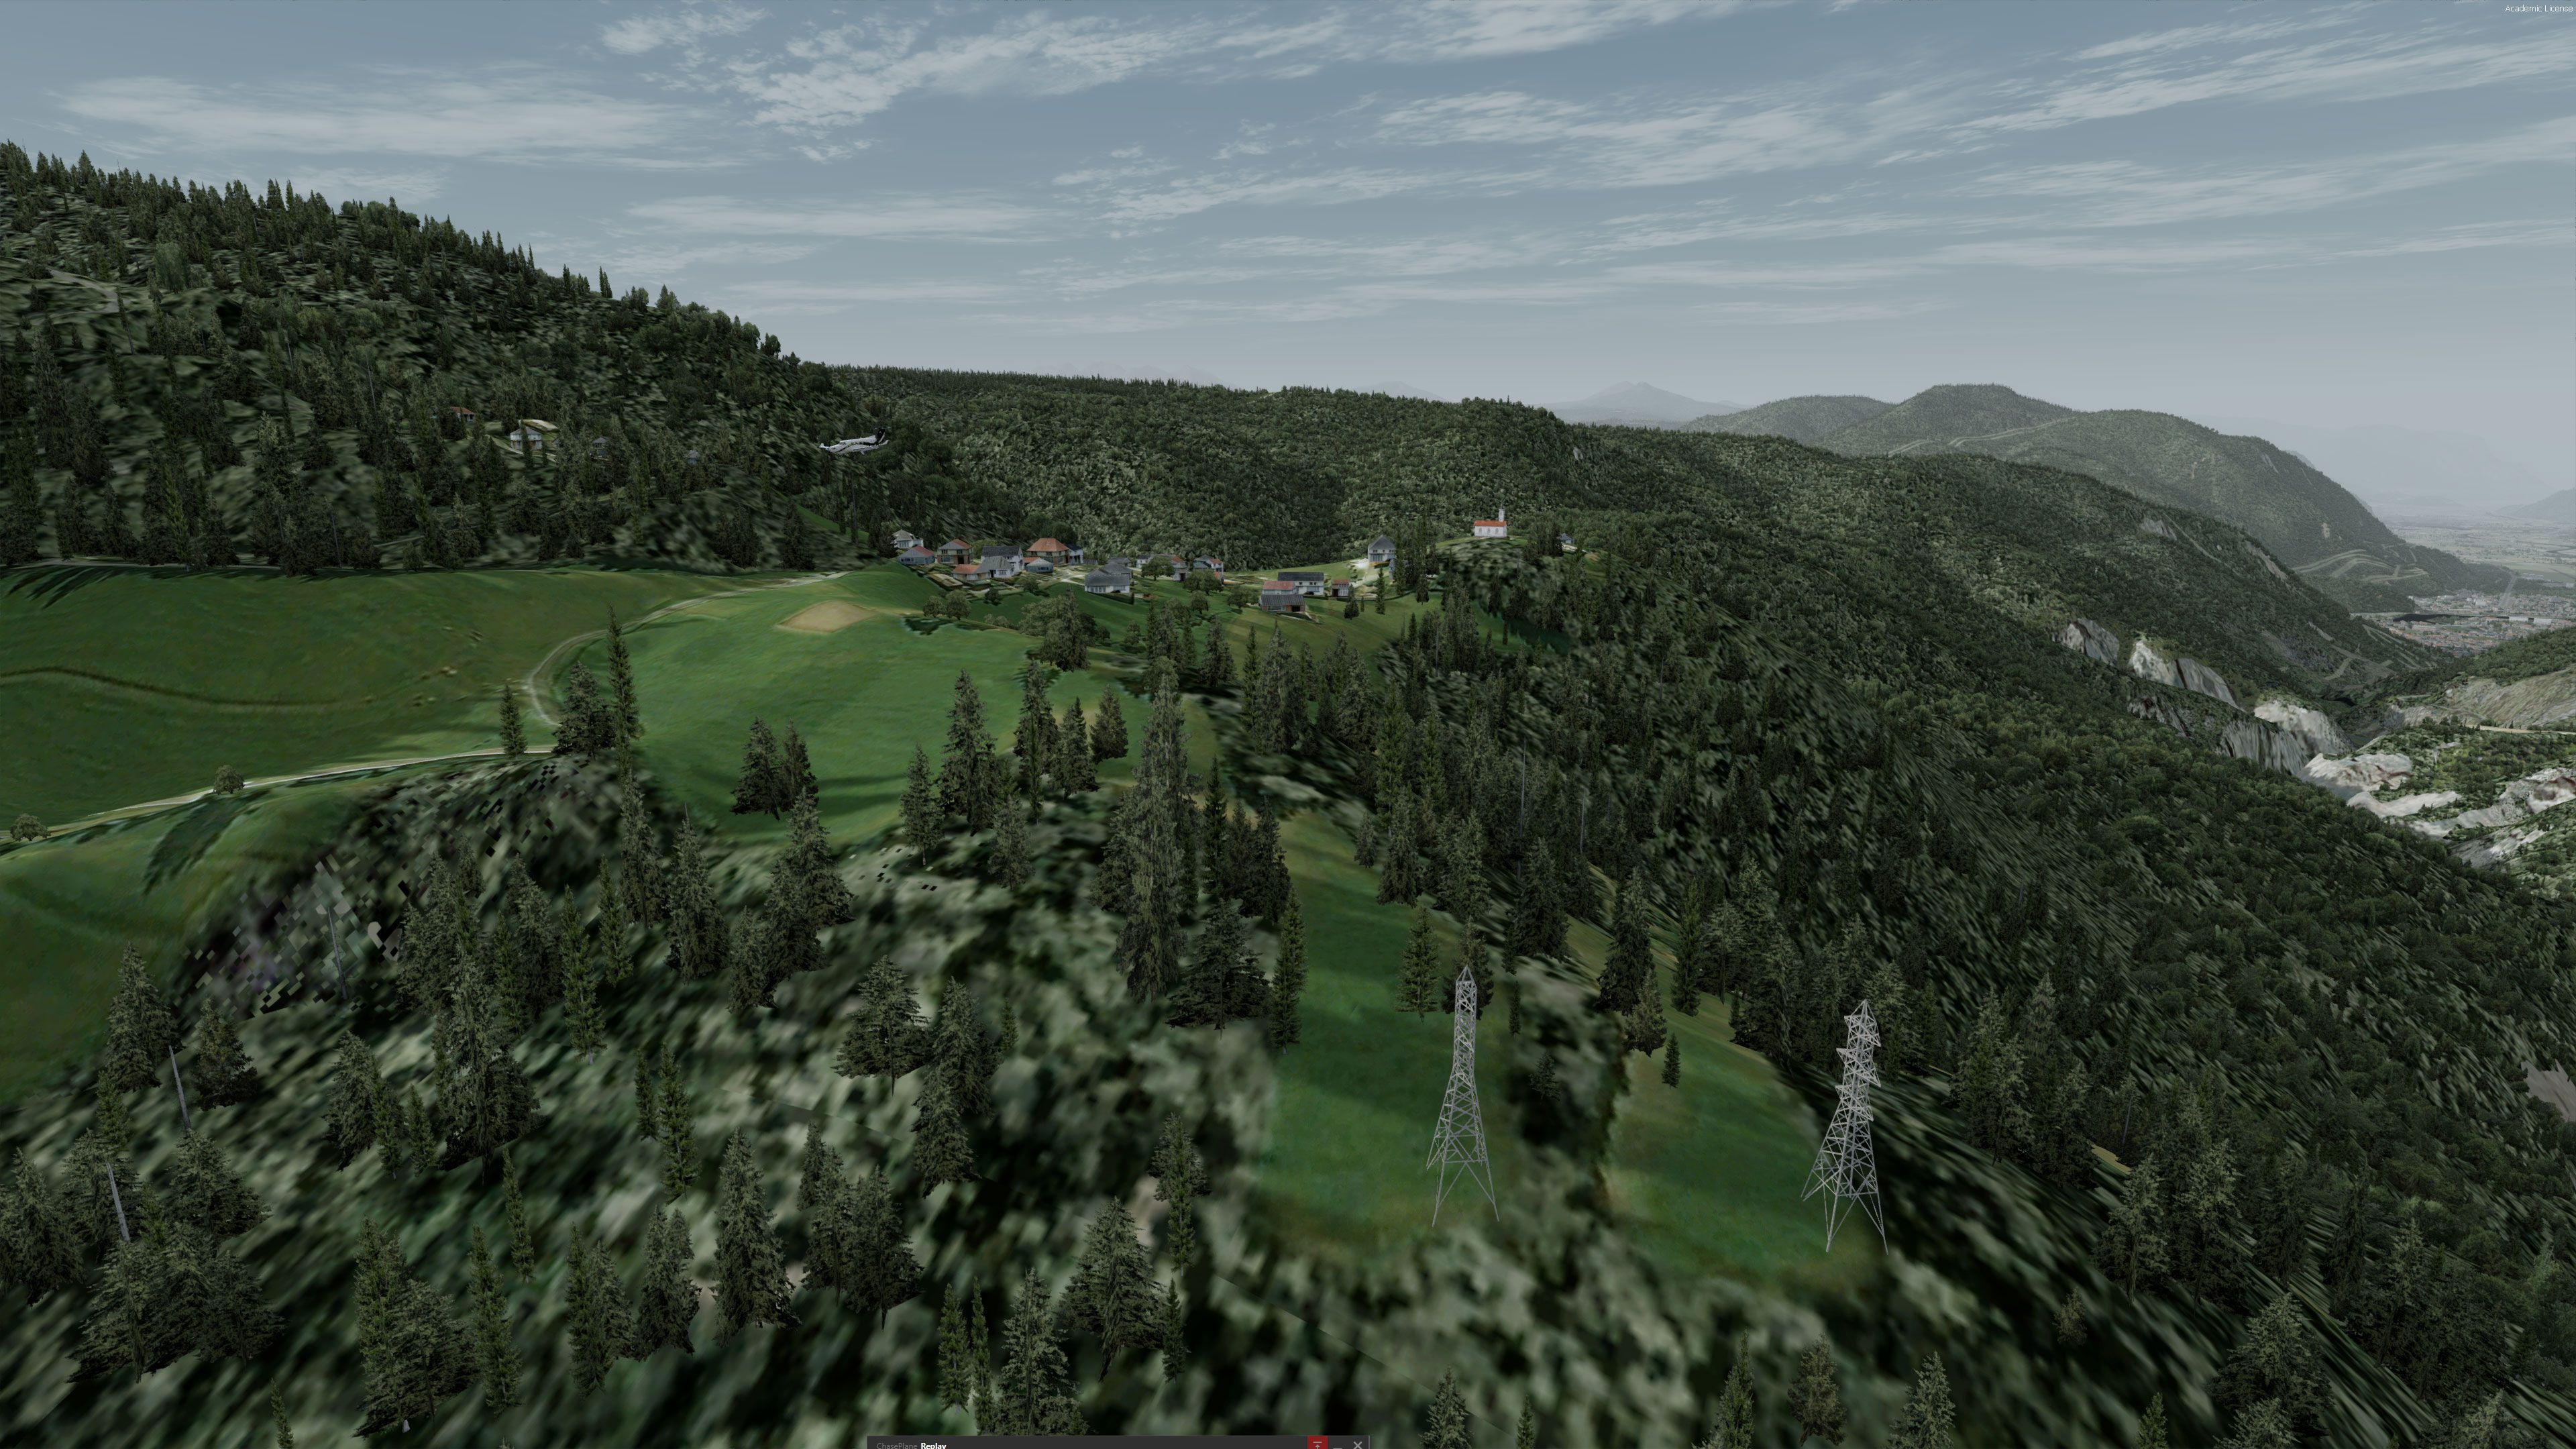
In short, the first landmark to look for is "Church hill". After that stay on the right side of the valley and look for the twin pylons and then the three sets of cables. After crossing Cables 3 you are set for landing. Going around is impossible. If you fail in your approach, apply full power and climb to the north until you find enough space to turn around. Landing from the south and taking off to the south are the only options.
The scenery was developed mainly in P3D v3.4 and v4.0. However, it is compiled with the FSX SDK so it is also FSX compatible. Color matching of the photoreal grounds and selection of autogen was made to match ORBX Global, Vector, and OpenLC Europe, as well as FreemeshX mesh. All screenshots here are from that combination in P3D v4.0. It has been tested also in an FSX default installation and it fits with no major problems, however, it is not optimum. Finally, the scenery is made to reflect the condition of the field as it was prior to the summer of 2017. Some major changes on the apron and the factory building have been recently introduced by the owner, but since they are not yet complete, I chose not to include them. Maybe in a future version.
As always, the fist big Thank You goes to my wife for her patience.
Special thanks to Cees Donker for his help in developing the models and textures of the industrial building and testing the scenery.
Many thanks to Darren Fern and Christian Oberkopfler for their great videos of the place, and of course to the owner Locher Gebhard for creating the place.
Finally, many thanks to Massimo Taccoli for providing his permission to use his excellent SM1019 model which is parked inside the hangar.
Very special thanks should also go to the developers of the freeware tools that were used for the creation of this scenery:
Software used:
Credits for objects used:
This scenery is freeware. It may be installed and distributed without restrictions. I have included all objects that I created myself as separate bgl files and textures so any of them may be used individually as they are or altered/repainted in any other projects.
A reference to my name as the original author would be appreciated. For objects not created by myself and mentioned in the credits above the conditions of their respective authors should be examined before redistribution or use in other projects.
Developer: Vassilios Dimoulas.
Free for all simmers · 409.79 MB · Scanned clean Jul 2026
Download speed: Free tier is capped at 0.5 Mbps (this file takes approximately 1h 55m at the cap). PRO members download at full line speed.
FSX\Addon Scenery\ containing scenery and texture sub-folders.readme.txt or README file. It tells you exactly where files go, what dependencies are needed, and any quirks specific to this add-on.Use these coordinates to fly directly to this location once the mod is installed.
46.65000000,11.38000000
Launch FSX or Prepar3D and use Flights → Load to open the downloaded .pln file. Your aircraft will be positioned at this location.
The archive locher_airfield_vd_100.zip has 169 files and directories contained within it.
This list displays the first 500 files in the package. If the package has more, you will need to download it to view them.
| Filename/Directory | File Date | File Size |
|---|---|---|
| Locher | 09.20.17 | 0 B |
| Scenery | 09.23.17 | 0 B |
| Bridge1.BGL | 08.29.17 | 56.23 kB |
| Bridge2.BGL | 08.30.17 | 2.54 kB |
| Cables1.BGL | 08.27.17 | 65.73 kB |
| Cables2.BGL | 08.27.17 | 65.12 kB |
| Cables3.BGL | 08.30.17 | 56.58 kB |
| Church_photo.bgl | 08.24.17 | 28.35 MB |
| CVX_Locher.BGL | 08.27.17 | 2.11 kB |
| Hangar.BGL | 09.23.17 | 3.64 MB |
| house.BGL | 07.26.17 | 30.71 kB |
| LILX_ADEX_VD.bgl | 09.23.17 | 6.04 kB |
| LILX_ADEX_VD_GP.bgl | 09.23.17 | 722 B |
| locherfactory.BGL | 09.23.17 | 855.93 kB |
| Locher_mesh_CVX.bgl | 09.23.17 | 32.11 kB |
| Locher_OBX.BGL | 09.23.17 | 1.64 kB |
| Locher_photo.bgl | 07.17.17 | 52.79 MB |
| Locher_photo_outer.bgl | 04.16.17 | 200.77 MB |
| Pylons_photo.bgl | 08.24.17 | 14.06 MB |
| RAMMLMAIR.BGL | 06.13.17 | 93.08 kB |
| ramp.BGL | 08.30.17 | 3.07 kB |
| Scenery.zip | 09.23.17 | 131.58 kB |
| Sidecable.BGL | 07.28.17 | 55.23 kB |
| SM1019-D-ESER.bgl | 09.23.17 | 514.63 kB |
| Solar.BGL | 07.24.17 | 37.90 kB |
| Texture | 09.23.17 | 0 B |
| 011223302203200an.agn | 07.24.17 | 2.96 kB |
| 011223302203201an.agn | 07.24.17 | 704 B |
| 011223302203202an.agn | 09.21.17 | 104.51 kB |
| 011223302203203an.agn | 07.24.17 | 36.86 kB |
| 011223302203220an.agn | 09.21.17 | 137.91 kB |
| 011223302203221an.agn | 07.24.17 | 69.46 kB |
| 011223302203222an.agn | 08.24.17 | 7.59 kB |
| 011223302203223an.agn | 08.24.17 | 15.61 kB |
| 011223302221000an.agn | 08.24.17 | 492 B |
| 011223302221001an.agn | 08.24.17 | 1.45 kB |
| 011223302221002an.agn | 08.24.17 | 1.71 kB |
| 011223302221003an.agn | 08.24.17 | 3.03 kB |
| 011223302221020an.agn | 08.24.17 | 316 B |
| 011223302221021an.agn | 08.24.17 | 1.06 kB |
| 1019_B-TIRE.BMP | 12.09.09 | 64.07 kB |
| 1019_DISK.BMP | 12.09.09 | 16.07 kB |
| 1019_FUSE.bmp | 09.23.17 | 1.33 MB |
| 1019_FUSE1.bmp | 09.23.17 | 682.78 kB |
| 1019_GLASS.bmp | 09.23.17 | 85.43 kB |
| 1019_PARTS.bmp | 09.23.17 | 170.78 kB |
| 1019_PROPBLADE.BMP | 12.10.09 | 64.07 kB |
| 1019_SPINNER.BMP | 12.10.09 | 4.07 kB |
| 1019_TIRE.BMP | 12.10.09 | 64.07 kB |
| 1019_TREAD.BMP | 12.10.09 | 4.07 kB |
| 1019_WINGLX.bmp | 09.23.17 | 1.33 MB |
| 1019_WINGRX.bmp | 09.23.17 | 1.33 MB |
| Bridge_side_bars.dds | 11.30.15 | 85.48 kB |
| cable_balls.dds | 06.11.17 | 8.12 kB |
| cable_wire.dds | 06.11.17 | 8.12 kB |
| details.dds | 07.08.17 | 64.12 kB |
| doors.dds | 05.17.17 | 8.12 kB |
| doors_bump.dds | 05.17.17 | 10.78 kB |
| FactoryRailings.dds | 09.12.17 | 64.12 kB |
| Fencing_Wood_Old.dds | 06.26.17 | 256.12 kB |
| Fencing_Wood_Old_bump.dds | 06.26.17 | 341.45 kB |
| FLOWERS_GRASS_MAT1.dds | 05.26.17 | 341.45 kB |
| glass.dds | 07.16.17 | 1.12 kB |
| GRASS_10_MAT1.dds | 05.26.17 | 1.33 MB |
| greentank.dds | 07.05.17 | 128.12 kB |
| Ground.dds | 05.04.17 | 682.79 kB |
| Ground_bump.dds | 07.11.17 | 1.33 MB |
| Hangarconcrete.dds | 06.08.17 | 1.00 MB |
| house.dds | 07.26.17 | 1.00 MB |
| house_bump.dds | 07.26.17 | 1.33 MB |
| Locher_Buildings.dds | 09.21.17 | 4.00 MB |
| Locher_Buildings_bump.dds | 09.19.17 | 5.33 MB |
| MCDEdgegrass_VD_1024x256.dds | 05.14.17 | 341.52 kB |
| nieuw_radarscherm.dds | 06.13.17 | 256.12 kB |
| PARKING GRASS.dds | 06.15.17 | 64.12 kB |
| PARKING.dds | 07.16.17 | 8.00 MB |
| ramp.dds | 08.30.17 | 512.12 kB |
| red.dds | 07.09.17 | 640 B |
| Rock.dds | 06.08.17 | 512.12 kB |
| rock1.dds | 07.04.17 | 512.12 kB |
| rock1_bump.dds | 07.08.17 | 682.78 kB |
| rock3.dds | 07.03.17 | 256.12 kB |
| rock3_bump.dds | 07.09.17 | 341.45 kB |
| Rock_bump.dds | 06.07.17 | 682.78 kB |
| solar.dds | 07.24.17 | 1.00 MB |
| solar_bump.dds | 07.24.17 | 1.33 MB |
| taxiway.dds | 07.16.17 | 512.12 kB |
| taxiway_bump.dds | 07.15.17 | 682.78 kB |
| taxiway_detail2dxt.bmp | 09.21.17 | 682.75 kB |
| texture.cfg | 07.24.17 | 135 B |
| white.dds | 07.09.17 | 640 B |
| 2017-9-23_16-24-29-176.jpg | 09.23.17 | 904.21 kB |
| 2017-9-23_16-27-14-511.jpg | 09.23.17 | 1005.95 kB |
| 2017-9-23_16-29-44-935.jpg | 09.23.17 | 1006.12 kB |
| 2017-9-23_16-31-52-994.jpg | 09.23.17 | 1.17 MB |
| 2017-9-23_16-33-27-450.jpg | 09.23.17 | 977.83 kB |
| 2017-9-23_16-34-49-187.jpg | 09.23.17 | 1.11 MB |
| 2017-9-23_16-35-29-657.jpg | 09.23.17 | 763.56 kB |
| 2017-9-23_16-57-12-534.jpg | 09.23.17 | 812.58 kB |
| Real.JPG | 09.23.17 | 355.94 kB |
| readme.pdf | 09.24.17 | 4.96 MB |
| readme.txt | 09.24.17 | 7.36 kB |
| Screenshots | 03.19.20 | 0 B |
| screen-1.jpg | 03.19.20 | 1.06 MB |
| screen-10.jpg | 03.19.20 | 1.64 MB |
| screen-11.jpg | 03.19.20 | 1.95 MB |
| screen-12.jpg | 03.19.20 | 1.83 MB |
| screen-13.jpg | 03.19.20 | 1.69 MB |
| screen-14.jpg | 03.19.20 | 1.93 MB |
| screen-15.jpg | 03.19.20 | 1.13 MB |
| screen-16.jpg | 03.19.20 | 1.40 MB |
| screen-17.jpg | 03.19.20 | 1.55 MB |
| screen-18.jpg | 03.19.20 | 1.91 MB |
| screen-19.jpg | 03.19.20 | 1.52 MB |
| screen-2.jpg | 03.19.20 | 1.34 MB |
| screen-20.jpg | 03.19.20 | 1.71 MB |
| screen-21.jpg | 03.19.20 | 2.46 MB |
| screen-22.jpg | 03.19.20 | 1.92 MB |
| screen-23.jpg | 03.19.20 | 1.30 MB |
| screen-24.jpg | 03.19.20 | 1.23 MB |
| screen-25.jpg | 03.19.20 | 1.11 MB |
| screen-26.jpg | 03.19.20 | 1.61 MB |
| screen-27.jpg | 03.19.20 | 1.60 MB |
| screen-28.jpg | 03.19.20 | 1.36 MB |
| screen-29.jpg | 03.19.20 | 1.41 MB |
| screen-3.jpg | 03.19.20 | 1.16 MB |
| screen-30.jpg | 03.19.20 | 1.35 MB |
| screen-31.jpg | 03.19.20 | 994.36 kB |
| screen-32.jpg | 03.19.20 | 1.35 MB |
| screen-33.jpg | 03.19.20 | 1.40 MB |
| screen-34.jpg | 03.19.20 | 1.49 MB |
| screen-35.jpg | 03.19.20 | 1.32 MB |
| screen-36.jpg | 03.19.20 | 1.51 MB |
| screen-37.jpg | 03.19.20 | 1.44 MB |
| screen-38.jpg | 03.19.20 | 1.63 MB |
| screen-39.jpg | 03.19.20 | 1.54 MB |
| screen-4.jpg | 03.19.20 | 1.24 MB |
| screen-40.jpg | 03.19.20 | 1.62 MB |
| screen-41.jpg | 03.19.20 | 1.36 MB |
| screen-42.jpg | 03.19.20 | 924.97 kB |
| screen-43.jpg | 03.19.20 | 1.61 MB |
| screen-44.jpg | 03.19.20 | 1.50 MB |
| screen-45.jpg | 03.19.20 | 1.30 MB |
| screen-46.jpg | 03.19.20 | 1.50 MB |
| screen-47.jpg | 03.19.20 | 1.50 MB |
| screen-48.jpg | 03.19.20 | 1.81 MB |
| screen-49.jpg | 03.19.20 | 1.14 MB |
| screen-5.jpg | 03.19.20 | 1.28 MB |
| screen-50.jpg | 03.19.20 | 1.54 MB |
| screen-51.jpg | 03.19.20 | 1.14 MB |
| screen-52.jpg | 03.19.20 | 1.42 MB |
| screen-53.jpg | 03.19.20 | 1.41 MB |
| screen-54.jpg | 03.19.20 | 1.47 MB |
| screen-55.jpg | 03.19.20 | 1.49 MB |
| screen-56.jpg | 03.19.20 | 1.37 MB |
| screen-57.jpg | 03.19.20 | 1.91 MB |
| screen-58.jpg | 03.19.20 | 1.74 MB |
| screen-59.jpg | 03.19.20 | 643.67 kB |
| screen-6.jpg | 03.19.20 | 1.64 MB |
| screen-60.jpg | 03.19.20 | 843.42 kB |
| screen-61.jpg | 03.19.20 | 1.09 MB |
| screen-62.jpg | 03.19.20 | 1.31 MB |
| screen-63.jpg | 03.19.20 | 1.45 MB |
| screen-64.jpg | 03.19.20 | 1.53 MB |
| screen-7.jpg | 03.19.20 | 1.71 MB |
| screen-8.jpg | 03.19.20 | 2.06 MB |
| screen-9.jpg | 03.19.20 | 1.70 MB |
| flyawaysimulation.txt | 10.29.13 | 959 B |
| Go to Fly Away Simulation.url | 01.22.16 | 52 B |
Only PRO members can place votes.
More FSX & P3D add-ons hand-picked based on this download.
FSX Scenery
ADEX Wangen-Lachen Airfield (LSPV), Switzerland. Wangen-Lachen is a small air…
 FSX Scenery
Trabzon Airfield. VFR scenery of Turkey Trabzon (LTCG) Airfield and the surro…
 FSX Scenery
Istanbul Hezarfen Airfield Scenery. A detailed re-creation of the Istanbul He…
 FSX Scenery
Rossfeld Glider Airfield, south of Stuttgart, Germany, on a hilltop. You will…
 FSX Scenery
Center And Southern Italy Airfield. A list of 146 airstrips, covering the Ita…
 FSX Scenery
FSX/SP2 Newtownards Airfield (EGAD), UK, for use with default scenery. Built …
 FSX Scenery
Duxford Airfield for FSX SP2/Acceleration. Some scenery for Duxford Airfield,…
 FSX Scenery
Scenery Dunsfold Airfield UK (EGTD). This is Dunsfold Airfield in the U.K. wh…
Read what other simmers think, or add your own.
Developer Vassilios Dimoulas is truly a perfectionist.
I have so much fun with this add-on scenery after watching the real owner of the adjacent fire-door factory and real Pilatus PC12. (I am in the wrong work!) In his numerous YouTube videos flying in and 0ut of this tiny grass airfield built on a hill in a valley!!!
Watch out for the two sets of power cables strung across the valley during the climb out or landing. Vassilios Dimoulas has even modeled the anti-collision balls strung on the cables too. Landing and take-off are both in the same direction regardless of the prevailing wind.
I fly real aircraft sometimes too, only would have to think very hard about trying this one out without a lot of reserve power and a nice bright sunny day.
Remember, don't run out of altitude, airspeed and ideas all at the same time. A go around here is not going to be a good option. A clue to success is to plan and make early decisions. Join over the church then descend right turn into the valley, not too low yet until you have passed over the two cables before the final descent to the runway.
A truly Art, Mr. Vassilios Dimoulas ! Great scenery, wonderful mountains. A challenger Runway! The Italian Spirit is there, no other place wires would be in so bad places! To take a narrow driveway, climbing or going down in order to reach the Runway or the Hangar is a unique experience! Thank you so much for that great job, I really appreciate it!
Very nice airfield but with some complications to take off or landing. I liked soo much. Thank´s. German Diaz.