 FSX Scenery
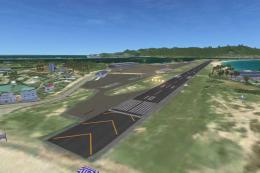
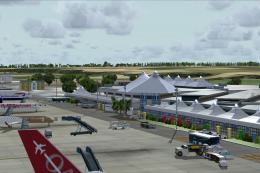
Princess Juliana International Airport
Princess Juliana International Airport (TNCM) in Saint Marteen, Netherlands A…
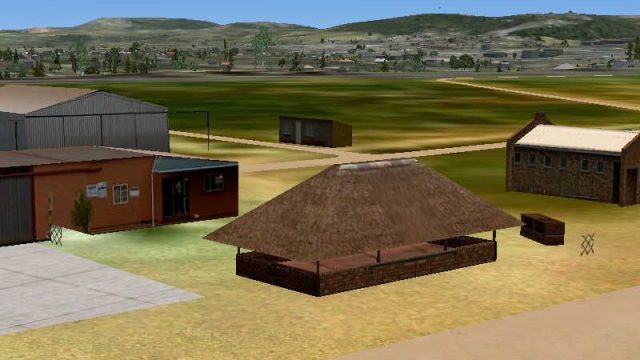
Heidelberg Airport (FAHG) scenery brings this Gauteng airfield southeast of Johannesburg to life in FSX with photo-based ground textures, corrected elevations, and crisply modeled buildings, hangars, and aprons that match local contours and landmarks. For the most accurate terrain transitions around water features, it requires the Aeroworx FSXMesh series.

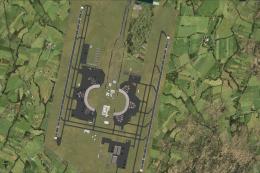
Immerse yourself in a meticulously crafted virtual rendition of Heidelberg Airport (FAHG), located southeast of Johannesburg. Featuring high-fidelity ground details, adjusted elevations for accurate terrain representation, and precise structural modeling, this freeware package enhances Microsoft Flight Simulator X with a realistic framework for every virtual pilot. Developed by Peter Dooley and Johan van Wyk, this scenery captures the local charm of the South African airfield, seamlessly integrating regional contours and landmarks.
This release accurately reflects the real-world surroundings of the Heidelberg region, an area known for its proximity to major Gauteng industrial zones. Photographic ground materials (sometimes referred to as photo-based textures) are included, offering clear visuals of aprons, hangars, and other structures. The airport sits among gently rolling terrain, making the approaches both visually appealing and technically engaging.
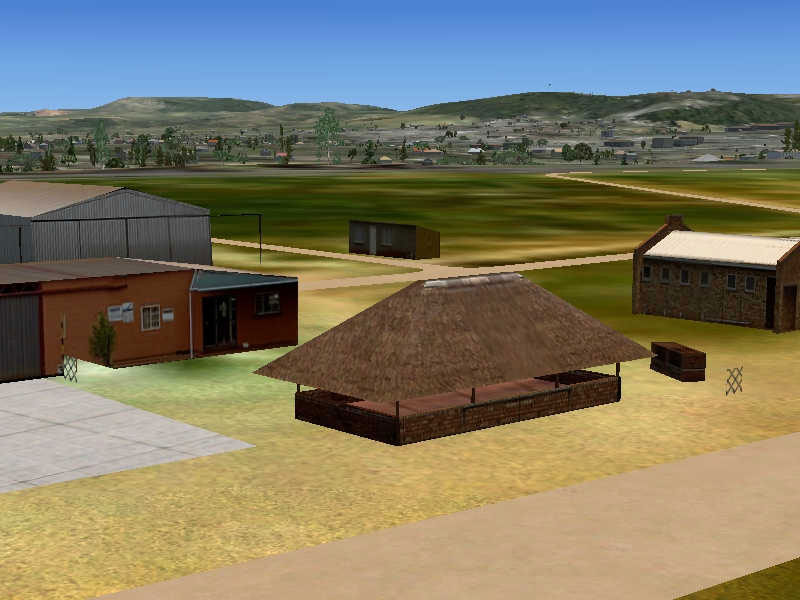
Heidelberg Airport Scenery.
To achieve the most accurate elevations, users are encouraged to enable the Aeroworx mesh series (FSXMesh0604 Parts 1-4 and FSXMESH0704 Parts 1-3). These specialized terrain files ensure smooth transitions around the local water features, leveled airfield surfaces, and properly aligned vector data. Other mesh sets may create slight discrepancies, such as raised embankments or sunken structures at ponds or reservoir edges.
Note: Previous Aeroworx mesh versions, including Version 1 and the updated Version 2, have been withdrawn or replaced by more recent compilations (for instance, FSXMesh0604_Part1.zip). This package aligns with those latest releases.
fsxWorx16.zip to a temporary directory. It is highly recommended to keep these Aeroworx scenery files organized for future updates.fsxWorx16.exe, which will attempt to locate your simulator’s directory automatically. Follow each prompt in the self-extractor to place the files correctly.The advanced detail and lifelike character of this Heidelberg Airport add-on owe their origins to:
The ongoing Aeroworx project is also spearheaded by Johan van Wyk, whose expertise supports further scenery developments across South Africa.
Free for all simmers · 2.33 MB · Scanned clean Jul 2026
Download speed: Free tier is capped at 0.5 Mbps. PRO members download at full line speed.
This add-on may require the following files to function properly. If this is a repaint, the dependency below is likely the base aircraft package.
FSX\Addon Scenery\ containing scenery and texture sub-folders.readme.txt or README file. It tells you exactly where files go, what dependencies are needed, and any quirks specific to this add-on.Use these coordinates to fly directly to this location once the mod is installed.
-26.50000000,28.35000000
Launch FSX or Prepar3D and use Flights → Load to open the downloaded .pln file. Your aircraft will be positioned at this location.
The archive fsxworx16.zip has 5 files and directories contained within it.
This list displays the first 500 files in the package. If the package has more, you will need to download it to view them.
| Filename/Directory | File Date | File Size |
|---|---|---|
| ReadmefsxWorx16.txt | 06.28.09 | 3.00 kB |
| fsxworx16.exe | 06.28.09 | 2.31 MB |
| fsxworx16.jpg | 06.28.09 | 50.33 kB |
| flyawaysimulation.txt | 10.29.13 | 959 B |
| Go to Fly Away Simulation.url | 01.22.16 | 52 B |
Only PRO members can place votes.
More FSX & P3D add-ons hand-picked based on this download.
FSX Scenery
Princess Juliana International Airport (TNCM) in Saint Marteen, Netherlands A…
 FSX Scenery
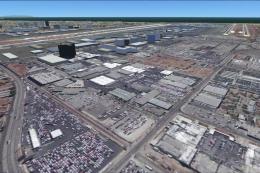
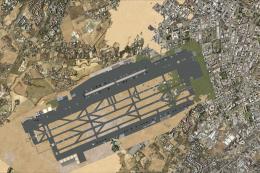
Los Angeles Airport Scenery v3, California (CA). This photoreal scenery is a …
 FSX Scenery
Barbados International Airport (TBPB). Grantley Adams International Airport f…
 FSX Scenery
Paris Charles de Gaulle Airport (CDG, LFPG), France. The entire airport has b…
 FSX Scenery
John F. Kennedy Airport (KJFK), New York, NYU. This is a photoreal scenery re…
 FSX Scenery
Dubai International Airport (OMDB), Dubai. Includes a new passenger terminal …
 FSX Scenery
Soekarno-Hatta International Airport (WIII), Jakarta, Indonesia. An update to…
 FSX Scenery
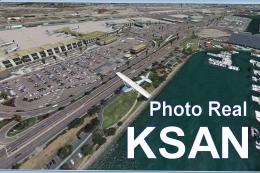
San Diego International Airport, California (CA), USA. This photoreal scenery…
Be the first to leave a comment on this download.
Be the first to share your thoughts on this download.