
 FSX Other Aircraft & Vehicles
USS Macon (ZRS-5) AI
USS Macon (ZRS-5) AI. The Macon AI's consist of a fully animated version suit…
U.S.S. Macon ZRS-5 brings the 785-foot US Navy rigid airship aircraft carrier to life in FSX with a detailed virtual cockpit, custom buoyancy-style handling for vertical takeoffs and mooring-style landings, and period NAS Sunnyvale plus mooring mast scenery. Animated hangar features, trapeze controls, and tailored views support authentic airship operations.


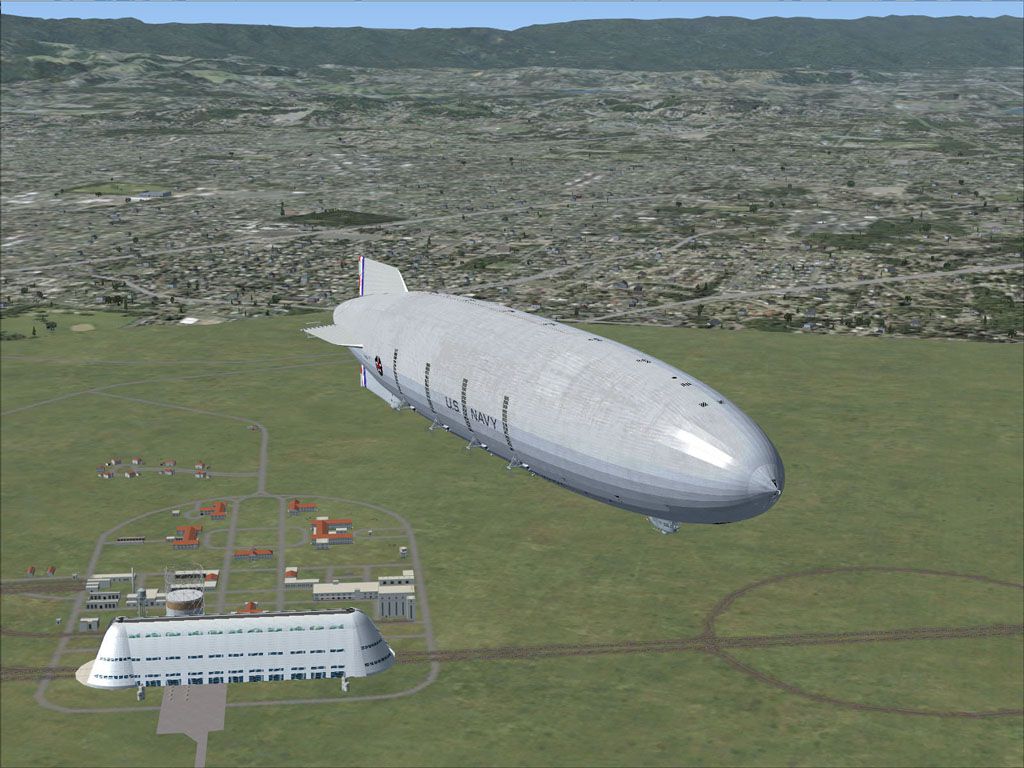
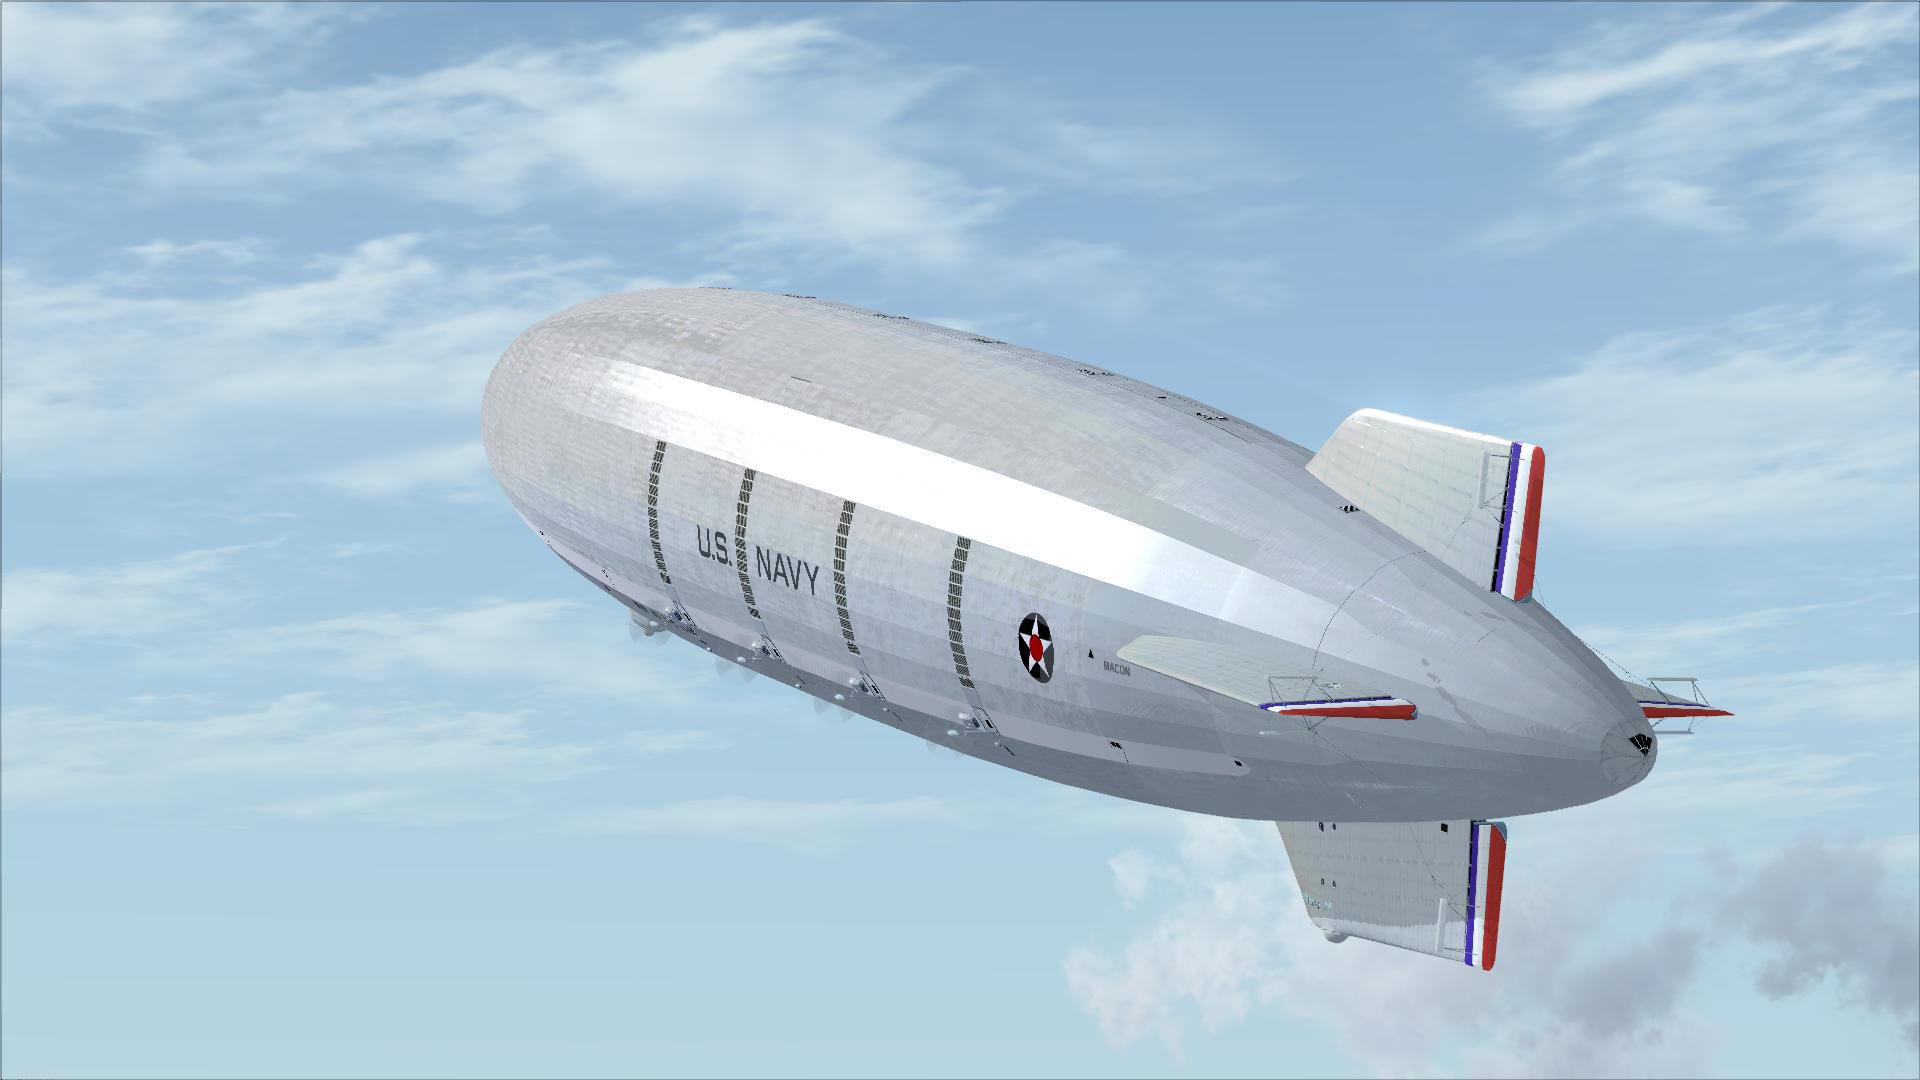

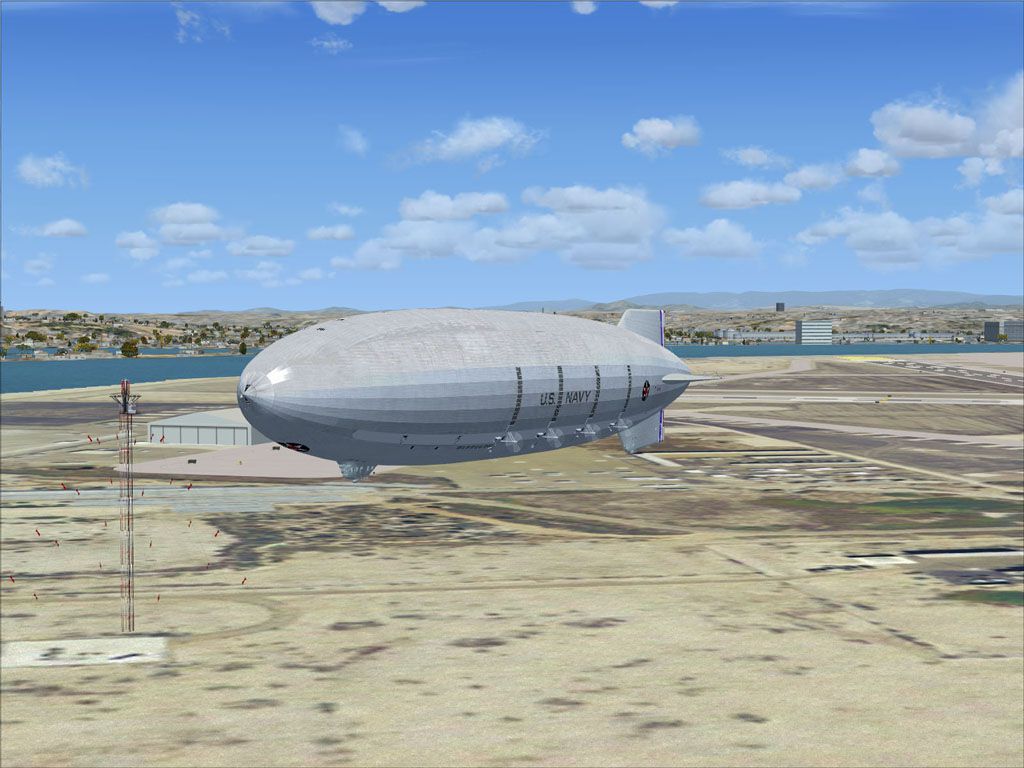

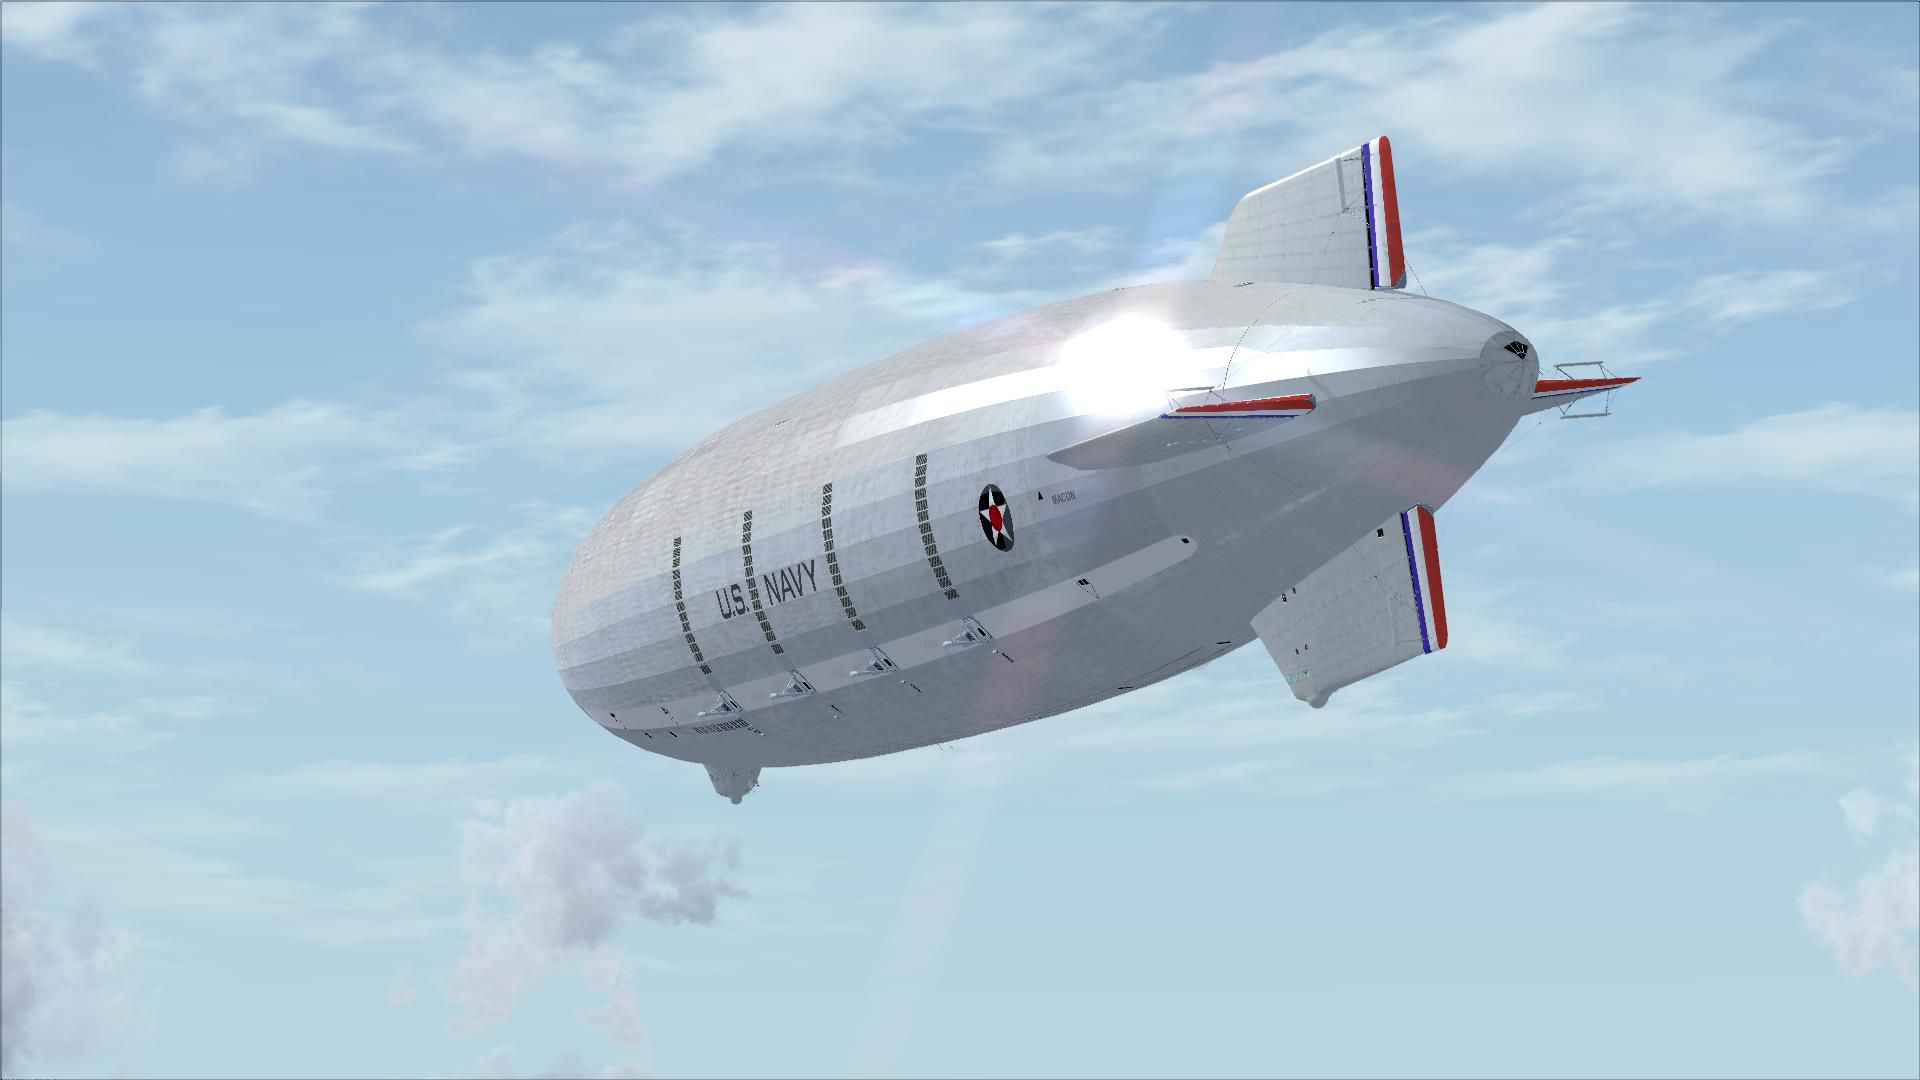


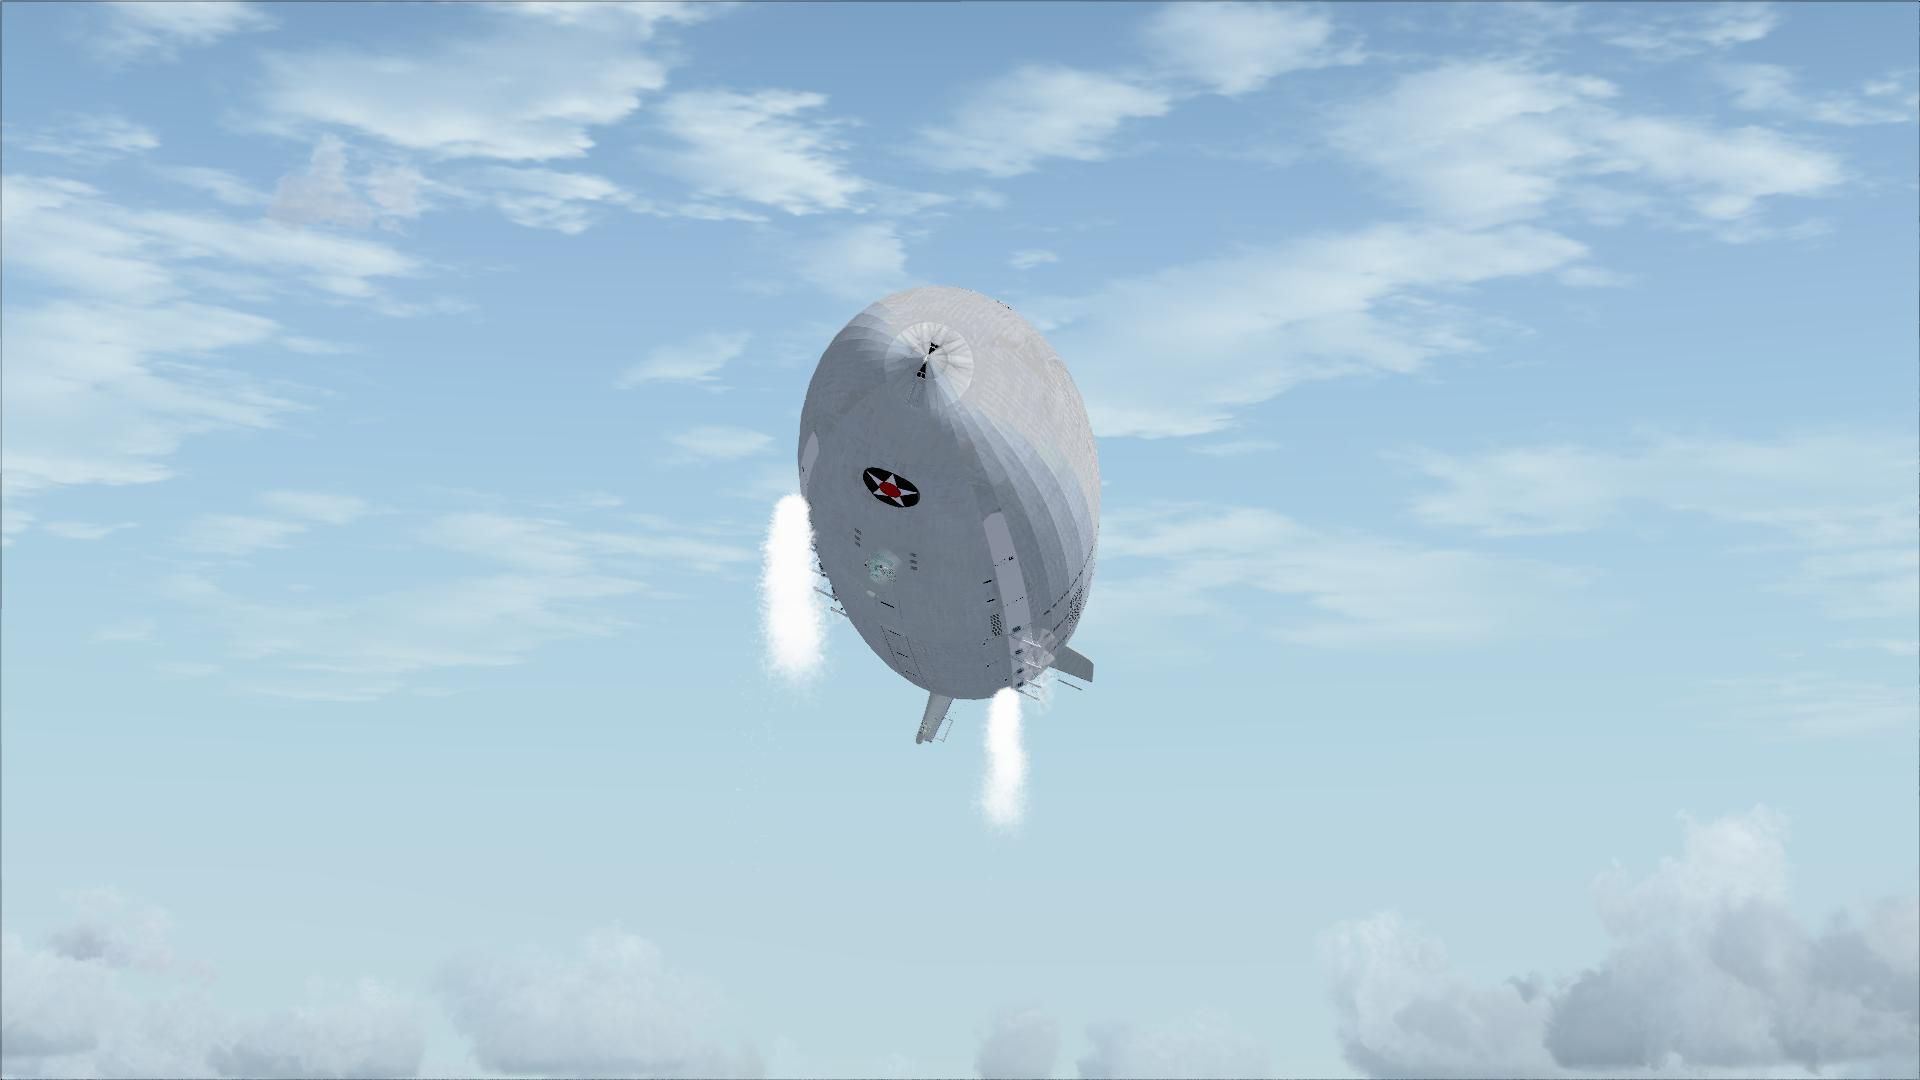

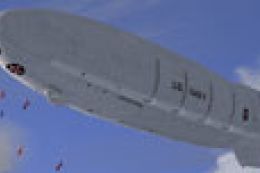
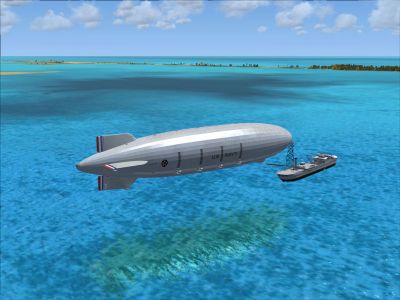
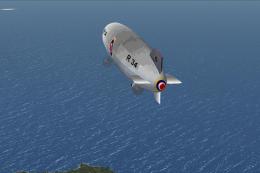
U.S.S. Macon ZRS-5 Airship. The USS Macon (ZRS-5) was a 785 foot long flying aircraft carrier. She and her sister (the USS Akron) were the largest of the famous USN rigid airships (dirigibles), and carried up to five fighters on board. Commissioned on 11 March 1933, the Macon was tragically lost at sea on 11 February 1935 during a storm while returning to her home air base at NAS Sunnyvale, California. You must read the "Read Me First" file. If you do not take the time to read and understand the information given on how to fly the USS Macon, you will be very disappointed. You will be unable to fly her. Created for FSX by Team Macon.

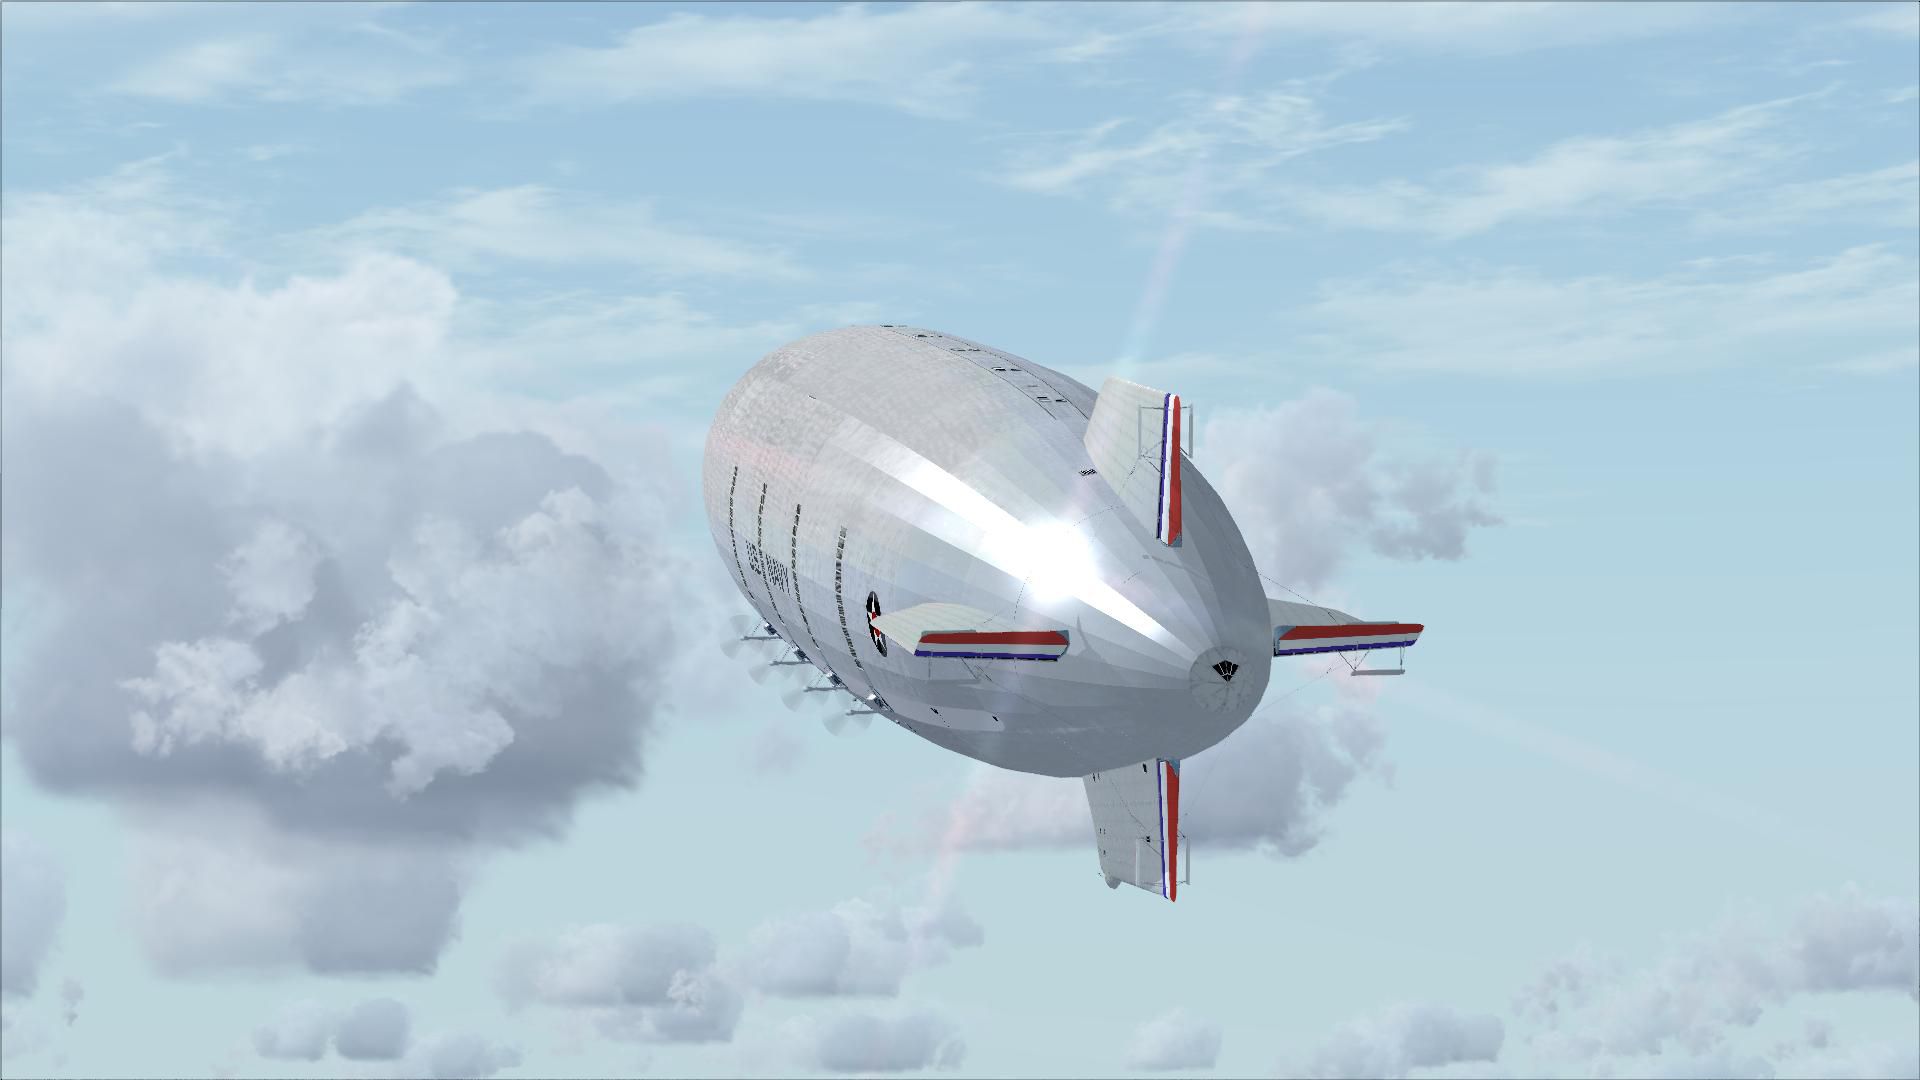
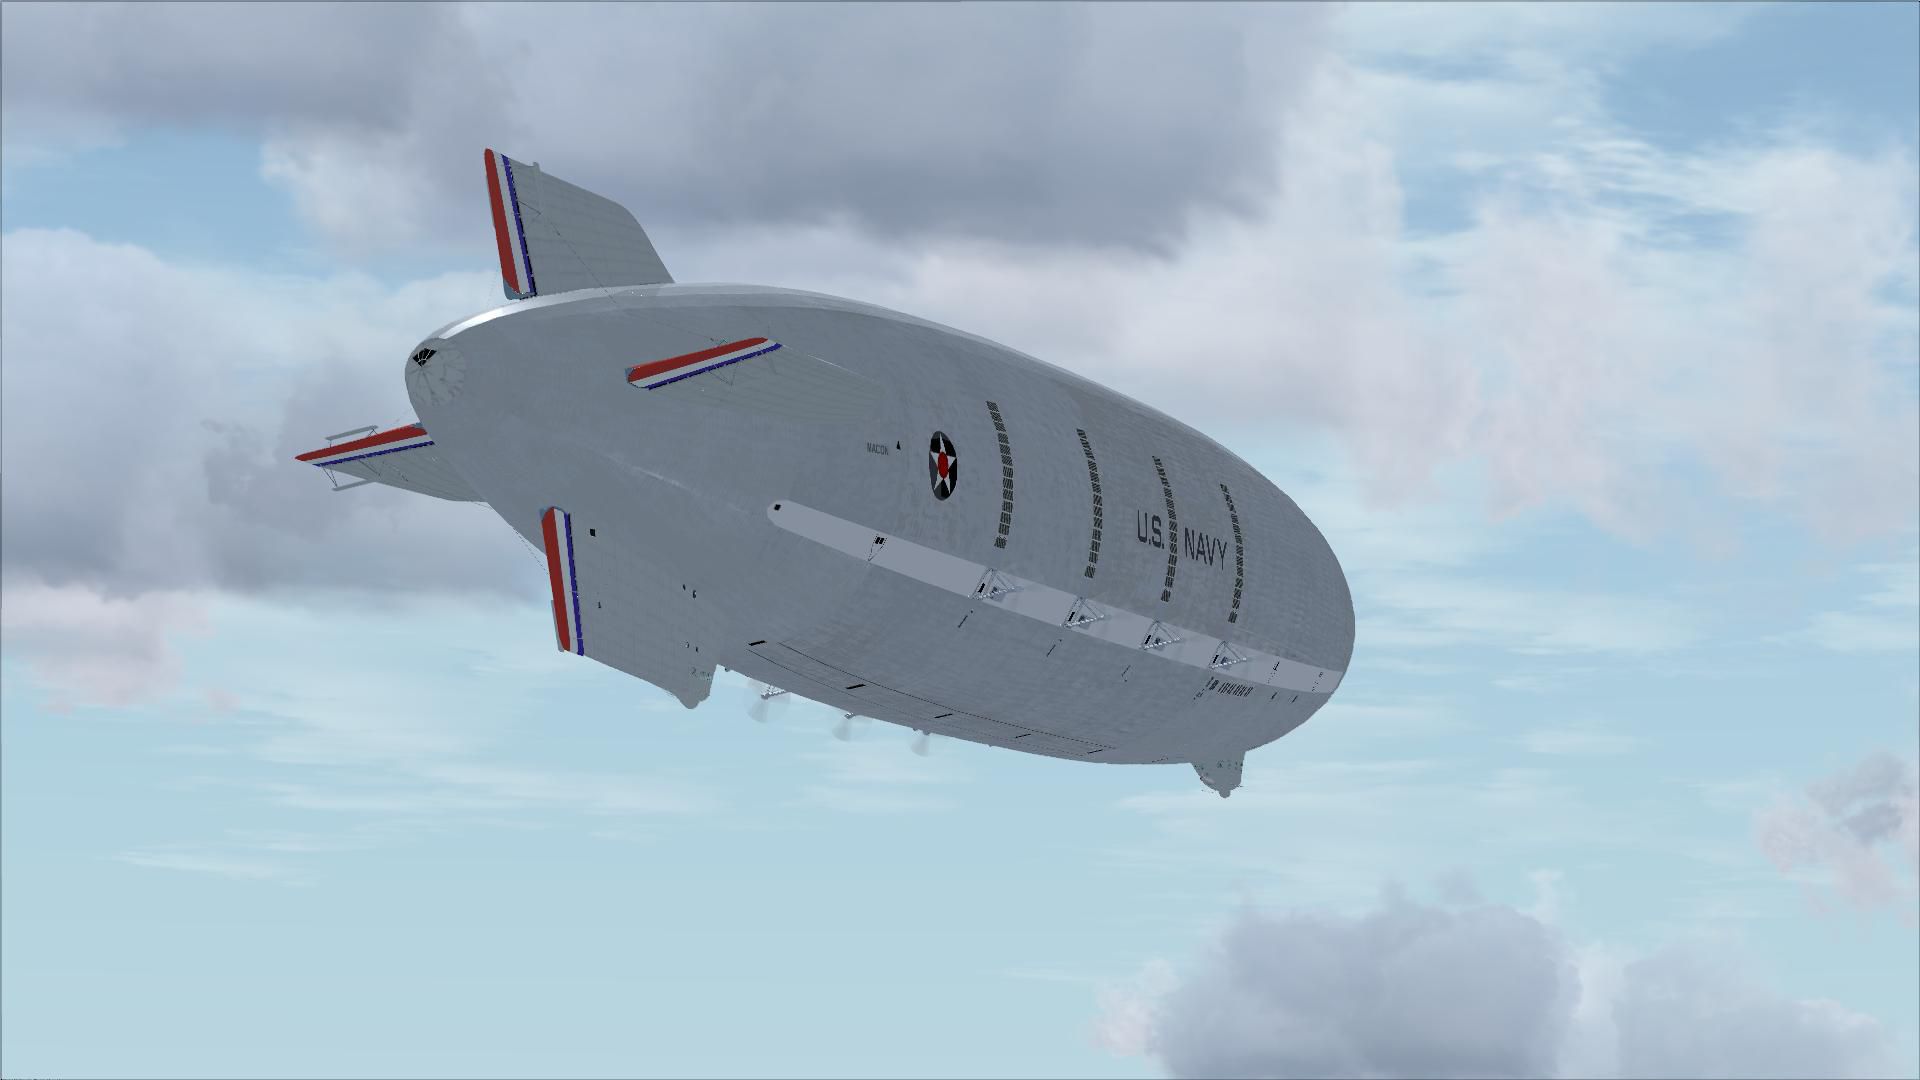
U.S.S. Macon ZRS-5 Airship.
USS Macon (ZRS-5), 1933-1935
Installation:
1. Unzip the download into a temporary folder.
2. Copy and paste the “USS Macon ZRS-5” folder into your FSX/ Simobjects/Airplanes folder.
3. Copy and paste the contents of the “effects” folder into your FSX/Effects folder.
4. Read the paragraphs below PRIOR to flying.
5. Macon will be found under manufacturer: Goodyear-Zeppelin Corp.
NOT a Conventional Airplane:
If you do not take the time to read and understand the information given here on how to fly the USS Macon, you will be very disappointed – as you will be unable to fly her.
Prototypical Dirigible Operation:
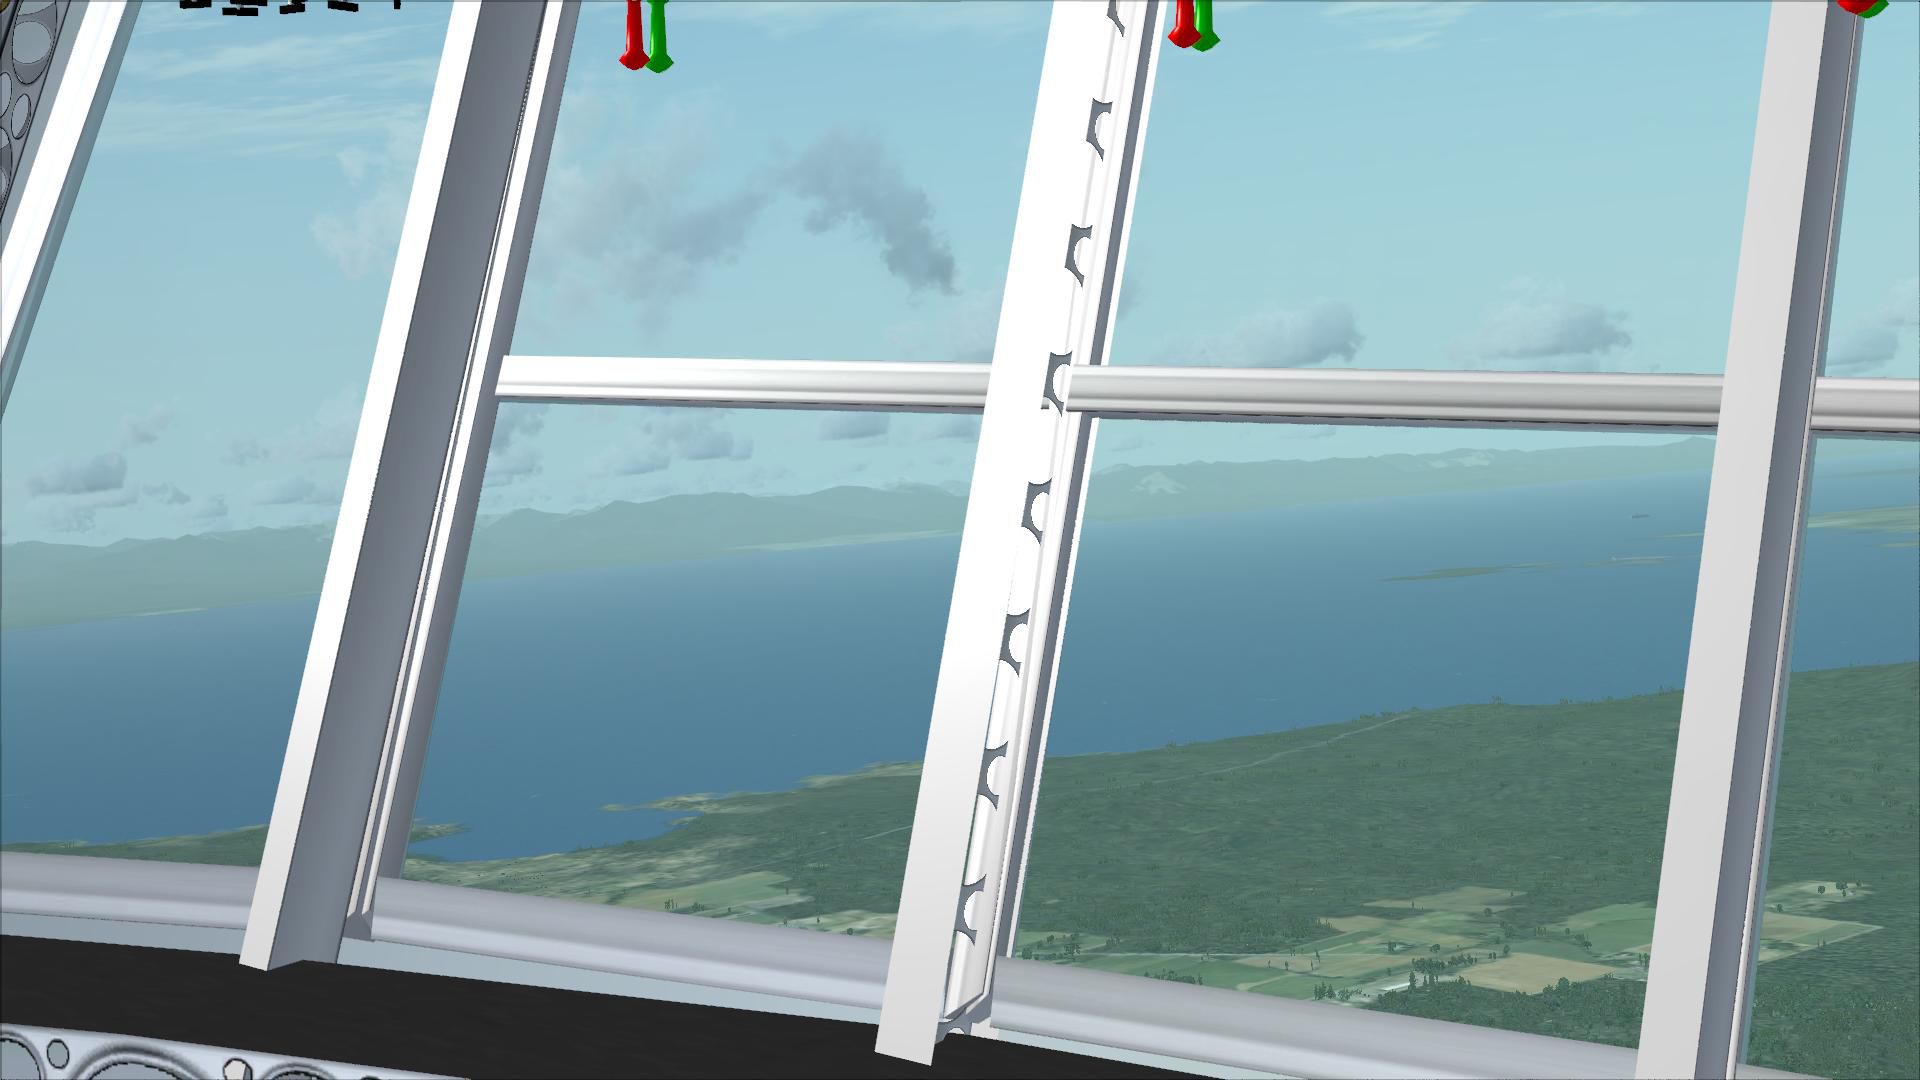
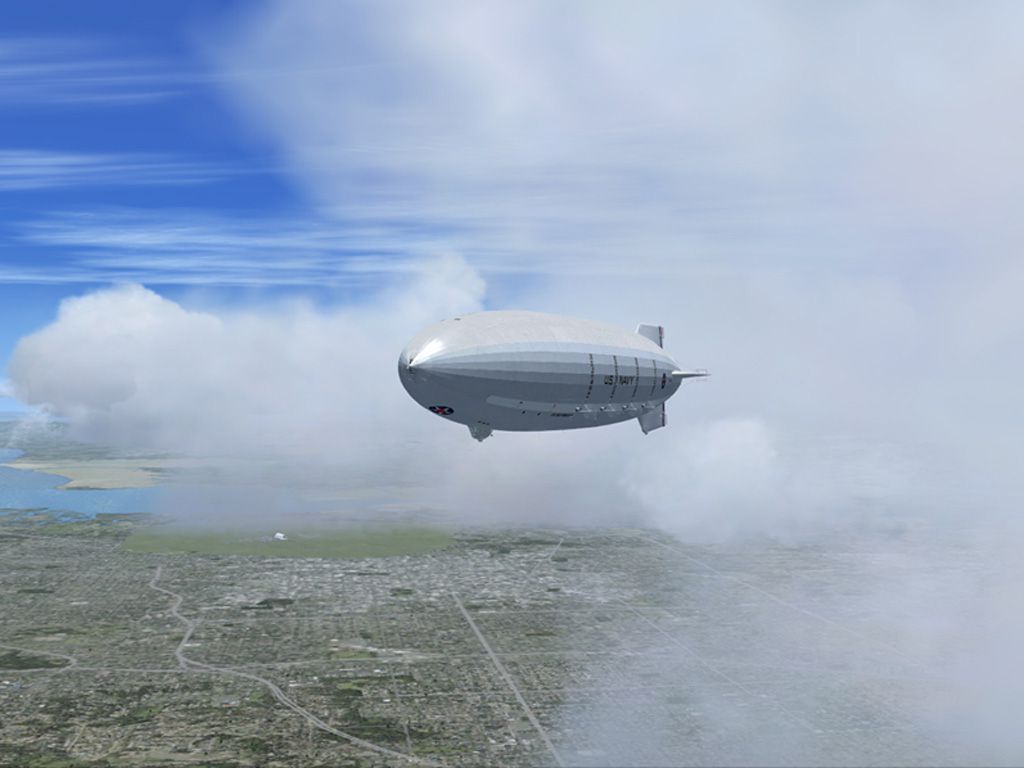
Dirigibles (a rigid framed airship – as opposed to much smaller nonrigid blimps) did not fly like either conventional airplanes or blimps, both of which use a runway to gather speed for take-offs – or slow down during landing. Dirigibles like the USS Macon were far too large (and therefore vulnerable) to do that. They dumped ballast when they were ready to “Up Ship” (take-off), then slowly rose vertically to about 600 feet or so above the ground – at which time they added power and transitioned to forward flight. Landings were much the reverse of this procedure. The Macon would arrive over the intended landing site at a couple of hundred feet and hover (neutrally buoyant). The crew would then drop landing lines to the large landing party standing on the ground. The landing party would then slowly pull the Macon down to the ground and walk her into the hangar. She could also be attached to a special mooring mast. There was NO running around on a runway!!
Flight Simulator Operations:
MS Flight Simulator was not designed to support lighter-than air operations for Rigid Airships, so we have had to adapt what we do have in order to simulate the vertical part of our flight. To do this you have a number of truly huge flap settings that will be used to simulate positive buoyancy (releasing ballast), or neutral buoyancy (hovering). With this “buoyancy” (and the fact that the Macon model weights almost nothing), you will be able to rise or descend very slowly. You’ll be able to descend at a forward speed of as little as only 3 knots (at the end of this file I’ll tell you how you will be able to do it with NO forward motion – but only after you get some experience as an Airship Commander).PLEASE NOTE!! You MUST fly Macon with Autorudder selected (checked) in FSX\settings\realism\flight controls. Because Macon weights almost nothing, flying without Autorudder selected can result in VERY unstable behaviour.
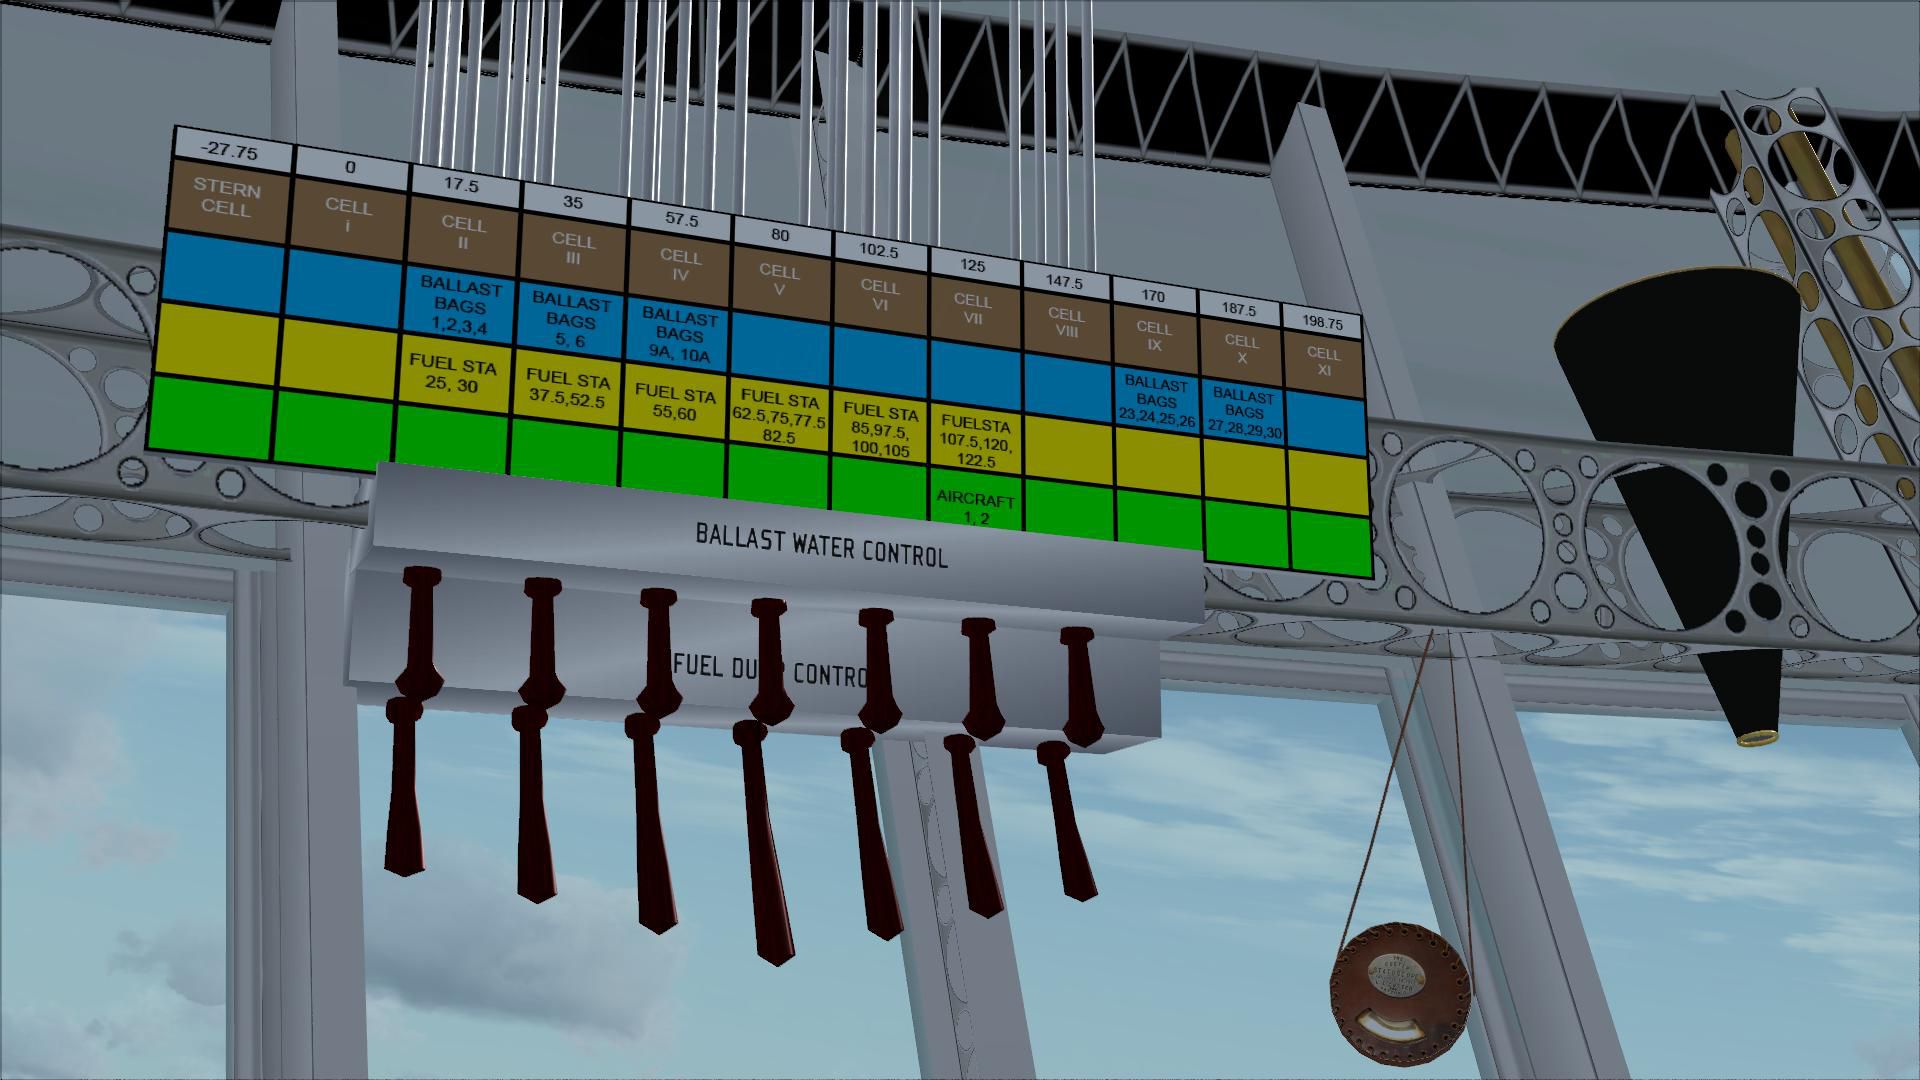
Up Ship:
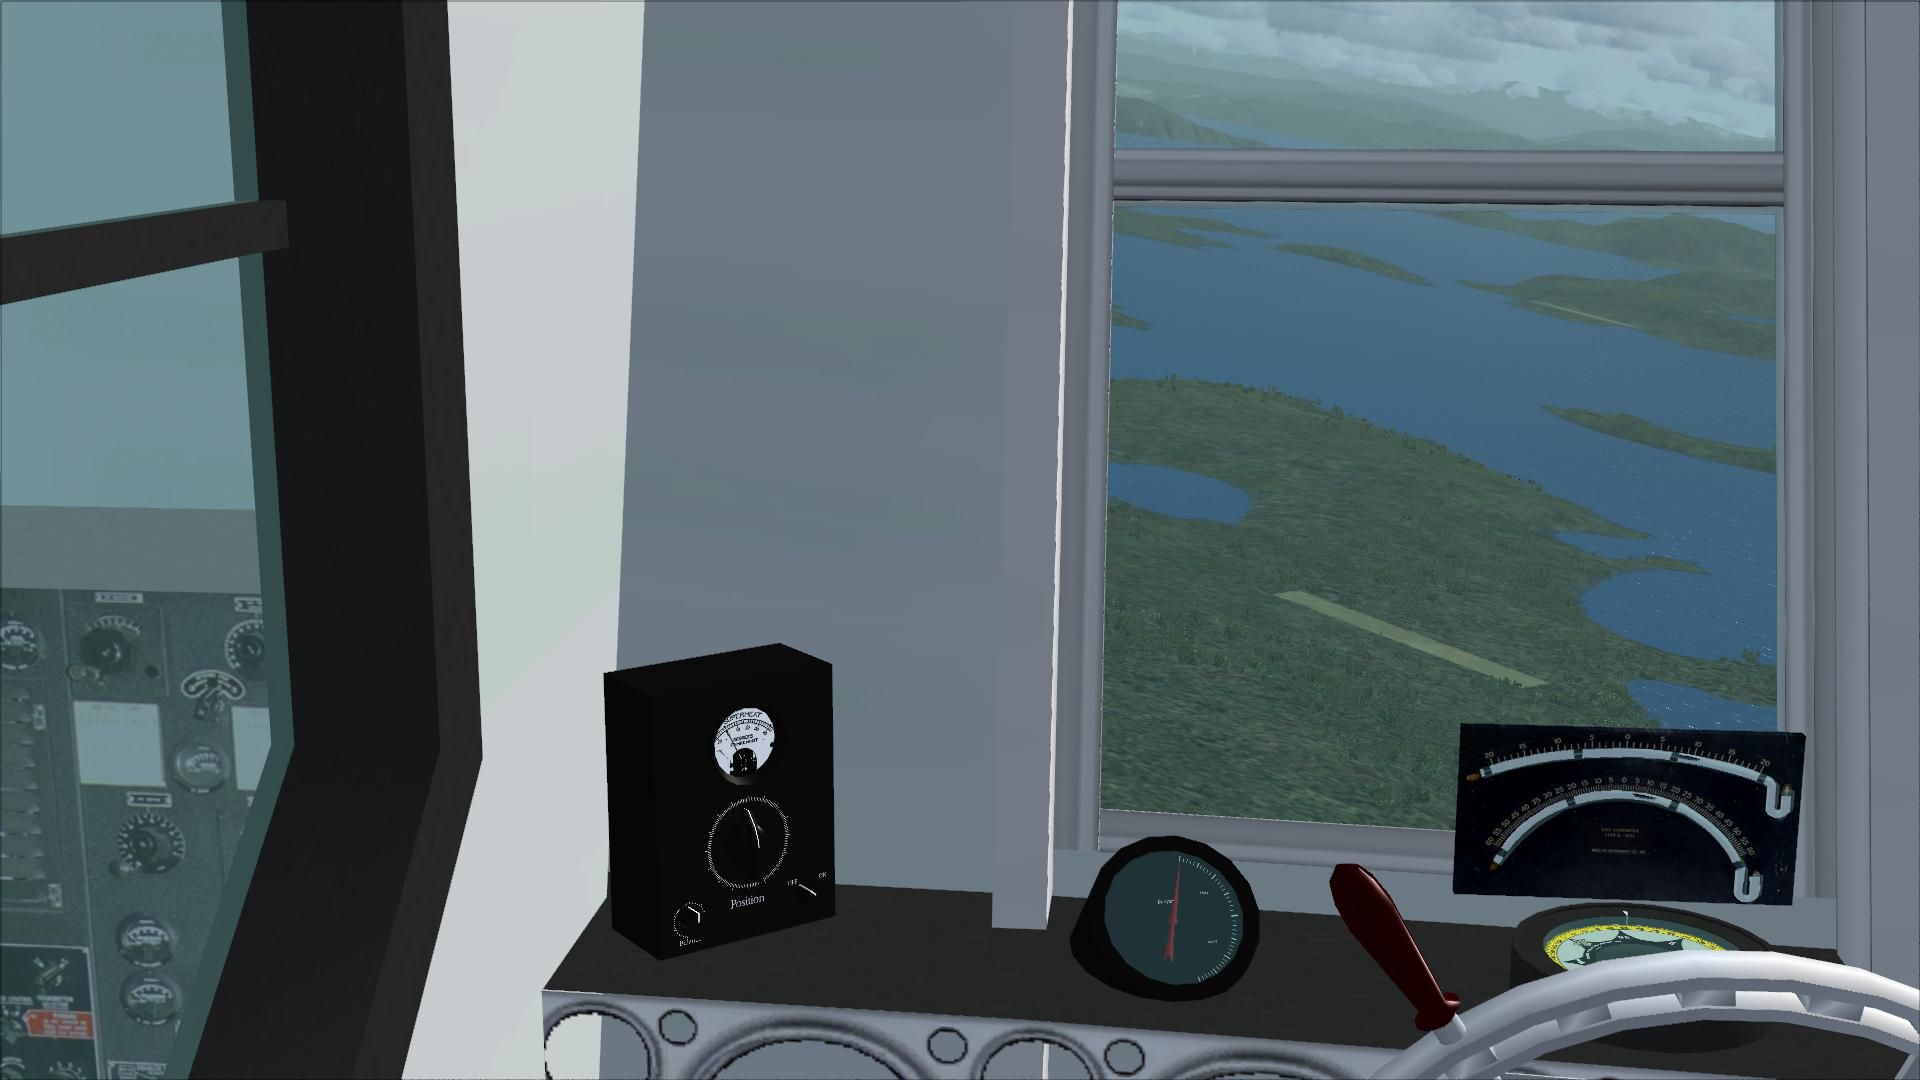
So here you are at your take-off spot. You could have just started at a conventional airport start point, or have had the landing crew walk you back into place (Push-back). Put in all nine buoyancy (flap) settings using the valve on the ballast water board in the VC (or the F7 key).The middle (center) valve handle on the top row of valves under the ballast board increases the flaps.These valves released water ballast on the actual Macon. The lower valves were actually the Fuel Dump Valves. The middle (center) Fuel Dump Valve will let you decrease the flap setting (or you can use the F6 key).
Now, go into spot view - where you can see the Macon’s side and nose. Smoothly add full power and Macon will move forward. Almost immediately (as soon as you have just enough speed for the flaps to react) you will start to rise almost vertically. You have a great deal of elevator authority (effectiveness) so if you see the nose starting to move a little up or down, just catch it by pushing your stick up or down, and you'll rise in a horizontal attitude. Have your “Cycle Coordinates” (the red flight parameters) visible at the top left hand side of the screen – by using your ” shift + Z” keys. When you get to more or less 600 feet altitude over the airfield, start alternately taking out buoyancy (flap) setting one at a time - while reducing power to keep from surging forward. This is like riding a bicycle, it’s hard to describe in writing – but you’ll get the hang of it after a couple of flights. OK, here you are in forward flight (grin).
Turning:
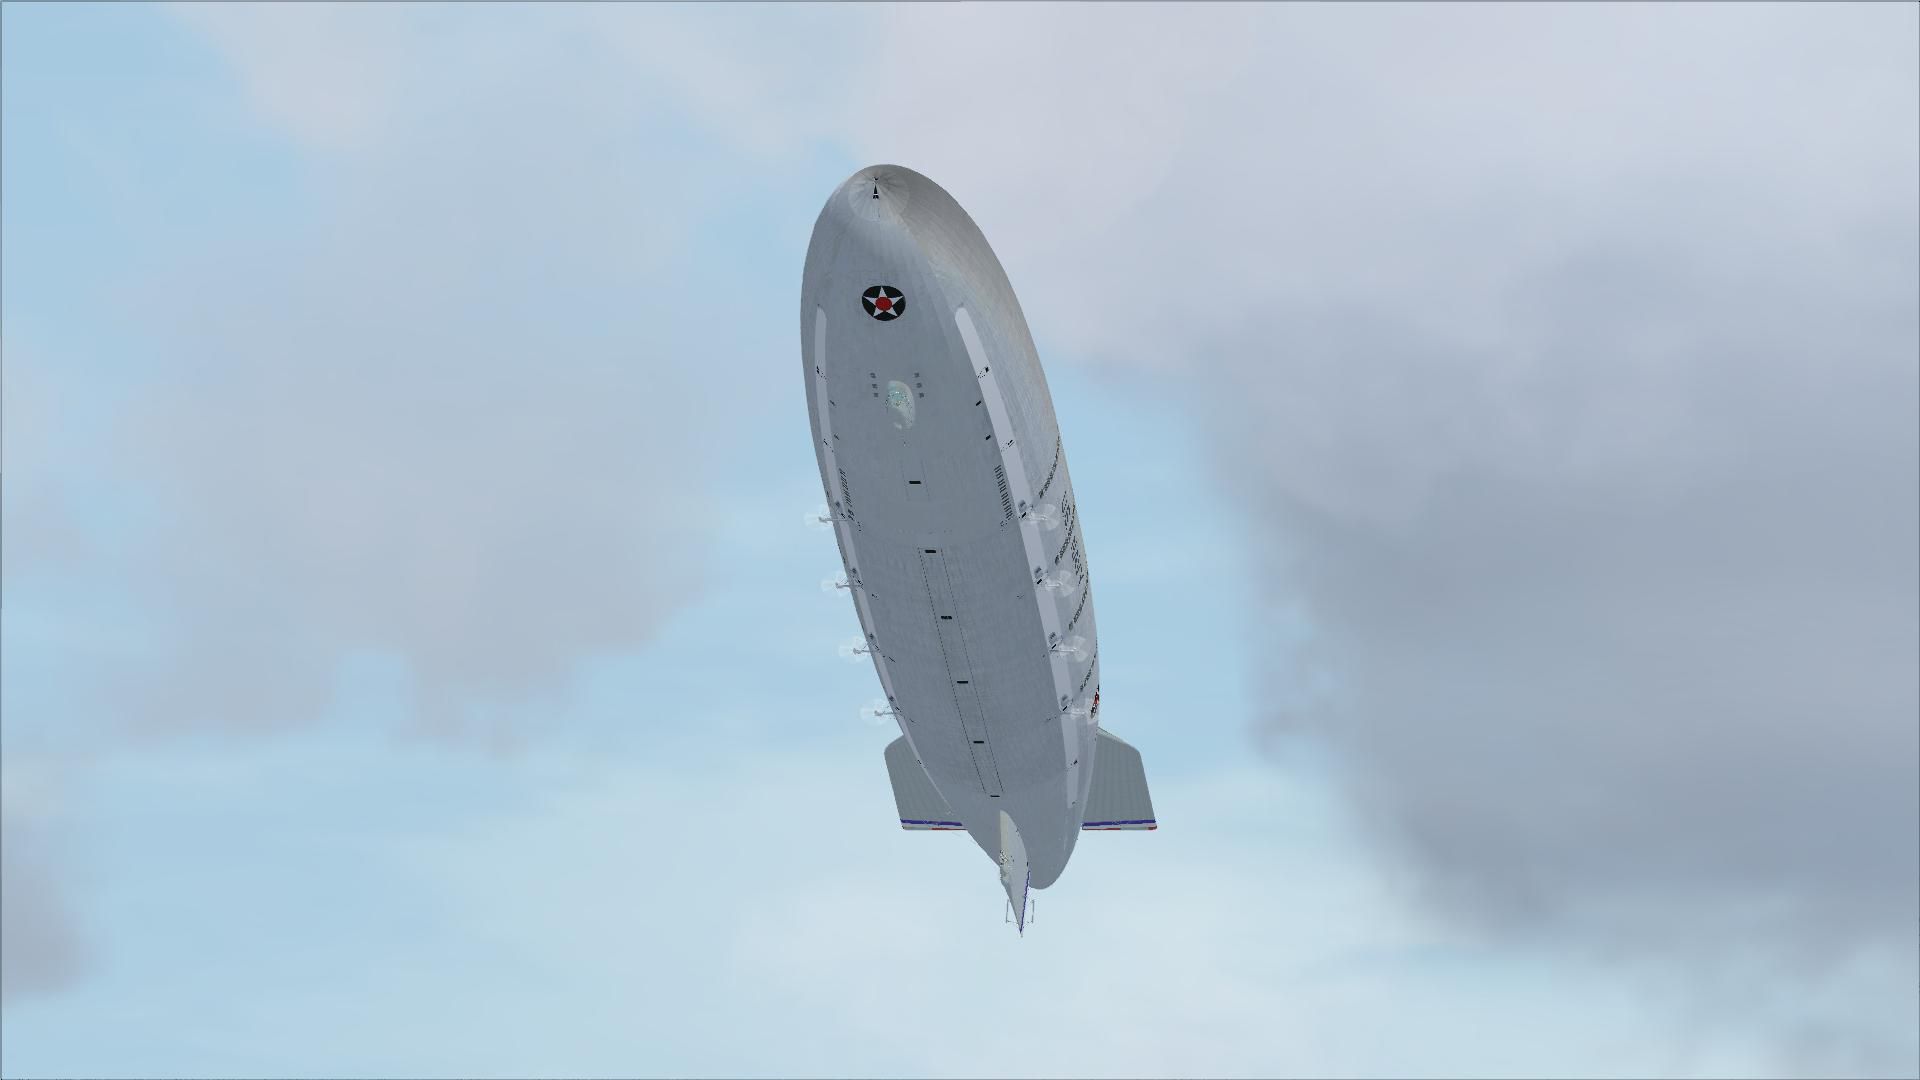
Airships have elevators which allow them to rise and descend, and rudders which allow them to change direction. What they DON'T have are ailerons (and wings – Macon gets her lift from Helium contained inside bags in the hull). With no ailerons, Macon could not roll into a turn. You will notice that it will be very difficult to roll our model of the Macon. So you will need to carefully use your stick’s twist grip (or rudder pedals if you use them) to turn (yaw). Be careful NOT to turn too fast, as the 785 foot long Macon would not turn anywhere near as fast as the conventional airplane that you are used to flying. At Macon’s 53 mph cruising speed you will be ABLE to overdo your turn rate, but we need to give you this rudder authority for use at the very low speeds you will be landing at, particularly if you have a wind you need to turn into.
Autopilot:
You as either the Captain, or the Officer of the Deck, had a Helmsman and Elevator man to control the ship. So when you assume command (or just want to check out the scenery), you should use FSX's key commands to take on the role of the Helmsman and Elevator Man. Just select the "Z" key to turn on the autopilot function (you won't see any visual display). To select altitude hold on (or off), just select the Ctrl + Z key combination. To select heading hold on (or off), select the Ctrl + H key combination. REMEMBER to turn off the autopilot function using the Z key when you are through with the autopilot.
Landing:
This is the real fun part!! Descend to two – three hundred feet over the airfield’s elevation. As you slow down, put in one buoyancy (flap) setting at a time (using either the upper dump valve in the VC - or the F7 key). Start the first one by 40 knots. If you space them out, and don’t put in too many at too high a speed, you should get down to 15-20 knots airspeed with a couple of settings to go – without having Macon rise vertically as you put in another setting (which means that you have too much buoyancy / lift for that airspeed). Be sure that you are now in spot view again and have your “Cycle Coordinates” (red flight parameters) showing on the upper left hand side of the screen. Continue to slow until you have all nine buoyancy settings selected.
As an Airship Commander, it’s vital that you remember how many setting you have selected. To aid your memory, there is a Buoyancy / Drag Indicator that you can see on the left side of the elevatorman's station in the Control Cab. This gauge can also be displayed using the Shift + 4 key combination. You can now easily have only 3-4 knots of forward motion, be in a horizontal attitude, and slowly descending a few feet at a time (the landing crew can’t pull this huge ship down real fast). Again, if the nose starts to rise or fall, you should be able to see it start – and correct it with your flight stick.
Take your time!! Airship landing operations were NOT a hurried affair. Safely landing this big ship without crunching anything is your prime concern (the U.S. Navy only has the USS Los Angeles and USS Macon in commission at the moment - so you have a VERY select command). Don’t put your career and your crews safety at risk by getting in a hurry.
Advanced Airship Operations:
OK, I promised you that I’d tell you how to get even more prototypical operations after you had a little more experience. Here is how. To shorten the forward motion necessary to get vertical flight, and to “hover” with no forward motion, you will need to have a wind setting available of 5 knots (go to: Current weather\change button\select "user-defined weather"\customize button\advanced weather\wind tab: and you can select the exact wind speed that you want. Be sure that "Gusts" are set to 0). This wind MUST come from directly in front of the Macon during take-off or landing. Remember when you set in the wind direction - the wind direction must account for the airfield’s variation. If you don’t know how to figure that out, just set the winds direction to be the same as Macon's heading. Now start the flight and see what the difference is between the winds given direction (on your Cycle Coordinates / red flight parameters) and from what you asked for (Macon’s heading). Adjust the wind direction until it matches Macon’s heading. You now MUST take-off and land into the wind! Of course it is always possible to take-off and then reset the wind in mid flight by selecting the Alt key and resetting Custom Weather. By this means you can take-off in one direct with the wind on your nose – and land in another direction with wind on your nose. When landing into the wind, monitor the difference between the wind velocity, given on the “Cycle Coordinates”, and the ships airspeed. DONT let Macon’s speed be any LESS than the wind velocity, or you will be going backwards! With full buoyancy (flap) settings, you will now be able you have NO forward motion (example: 4 knots forward speed into 4 knots wind velocity). You will now slowly descend vertically to touchdown. Note: when you get on the ground you will go backward because of the wind, unless you maintain 4 knots speed or turn off the wind. This is a lot of fun – but be sure you have the no-wind operations down pat FIRST.
Views:
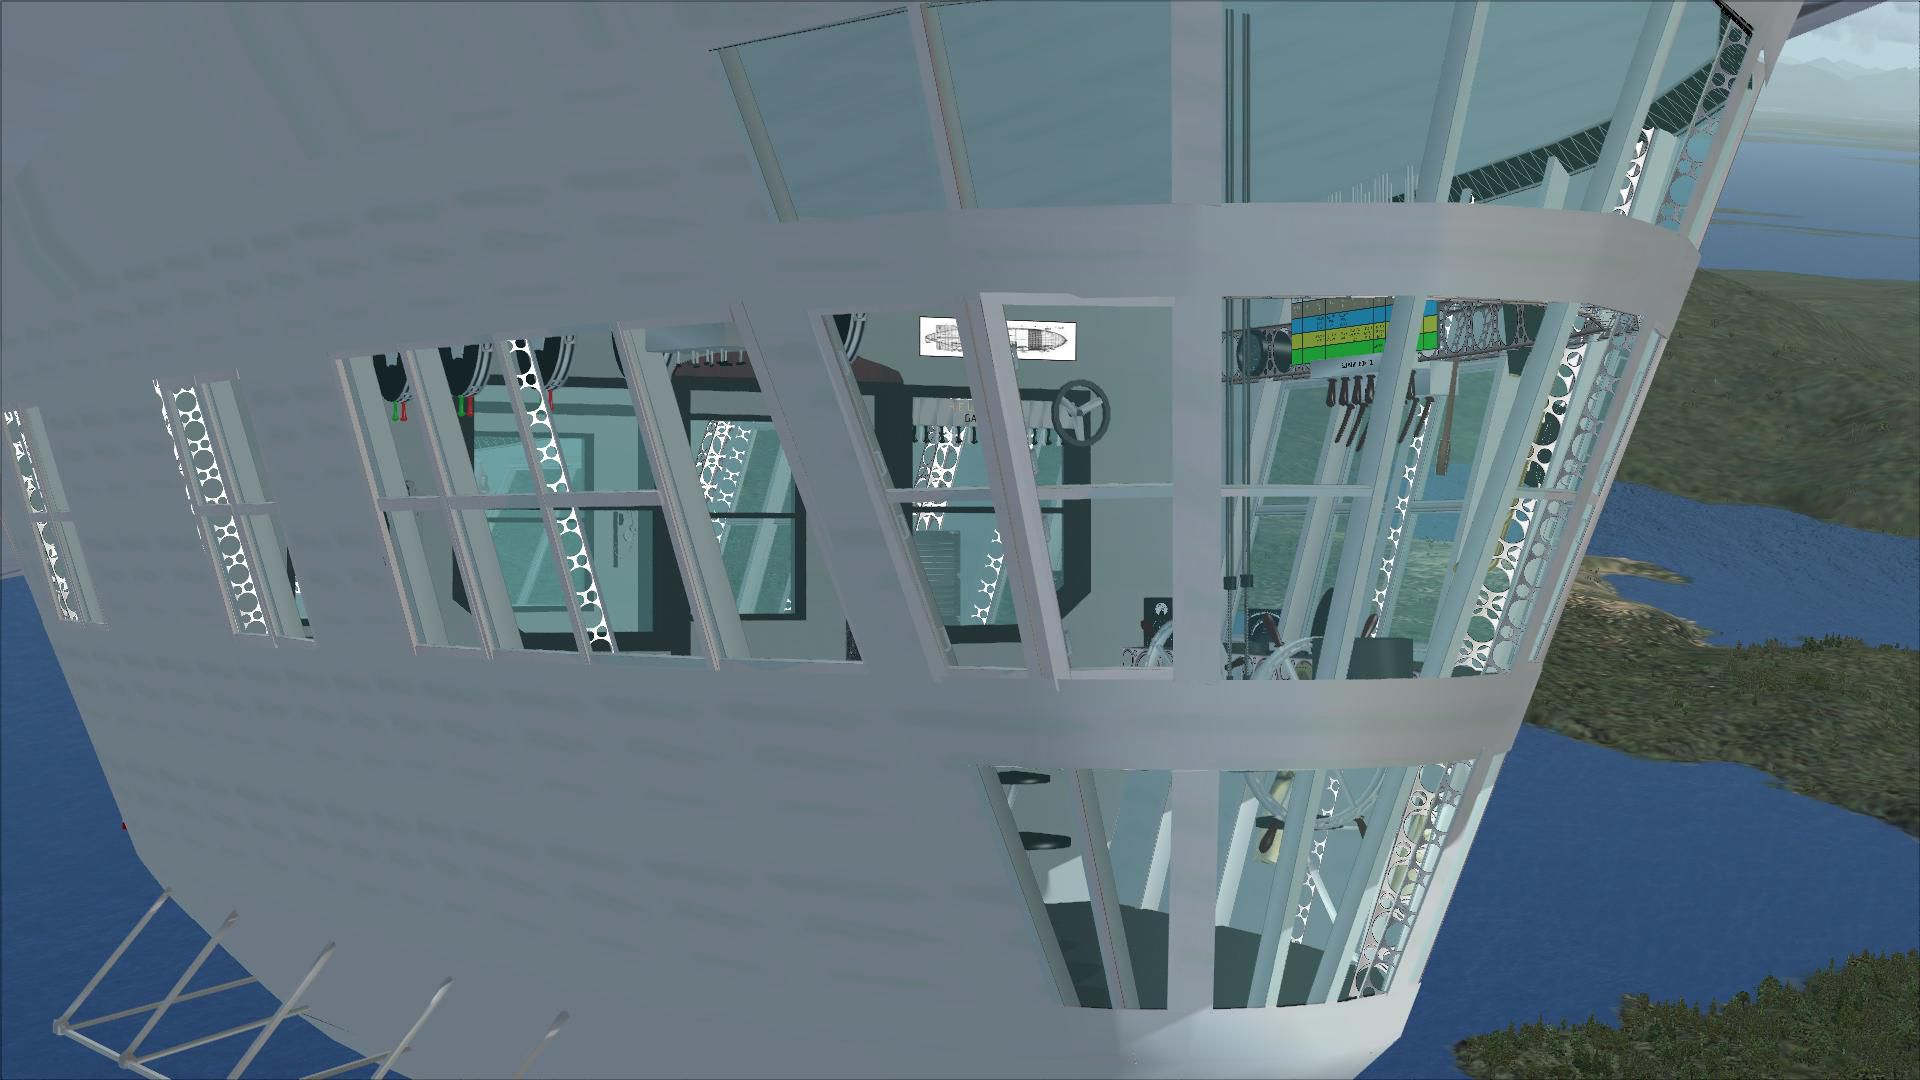
1/Internal: while in the Control Cab, select the 'A" key to change your location within the ship:
- First view is the Helmsman's station (fully forward in the Control Cab)
- next, the Navigators chart table, in the Control cab.The small model of Macon on the table will move as Macon does.
- finally, you will see the Secondary Control Station in the lower fin. This was used to fly Macon in the event of a problem in control from the Control Cab. Try flying the ship from here.
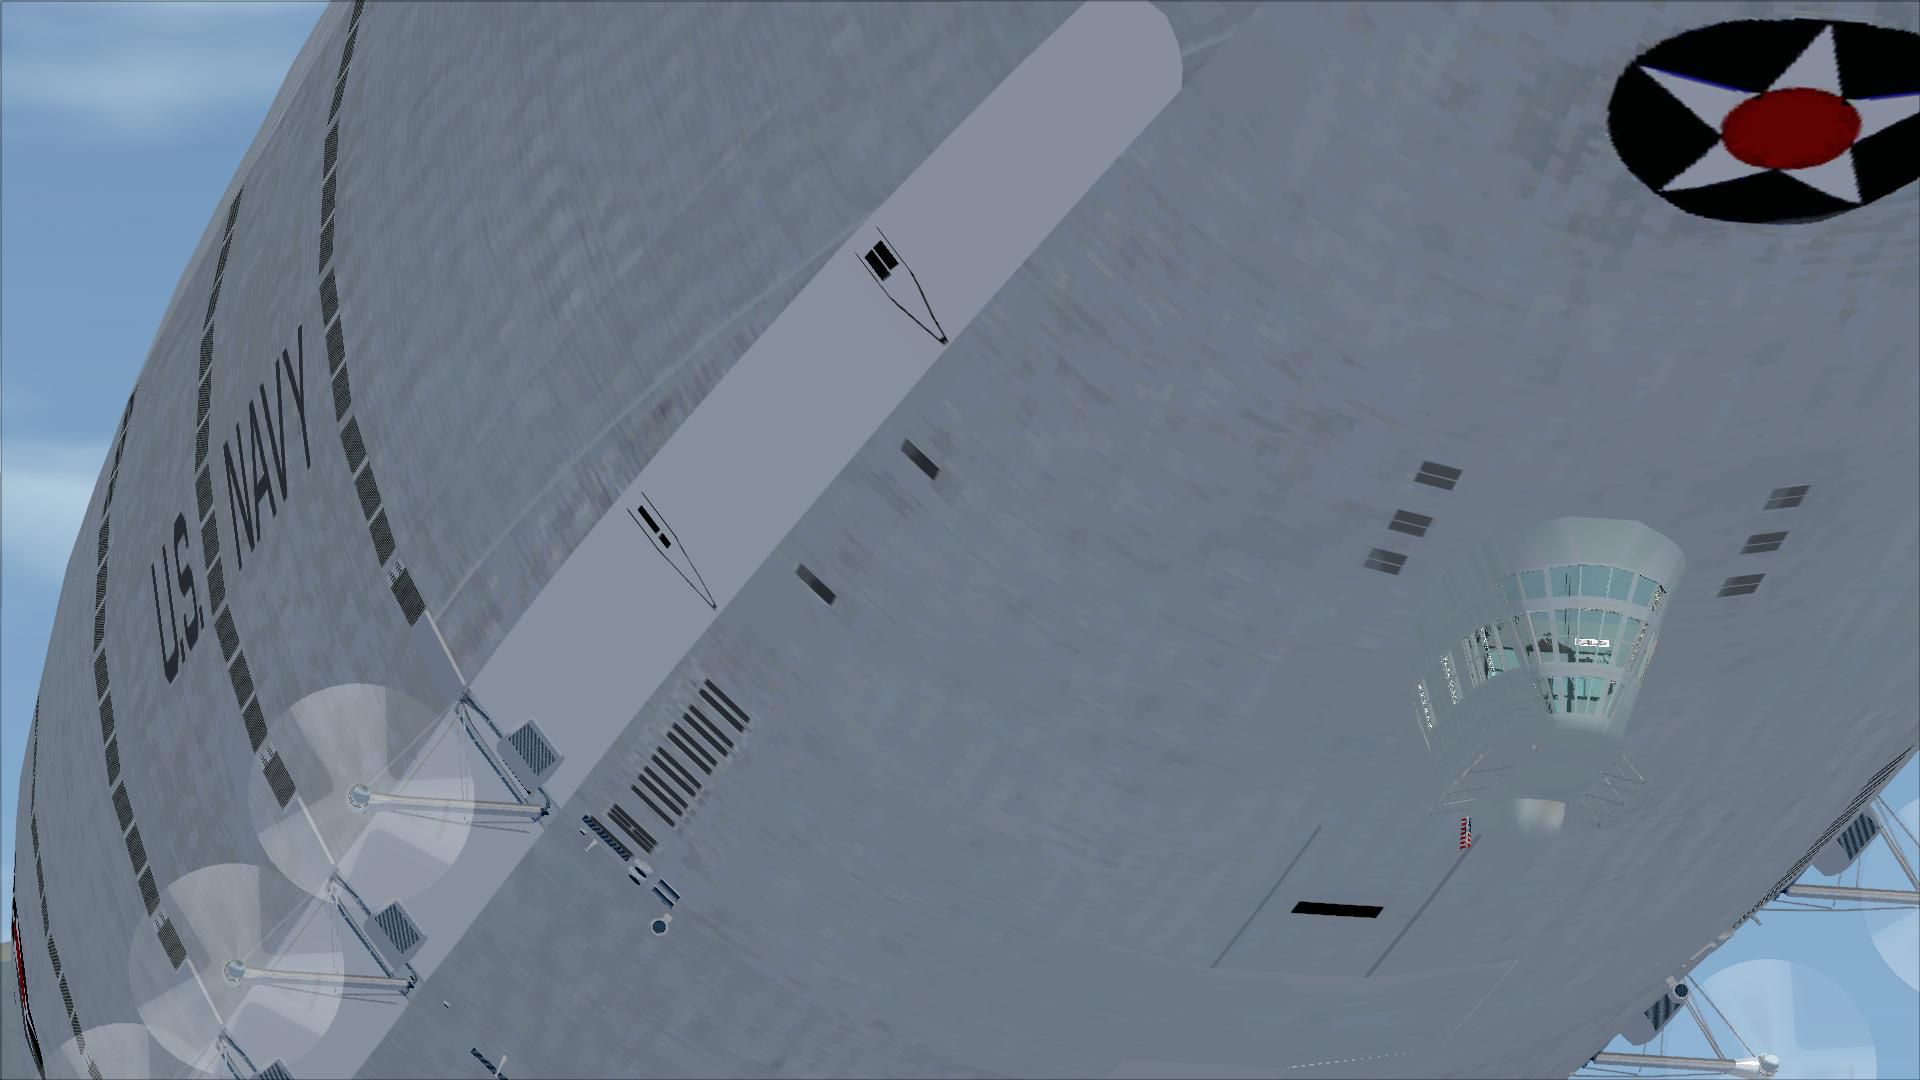
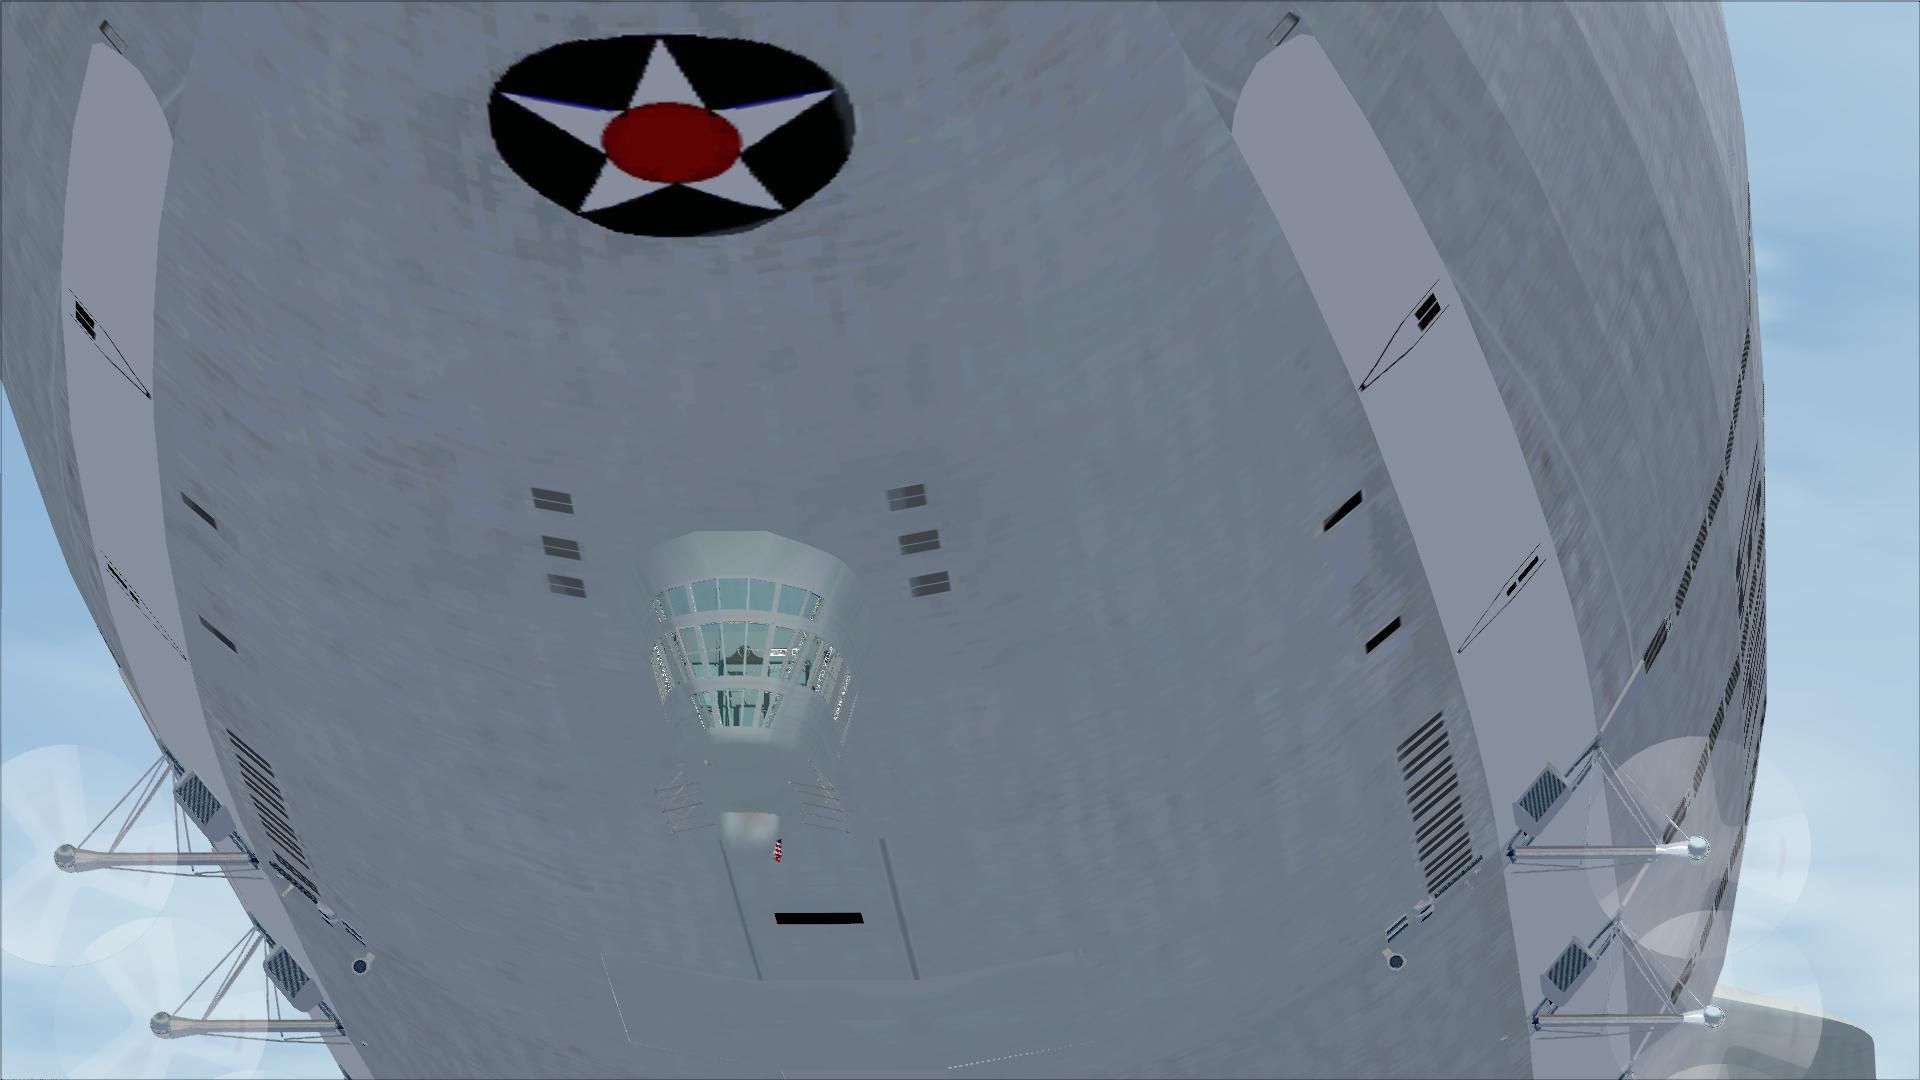
2/ External: If you cycle through the "S" keys you will come to a view of the outside of the Control Cab (right after the "tower View" of Macon).
- depress the "A" key and you will be at the machine gun station station on top of the forward hull. You won't see Macon until you look down.
- next, a view from Macon's propellers on the port side
- next, a view from macon's propellers on the starboard side.
- next, a view from underneath the hangar, in front of the trapeze (when lowered).Useful view when flying multi-player.
- next, a view from inside the hangar, looking down on the trapeze (when lowered).Useful view when flying multi-player.
- last, a view from outside the Secondary Control Station.
Animations:
1/ You can lower the ladder that leads up into the control cab by selecting key combination: shift + E. This ladder was used for entry to Macon when the ship was not moored to a mooring mast.
2/ There is a pop-up GPS that will appear by selecting key combination: shift + 2
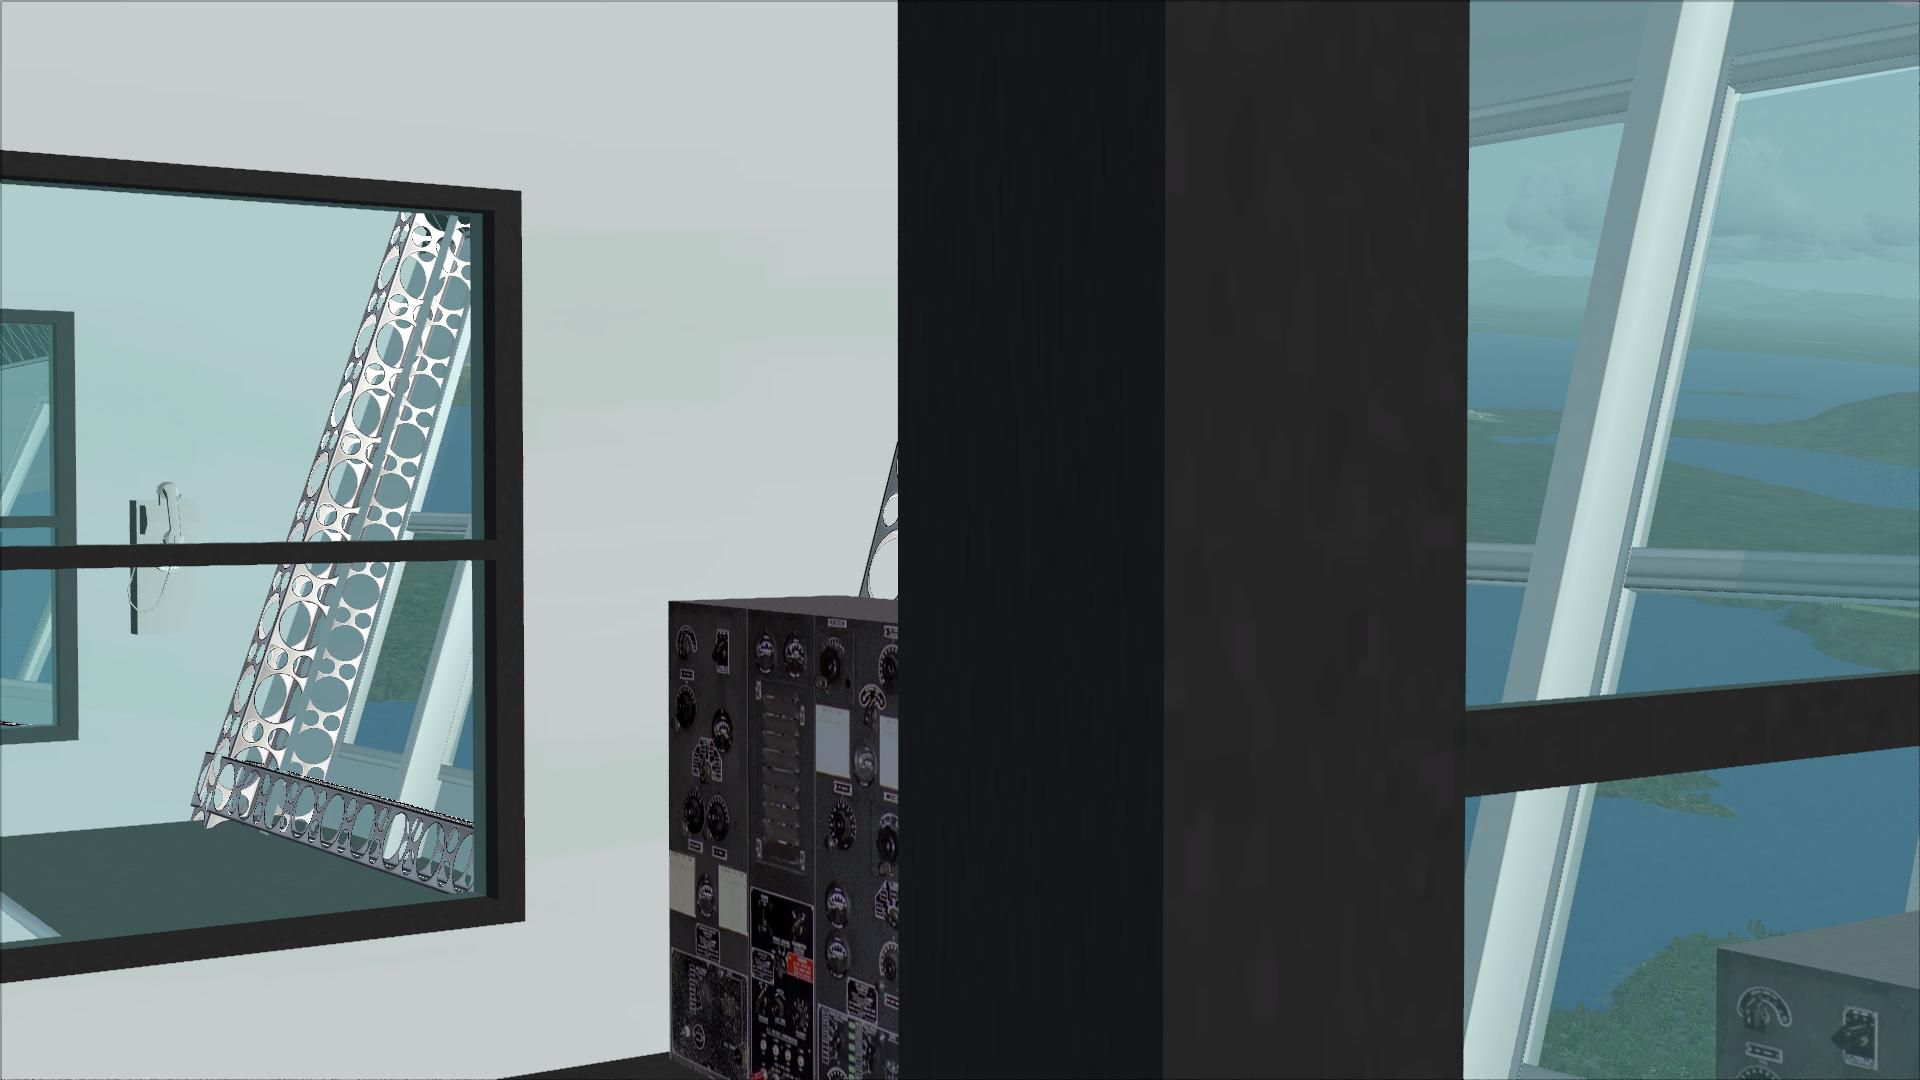
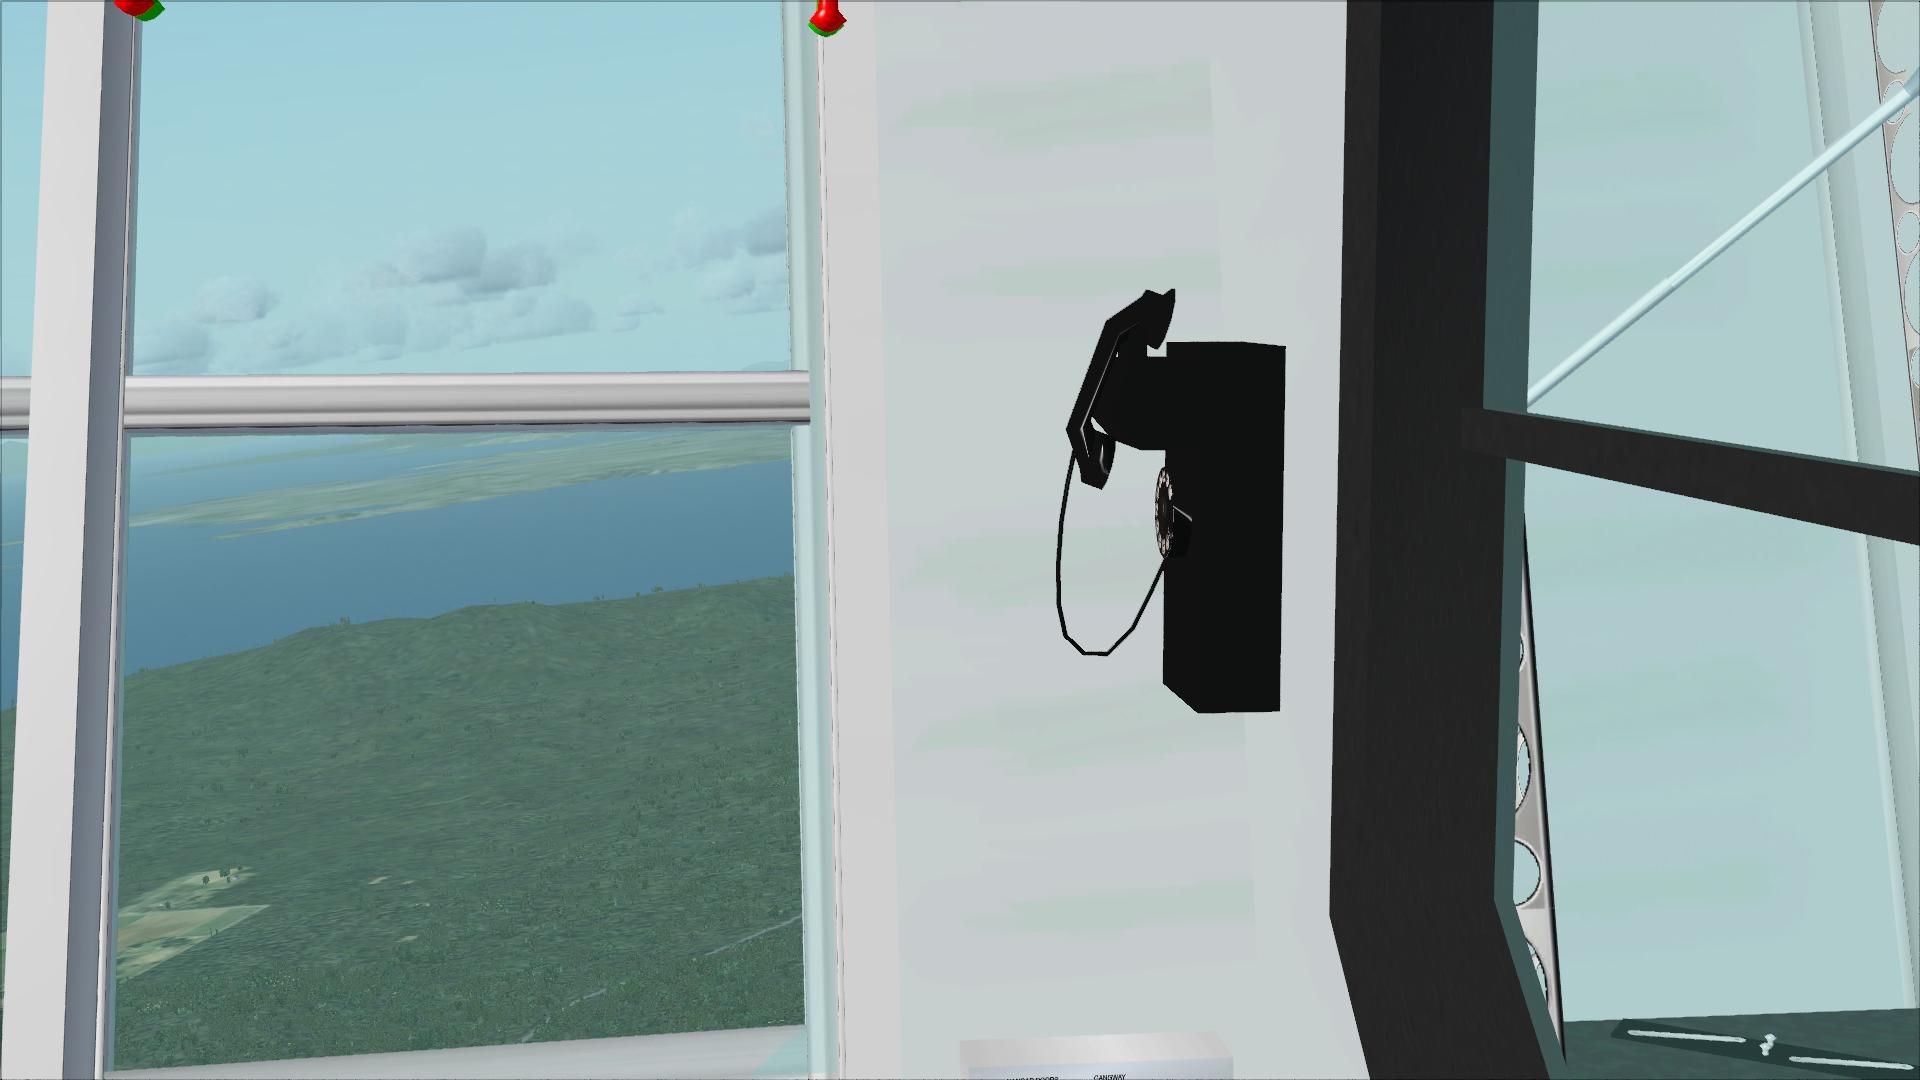
2/ You can see a pop-up view of the radios by selecting key combination: shift + 3
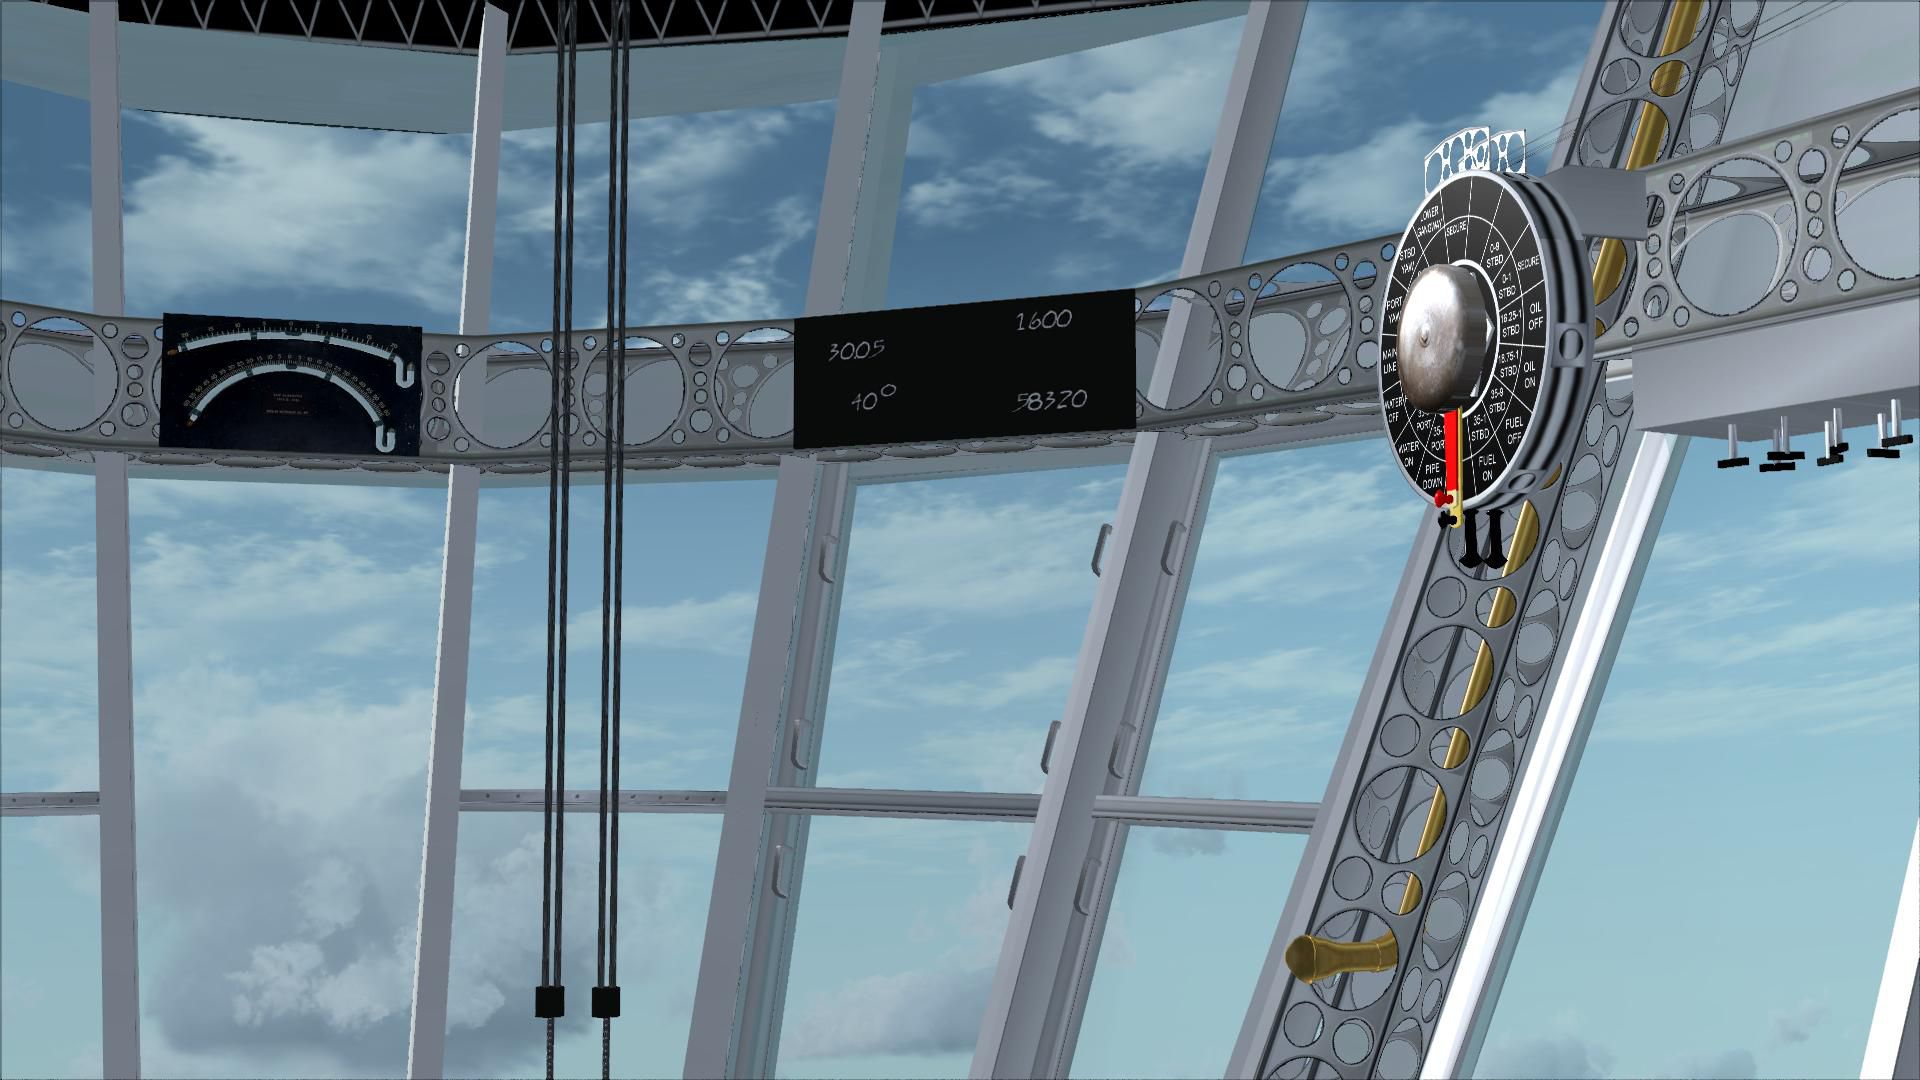
3/ There is a box (with three rotary switches) located under the phone on the starboard (right) side of the Control Cab:
- The first rotary switch will open the hangar deck and lower the aircraft trapeze.
- The second rotary switch will lower the bow gangway (boarding ramp) that is located in the lower nose. This entry to the ship was always used when the ship was moored to a mooring mast, so it should always be down when Macon is on the Mast at NAS Moffett Field, or one of the USS Patoka's locations.
- The third rotary switch will display the Macon's "X-braces". Macon had a "X" shaped brace that was fitted to both sides of the lower fin when she was moored to the mast. This is because the fin was connected to a special "stern beam" that had railroad type trucks that ran around the circular track surrounding the mooring mast. The x-braces" were not installed when Macon was moored to either NAS North Island's high mast, or on the USS Patoka's mast.
4/ Macon's night light's can be selected by using the light control rotary switch on the port side (that's left side to you non-nautical types) of the Control Cab. They can also be selected using the "I" key.
5/ Macon has a landing light on the starboard side of the Control Cab. This can be activated by selecting key combination: Ctrl + L
NAS Sunnyvale (scenery):
NAS Sunnyvale (Moffett Field) has been created as she was during the time period that she was Macon's home airfield (1933 to 1935). This scenery will, of necessity, replace the default FSX rendition of present day Moffett Field. You will notice that there are two large circles, one on either side of the immense Hangar One. You should land with Macon's nose pointing toward the mooring mast that is in the center of one of the circles. You will notice that the ship is still off the ground by sufficient distance that, when you "taxi" the Macon up to the mooring mast (simulating being pulled by the ground crew), your nose cone will align with the top recepticle on the mooring mast. You can now shut down your engines.
Landing on the USS Patoka (scenery):
If you fly Macon to one of the five locations for the USS Patoka scenery, you can land on the invisible runway that holds you high enough to simulate mooring with the Patoka’s mooring mast. First however, be sure to go into: FSX settings\customize\aircraft\exterior settings (on the right hand side) and de-select (uncheck) “aircraft casts shadows on the ground”. Then select OK. If you forget to do this, you will see Macon’s shadow on the invisible runway behind Patoka’s mast (which really spoils the illusion of Macon floating in mid-air behind Patoka). Also remember to return to FSX Settings after your flight, and re-select “aircraft shadows”. Another hint: as you can’t see the back edge of the elevated invisible runway behind the USS Patoka, it is possible to land short and crash. However, there are two small boats in the water behind the Patoka, and they are located under the back edges of the invisible runway. So if you have flown Macon past the small boats in the water, you are past the back edge of the invisible runway. You didn’t think I could see that runway by magic, did you? NOTE: we have provided a set of saved flights that will enable you to start from any of Patoka's locations. You can then "Push Back"enough to then turn and avoid the Patoka's mast. Remember to not Push Back so far that you fall off the invisible runway. I also note that the USS Patoka moored most of the USN dirigibles, in her role as a mobile temporary base for the Navy's airships, but not all of them at all these locations.
NAS North Island Mast (scenery):
The Naval Air Station North Island had a "high mast" for dirigibles positioned on the airfield such that it would not interfere with heavier than air traffic using the airfield's runways. This scenery will add that mast at NAS North Island. Like landing on Patoka (see above paragraph), there is an invisible runway - but this one extends approximately 1,600 feet all around the mast. You can land from any direction. Do not land too low and run into the invisible runway. Also make sure that you don't fly a conventional airplane to low around the mast and run into the invisible runway.
Starting at NAS Sunnyvale (Moffett Field), the USS Patoka or the North Island Mast:
In order to have Macon's flight dynamics work properly the ship (as described earlier) has to weight virtually nothing. The trade-off (problem) with this is that if we start at a normal location at the USS Patoka, Moffett Field or moored to the North Island mast, Macon will be moving forward when she starts (she has no drag on the invisible runway) and you will run through the mooring mast in front of you before you can apply the brakes.To solve this we have provided saved flights (included with all of these sceneries) that will start you at any of the five locations for the USS Patoka, or the mast at either Moffett Field or North Island. You will start with your nose up to the mooring mast, parking brakes on, angled away from either Patoka or Hangar One, with full buoyancy (flaps) already selected and engines running. When you are ready, "Push Back" (you do NOt have to release the parking brakes until you are airborne and away from the mast). As you (the Officer of the Deck) are normally standing on the left (port) side of the control car, you would bring the mooring mast past the Macon's port side as soon as you start to move forward - so you will want to use "Shift + P" (Push Back) to back away from the mooring mast. Shift +P again, as soon as you see that you have enough distance to clear the mooring mast. You can then apply full right rudder (full left rudder at "Old Plantation Flats") and then add full power to "Up Ship" (take off) normally. Release the brakes when clear of the mast.
AI and Multi-player Operations:
Our model of Macon is just too "Poly" heavy to be able to work properly in Multi-player. Fortunately we have models of Macon that are intended for use with AI. There are two versions. One is for use with regular AI (and for use by Mission Builders); the other is for use with AI Carriers. The one for AI Carriers does not have any working animations (propeller or control surfaces). Both versions have the trapeze extended and the hangar deck open. Unfortunately, the limitations of FSX precluded being able to hook onto the extended trapeze.
Recommended training misson (you must have NAS Sunnyvale and the USS Patoka locations installed):
Up-ship from Moffett field (KNUQ) and fly on a course of 240 degrees magnetic, until you are clear (west of) the Santa Cruz Mountains (about 2100 feet high). Set course for "FARRA" intersection, which is at latitude N37 degrees 41.80 and Longitude W123 degrees 0.95. It's plotted on the navigators chart - when you are close enough, IF you have installed the Farallon Islands ("farallones_beta4.zip", by Glen Gordon, available at Avsim, works fine in FSX), you should see the largest of those Islands just before you get to "FARRA". Continue down the islands (North West) until you have passed over the last (third) set of islands. Now set course for the Golden Gate Bridge (approximately 070 degrees magnetic). You will pass the Point Bonito on your port side just prior to reaching the bridge. You can fly between the spans of the golden Gate (no DON'T try to fly under the bridge - if tempted, re-read the section above about Command Responsibility). Proceed into the bay on a eastward courses, until you have passed Angel Island on your port side (Alkatraz Island will be on your starboard). I didn't say this misson was going to be spoon-feed - break out your charts (maps) and atlas (GRIN). Look just to the east of Angel Island (between Angel Island and Berkeley), and you will see the USS Patoka at anchor. Practice mooring to Patoka's mast. When you are finished your last mooring, depart the USS Patoka back down the bay for NAS Moffett Field. The same minimum altitude guidance applies passing (OVER) the Oakland Bay Bridge. You will pass NAS Alameda on your port side. When you are back at Moffett Field, don't moor to the mobile mooring mast. Instead, land near it on the east side of Hangar One, and have the ground crew walk you into the hangar. The Macon needs a little maintenance work on her fabric outer skin, so you are going to into "the barn".
Credits:
Foremost: Piotr Lowicki – for his absolutely magnificent 3DS model of the Macon
Then:
- Jeff Schaefer – who initiated the project and persuaded Piotr to allow us to try to adapt his model to Flight Sim.
- Dan Dunn – who converted the model to FSX and did most of her animations.
- Jim Dhaenens - did the Control Cab and Secondary Control Station VC, as well as all the other additions that you see on the final Macon. Jim also did the NAS Sunnyvale ground excludes, textures, roads and the beautiful "Hangar One" and "Helium Tower" at NAS Sunnyvale.
Lastly, Jim used Piotr/Dan’s original model to make both of the AI versions of Macon. Paul Clawson figured out how to put it in AI Carriers.
- John Stinstrom – for the other NAS Sunnyvale structures.
- Wayne Tudor – did the Flight Dynamics, flight testing and the invisible runways.
- Earl Watkins – for building the USS Patoka, and placing it at five different locations
- Bill Learning - for his help with the animations
- Bill Mackay – did project coordination, flight testing and the saved flight packages.
Finally: Bill Lyons – who showed the way with his fantastic FS2004 “Graf Zeppelin” and NAS Lakehurst scenery.
Associated Downloads:
1/ NAS Sunnyvale, by Jim Dheanens and John Stinstrom
2/ USS Patoka, by Earl Watkins
3/ The NAS North Island Mast, by Jim Dheanens.
- All of these will be released (by The Naval Airship factory) seperately from this release.
U.S.S. Macon ZRS-5 Airship.
Free for all simmers · 15.97 MB · Scanned clean Jul 2026
Download speed: Free tier is capped at 0.5 Mbps (this file takes approximately 4 mins at the cap). PRO members download at full line speed.
SimObjects\Airplanes\, Addon Scenery\, Effects\, or Gauges\.readme.txt or README file. It tells you exactly where files go, what dependencies are needed, and any quirks specific to this add-on.The archive uss_macon.zip has 111 files and directories contained within it.
This list displays the first 500 files in the package. If the package has more, you will need to download it to view them.
| Filename/Directory | File Date | File Size |
|---|---|---|
| fx_water_ballast.fx | 11.20.04 | 7.35 kB |
| Effects | 10.05.10 | 0 B |
| Aircraft.cfg | 10.05.10 | 14.56 kB |
| Macon READ ME FIRST.doc | 10.05.10 | 55.00 kB |
| Macon READ ME FIRST.txt | 10.05.10 | 20.85 kB |
| model | 10.05.10 | 0 B |
| macontst.MDL | 08.07.10 | 7.79 MB |
| macontst.Orig | 08.02.10 | 7.75 MB |
| model.cfg | 07.20.10 | 44 B |
| panel | 10.05.10 | 0 B |
| Akron-2 | 10.05.10 | 0 B |
| flap.xml | 05.03.05 | 813 B |
| Flap_Background.bmp | 08.03.10 | 18.07 kB |
| Flap_Needle.bmp | 05.03.05 | 2.72 kB |
| panel2.bmp | 07.09.10 | 1.00 MB |
| Thumbs.db | 10.05.10 | 6.00 kB |
| Vmap.xml | 07.21.10 | 1.69 kB |
| water_ballast.xml | 07.20.10 | 301 B |
| panel.cfg | 10.05.10 | 1.33 kB |
| panel2.bmp | 07.09.10 | 1.00 MB |
| Thumbs.db | 10.05.10 | 4.00 kB |
| sound | 10.05.10 | 0 B |
| sound.cfg | 04.12.08 | 33 B |
| Texture | 10.05.10 | 0 B |
| alumbeam.dds | 07.04.10 | 128.12 kB |
| alumbeama.dds | 05.28.10 | 256.12 kB |
| ballastpnl.dds | 06.15.10 | 256.12 kB |
| BotSta.dds | 08.10.10 | 256.12 kB |
| BotSta1.dds | 07.19.10 | 256.12 kB |
| BotSta3.dds | 07.19.10 | 256.12 kB |
| bridgdet copy.dds | 07.20.10 | 512.12 kB |
| bridgdet.dds | 07.20.10 | 512.12 kB |
| bridgdet_L.dds | 07.22.10 | 512.12 kB |
| CompassRoseneg.dds | 07.11.10 | 512.12 kB |
| decals.dds | 07.28.10 | 64.12 kB |
| desktop.dds | 06.26.10 | 128.12 kB |
| EOT1.dds | 06.26.10 | 128.12 kB |
| EOT2.dds | 06.25.10 | 128.12 kB |
| EquipT.dds | 04.09.09 | 256.12 kB |
| EquipT1.dds | 04.09.09 | 256.12 kB |
| Glasscolor.dds | 05.21.10 | 16.12 kB |
| glasspec.dds | 05.21.10 | 16.12 kB |
| Gondola1.dds | 08.10.10 | 64.12 kB |
| Hangar.dds | 04.09.09 | 256.12 kB |
| Hangar1.dds | 04.09.09 | 256.12 kB |
| Hangar3.dds | 04.09.09 | 256.12 kB |
| HubTEX.dds | 04.09.09 | 64.12 kB |
| HubTEX1.dds | 04.09.09 | 64.12 kB |
| HullTE.dds | 08.10.10 | 4.00 MB |
| HullTE1.dds | 07.14.10 | 4.00 MB |
| HullTE3.dds | 08.05.10 | 4.00 MB |
| linoleum.dds | 05.28.10 | 8.12 kB |
| mcntop.dds | 07.10.10 | 256.12 kB |
| metal.dds | 05.23.10 | 128.12 kB |
| MotorT.dds | 04.09.09 | 256.12 kB |
| MotorT1.dds | 04.09.09 | 256.12 kB |
| PropBl.dds | 04.09.09 | 64.12 kB |
| propblur.dds | 07.07.10 | 64.12 kB |
| radio.dds | 06.21.10 | 128.12 kB |
| RPTROSE.dds | 06.04.10 | 128.12 kB |
| RPTROSE_L.dds | 07.05.10 | 128.12 kB |
| sbeams.dds | 07.28.10 | 128.12 kB |
| sw4rsnap.dds | 07.22.10 | 32.12 kB |
| texture.cfg | 03.27.09 | 137 B |
| thumbnail.jpg | 08.06.10 | 25.26 kB |
| UpStab.dds | 08.10.10 | 256.12 kB |
| UpStab1.dds | 07.19.10 | 256.12 kB |
| UpStab11.dds | 07.19.10 | 256.12 kB |
| UpStab3.dds | 07.19.10 | 256.12 kB |
| UpStab8.dds | 08.10.10 | 256.12 kB |
| UpStab9.dds | 07.19.10 | 256.12 kB |
| variometer.dds | 07.24.10 | 512.12 kB |
| variometer_L.dds | 07.24.10 | 512.12 kB |
| woodtop.dds | 07.10.10 | 128.12 kB |
| USS_Macon.air | 10.05.10 | 4.14 kB |
| USS Macon ZRS-5 | 10.05.10 | 0 B |
| Macon READ ME FIRST.txt | 10.05.10 | 20.85 kB |
| File_ID.diz | 10.05.10 | 664 B |
| Macon at N.I..jpg | 10.05.10 | 157.20 kB |
| Macon at Pensacola Bay.jpg | 10.05.10 | 165.84 kB |
| Macon out from the clouds.jpg | 10.05.10 | 153.36 kB |
| Macon over Moffett.jpg | 10.05.10 | 184.46 kB |
| Macon READ ME FIRST.doc | 10.05.10 | 55.00 kB |
| flyawaysimulation.txt | 10.29.13 | 959 B |
| Go to Fly Away Simulation.url | 01.22.16 | 52 B |
| Screenshots | 09.20.19 | 0 B |
| screen-1.jpg | 09.11.19 | 98.01 kB |
| screen-10.jpg | 09.11.19 | 168.01 kB |
| screen-11.jpg | 09.11.19 | 185.96 kB |
| screen-12.jpg | 09.11.19 | 145.01 kB |
| screen-13.jpg | 09.11.19 | 119.45 kB |
| screen-14.jpg | 09.11.19 | 186.93 kB |
| screen-15.jpg | 09.11.19 | 201.44 kB |
| screen-16.jpg | 09.11.19 | 128.08 kB |
| screen-17.jpg | 09.11.19 | 149.32 kB |
| screen-18.jpg | 09.11.19 | 132.35 kB |
| screen-19.jpg | 09.11.19 | 180.40 kB |
| screen-2.jpg | 09.11.19 | 82.82 kB |
| screen-20.jpg | 09.11.19 | 206.99 kB |
| screen-21.jpg | 09.11.19 | 206.84 kB |
| screen-22.jpg | 09.11.19 | 180.01 kB |
| screen-23.jpg | 09.11.19 | 124.19 kB |
| screen-24.jpg | 09.11.19 | 115.30 kB |
| screen-25.jpg | 09.11.19 | 46.14 kB |
| screen-3.jpg | 09.11.19 | 99.03 kB |
| screen-4.jpg | 09.11.19 | 100.46 kB |
| screen-5.jpg | 09.11.19 | 90.34 kB |
| screen-6.jpg | 09.11.19 | 112.39 kB |
| screen-7.jpg | 09.11.19 | 103.64 kB |
| screen-8.jpg | 09.11.19 | 95.74 kB |
| screen-9.jpg | 09.11.19 | 65.09 kB |
Only PRO members can place votes.
More FSX & P3D add-ons hand-picked based on this download.
FSX Other Aircraft & Vehicles
USS Macon (ZRS-5) AI. The Macon AI's consist of a fully animated version suit…
 FSX Other Aircraft & Vehicles
FSX R34 Rigid Airship. The R-34 was a British built airship, the first rigid …
 FSX Other Aircraft & Vehicles
A fully-featured, freeware aircraft carrier add-on for all versions of Micros…
 FSX Other Aircraft & Vehicles
Completely re-worked model and textures . New flight dynamics optimized for S…
 FSX Other Aircraft & Vehicles
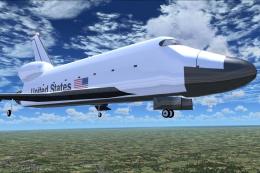
FSX NASA Space Shuttle. The shuttle has been modified so that it takes off an…
 FSX Other Aircraft & Vehicles
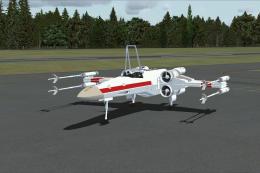
FSX Star Wars Incom T-65 X-Wing. This model features a reasonable Mach 1.8 Vm…
 FSX Other Aircraft & Vehicles
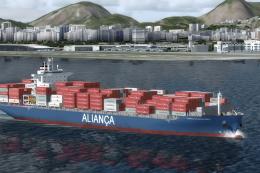
This freeware package contains over 800 AI ships, boats, traffic FSX, and P3D…
 FSX Other Aircraft & Vehicles
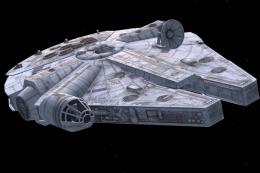
This unique Star Wars-themed add-on, developed by Bruce Fitzgerald, brings th…
Read what other simmers think, or add your own.
Hi! I just found your model here while looking for assets for my USS Shenandoah ZRS-1 project and I wanted to reach out and introduce myself and tell you about what I'm doing. Perhaps some of you might be interested in a collaboration or exchange of help and assets.
A very long time ago, I became very interested in the Shenandoah story. I live in Ohio, so it has a local connection. I have done extensive research on the subject. I visited the crash sites in Ohio and met people who were connected to the story. I am a 3D modeler/animator and I decided I was going to make a film about it. I modeled the Shenandoah in Lightwave 3D back in 2000, but I just lost steam on the project and it got shelved. Last year I decided to start working on it again. I imported the model into Blender and started working on it. A lot has changed in 23 years! Technology has improved so much, and I've been able to find many more reference images. Someone on BlenderArtists.org told me about the models here. I was looking for the USS Patoka since the Shenandoah used its mast to dock with.
I am looking for interested individuals who might like to collaborate. I would be willing to share my model for flight simulator conversion if anyone is interested. I myself have no experience with flight simulators. I thought some people might have assets they'd be willing to share for my docu-drama, or would be willing to help with modeling and stuff.
Please take a look at my images, and let me know what you think. I look forward to hearing from you! https://photos.app.goo.gl/3ojnTfQLP7UWaYHg7
Thanks!
I am interested in the Lockheed-Martin LMH-1 Hybrid airship. Can you build a model like that?
I use the X-Plane platform.
-Tim Merritt
Really cool and different experience. Love the multi-views VC. Best blimp I’ve found so far.