Welcome to the official Fly Away Simulation Flight School. This section provides you with many tutorials, walkthroughs, information, and knowledge articles related to many aspects of flight simulation and aviation.
Discover how to start cold and dark, use ILS, navigate around the flight sim world correctly using real-world aviation techniques and practices along with much more. This section is new and always expanding so be sure to bookmark this page.
Many of the popular flight simulator packages are covered in our guides here including Microsoft Flight Simulator (MSFS) 2020 release, Microsoft Flight Simulator X, Lockheed Martin's Prepar3D, and X-Plane. Our focus at the moment is producing detailed walkthroughs and tutorials for Microsoft Flight Simulator (2020) as this is by far the most popular package at the moment and users are requesting these guides and walkthroughs more than any of the other packages.
With that being said, please know that we will still continue to expand the walkthroughs and guides for other simulators - and we will always support legacy sims and less popular simulators - they will never be disregarded as we know that thousands of our users are still actively using them.
Let's begin training...
Our selection of expertly produced guides, tutorials, and walkthroughs for the Microsoft Flight Simulator (MSFS) 2020 release. Regularly updated and expertly reviewed. Trusted by over 150,000 PRO members
 Starting Aircraft Cold & Dark in Microsoft Flight Simulator (2020)
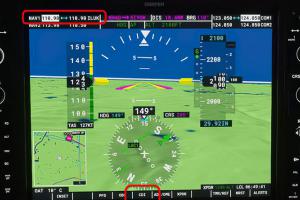 Basic Guide on How to Use ILS in Microsoft Flight Simulator (2020)
Guides and tutorials for Microsoft Flight Simulator X. While not as popular as it once was (due to the release of MSFS 2020), thousands of people still use this legacy sim and we will continue to produce content while it's still available to purchase and use. We won't give up on producing content for this sim while there are still active users in our community.
 How to Start Cold And Dark & Start/Shutdown Engines with Aircraft in FSXInstalling Addon Aircraft in Microsoft Flight Simulator XInstalling Aircraft Repaints/Textures in Microsoft Flight Simulator XInstalling Addon Scenery in Microsoft Flight Simulator XInstalling Addon Flight Simulator DownloadsHow to Make a Good Approach and Landing in FSXHow to Use Jetways & Pushback in FSXMicrosoft Flight Simulator 2004How to install scenery add-ons in FS2004
Our highlighted must-have coverage and guides for Microsoft's latest flight simulator released in 2020. Also known as MSFS or FS2020.


Articles and features providing useful tips and tutorials.